
Happy New Year 2012, everyone! How was your New Year`s day there??
It`s already Jan 2 evening at our place, which also means the last day of my holiday. I have really enjoyed my time in the kitchen and in fact, I baked and cooked so much that he begged me to stop cooking for a while. It really sounded bizarre considering how often I usually ask him to buy store-bought food during our regular weekdays, or even sometimes on weekends. This holiday, however, I had (and am having) a sudden unstoppable obsession in bread making. Bread dough was one of my kitchen nightmares that I used to avoid the best I can. I remembered last year where I burst into tears when both my hands got trapped in a very sticky monstrous bread dough. The results were disasters too! I did stop trying making any kind of bread until I bought an old cooking magazine featuring pan-fried buns (Orange Page 2010, Vol 1). The buns look very similar with the regular steamed buns, only these ones got beautiful crusty side on the base.
My attempt in making the buns using the magazine`s recipe just worked and I hope by sharing this post I can encourage those who haven`t tried making steamed buns. This is going to be a very long post, but please don`t be put off by that because doing it is actually much less complicated than explaining it.
Alright, ready to scroll down your mouse?
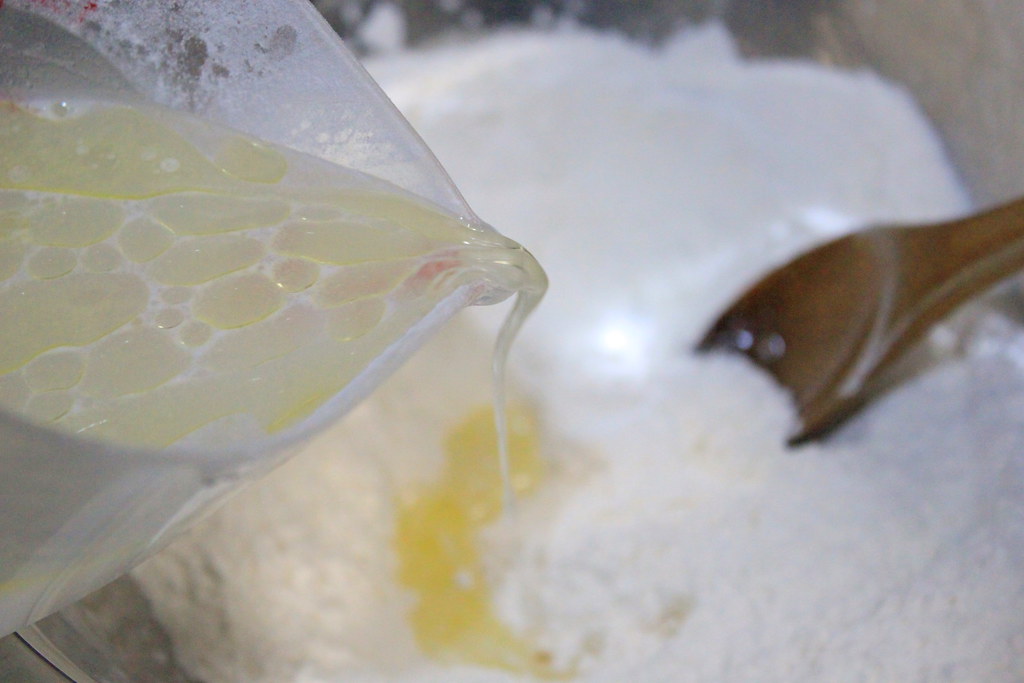
Mix flour, baking powder, sugar, and salt in a bowl and stir in lukewarm water mixed with olive oil.
From what I`ve experienced, I found that using a wooden spoon to mix the ingredients works best for me. A kneader is good too. But definitely not by hand. Not for me. Not at this stage.

After the mixture turns into a dough, knead it by hands, and shape into a ball and let rest for 30 mins or 1 hour. I was worried looking at how ugly it was, but it turned out to be alright later.
In the mean time, prepare the filling. You can use your favorite filling, but here I used chicken and mushrooms filling.
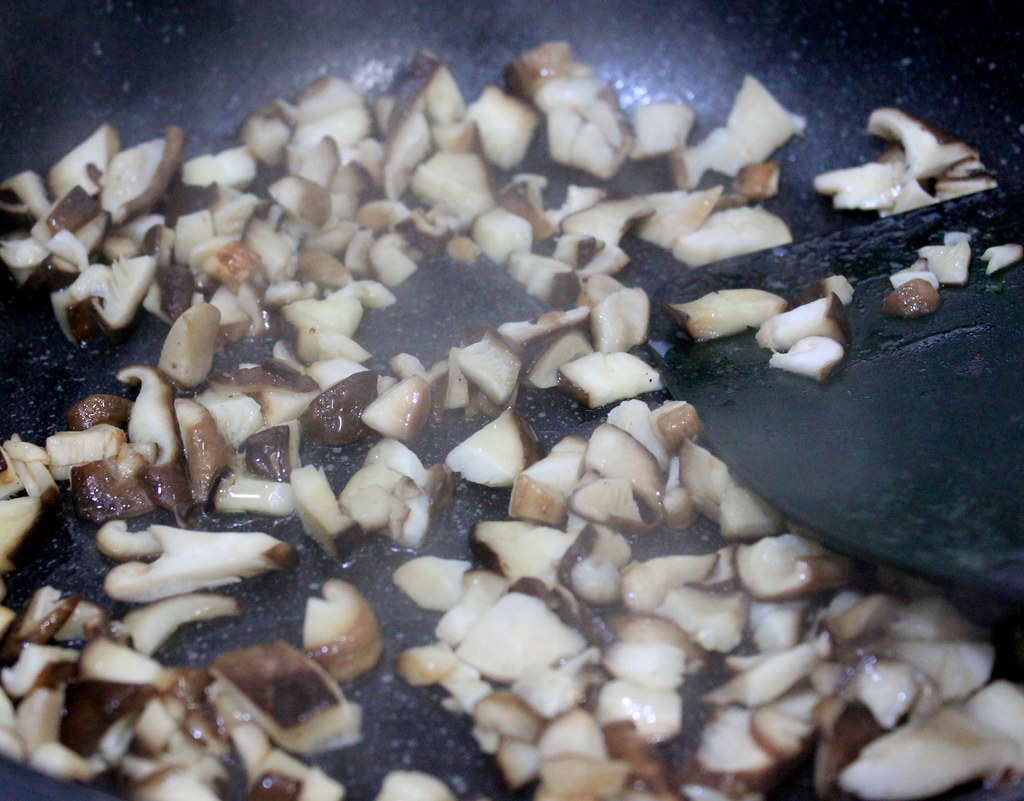
Saute chopped shiitake mushrooms and garlic (the garlic picture isn`t here, sorry!) with olive oil until they have wilted and released the nutty scent.
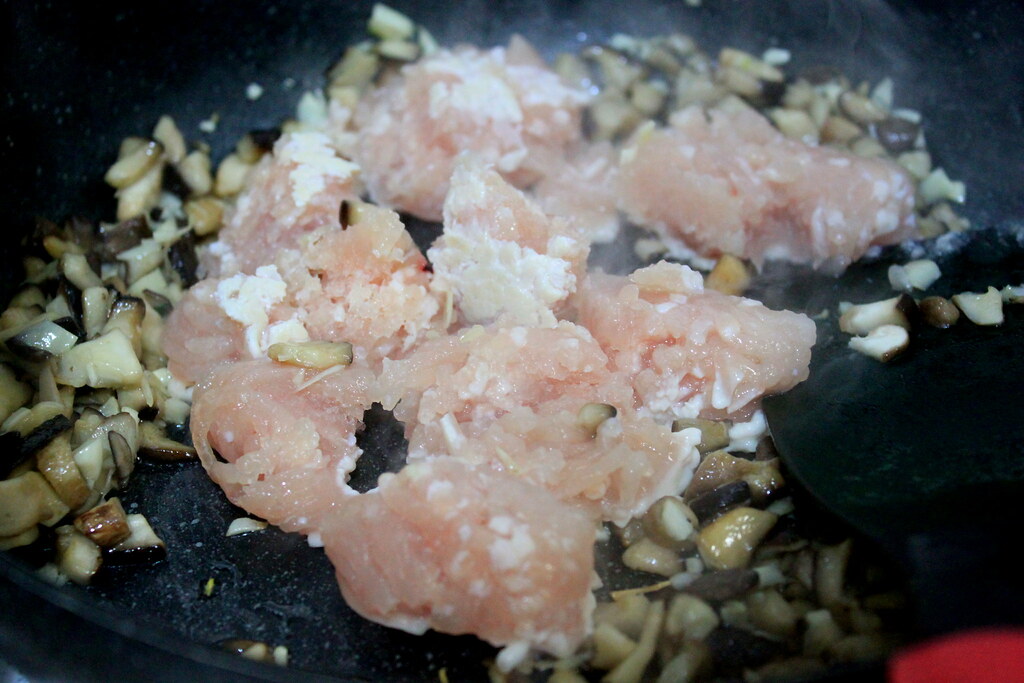
Stir in minced chicken and let cook through.
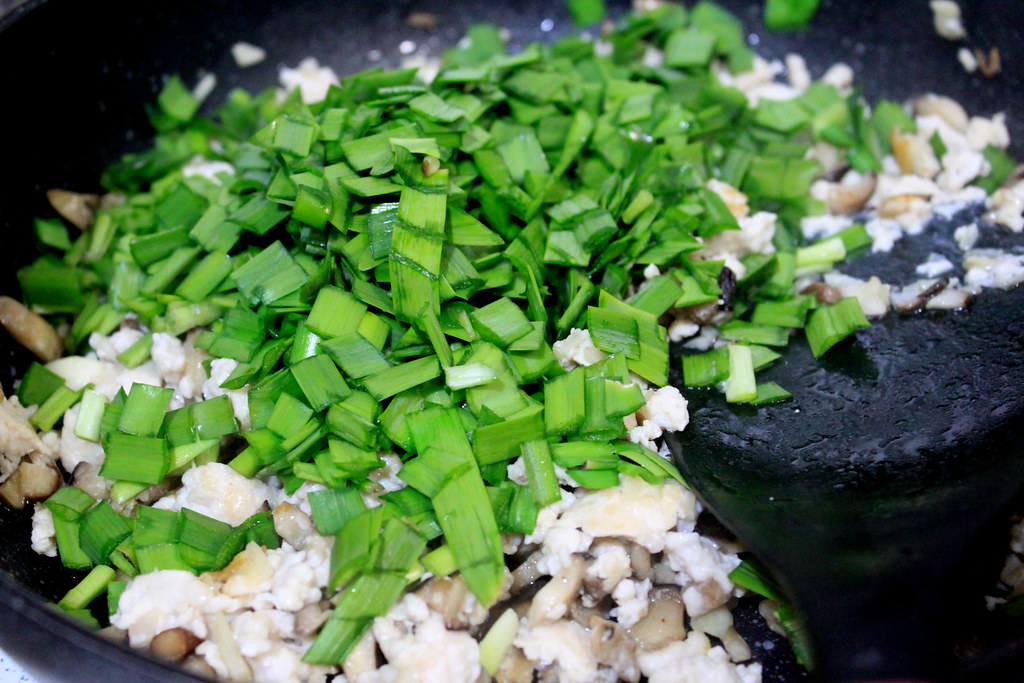
Throw in chopped garlic chives.
This is a very garlicky chickeny filling.
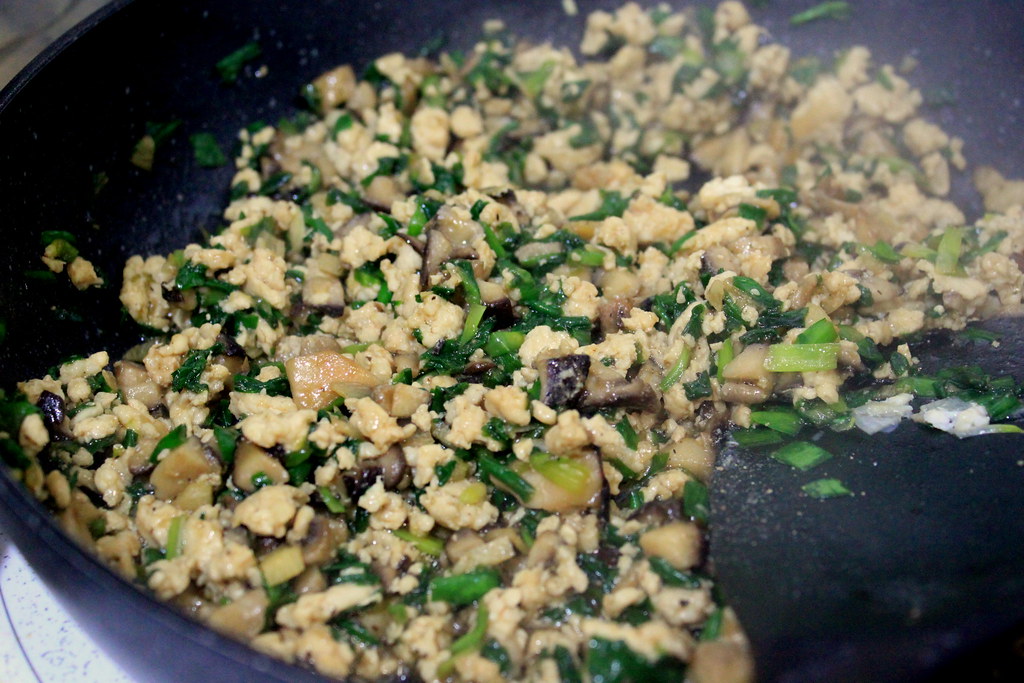
Add soy sauce, vinegar, sesame oil, salt, and pepper. It`s better to oversalt the filling a little bit as it will go together with the plain buns.
After the filling is ready, set aside to let it cool.
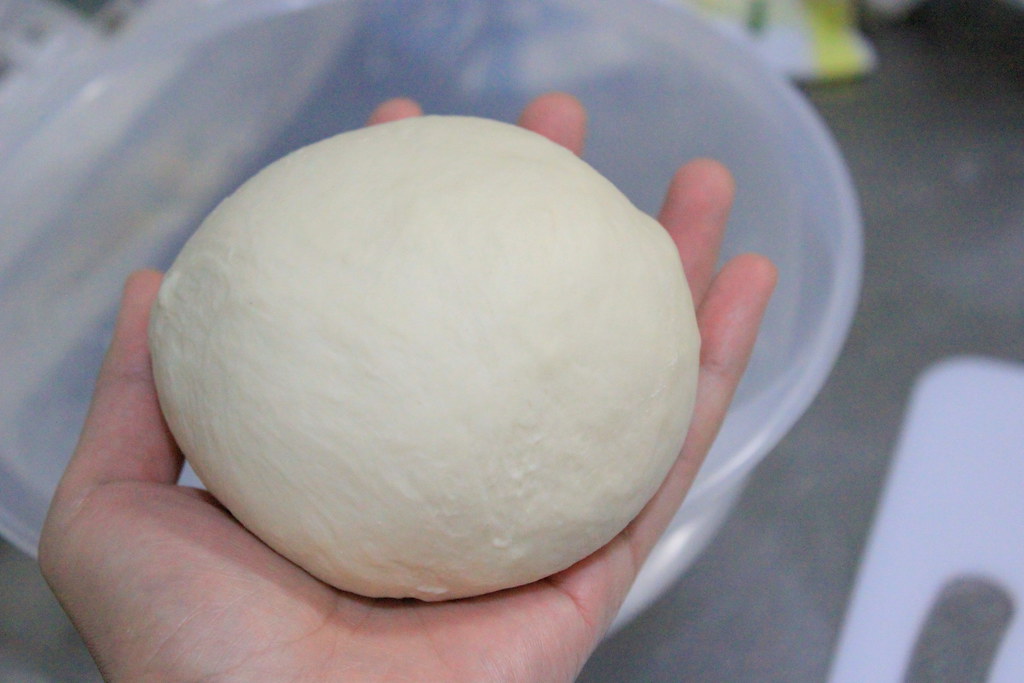
Now here`s the dough ball that has been leavened. I flattened it pushing the air out and kneaded by hand for a couple more times. Look how smooth it is now!
Next is dough portioning.
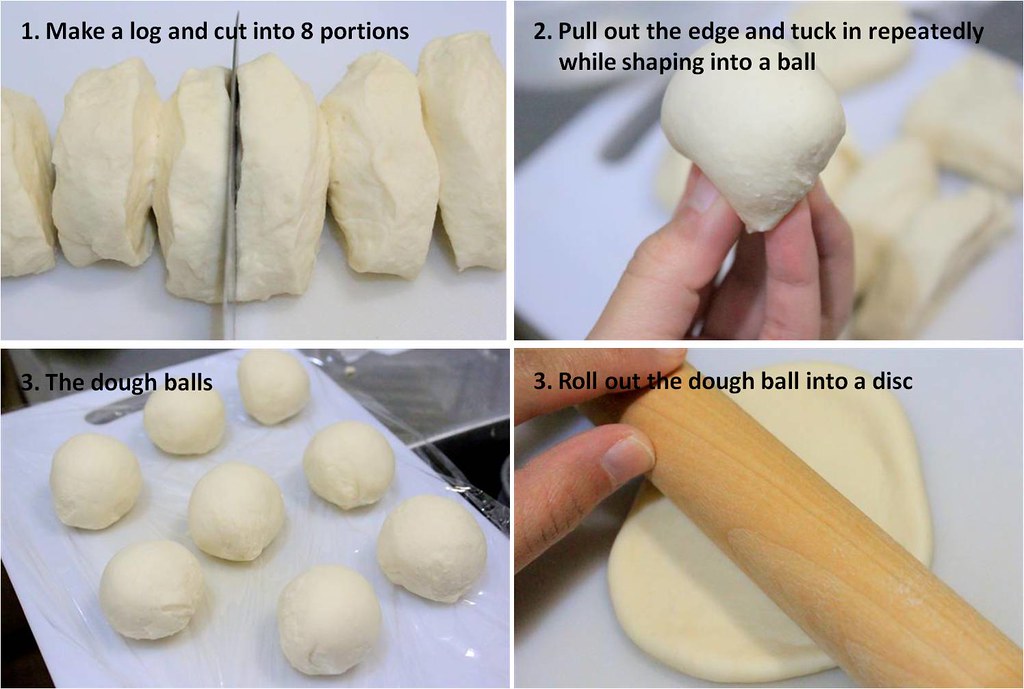
1. Shape the dough into a log and cut crosswise into halves and cut the halves into another halves to get 4 equal portions. Then, half each cut and this will result in 8 equal portions.
By equal, of course, I mean, humanely possible equal.
2. For the finishing knead, pull out the edge of each portion dough and tuck it in repeatedly while shaping into a ball shown in Picture 3 above.
4. With a rolling pin, roll out each ball into a disc.
My dough was a little springy that the flattened disc kept springing back making the disc rather thick. But I just continued to the filling anyway.
Next is the filling.

1. Place the disc onto your palm and flatten it once more.
From what I`ve learned, it`s better to flatten the edges and leave the center a little thick.
2. Place the filling onto the disc.
Try small first and when you get used to the wrapping, add more filling.
3. Pleat the edge and seal them altogether.
As you can see in the picture, I didn`t pleat it. I just sealed the edge and I was satisfied enough if the filling could be wrapped neatly.
4. Twist the edge for final sealing while shaping into a round bun.
Go easy with the twisting. Once the bun is safely sealed, you`re good. I overdid the sealing and the center got stretched out too far making the surface too thin and the base too thick.
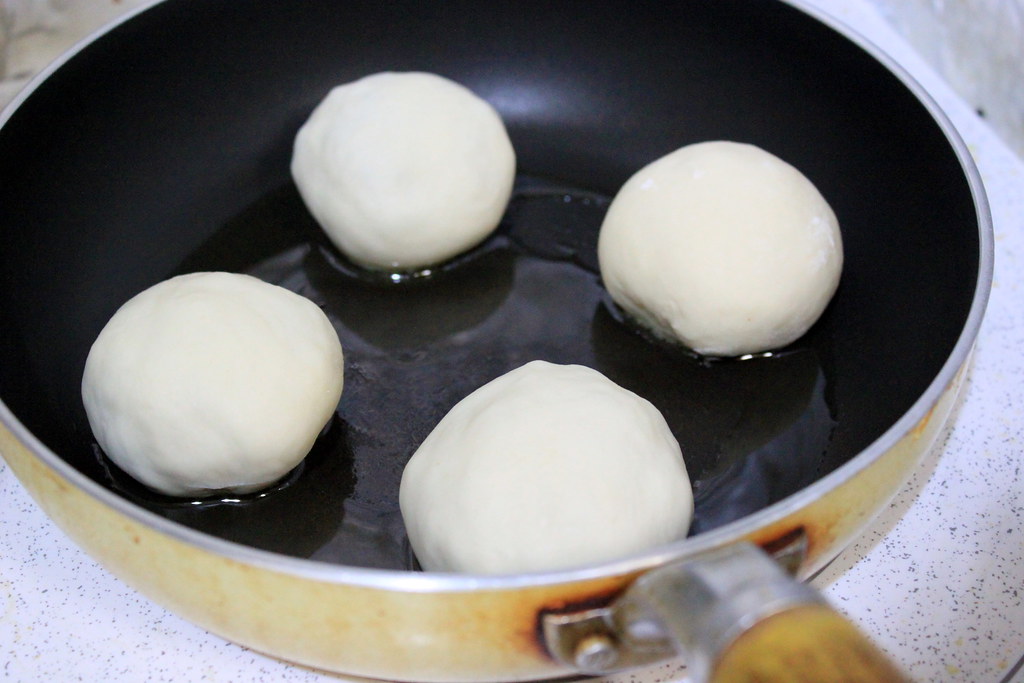
Heat a bit of oil on a frying pan over medium heat and place the filled buns. They will puff up, so space them apart.

After 1 minute frying the base, quickly, but carefully pour in 1/3 to 1/2 cup of water.
There will be a serious oil splatter at the beginning, but if you add enough water, which covers like 1/4 or 1/3 of the bun, the splatter will be quickly gone and the water will simmer instead.
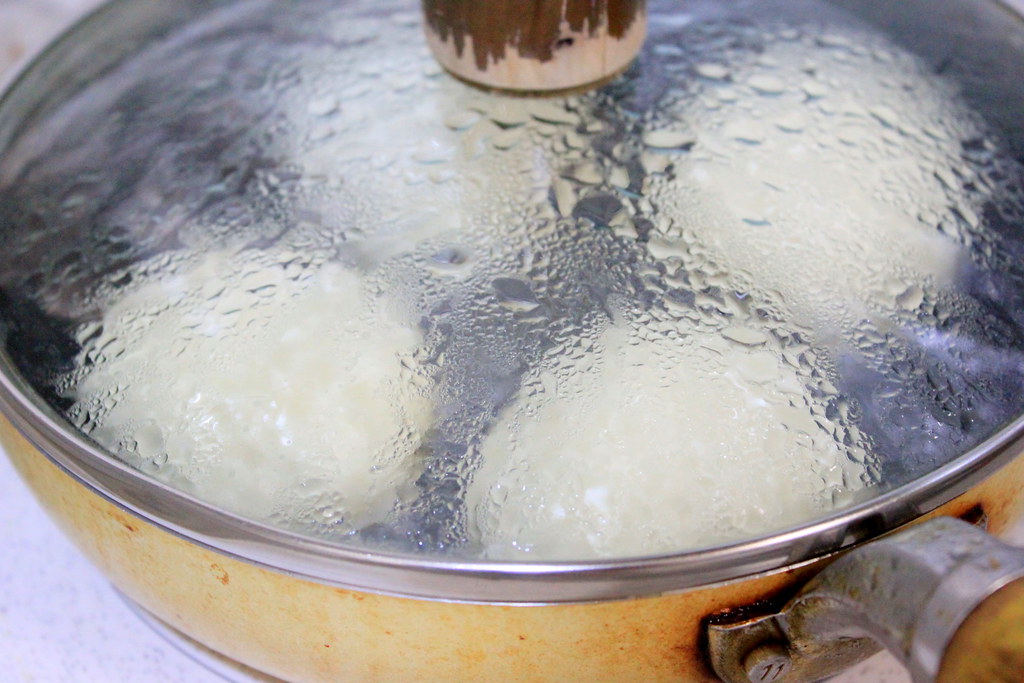
After adding the water, quickly cover the pan with a lid and let the water and steam cook the bun for 7-8 minutes.

After the buns have nicely puffed up, open the lid, crank up the heat, and let the water evaporate. Add sesame oil and swirl around to coat the bun base for final frying for another minute.
Done!
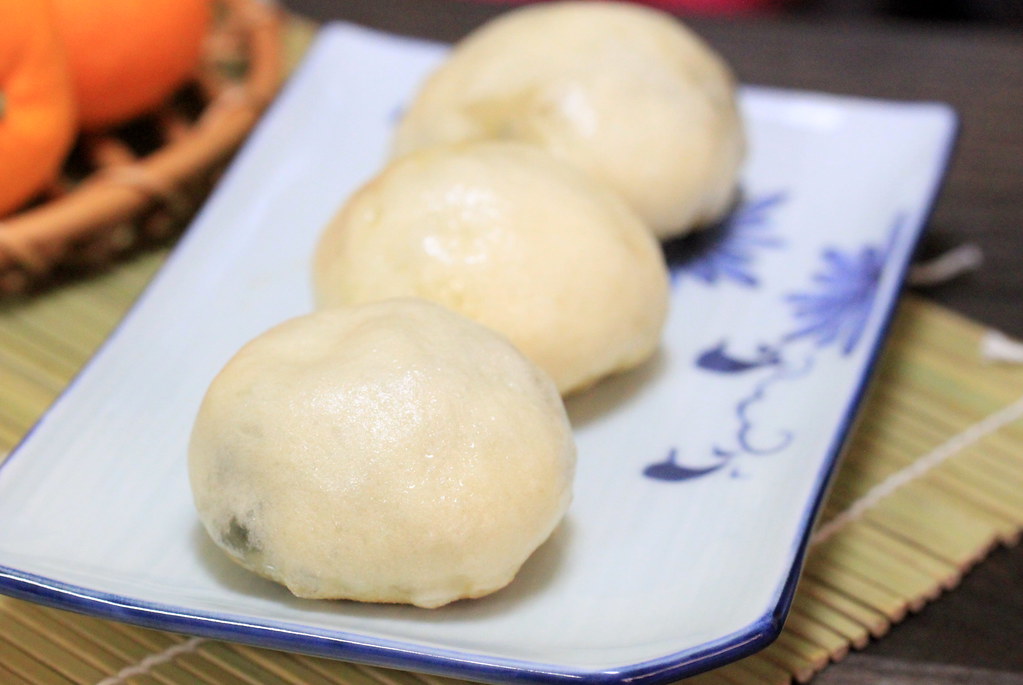
Ready to devour?

Here, let me cut it open for you so you can see the inside. This is why I suggest you not to overdo the sealing. This must be the most weird-looking bun I`ve ever had.

I also made the regular steamed buns with the same dough. Tastewise, I love them both. Love, love, love. Cooking-processwise, the steaming method was simpler and quicker as I could cook more buns at once in my steamer and I didn`t need to do anything except waiting. Texturewise, the fried ones have wonderful textures with the irresistible heavenly crusts.
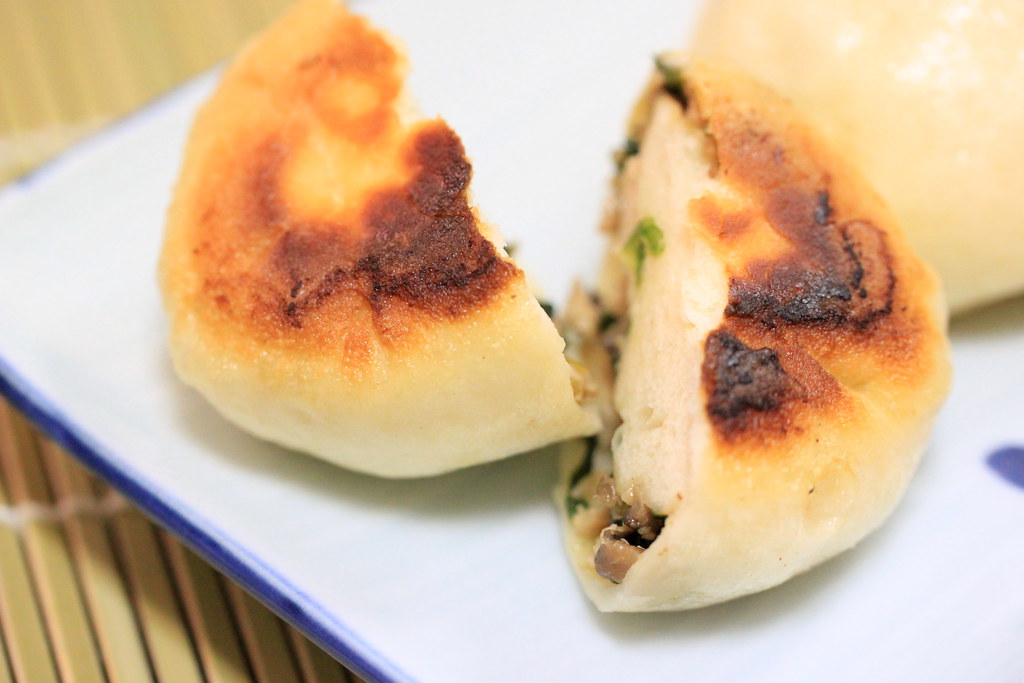
These crusts. Do I need to say more?
PAN-FRIED BUNS
Adapted from Orange Page 2010, Vol 1
Adapted from Orange Page 2010, Vol 1
Makes 8 buns
Ingredients:
For filling
5 cloves of garlic
5 cloves of garlic
150 g minced chicken
100 g shiitake mushrooms
Garlic chives
2 tbs soy sauce
1 tbs sesame oil
Salt
Pepper
For buns
200 g bread flour
1 tsp baking powder
1/2 tsp sugar
1 tsp salt
1 tbs olive oil
100 ml lukewarm water
Methods:
For the filling
1. Saute chopped shiitake mushrooms and garlic with olive oil until they has shrinked and released the
nutty scent.
2. Stir in minced chicken and let cook through.
3. Throw in chopped garlic chives.
4. Add soy sauce, vinegar, sesame oil, salt, and pepper.
5. Let it cool down.
For the buns
1. Mix flour, baking powder, sugar, and salt in a bowl and stir in lukewarm water mixed with olive oil.
2. After the mixture turns into a dough, knead it by hands, and shape into a ball and let rest for 30 mins or 1 hour.
3. Flatten the leavened dough to push the air out and knead by hands for a couple more times.
4. Shape the dough into a log and cut crosswise into halves and cut the
halves into another halves to get 4 equal portions. Then, half each cut
and this will result in 8 equal portions.
5. For the finishing knead, pull out the edge of each portion dough and tuck it in repeatedly while shaping into a ball
6. With a rolling pin, roll out each ball into a disc.
For filling and frying
1. Place the disc onto your palm and flatten it once more.
2. Place the filling onto the disc.
3. Pleat the edge and seal them altogether.
4. Twist the edge for final sealing while shaping into a round bun.
5. Heat a bit of oil on a frying pan over medium heat and place the buns. They will puff up, so space them apart.
6. After 1 minute frying the base, quickly, but carefully pour in 1/3 to 1/2 cup of water.
7. Quickly cover the pan with a lid and let the water and steam cook the bun for 7-8 minutes.
8. After the buns have nicely puffed up, open the lid, crank up the heat,
and let the water evaporate. Add sesame oil and swirl around to coat the
bun base for final frying for another minute.
Wowwww... you made bun by yourself? Wow...
ReplyDeleteHappy new year to you and yours. Wishing you lots of success and happiness in this year and the years ahead!
Happy New Year 2012 to you and Mas Den too!
DeleteYes, I`ve finally made them from scratch, but clearly I need more practice in wrapping them :D Btw mbak, aku beli cabe kering satu kantong juga gara2 liat dirimu beli :D
Arudhi, I also remember several times my hands were trapped in the monstrous, sticky dough! I knead all of my doughs in the food processor and since then everything seems to work (more or less). Your buns look gorgeous and very original! I have never seen anything like this before and they don't look easy to prepare! I am impressed by your culinary skills (really!). Congratulations for the making-of photos. They are so comprehensive, clear and even the early stages already look appetising. I have never managed making-of photos. I think my wey of preparing the dishes would put everyone off ;-)
ReplyDeleteSissi, my head is about to explode from growing too big after reading your compliments :DD Thank you! But what I did was simply follow a magazine`s recipe and I was lucky that the dough turned into buns that day. So nothing really special about that, really. In fact, it`s me who really admires your vast knowledge about food, baking, and ingredients :))
DeleteHello Arudhi!
ReplyDeleteSo nice stopping by to meet you! I have enjoyed perusing you blog and reading your 'About' page :)
These pan fried buns look so yummy! Sometimes my dough is springy too and I am never sure why that happens. A little frustrating but sometimes letting it rest an additional few minutes helps.
Thank you for visiting my place and leaving your comment!
Kindly, Lorraine
Thanks for the tips on the springy dough! I`ll try it next time I make the dough again. Thanks!
DeleteThis is such a beautiful way to make bread buns. I must try them out, they look very tempting and appetizing!
ReplyDeleteHope you and you family like the buns! Enjoy experimenting with various fillings too!
DeleteHi Arudhi,
ReplyDeleteThanks for coming by my blog today - I'm so glad I was able to find yours as a result because if not I might never have seen these buns. I just pinned them on Pinterest because I just have to make these once I get home from my vacation. They look just like something I'd find in a store or restaurant... so professional. I have to admit I'm not the biggest fan of chicken, but maybe some minced pork would make an equally delicious addition! Love how they look... can't wait to try them myself :)
Thanks for visiting my blog! Steamed buns with filling is very common in Asia, or at least in South East and East Asia. The filling varies from savory to sweet. The savory type usually includes meats and the sweet one includes sweetened red beans (in Japan) or mung beans (in Indonesia). Pork is actually the most used filling I`ve seen in Japan, so you definitely won`t go wrong with that :) Too bad that my buns in the pictures aren`t nicely wrapped, so you might want to google other pictures for the more authentic-looking buns :p
DeleteYou are so sweet :-) I'm blushing... Thank you for this compliment! My weekend starts in a joyful mood :-)
ReplyDeleteHope you are enjoying your Sunday and getting energized to start the Monday off!
Delete明けましておめでとうございます!私のブログに日本語でたくさんコメントしてくれてありがとう!上手に日本語で書けてビックリ(って失礼?)。これとても美味しそう!友達が以前似た様なものをつくってお腹いっぱい食べた記憶がありますが、作り方は覚えてなかったので、このレシピ参考にします!
ReplyDeleteビックリしたのはぜんぜん大丈夫です!実は私は日本に来てからずっと日本語で話しています。むしろ英語で会話する機会はなかなかないですね。
Deleteぜひこの焼き肉まんを作ってみてください。なみさん風のきれいな肉まんを楽しみにしています!^^
Nice buns! I mean your pan fried one..., :)
ReplyDeleteI love shitaki mushrooms in the bun.
These are perfect for breakfast!
Thanks, Holly! Shiitake mushrooms are really good in everything, aren`t they?
Delete