Saturday, April 30, 2011

Fish head soup

If I am asked what my comfort food is, that will be this fish head soup. Always this soup, regardless the weather. And if you enjoy Thai`s Tom yum soup, then it`s very likely that you`ll enjoy this as well.
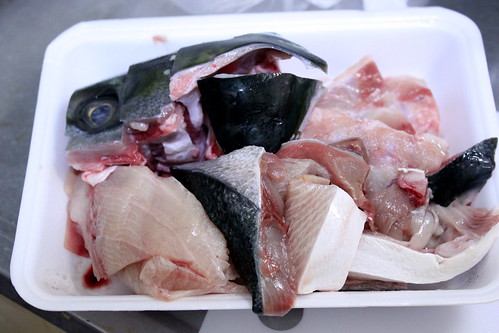
My favorite choice of fish for the soup is Japanese amberjack, called buri here. Buri fish is very meaty and the head part is even full of good flavor with lots of collagen filling up the space between the skins and the bones. And the EYES are really good! I usually save them for the last bits. Just try them and you`ll know what I`m talking about. Am I freaking you out?
Well, let`s pretend that I`m using eyeless fish head for the soup then.

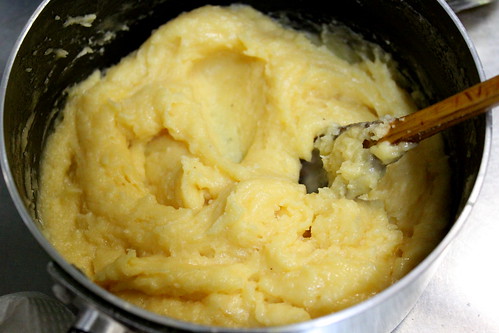
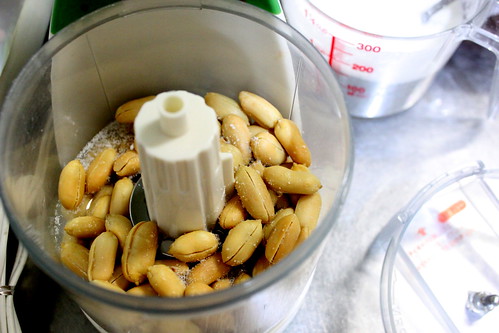
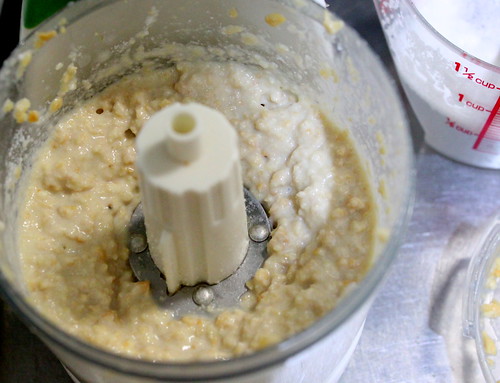
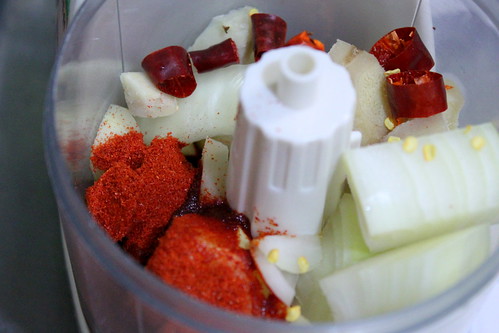
Start with making the spice paste. I used garlic, onion, ginger, chillies, and gochugaru (Korean chili powder).


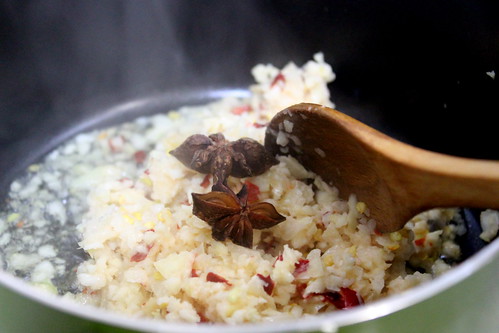
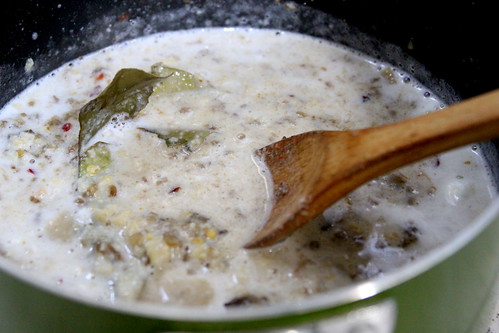
Now heat a bit of oil on a pan and start sauteing the paste while adding bruised lemongrass, galangal, kaffir lime leaves, coriander, and cumin.


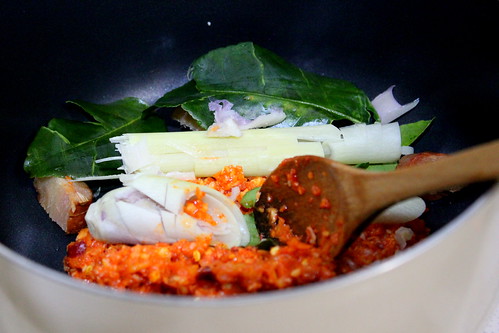
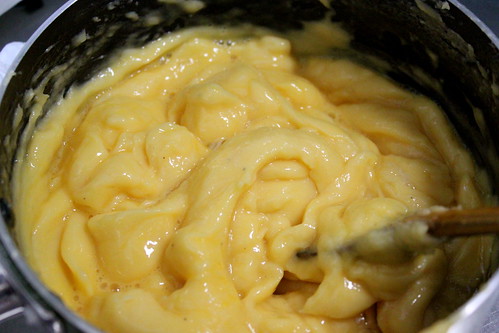
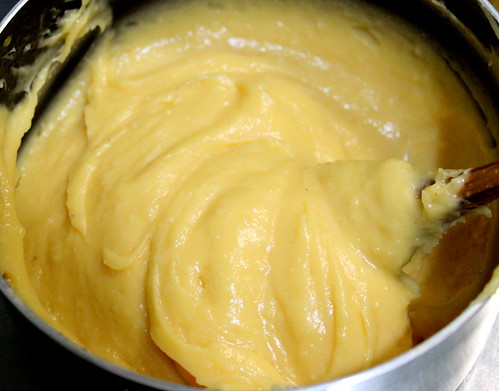
After stirred the spices for a while, pour in coconut milk and stir again.


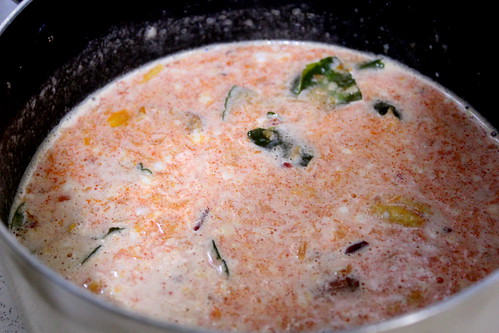
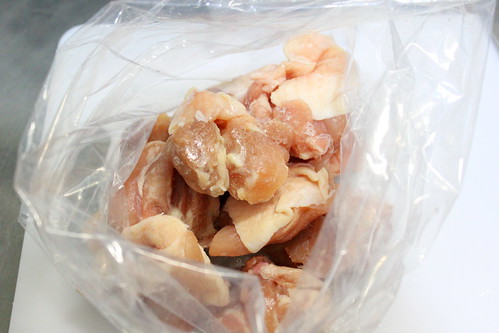
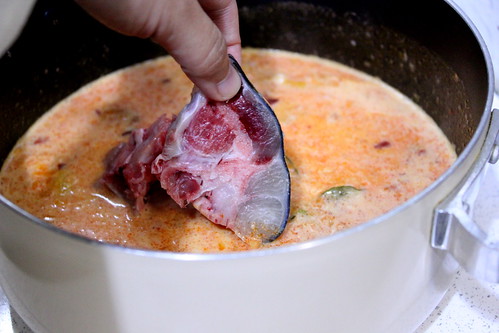
Now these are the head and the bony parts of the buri fish. I always, always feel happy when I see these guys at the store.


 Put them in the soup.


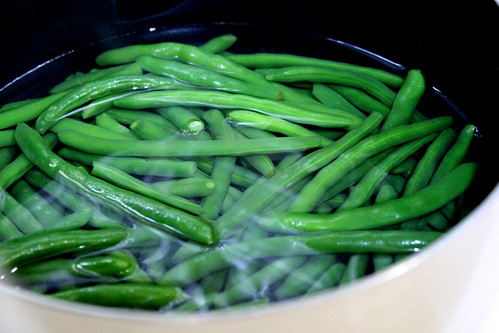
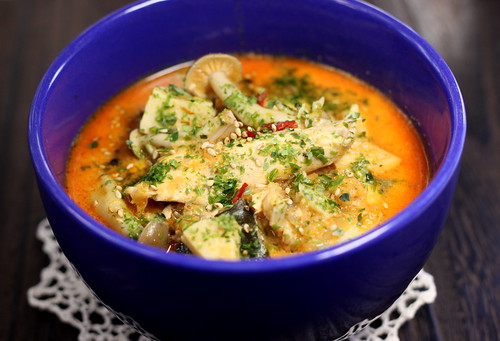
I added mushrooms and bamboo shoots too (my favorites), but you can use other ingredients or vegetables too.


Tom yum soup recipe calls for tamarind juice, but since I don`t have any tamarind, I used "Umeboshi", Japanese pickled plums instead. I-heart-umeboshi and I always have to have a jar of it in my fridge. Like nattou, umeboshi is pretty much essential in daily meals. It has deep flavors of saltiness and sourness, which probably the most intense among other pickled food I`ve ever tasted. Mothers (and wives) usually place one red umeboshi on center top of rice packed for bentou that gives a good resemblance with Japan`s national flag.
Not everyone can handle the intense flavors from eating this umeboshi straight (including him), but believe me, adding it to the soup will be as good as spritzing in lemon juice or adding a bit of vinegar.
Now I very much regretted not taking pictures before I chopped them off the seeds, but I hope Google will work for you.


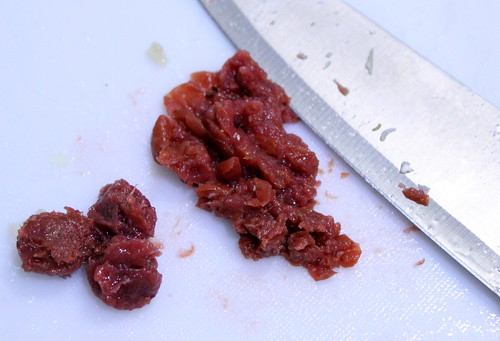
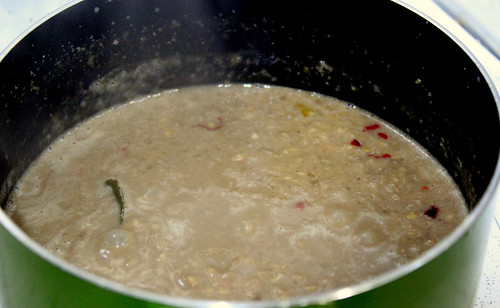
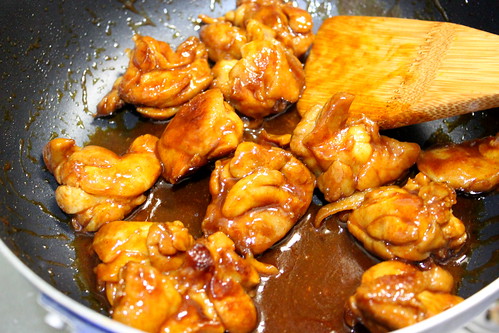
Stir in the umeboshi (include the seeds too), adjust the taste with salt, pepper, and a pinch of sugar, and it`s ready! And if you have cilantro, chop up, and use it for garnishing. Even better!
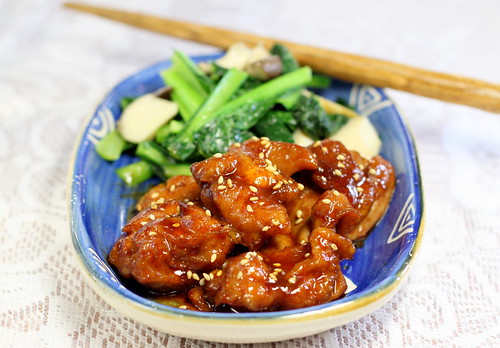
The meat is incredibly soft that it practically melts in my mouth. Melts, I tell you. I also remembered telling you before how I dislike the small bones that scatter throughout the fish meat in sardines or mackerels, but this one is different. Most of the time the bones are big enough so pulling off the meat is easy peasy. And even when it`s not, it`s worth the effort!


I actually cooked this last night and while cooking I kept going from kitchen to living room (which is only 6 steps away, lol) only to make sure that I didn`t miss the part where William and Kate kissed. What a beautiful princess she is!!
I told my husband to keep watching and let me know when the kissing part came, but he fell asleep. So I missed The Kiss! How could he fall asleep?!

Ingredients:
Spice paste
Garlic
Onion
Chili
Ginger
Gochugaru (Korean chili powder)

Lemongrass
Kaffir lime leaves
Galangal
Coriander
Cumin
Coconut milk
Umeboshi (Japanese pickled plum)
Salt
Pepper
Sugar (a pinch)
Fish head
Bamboo shoots
Mushrooms

Tuesday, April 19, 2011

Petits choux au fromage (cheese puffs)

Confessions: I don`t speak French. And I` ve never been to French restaurants. And it`s one of my biggest dreams to visit France someday!

Clearly, this is the fanciest name ever I used in this blog, thanks to Julia Child`s cookbook. And since I don`t know how to pronounce those words, let me just refer this appetizer as Cheese puffs as how she translated it.
If you are a fan of cream puffs, eclairs, and even gnocchi, then you need to know how easy it is to make the choux or puff shells. I used Julia`s recipe and I think it`s quite a foolproof one since the result is pretty satisfying despite my first time making it.

So let`s start with the choux paste.
Place butter, salt, pepper, and nutmeg in water and slowly bring to boil on low heat.This paste will be used for making cheese puffs, so the paste needs to taste a bit salty.
Note: If you`re making dessert puffs, reduce the salt to a pinch and add a tsp of sugar. 


When butter has melted and boiled, remove from heat, immediately pour in flour all at once, and quickly stir.


Then, put back the pan over medium-high heat to evaporate the remaining water content. Keep stirring until the mixture leaves the sides of the pan and the spoon.


Remove from heat again and beat in an egg.


Beat it until smooth and repeat the process with the rest of the eggs, one egg at a time.


The more egg you added, the longer time it takes to be smooth.


This is how it looks after the last egg was beat in and this means, your choux paste is done! If you`re making the puff shells for dessert, you can continue with piping and baking.


However, as the name says Cheese puffs, we need to fold in grated cheese to the paste. I used camembert and parmesan (cheap ones, probably not real, lol).


Now, line a baking tin with parchment paper and place some paste in a pastry bag. I`m a messy person (and everyone knows that), so whenever I have to use a pastry bag, I always clip it with this potato-chip-bag-clipper to avoid dough/batter oozing out during the piping. If  the batter easily  flows out from the opening (like whipped cream or macaron), you can add another clip right on the upper side of the fitted nozzle when you fill in the bag with the batter.


Pipe out the paste onto the paper making small mounds (mine was about 3-cm in diameter) and space them about 2-cm apart. And by the way, I shouldn`t have bothered to choose the nozzle shape.


The next steps are optional. Lightly brush the top with beaten egg and sprinkle with grated cheese.


Bake in 210 C for 20 mins. You`ll see how they fantastically swell up turning into fat round balls.Cute!


Cheese puffs!! Cheese puffs!!


The puffs have firm and crusty exterior with soft layer underneath. Calling them as cheese shells sounds more proper, though.


Oh shoot, I should save some for him.


Eclair is what`s on my mind right now. Maybe next time. Tomorrow? Nah, let`s get real.

Ingredients*:
Choux paste (about 2 cups)
1 cup water
85 g butter
150 g flour
4 eggs
1 tsp salt
Pepper
Nutmeg

Cheese puffs
2 cups choux pastry
80 g grated/powdered cheese

Baking:
210 C for 20 mins

*Recipe from Julia Child`s Mastering the Art of French Cooking

Sunday, April 17, 2011

Blossoming hopes

We had a date on a perfectly beautiful Sunday.


It`s him, my date.


And my faithful shopping partner, who always lets me put things in his bag.
 

 I have never admired sakura this much before. Really.
 

This is simply beauty on earth and I hope it can bring back the smile, hopes, and strength to people.
 

ニッポン、頑張って!負けないで!
ずっとずっと応援してるから、頑張って!


A date won`t be perfect without something sweet. Lucky us, we had two free coupons for crepes with ice cream. Sweet and free. Just perfect.
 

We are indeed blessed with a perfect life.

P.S. Please don`t count how many times I said "perfect" in this post ;)

Saturday, April 16, 2011

Gado-gado (blanched vegetable with sweet and spicy peanut sauce)

There was a problem with our menu these days: too much meat, not enough vegetables. Even he (the real meat eater) happily agreed when I told him that I would make this Gado-gado to make up for our fiberless days.
For Indonesian, gado-gado is served with rice or rice cake as a main dish. But without the rice, you probably would think of it as a kind of vegetable salad dressed with spicy peanut sauce.
Before I forget, you might want to check out peanut sauce recipes at Jun`s Indochine Kitchen and Ellie`s Almost Bourdain as their sauces look pretty fabulous. Although some steps in the preparation are slightly different, I actually tried to follow their ingredients the best I can with what I have here.

Put fried (or roasted) peanuts in a food processor, pour in some coconut milk (to help process it) and whiz up.
I added salt too, but I can`t really remember why I did it. Just stick with peanut and coconut milk and you`ll be fine.


After it turned smoother and creamy, set aside.


Now prepare the spice paste using garlic, onion, chilies, ginger, and candlenuts and then saute the paste in a bit of oil. Add kaffir lime leaves (I didn`t include it in this picture), tamarind juice (I used Indian tamarind paste), star anise, nutmeg, cloves, coriander, and cardamom. Lots of spices, I know. You can always make it simpler with your own choice of spices and seasoning.


 Pour in the processed peanut and remaining coconut milk and cook on low heat.


It will take a while to reduce the sauce and you need to stir it frequently. The thicker you want the sauce to be, the longer you need to cook it. This sauce is usually cooked until the oil separates from the sauce, but I`m not patient this time. Don`t be like me.
When you get the consistency right, season with salt, palm sugar, fish sauce, and pepper. This sauce is kind of sweet (and spicy, of course), so sugar is used not only to balance the saltiness, but to make it sweet.
Compared with Jun`s and Ellie`s, this sauce is a pale and thinner version. Not that I purposely made it that way, though.


 Done with the sauce, continue with the vegetables. Bean sprouts, blanch it.


Green beans (???) This is humiliating, but I honestly don`t know if I use the correct name. Feel free to scream at me.


Cucumber, just cut it, please.


 Fresh tomatoes, cut it too.


Boiled eggs, halve them. Did you know that I`m horrible at peeling boiled eggs? So I bought peeled boiled (quail) eggs. Life is good.


Gado-gado recipe usually calls for boiled potatoes, but I used baked ones. Easier for me to prepare. I mixed the potatoes with a bit of olive oil, salt, and black pepper and baked it at 190 C for 20 mins. Again, life is really good.


Get a plate and arrange those vegetables and friends on it. There is actually another vegetable usually used in gado-gado, which is blanched cabbage, but I substitute it for lettuce. And I added fried tofu too. Calories oh calories.


After finished with the arranging, drizzle the peanut sauce and also kecap manis over it. Serve it with shrimp chips, fried onion, and lemon wedge. By all means, please use the lemon as there`s a big difference of yumminess with it.


I finished this whole plate by myself. And I couldn`t move. Because I was too heavy happy to move.


Ingredients:
Peanut sauce
Fried or roasted peanuts
Coconut milk
Garlic
Onion
Chilies (use fresh red chilies if possible)
Ginger
Candlenuts
Kaffir lime leaves
Nutmeg
Coriander
Cloves
Tamarind paste
Palm sugar
Salt
Pepper
Fish sauce

Bean sprouts, blanched
Green beans, blanched
Lettuce
Cucumber
Tomatoes
Boiled eggs
Potatoes, boiled or baked
Fried tofu
Shrimp chips
Fried onion
Kecap manis
Lemon wedge

Tuesday, April 12, 2011

Spicy teriyaki chicken

I completely have no idea why it took me ages to finally make this teriyaki chicken. It`s very simple, easy, and quick to make. Especially if you use pre-cut chicken like I did. We all deserve a simplicity in our life and kitchen, don`t we?

Place chicken pieces in a plastic bag. Using a fork, stab the pieces repeatedly to create holes so it`s easier for the marinating sauce to seep in the meat later.
Now, don`t do what I did. My chicken was frozen and I didn`t have much time to completely defrost the pieces (translation: I was super hungry). So, stabbing them is out of question.


For the marinating sauce, I used soy sauce, oyster sauce, vinegar, sugar, fish sauce, sesame oil, chilli powder, cayenne pepper, garlic powder, coriander, and cloves. Most of Japanese recipes for teriyaki chicken call for mirin (Japanese sweet rice wine) and sake, so you might want to use them too if possible. The chili? This is me cooking (and eating), so it has to be spicy.
I also added lemon juice and threw in the lemon wedge. What`s not to like from lemon and soy sauce?


Close the bag and squeeze up everything from outside until everything combined. Let it sit for a while with occasional mixing.


Heat a pan with a little oil and sear the pieces skin side down (if any).


When the skin are slightly cooked (or caramelized, tastes even better I think), turn over and pour in the marinating sauce.


Set the stove on low heat and put a lid on to help cooking the meat.


When the chicken is cooked through, open the lid, turn up the heat to thicken the sauce. You need to keep stirring at this stage because the sauce can easily scorch. 


When the sauce reduced until it`s really thick or turns into a glaze, your teriyaki chicken is done.


This is what I call as minimum effort that gives an incredible result. Really. The chicken is succulent and tender and the sweet shiny glaze just makes this dish even more delightful.


If you want impress your boyfriend, make this. Believe me. No one can ever resist this high-sodium happiness (oops!). Just make sure you give him a lot of water afterward.


Ingredients:
Chicken
Soy sauce
Oyster sauce
Sugar (or mirin)
Vinegar
Fish sauce
Rice wine (optional)
Sesame oil
Cayenne pepper
Gochujaru (Korean chili powder)
Coriander
Cloves
Pepper
Lemon wedge