I was craving for something buttery and sweet today and I finally came up with these banana wraps. At first I was thinking of calling them "banana puff", but I decided to go with "wraps". They are very quick and easy to make, especially if you use store-bought or pre-made puff pastry. Honestly, I can`t see myself making my own pastry sheet. Not in a gazillion year.
Oh I really should finish this post quickly because I need to meditate before Monday comes. And by meditate, I mean not doing anything. I believe that`s what Sunday night is for.
So here`s how to make the wraps:
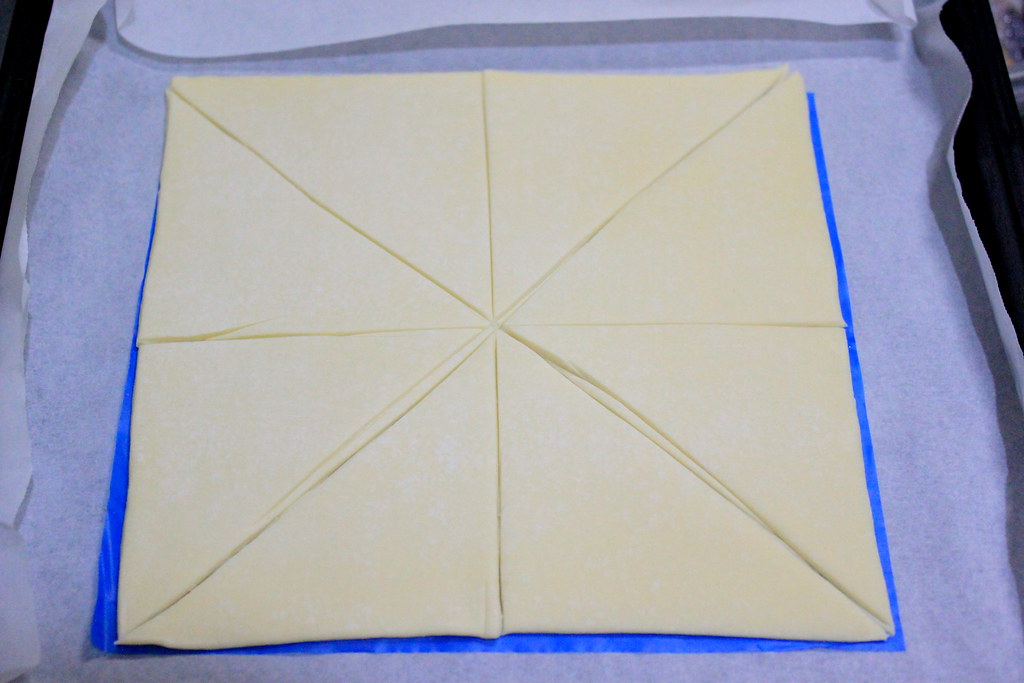
Cut pre-made puff pastry into 8 triangles.
I should feel embarrassed showing you my cutting ability, but this reminds me of how I should get a ruler for my kitchen.

Brush the pastry with olive oil.
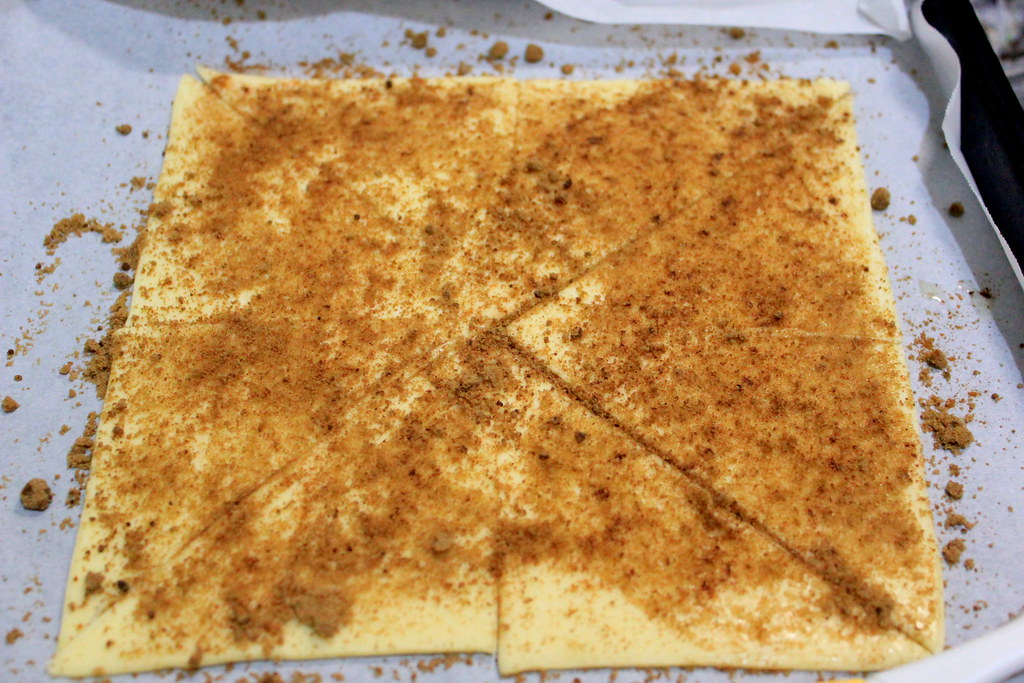
Sprinkle over brown sugar and cinnamon.
If you want, you can do the cutting after this stage. About the amount of the sugar, I wanted the wraps to be just slightly sweet, so I only used like 1 tbs of it. If you`re a sweet tooth person, you might want to add more sugar.
Now, I don`t have the picture here, but you need to slice a banana into approximately 2-cm thick coins.
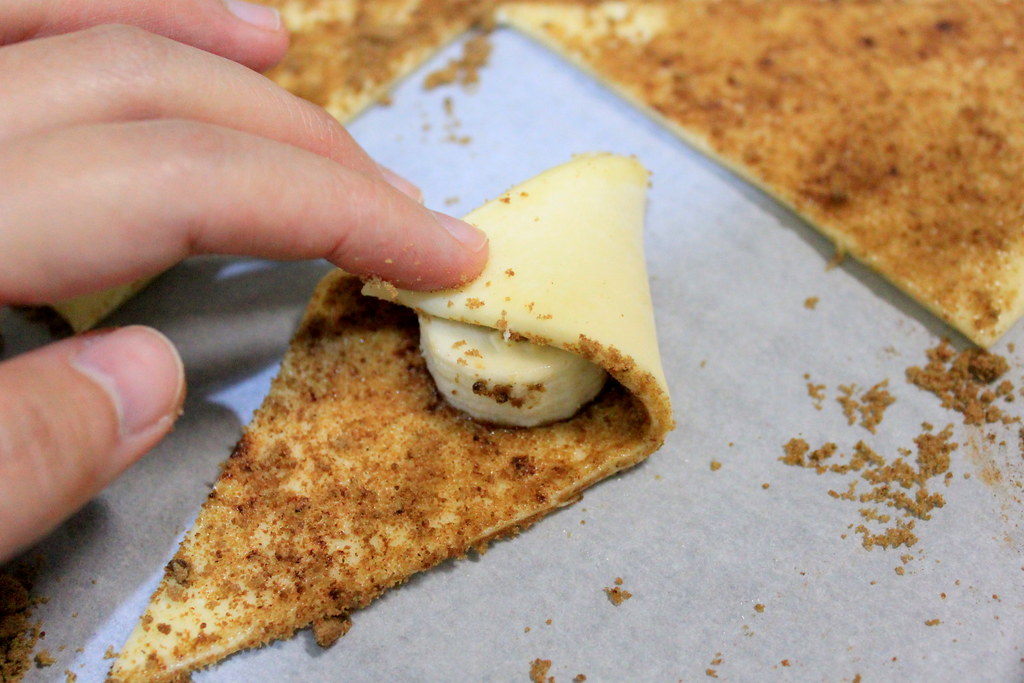
Wrapping time.

Take one pastry triangle, place a banana slice at the center, and fold in one pointy edge like in the picture.
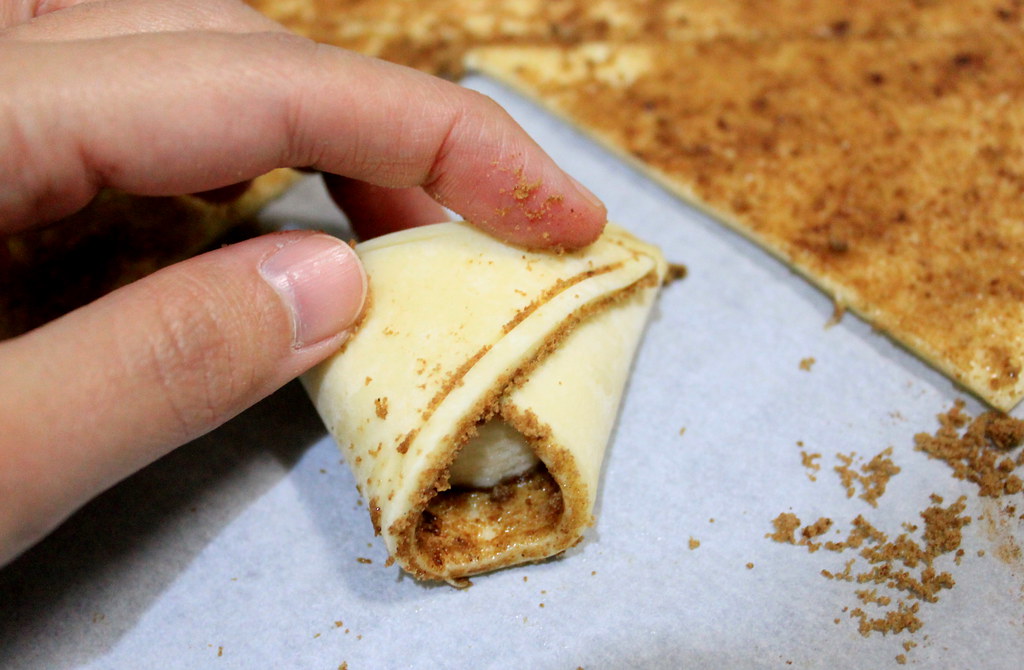
Next, fold in the other two edges to the center to cover the whole banana. Done!

Or done-ish, because there is an optional step where you seal the wraps with egg wash (which I didn`t) and brush the surface too (which I did).
One thing I learned from here is not to overdo the brushing because the egg will drip to the bottom of the pastry and get burned during the baking.

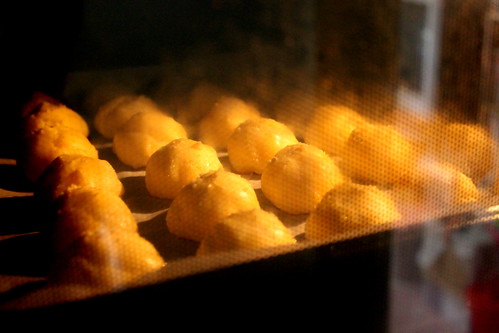
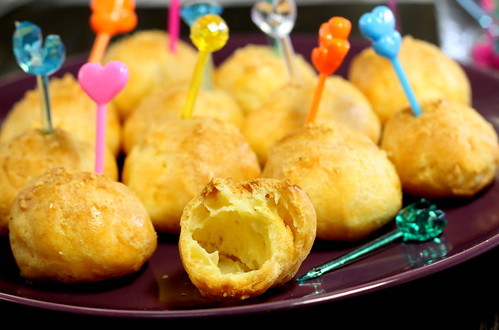
Done! Now bake them in a preheated oven at 200 C for 15-20 min or until nicely puffed up and golden brown.
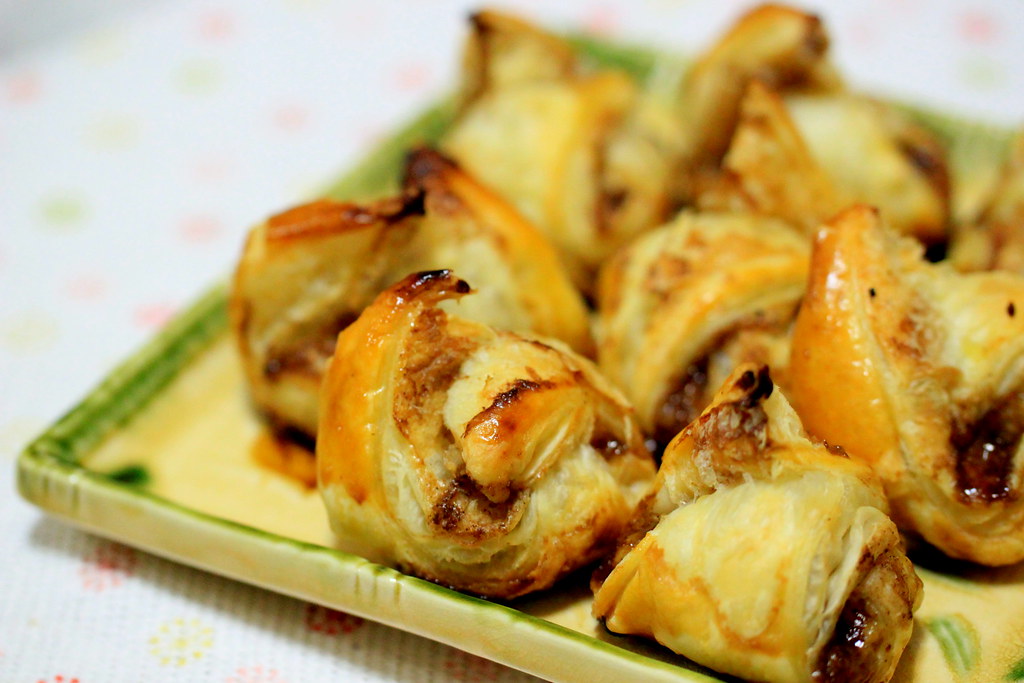
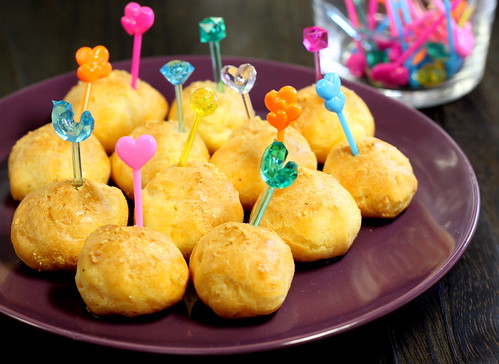
They`re puffy and buttery with sweet cinnamony banana filling inside. Just perfect for our freezing Sunday evening. I totally recommend you to have this with a cup of hot chai because it`ll make everything perfecter.
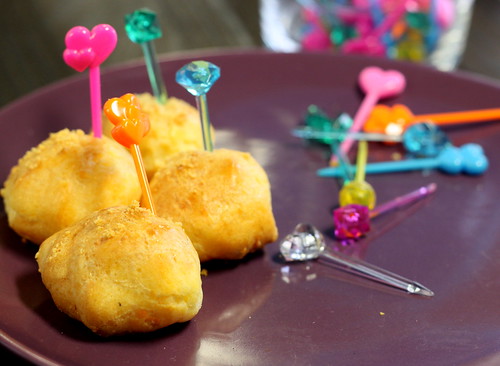
As I didn`t seal the wraps, they all puffed open and I can`t find proper words to describe their shapes, except "unknown random puffs". Good thing that I have the pictures, so you can define it your self.

For those of you who wondered what that robot was doing there, this was a special request from my husband who wanted me to include his new pet robot toy in the picture. Well, I had nothing else in mind to style up the wraps anyway. I seriously need to improve my propping style.
Have a lovely Sunday!
CINNAMON BANANA WRAPS
Makes 8 wraps
Ingredients:
18 x 18-cm pre-made puff pastry
1 tbs olive oil
1-2 tbs brown sugar
1 tsp cinnamon
1/2 banana, sliced into coins
1 egg
Method:
1. Cut pre-made puff pastry into 8 triangles.
2. Brush the pastry with olive oil
3. Sprinkle over brown sugar and cinnamon
4. Slice banana into 2-cm thick coins
5. Take one triangle, place one slice of banana, and wrap by folding all three pointy edges of the pastry into the center.
6. Brush with egg wash.
7. Bake in preheated oven at 200 C for 15-20 min or until nicely puffed up and golden brown.