
Winter hasn`t officially come yet, but I`ve been starting making soups these days. One of them is this gyoza (Japanese dumpling) soup and this was my first time making it because I usually pan-fry them. Ever heard this?
"Who doesn`t love dumplings?"
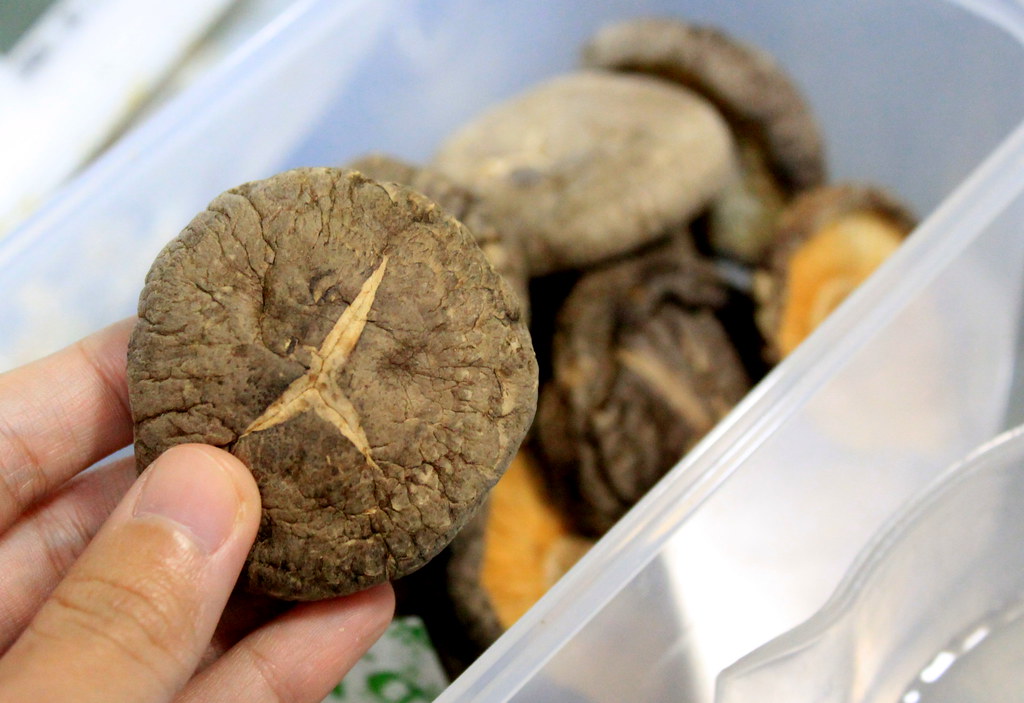
For the soup, I prepared a very simple dashi (Japanese stock) using dried shiitake mushroom and dried kombu (sea kelp). Unlike the shiitake mushrooms, kombu can be used readily during the boiling, so it will appear later in the process.
According to the instruction, the mushrooms have to be rehydrated for at least 3 hours (overnight in the fridge works best) to help
release the umami and soften the mushrooms. What I usually do is I
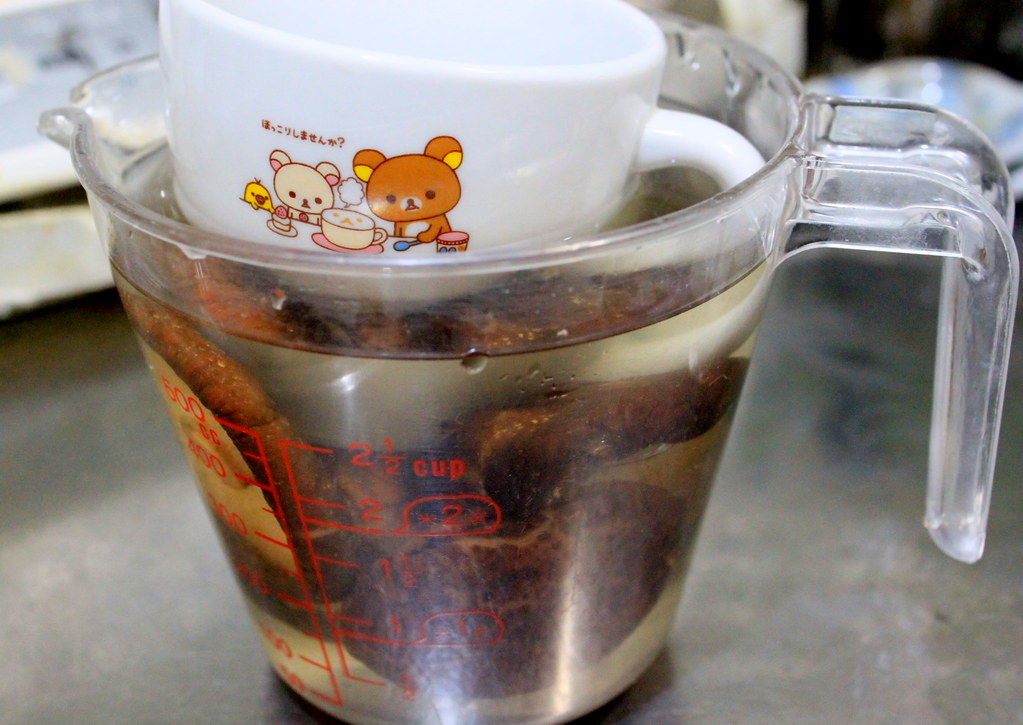
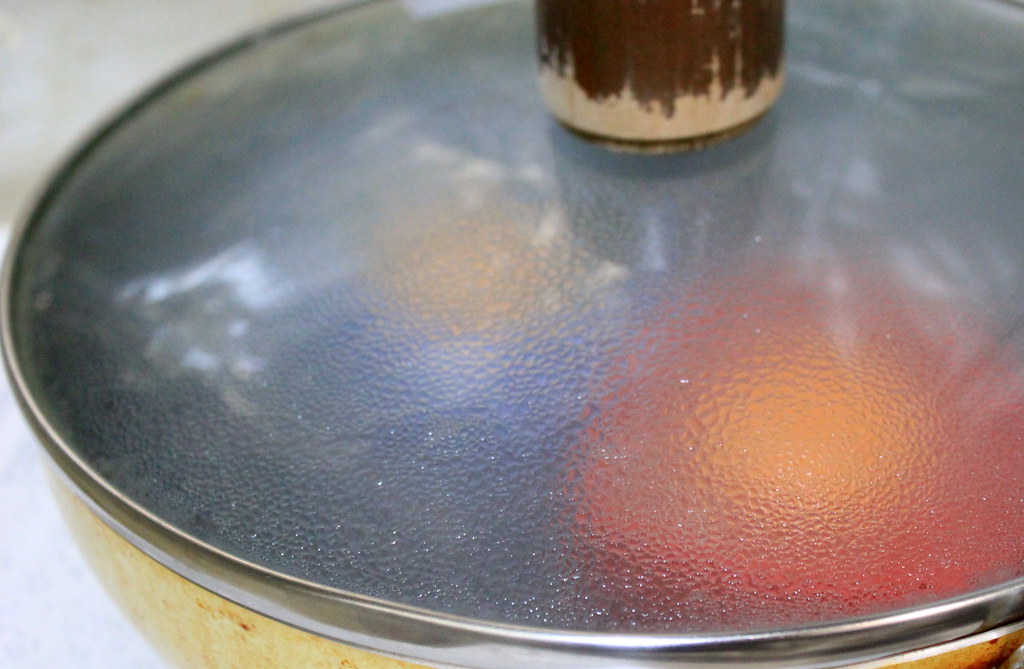
immerse 4 or 5 dried mushrooms in 2-3 cups of water, place a mug or this
Rilakkuma tea cup atop to keep them under the water level and let it
sit while I prepare the other ingredients or go out for shopping. Or check out your new posts. Or sleep.
Now let`s work on the filling. When I prepare pan-fried gyoza, I want the filling to be flavorful so I used more ingredients in it. But, since this one comes with soup, I liked the filling to be simpler and lighter in taste and let the soup enrich them.
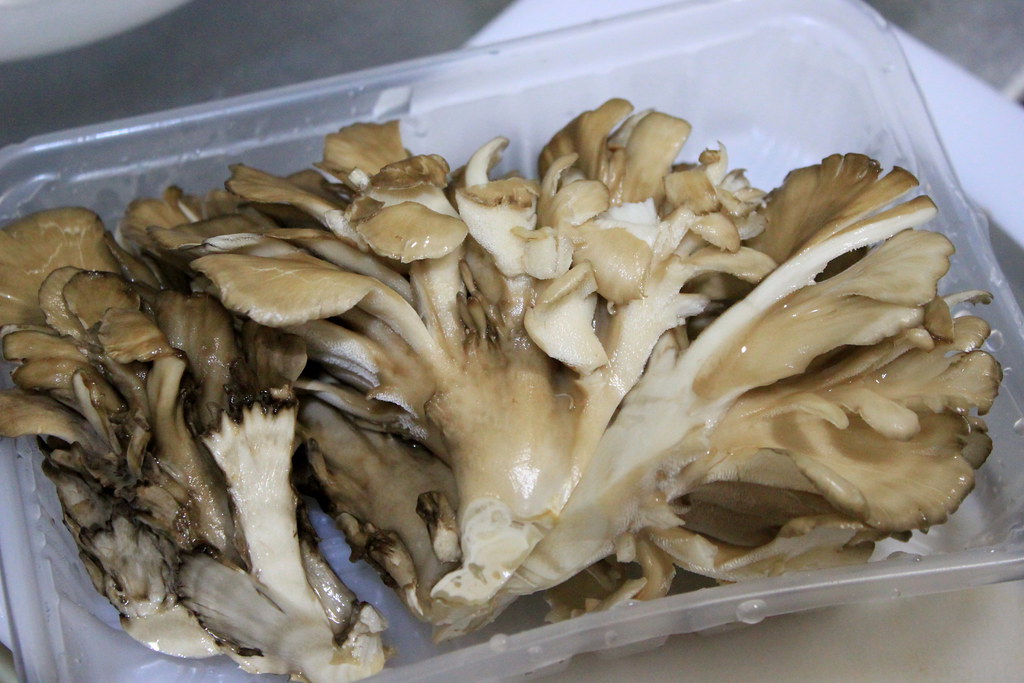
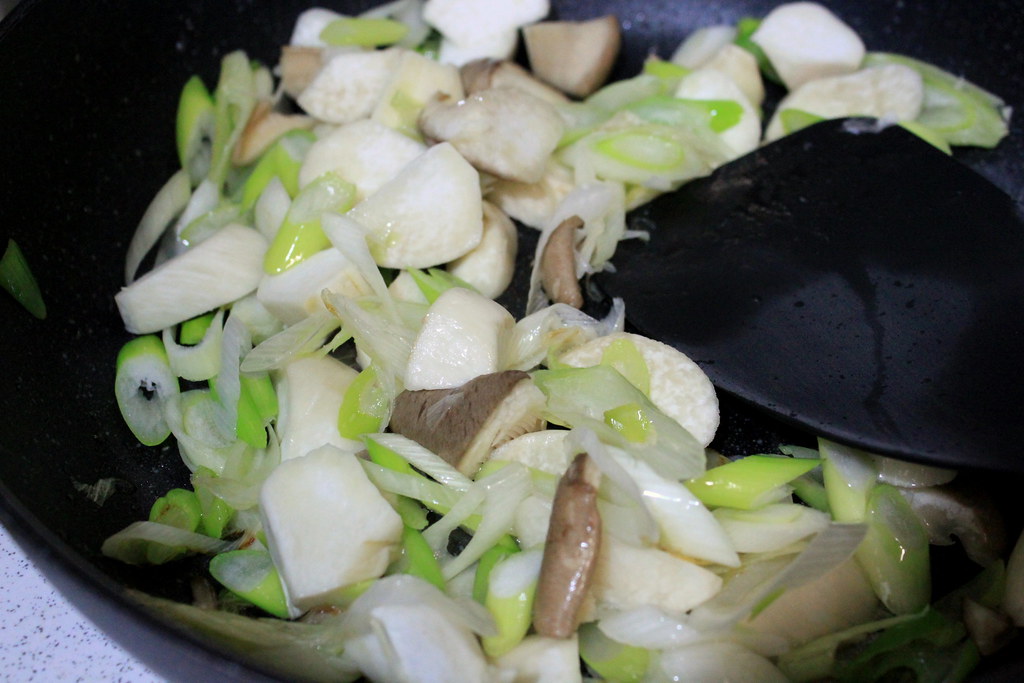
Chopping time, everyone. Chop up this maitake mushrooms....

...cabbage (in the bowl-forgot to take the picture)...and this garlic chives (nira in Japanese). If you asked me like 7 years ago what that was in my hand, I would super confidently answer, "Grass.". Lesson for me: Sometimes it`s good to look back and see how much we`ve learned all these years.
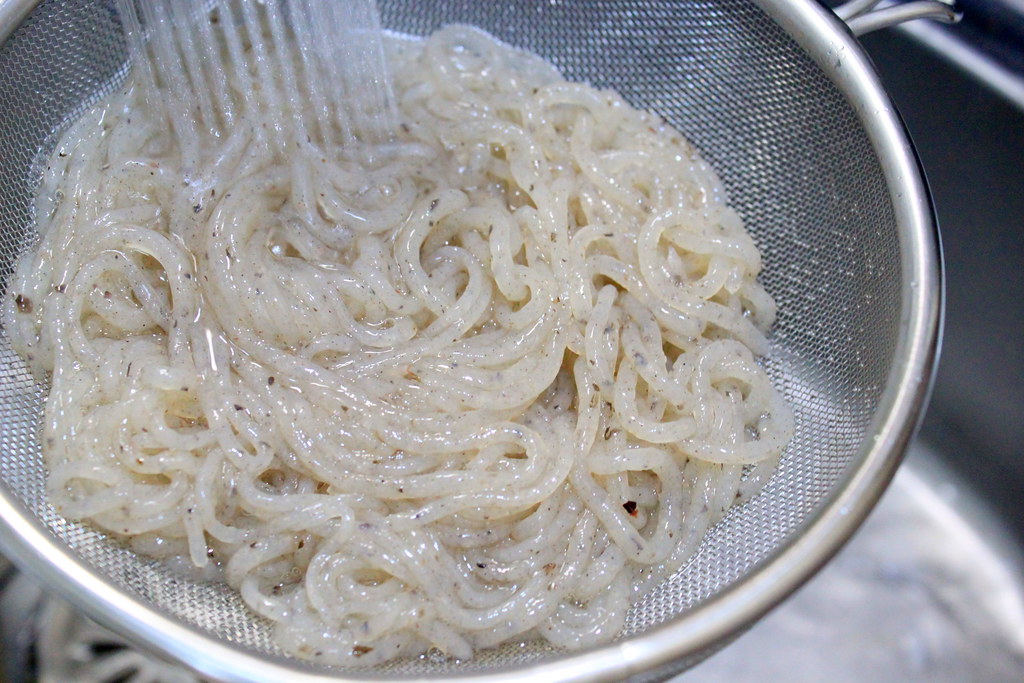
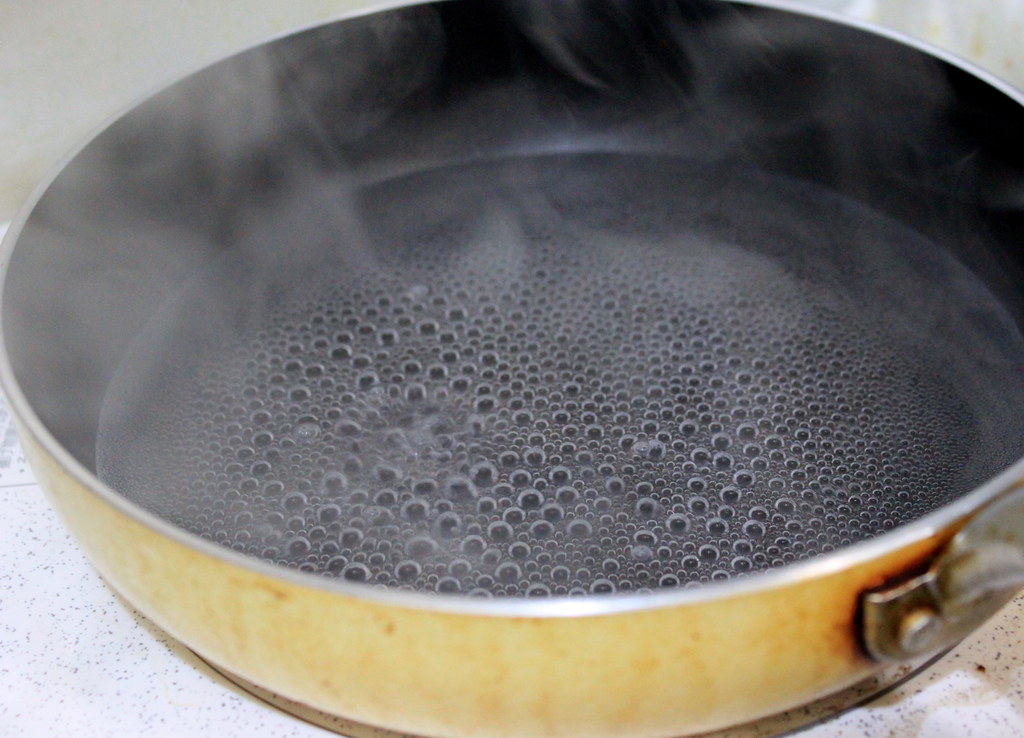
Back to the filling where we need one more thing, konnyaku noodles. Usually konnyaku needs to be blanched in hot water for a few minutes, but I just go with hot water from my tap. You don`t have to be like me, you know that.

And to make life easier, use a kitchen scissors and snip the noodles up.
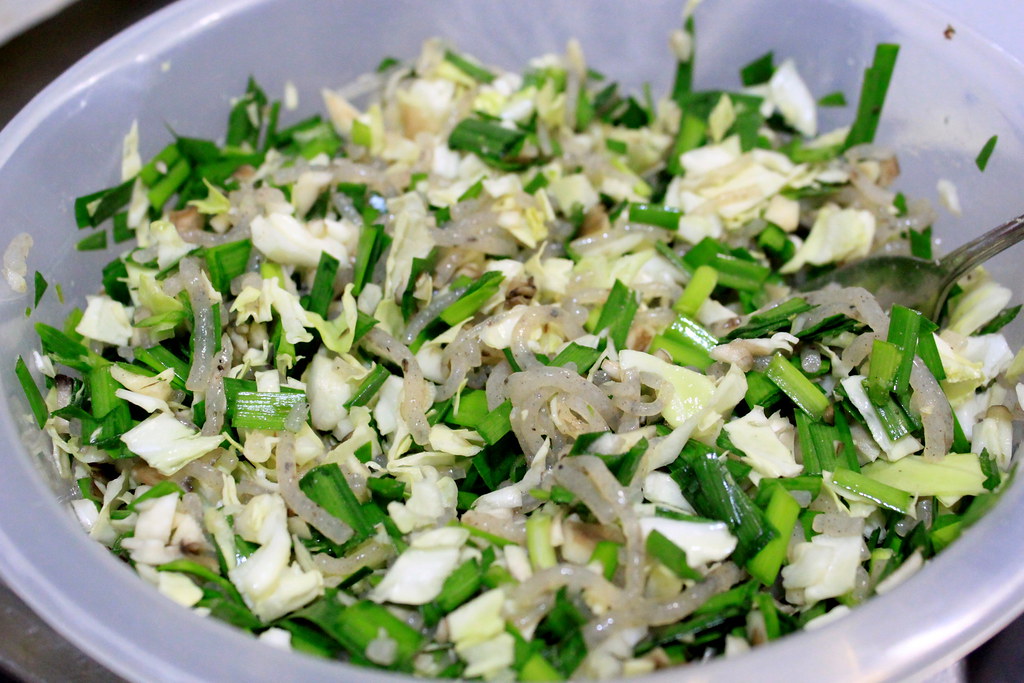
Combine all those ingredients in a bowl and lightly season the mixture with salt and pepper, if you want to.
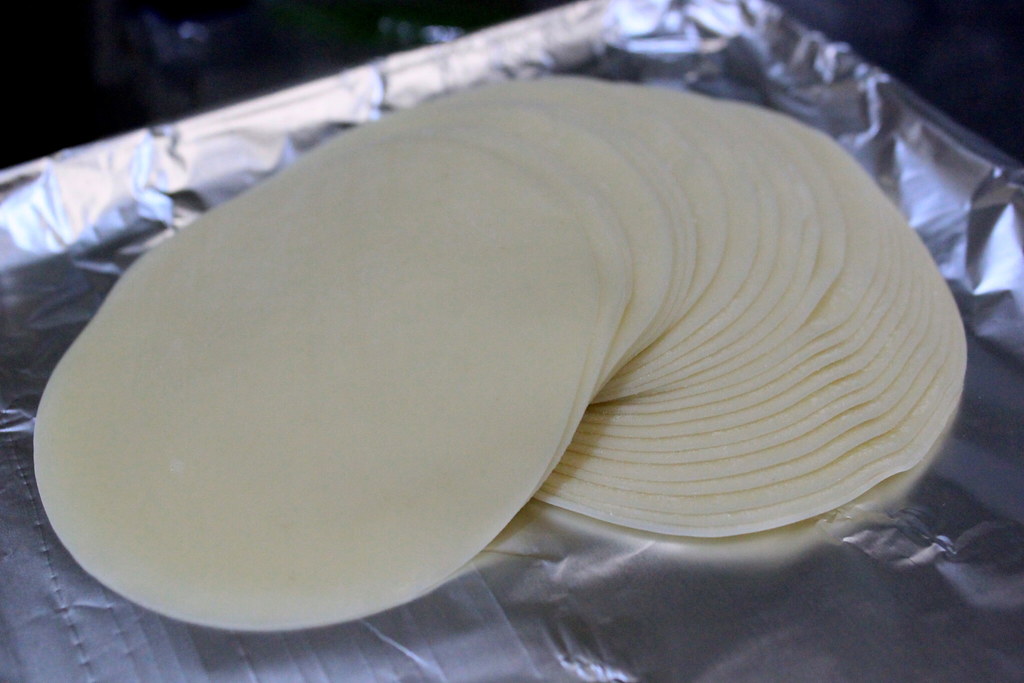
The wrapping is my least favorite part, but I know it`s worth the effort. For the wrapping steps, please see here.

This time I didn`t bother pleating the edge. Next time I will...I think.
Alright, the wrapped gyoza is done and let`s move on to the soup.

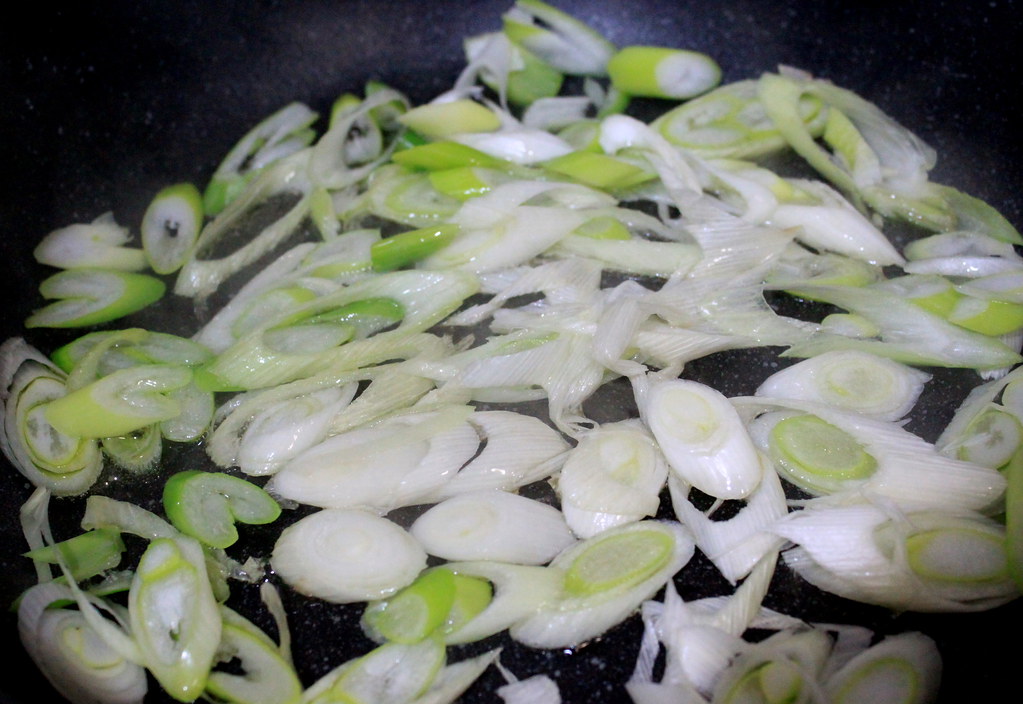
Heat a bit of oil over medium heat and saute garlic and chili until they are fragrant.
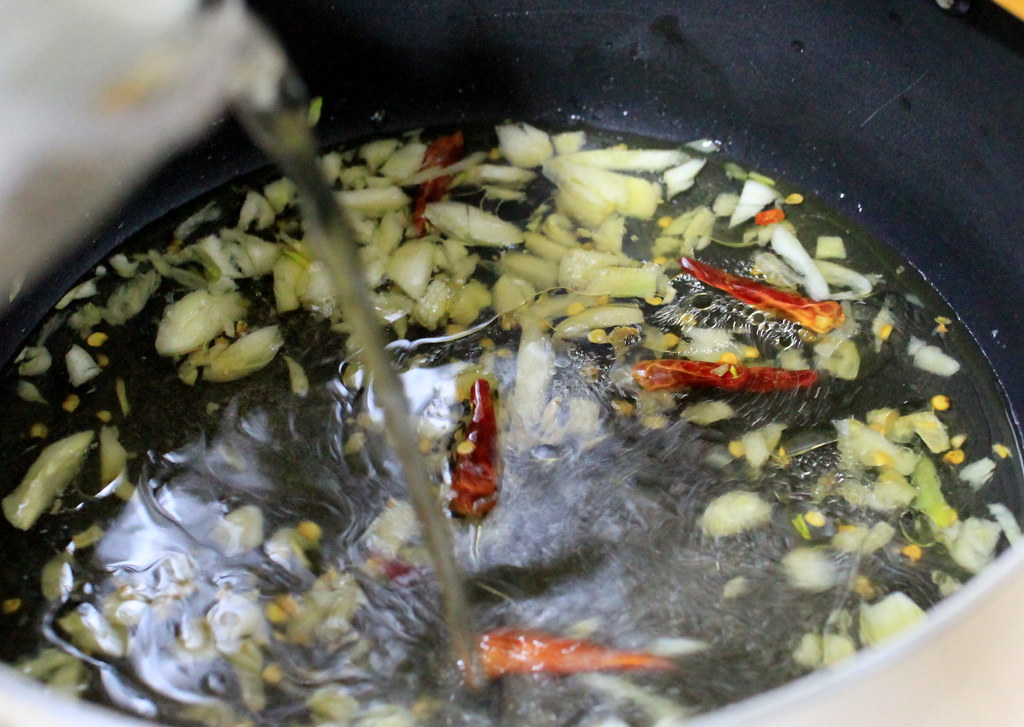
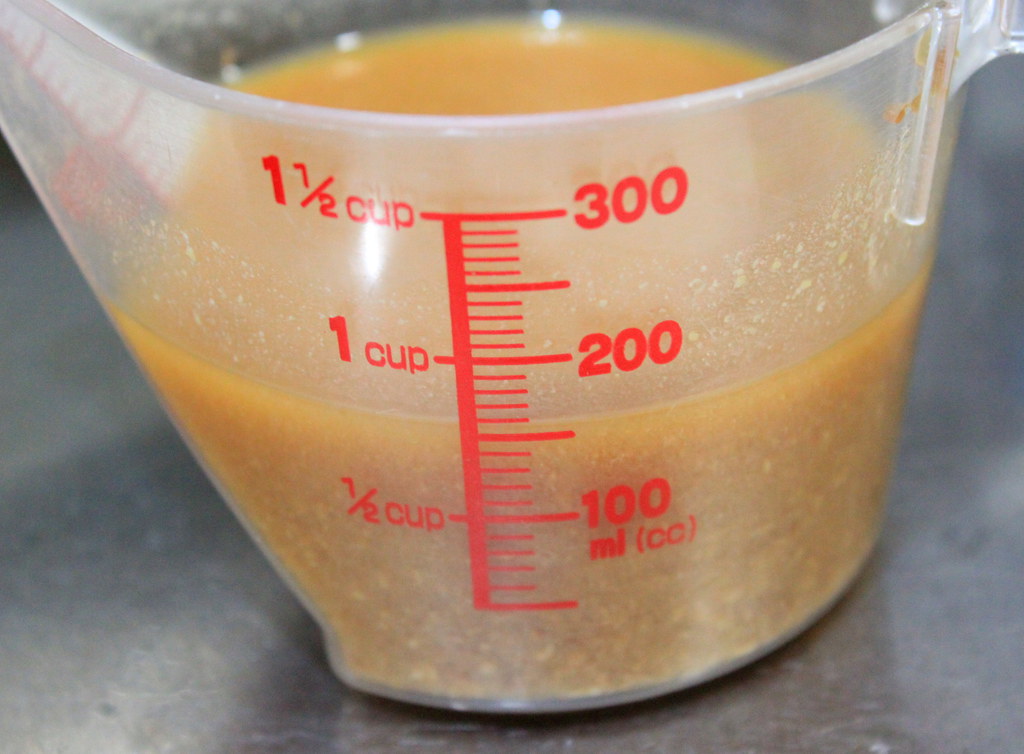
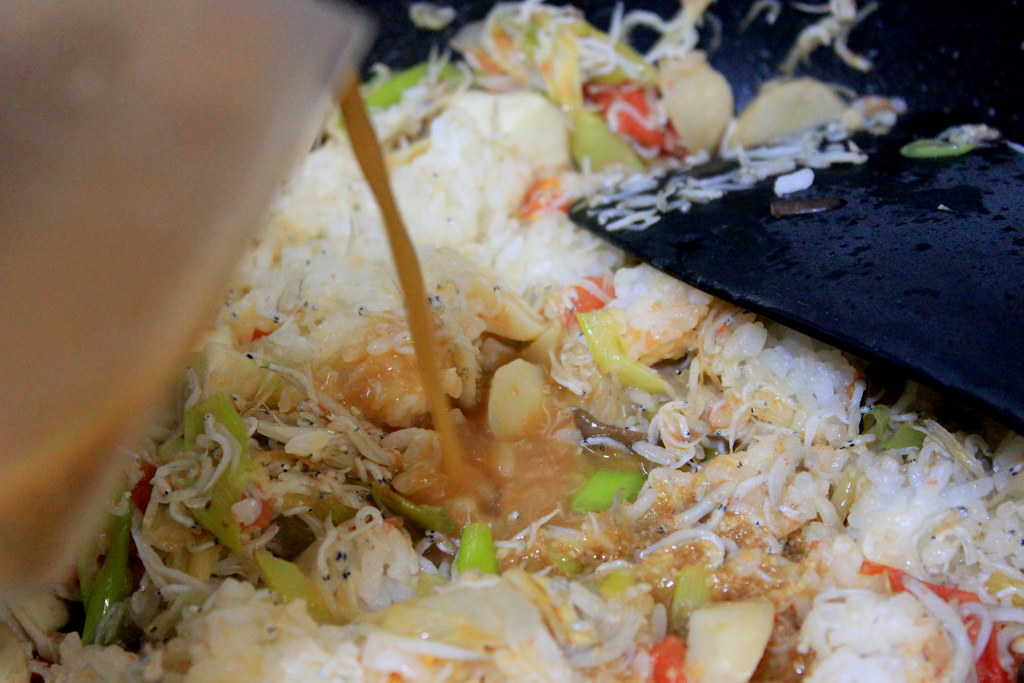
Pour in the mushroom stock, chop up the mushrooms, and throw them in the soup.

Add dried kombu to the soup, red chili flakes (if you want it to be red and spicy), chopped carrot to enhance the aroma (no picture here, sorry), and season with salt and pepper. Let it simmer for a while.
My soup was so frothy I almost thought I added soap too! But I believe I didn`t (I didn`t!), so I just used my skimmer to make the soup clearer.
By the way, this stage is where you should be done with the seasoning and stirring, because after this....
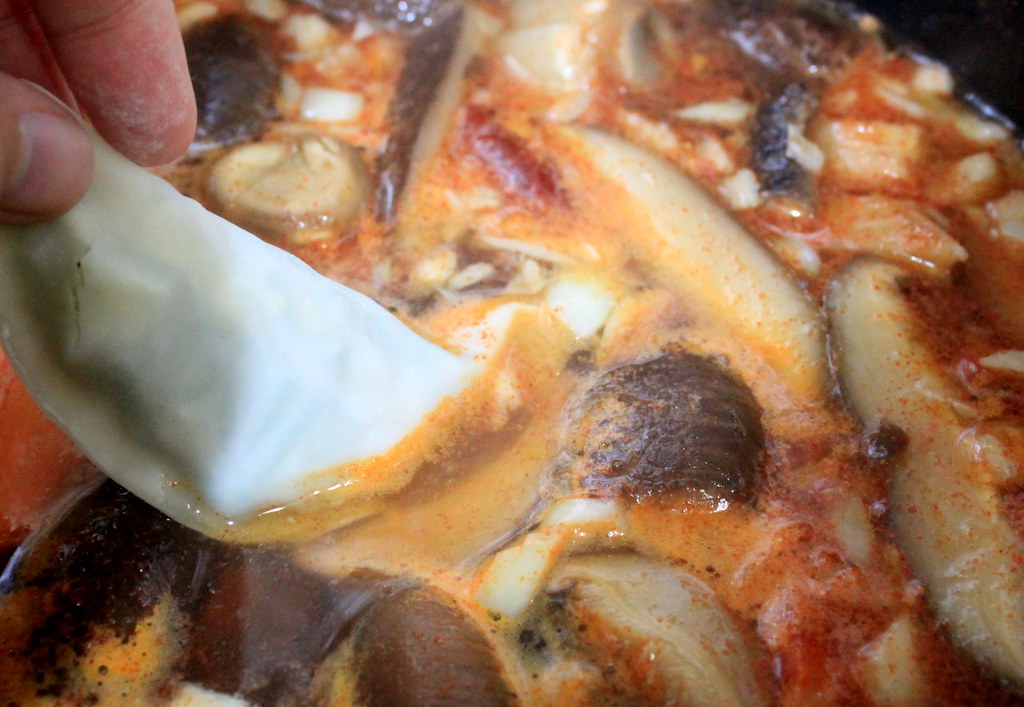
...we need to add the dumpling and stirring the soup with the dumplings in is not a very good idea, unless you are fine with having a bowl of soup with your dumplings torn apart. Also, you can not keep leftover because the dumplings will absorb the soup while getting mushier and mushier. I learned these lessons in a hard way.

But, I had nothing to complain about because I was too busy slurping and chewing all the goodness in this bowl. The gyoza were so soft that it kept slipped away from my chopsticks and obviously I should have used a spoon instead. But even so, I finished this soup in my bowl within seconds! And just for an idea, I think adding the pan-fried gyoza in the soup will work fantastic too!
GYOZA SOUP
Makes 2-3 cup soup
Ingredients:
#For soup
5 dried shiitake mushrooms
1 dried kombu (sea kelp)
2-3 cups water
1 tbs olive oil
4 cloves garlic
2-3 dried chili (remove seeds for milder heat)
1 tbs red chili flake
1 carrot
Salt and pepper to taste
#For gyoza
Gyoza wrappers
Cabbage
Maitake mushrooms
Garlic chives
Konnyaku noodles
Salt and pepper (optional)
Method:
1. Rehydrate 4 or 5 dried mushrooms in 2-3 cups of water and let it sit for several hours while preparing the other ingredients.
2. For the filling, mix chopped cabbage, garlic chives, and konnyaku noodles in a bowl. Lightly season with salt and pepper if necessary.
3. Place 1-2 tsp of the filling on a gyoza wrapper, wrap into half-moon shape, and seal the edges with water.
4. Heat a bit of oil over medium heat and saute garlic and chili until they are fragrant.
5. Pour in the mushroom stock, chop up the mushrooms, and throw them in the soup.
6. Add dried kombu to the soup, red chili flakes, chopped carrot, and season with salt and pepper. Let it simmer for a while.
7. Carefully add the gyoza to the soup and let it cook until the skin has turned translucent and soft.
8. Ready to serve.


