Showing posts with label seafood. Show all posts

Tuesday, August 14, 2012

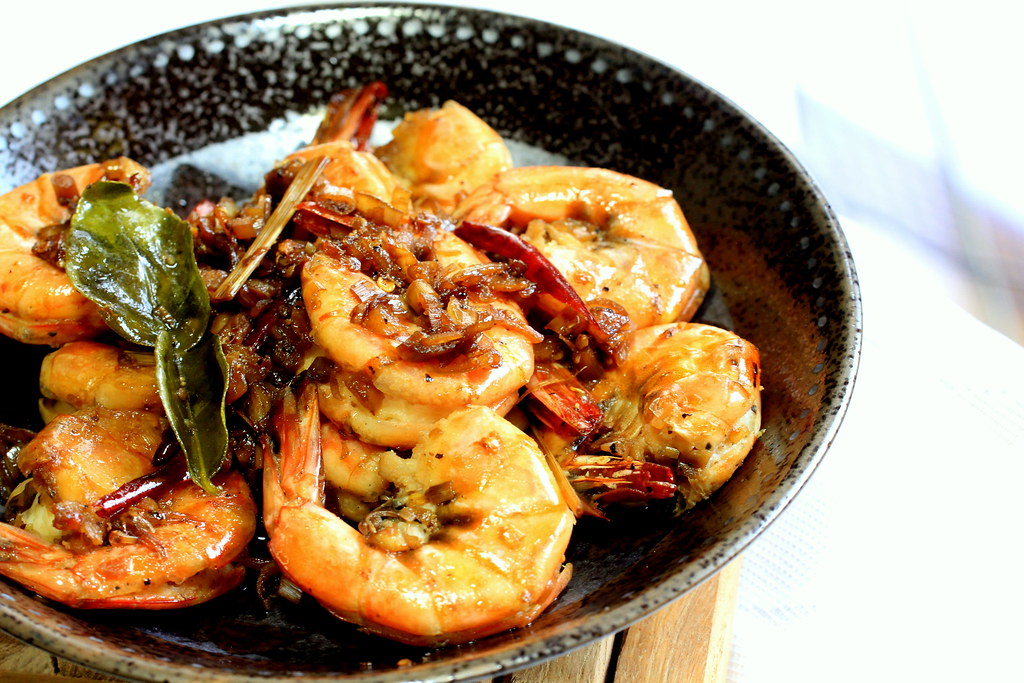
Stir-fried shrimp with lemongrass and an early announcement

Hello everyone! How are you doing there? I hope you all are well hydrated and having nutritious food to combat the heat.
On my side, I`m in the middle of my 5-day summer holiday, which will end tomorrow and I`ve been attending driving lessons right from the beginning of the holiday. I`ve always been happy and contented with my little scooter, but it seems like I have to get a car-driving license this year because..here comes the announcement:

My husband got a job in Shizuoka prefecture and we are going to move there next spring!

After all the years we`ve been spending in our beloved Sendai, we finally have to move to other city and Shizuoka now becomes the next stop in our journey. We`ve been checking out about  life in Shizuoka and looking for possible areas to live in. Although currently I`m still trying to land a job there, living in Shizuoka seems to require us to commute on a car regardless of where I will end up working. So, here I am, dealing with my fear and confusion in car driving and hoping to get the license as soon as I can. 

Now on the kitchen side, I just made this very aromatic shrimp dish, which was really quick to make, and I hope you`ll give it a try and enjoy it as much as I do.

Heat oil on a pan and add finely (or roughly) chopped lemongrass stalk (I left some of the stalk as is for visual purpose) and garlic, chili, and coriander.
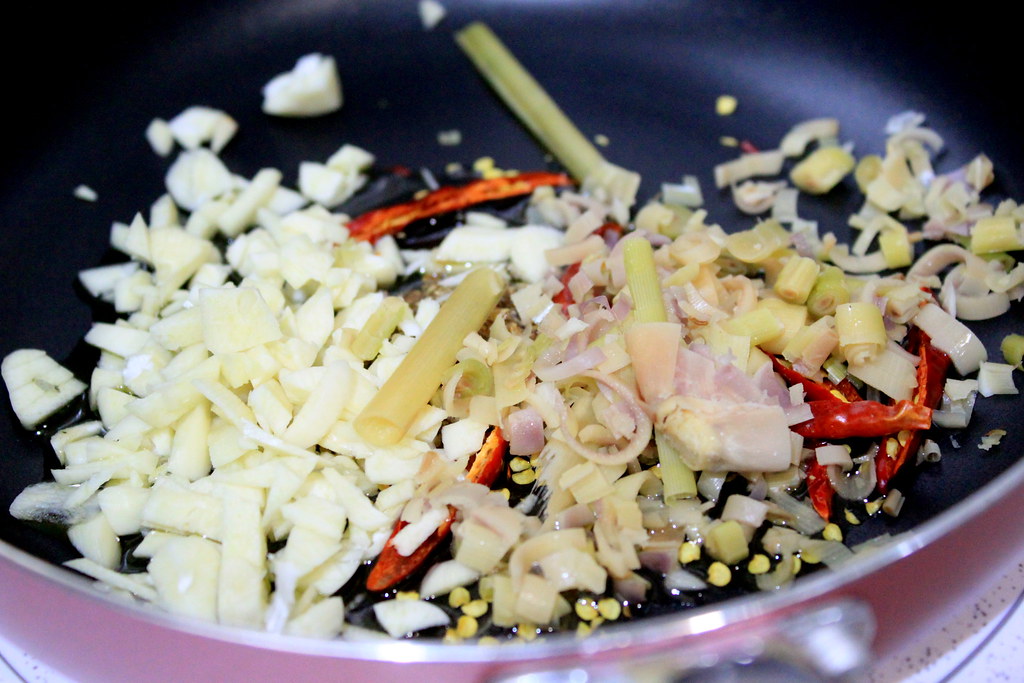
I used to throw away the lemongrass stalk after finishing the dish, which was a shame as it`s actually edible especially for the inner white-color flesh at the bottom. Now I see it as a fibrous food and I usually finely chop it up and eat the whole part.

And by all means, add kaffir lime leaves too because they marry beautifully with the lemongrass.
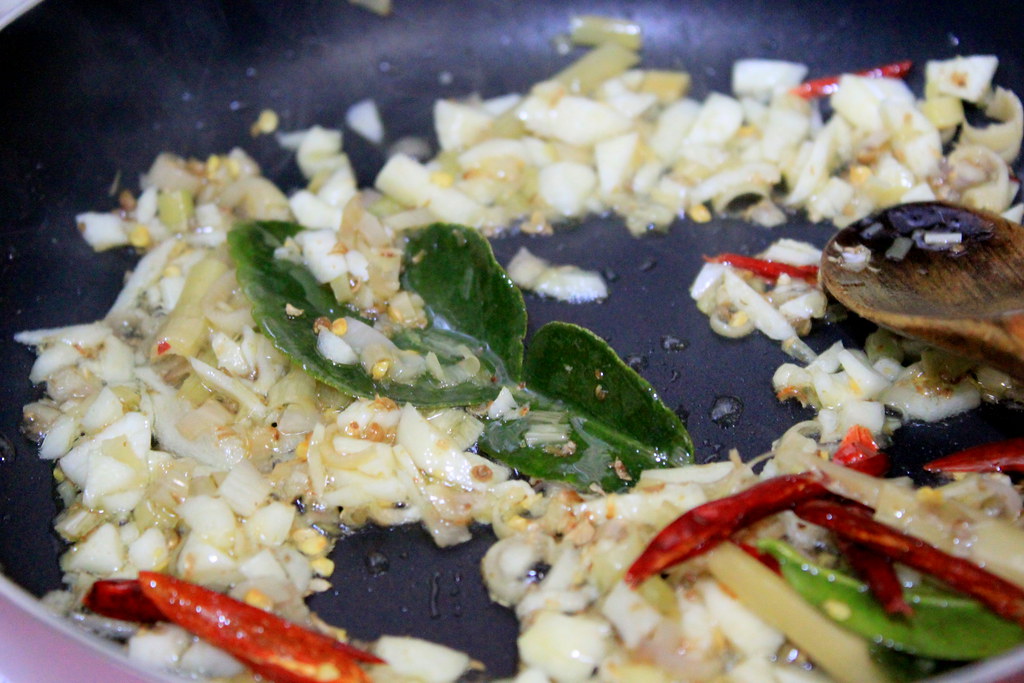
Cook until the warm lemony fragrance filling up your whole kitchen.

Now stir in deveined shrimps (I like them with the shells on) and cook until they start turning color.
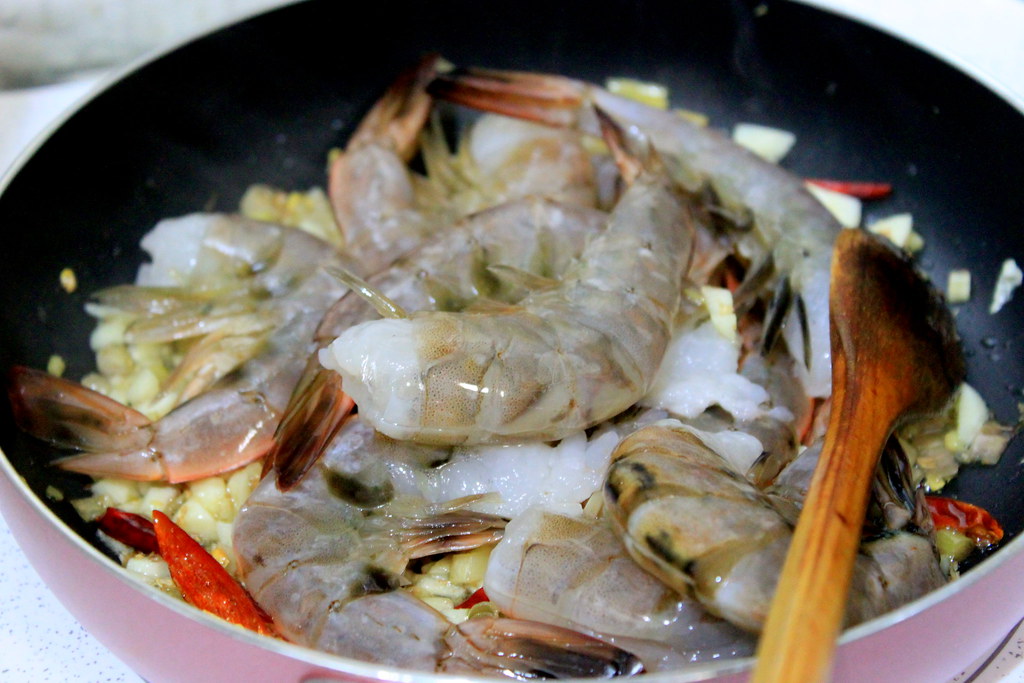
Season with soy sauce, honey, salt, and pepper.
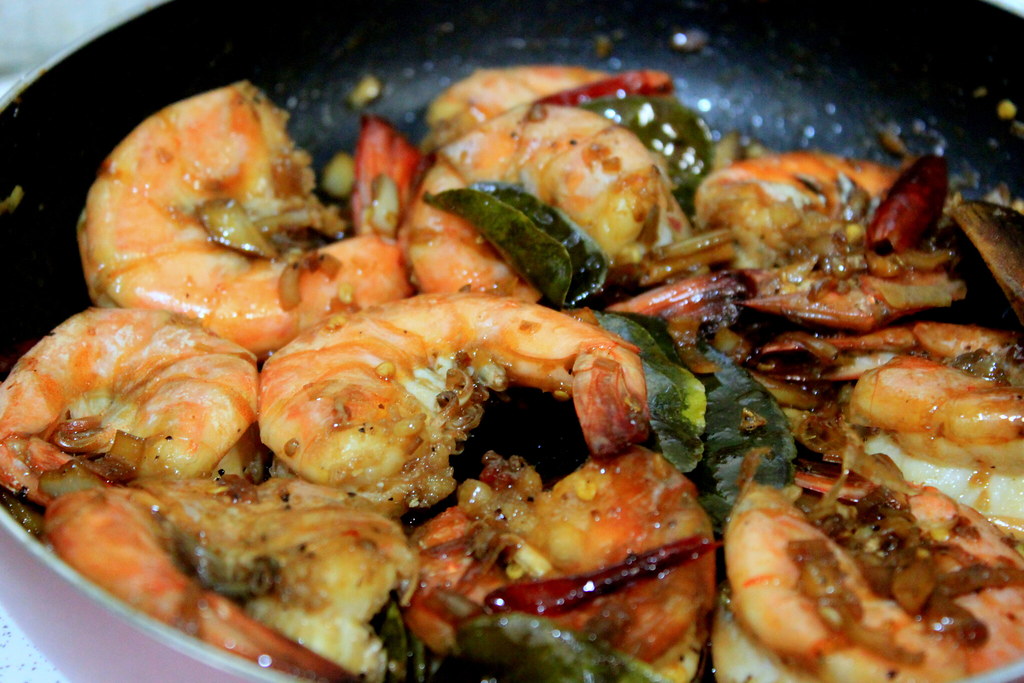
Adding honey works very well in giving the balance to the savoriness as well as adding nice glossy touch.

And that`s it!
Now you have a plate full of plump and juicy shrimps coated with the aromatic lemongrass and garlic bits, which are finger-licking good and perfect for the scorching hot days.
Enjoy!
STIR-FRIED SHRIMPS WITH LEMONGRASS
Serves 2

Ingredients:
10 medium-large shrimps, deveined
1 lemongrass stalk
4 cloves garlic
1 tsp coriander
3 chili
4 kaffir lime leaves
3 Tbs soy sauce
1 Tbs honey
Salt
Pepper

Method:
1.  Heat oil on a pan and add finely chopped lemongrass stalk and garlic, kaffir lime leaves, chili, and coriander.
2.  Stir in deveined shrimps and cook until they start turning color.
3.  Season with soy sauce, honey, salt, and pepper.

Saturday, July 7, 2012

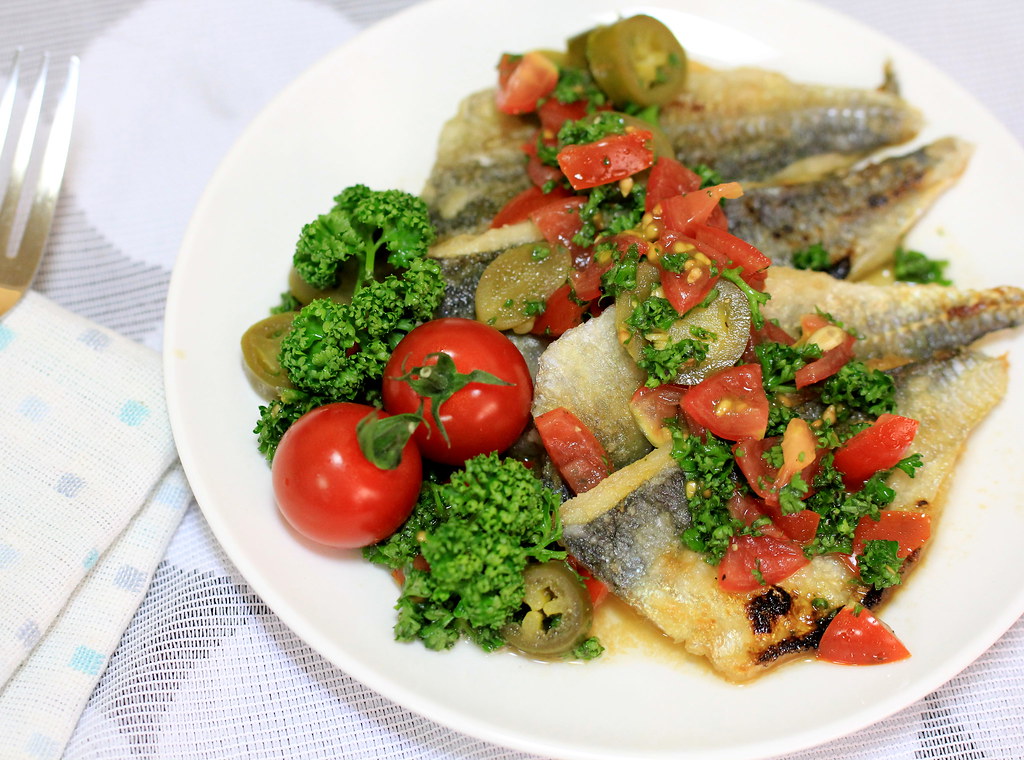
Horse mackerel with tomato and jalapeno pepper

Before I forget, I`d like to inform my non-blogger and/or non-Gmail user readers who told me that they have difficulties in putting comments on my blog. If you`re one of them, don`t worry. To leave a comment, you don`t need to have a blog, or a Gmail account, or any account whatsoever. If you don`t find the comment form, that probably because you`re on the Home page, not on the post page. So, all you have to do is click the title of the post on top of the post or x comment(s) at the bottom of the post. Clicking them will bring you to a single-post page. Keep scrolling down and you`ll find a comment form at the end of the page. I`d really appreciate if you can leave your name (real name, nick name, initials, but preferably not anonymous) because it`ll be easier for me to refer you in my reply later. I`m pasting this info to my About page now right on top on how to follow my blog. If you`re new to this blog, you might want to start from there first.
Hope this helps and I can`t wait to hear from you!

Now let`s have our food talk.
It`s been a while since I posted fish recipes, so today I`d like to share one using horse mackerel or "aji" in Japanese. I usually buy the ready-to-use butterflied aji, which is very easy to find at our nearby stores, because handling fish from scratch still won`t budge from my to-avoid list.
Anyway, since this dish was for our Saturday`s brunch where I wasn`t even sure if I was fully awake when I made it, it won`t take rocket science to whip it up within 30 min assuming that you use ready-to-use fish or fish fillet. After all, I know nothing about rocket, anyway. 

Here`s the fish where they are already cleaned and butterflied. But I rinsed them again and patted dry with kitchen paper.

Lightly dust the fish with corn starch to help it crisp up and hold its shape during frying later.

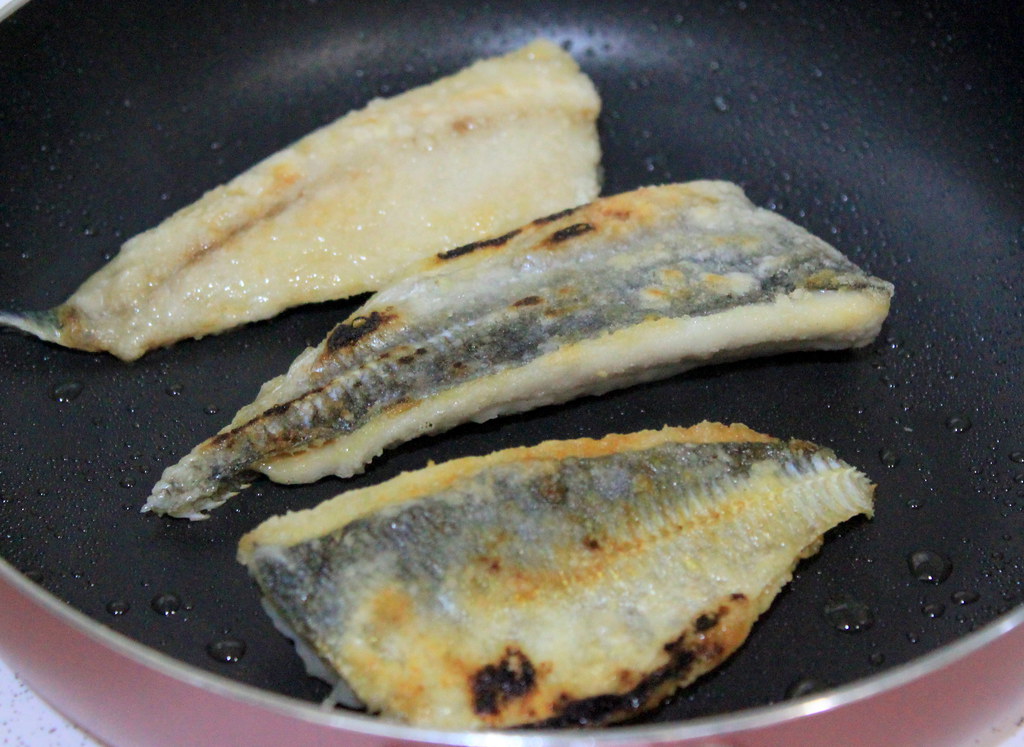
And by frying, I mean add a bit of olive oil on a frying pan over medium heat and put the starch-coated fish there.
I love hearing something sizzling on Saturday morning. Anytime before 12 is morning, right?

When the fish has turned white and curled in, set them aside on a plate. 
The chars were unintentional and I love how they made the grilly look on the fish.
I won`t blame you if you add salt to the fried fish and then..poof! They`re gone. It`s not your fault.

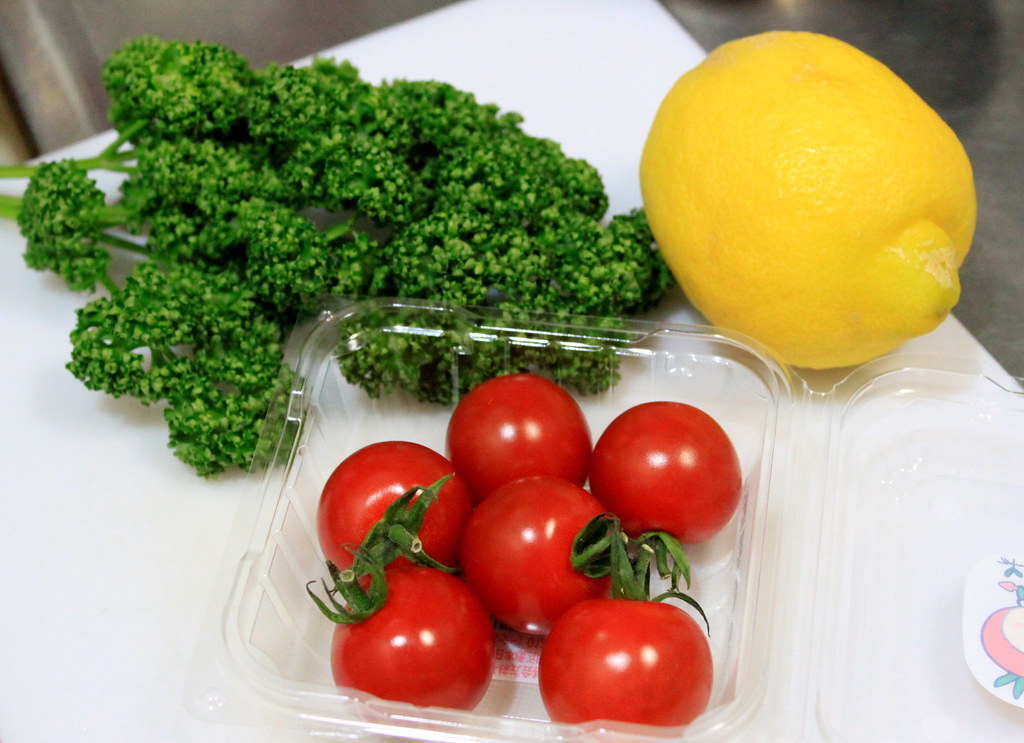
But if you can hold yourself a bit, here`s a little extra work Parsley, cherry tomatoes, and lemon.
Those colors are what my eyes need to open up. I feel healthy already just looking at them.

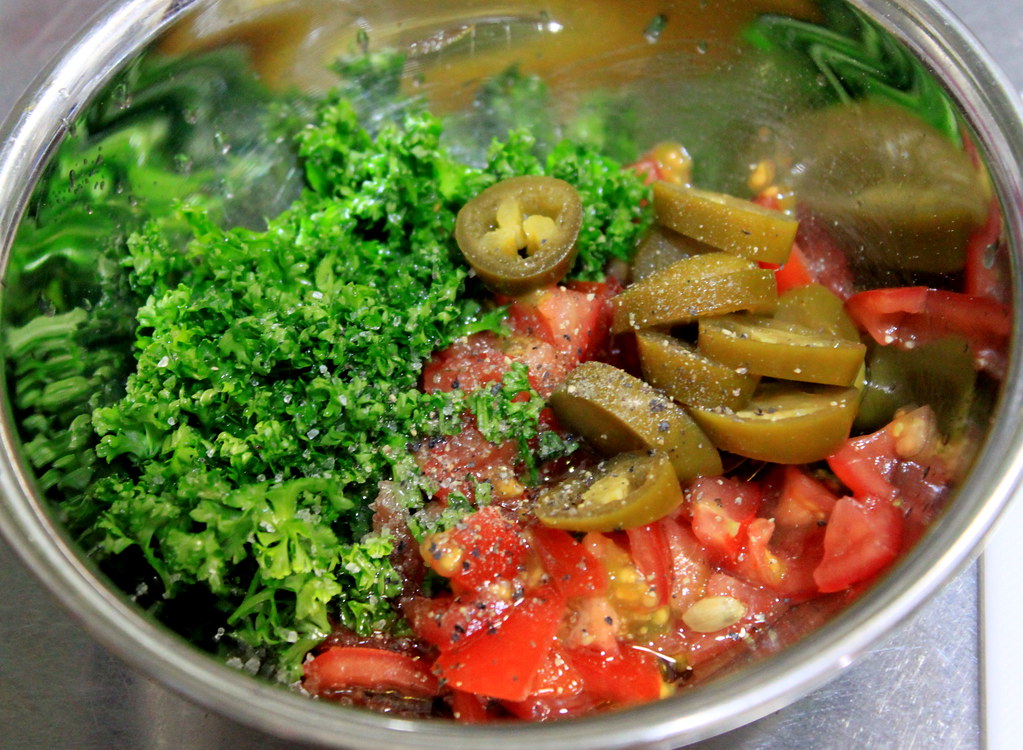
Chop up parsley and tomato, but leave a few whole tomatoes for serving later. Stir in olive oil and squeeze in lemon juice. Add the zest too if you want. Throw in sliced pickled jalapeno peppers and season with salt and black pepper.
Stir everything to combine and adjust the seasoning to your liking. When you`re done, add it to the fried fish you prepared earlier.

The fish is crispy on the outside but still juicy inside and the addition of sweet-tangy-hot salsa will make you chew them up quicker and add more on your plate. My husband enjoyed this with a plate of rice, but I wish I had some baked potatoes that day. It seems like I have to recreate this soon!
HORSE MACKEREL WITH TOMATO AND JALAPENO PEPPER
Serves two persons

Ingredients:
4 horse mackerel, cleaned and butterflied
1-2 Tbs corn starch for dusting
1 cup chopped cherry tomatoes
2-3 whole cherry tomatoes
2 Tbs lemon juice
1 cup chopped parsley
3 Tbs sliced pickled jalapeno pepper
1 Tbs olive oil
Salt
Black pepper

Method:
1. Clean and butterfly horse mackerel. Lightly rinse and pat dry with kitchen paper.
2. Lightly dust the fish with corn starch.
3. Add a bit of olive oil on a frying pan over medium heat and fry the fish.
4. When the fish has turned white and curled in, set them aside on a plate. 
5. In a bowl, stir chopped parsley and tomato, olive oil, lemon juice (add the zest too if you want), and sliced jalapeno pepper. 
6. Season with salt and black pepper. 
7. Serve the fish with the tomato and jalapeno salsa. 

Sunday, April 29, 2012

Shrimp scampi

When it comes to shrimp, I have to be in my best mood. My husband is not big on shrimp shells and feet as he had a terrible experience with them and thus, I`ve never left them as is ever since. I don`t know if I don`t do it right, but for me deshelling and deveining the shrimps usually take more time and patience than the cooking itself. That`s why cooking shrimps is never on my to-do list when I`m under the weather. But the funny thing is, as much as I find the cleaning part is annoying, most of the results awed me so much that I`m more than willing to repeat the whole process.
This shrimp scampi is one of those tedious but scrumptious menu I`ve tried. But I`d like you to know that I half-heartedly call it tedious because once you`ve went through the cleaning part and put the shrimps on the pan, the dish will finish like in a blink of an eye (an eye that will take like 5-10 mins to do so).

Alright, without further ado, here`s how to prepare our Sunday night`s shrimp scampi.

Deshell, but leave the tails intact, and devein the shrimps. Leaving the tails on prevent the shrimps from curling in too much during cooking. Or if you prefer to have the shells on, you can just slit the back of the shrimps and devein them.
Wash the shrimps and drain the excess water.

Our key ingredients today, other than the shrimp itself: lemon and coriander.
You just can`t go wrong with them.
By the way, I always freeze my coriander because it`s a rare ingredient here. That`s why the coriander looks wilted in the picture. For those of you who live in places where you can get coriander effortlessly, you`re lucky, my friends.

To the shrimps, add lemon juice, chopped coriander, chopped garlic, and chili. Deseed the chili if you want milder heat. Add salt and pepper to season, but you can add these later during cooking.
Stir everything and heat a bit of oil over medium heat. 

Add the shrimps and everything to the heated pan and cook for 5-10 mins with occasional stirring until the juice has thickened.

See? Only a few steps and you`re done!
These lemony shrimps are definitely to be served many times in our house. I probably will sigh again during the cleaning, but the happy (and yummy) ending is totally worth the effort. 
I feel like summer is coming already!

SHRIMP SCAMPI
Serves 2 persons

Ingredients:
20-25 medium shrimps, deshelled and deveined
 2 Tbs lemon juice
5 cloves garlic
2 tsp coriander, chopped
Salt
Pepper

Method:
1. Deshell and devein the shrimps but leave the tail intact.
2. Wash the shrimps and drain.
3. Add lemon juice, garlic, coriander, salt, and pepper to the shrimps and stir well.
4. Heat a bit of oil in a frying pan and add the shrimps and the marinating juice Cook until the juice has thickened.

Sunday, March 4, 2012

Spicy vegetable soup with grilled turmeric shishamo

I think March is probably the most memorable month in a year for me and my husband as it reminds us of many important episodes of our lives. For now I`m not going to talk further about the personal sides, but Japanese academic and fiscal years start in April and end in March, so March is kind of the year-end month where people usually get busier to finish their works and anticipate the upcoming schedules for April as the New Year. And climately speaking, March is also the month when people prepare to welcome the beginning of spring where the snow melts quicker and the trees start to seem alive again. 

Now, to celebrate the end of the frosty winter, I`m going to share one Indonesian-ish dish that I usually cook when I feel the urge to consume fibrous meal and one fish dish to make them as a beautiful set.

Let`s start with the soup first.

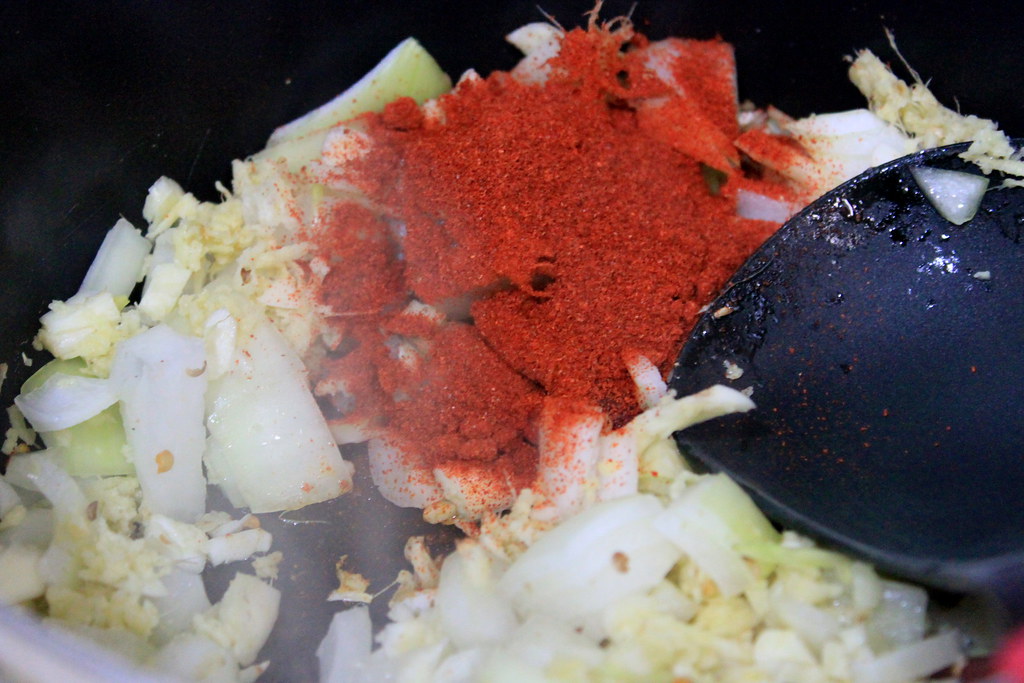
Heat a bit of oil on medium heat and saute onion, garlic, ginger, coriander, chili, and chili powder until fragrant.

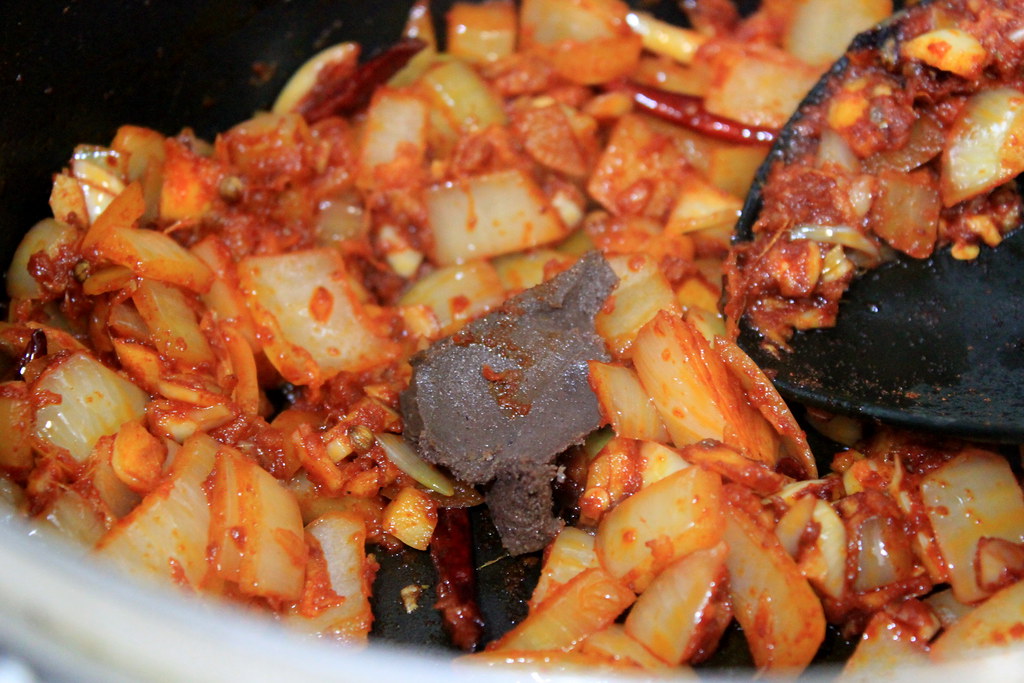
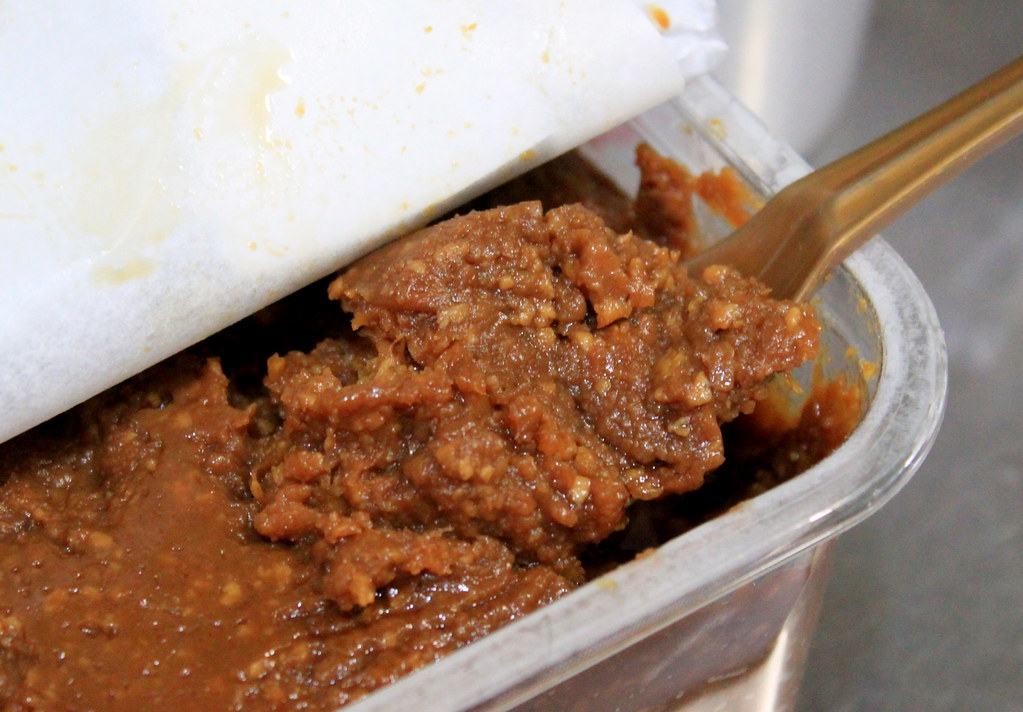
Stir in shrimp paste. For whatever reason you have, you can substitute it for dried shrimp or anchovies (I sometimes do this) or omit it (sometimes I do this too), although it will slightly alter the final taste.

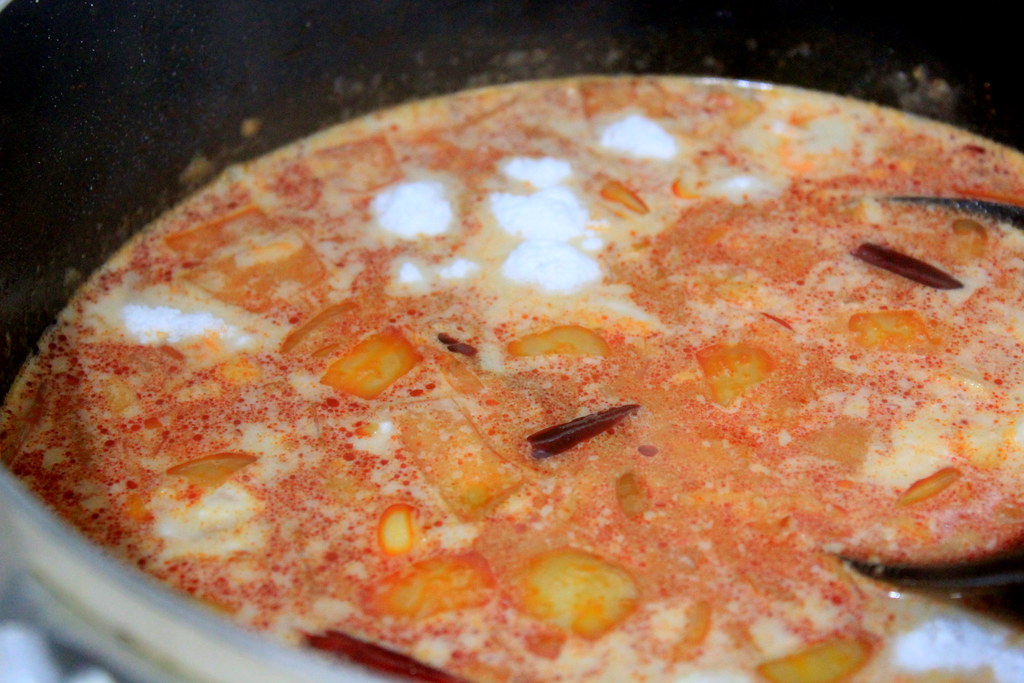
Pour in water-preferably hot-, stir in coconut powder until completely dissolved, and let it simmer. 
If you use liquid coconut milk, pour in the coconut milk first, and add water until the liquid volume reach about 2 cups in total. You can even add water in the last step instead. We are going to add quite a lot of stuff to the pot after this, so you don`t want to overfill the pot with liquid right now.

 I believe I don`t have many recipes here that include this bamboo shoot despite how frequent I use it. The only bamboo shoots sold in the our nearest store is the one that is ready to use packed in bag filled with water. According to the pack, that white powdery stuff sticking on the bamboo shoots is a kind of amino acid and thus no need to remove it. I hope you can find this bamboo shoots at the stores in your area. Too bad that I never buy fresh bamboo shoots so I have no idea how to handle it.
Anyway, cut the bamboo shoots-in random shapes, as you can see- and add to the simmering liquid in the pot.

Have you met nameko? My husband dislikes this mushroom for its sliminess, but I LOVE it for the same reason. The mushroom is covered with a slimy gelatinous layer, but crunchiness stays even after cooking. It kind of has a distinctive smell that some people probably are not fond of, so you might want to check it first before adding to the whole dish. I usually quickly rinse them with hot water and add them to whatever I`m cooking. Nameko work nicely in stir-fried dishes, but when you add them to soups, they will make the liquid thicker.

So, here is the soup already with nameko and bamboo shoots in it. Oh, I added shimeji mushrooms too but I didn`t have the picture.

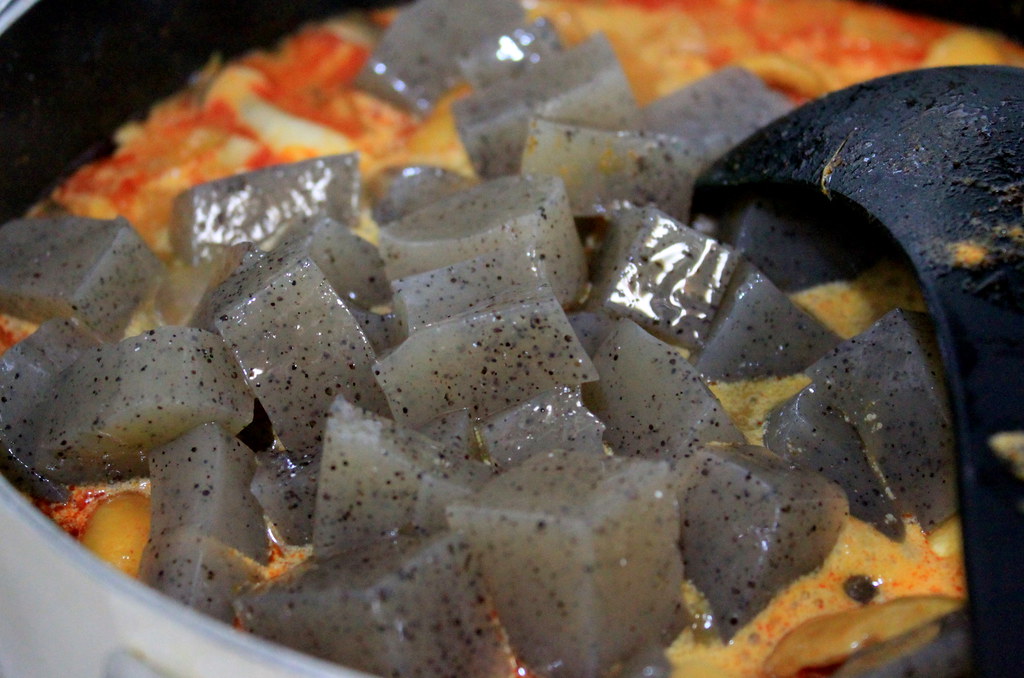
Next is konnyaku. If you`ve been following my blog, you probably noticed how I often have konnyaku in my soups. It is recommended to blanch the konnyaku in hot water for a few minutes to remove unpleasant odor, but I usually dice it up, rinse under hot water, and add the cubes to the pot.

Adjust the seasoning with salt, pepper, and a pinch of sugar while keeping the soup simmering.

When you`re done with the seasoning, put frozen long beans on top, remove from heat, and cover with lid for 5-10 mins until the green beans are softened.If you are using fresh long beans, cook it on low heat with the lid on for 5-10 mins depending on your liking of mushiness or crunchiness.

The soup is done! If you have omitted the shrimp paste or dried shrimp, it means your soup is a vegan version. But if you`re like me who still can`t fully commit to 100% vegan lifestyle, you can continue prepare this side dish. 
I used shishamo fish, but you can use your own choice of fish. I use this turmeric seasoning recipe for many kinds of fish, or even chicken, and it always worked in our house. My husband especially is a fan of this turmeric seasoning. It`s quick and simple, but the result is very rewarding.

Wash whatever fish you use and pat dry before starting the seasoning. 
Then, if you use small fish like these shishamo, just dump them in a bowl, add olive oil, turmeric, ginger powder-or grated ginger, even better!- pepper, and salt. Mix together everything until each fish is evenly coated with the seasoning.

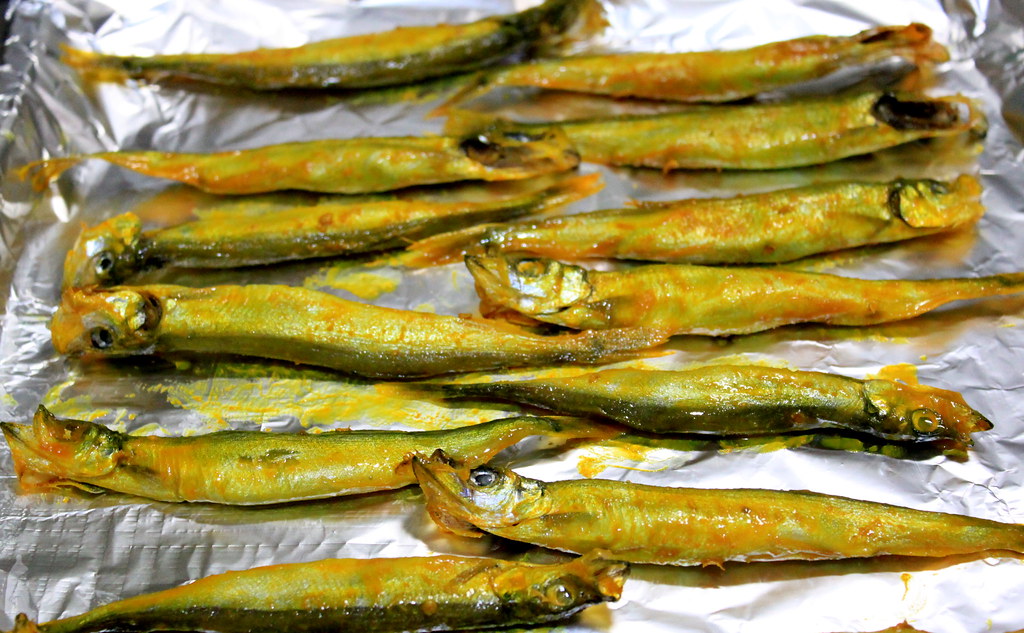
Line a baking tray with aluminium foil and arrange the turmeric-coated fish onto it. Grill it for 20-30 mins or until the skin has crisped up.

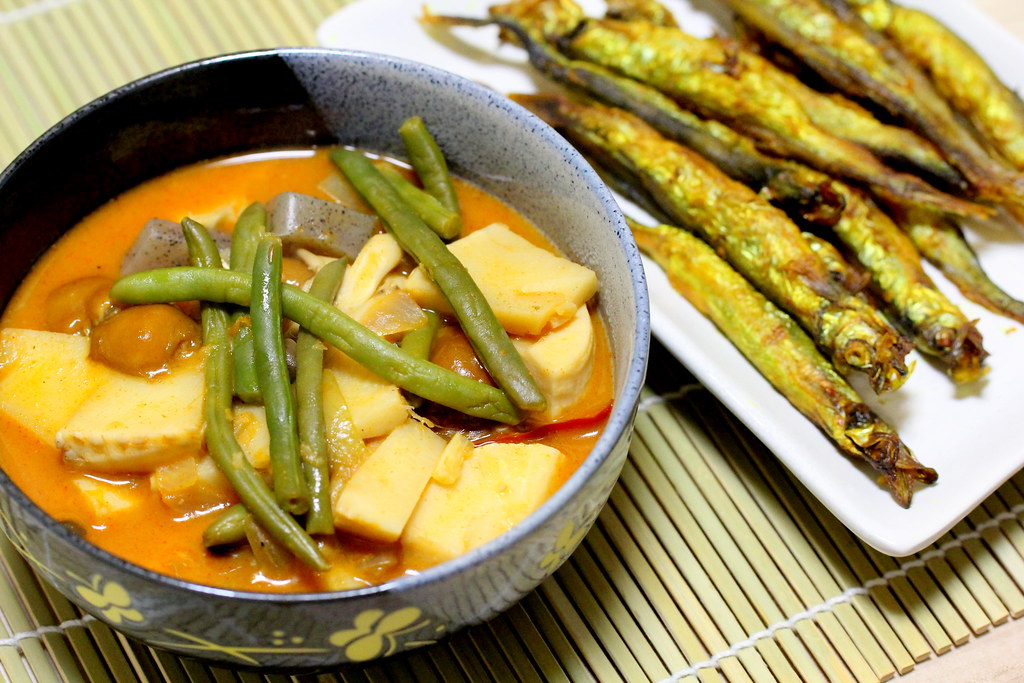
Ah, look at this pair. If you`re an Indonesian, I`m 200% sure you`ll remember about sayur lodeh and ikan asin. But if you`re not, it means you need to give these dishes a try and see if you enjoy them as much as we do.
Happy Sunday!

SPICY VEGETABLE SOUP
Serves 3-4 persons

Ingredients:
5 cloves garlic, minced/chopped
1/2 cut onion, chopped
2 tsp grated ginger
1 tsp coriander, minced/milled
3 chilies (remove seeds for milder heat)
1 Tbs chili powder
1 tsp shrimp paste
2 cups hot water*
1/2 cup coconut milk powder*
150 g bamboo shoot, chopped
100 g shimeji mushroom
80 g nameko mushroom
100 g konnyaku, diced
100 g frozen long beans
Salt
Pepper
A pinch of sugar
*Note: If using liquid coconut milk instead of powder, adjust the volume into 2 cups

Method:
1. Heat a bit of oil on medium heat and saute onion, garlic, ginger, coriander, chili, and chili powder until fragrant.
2. Stir in shrimp paste.
3. Pour in water and stir in coconut powder until completely dissolved.
4. Stir in the mushrooms, bamboo shoots, and konnyaku.
5. Adjust the seasoning with salt, pepper, and sugar while simmering.
6. When finished with seasoning, put green beans on top, remove from heat, and cover with lid for 5-10 mins until the green beans has softened.

GRILLED TURMERIC SHISHAMO
Makes 12 grilled shishamo

Ingredients:
12 shishamo, washed and patted dry
1 Tbs olive oil
1 tsp turmeric
1/2 tsp ginger powder
1/2 tsp pepper
1/2 tsp salt

Method:
1. In a bowl, mix together shishamo with the remaining ingredients until the fish is evenly coated.
2. Grill for 20 mins or until the skin has crisped up.

Thursday, November 3, 2011

Miso risotto

Hi there! How was your Halloween party? Did you have heavily sugared celebrations? For us here, we don`t celebrate it. It just happens that there is no Halloween tradition where I grew up and live now, and to top it up, I suck at horrory stuffs. But I really enjoyed finding Halloween-themed cookies and candies out there, though!

Anyway, from my kitchen, I wasn`t sure if I should share my oddly named dish with you and you`re about to know why. When it comes to step-by-step pictures, I know people get tempted to quickly scroll down the mouse to see the final result. And if you do, I`m afraid to say that given my lacks of effort and talent in food styling (meet me, Ms. Excuses), the appearance of dish might kill your appetite. But I hope you won`t leave from there, because I think you need to know what`s exactly in it and also, I want you to try it.
It all started on one lazy Saturday noon when I found our rice cooker`s lid widely opened for God knows how long. Well, it actually only took me seconds to figure out how long it was and who did it because my husband, who everyday has his breakfast around 7AM after coming home from his newspaper delivering routine (yes, I`m shamelessly still asleep), was the last one who opened the rice cooker and of course, forgot to close it. With the heating in the open air for hours, the rice was almost all browned and dried when I saw it. I almost cried too!! 
It just so happened that I was planning on cooking fried rice, for our lunch that day, but with this dehydrated rice, I knew it wasn`t a good choice. That`s where I came up with the risotto idea. I just stick on to my thought that risotto has a texture somewhere between porridge and regular cooked rice. To be honest, although I occasionally enjoy risotto at Italian eateries, this was my first time making one, which I`m sure not in a proper or traditional way too.

For a starter, I used cooked rice instead of uncooked ones. And as you might guess from the title, I used: miso, Japanese fermented soy paste.

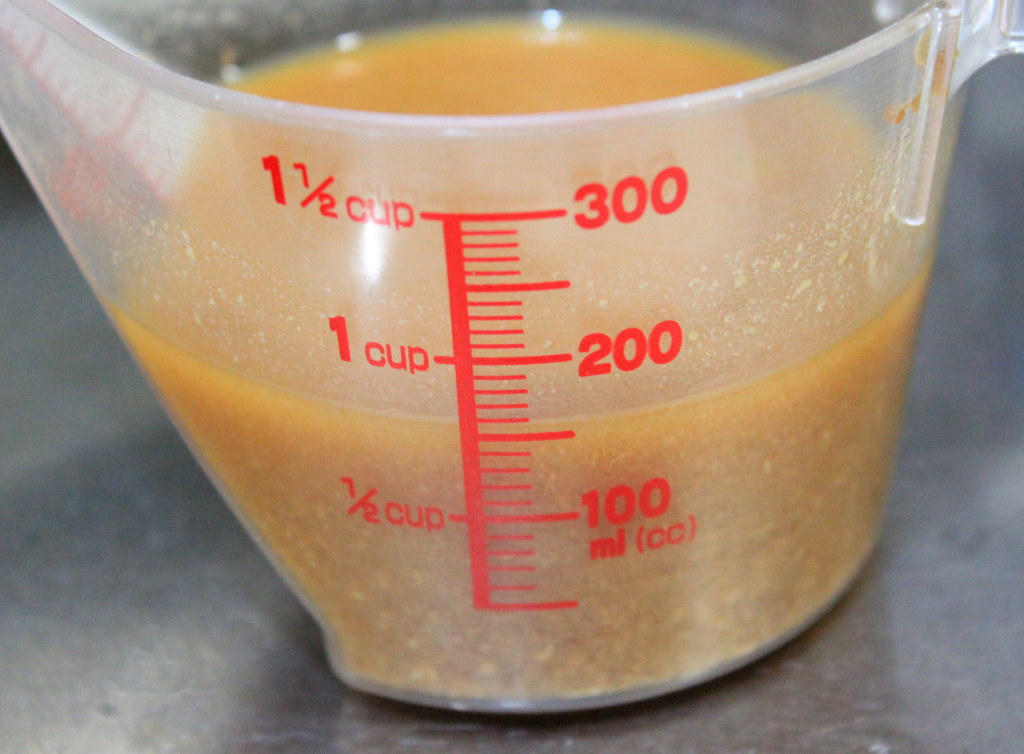
Start with preparing the miso seasoning.  This is just a rough measurement. For 2 plates of rice, I used 2 heaping tbs of miso paste and diluted it in 3/4 cup of water. I also added soy sauce and pepper to the sauce for more flavors. No salt here since miso and soy sauce made me happy already.

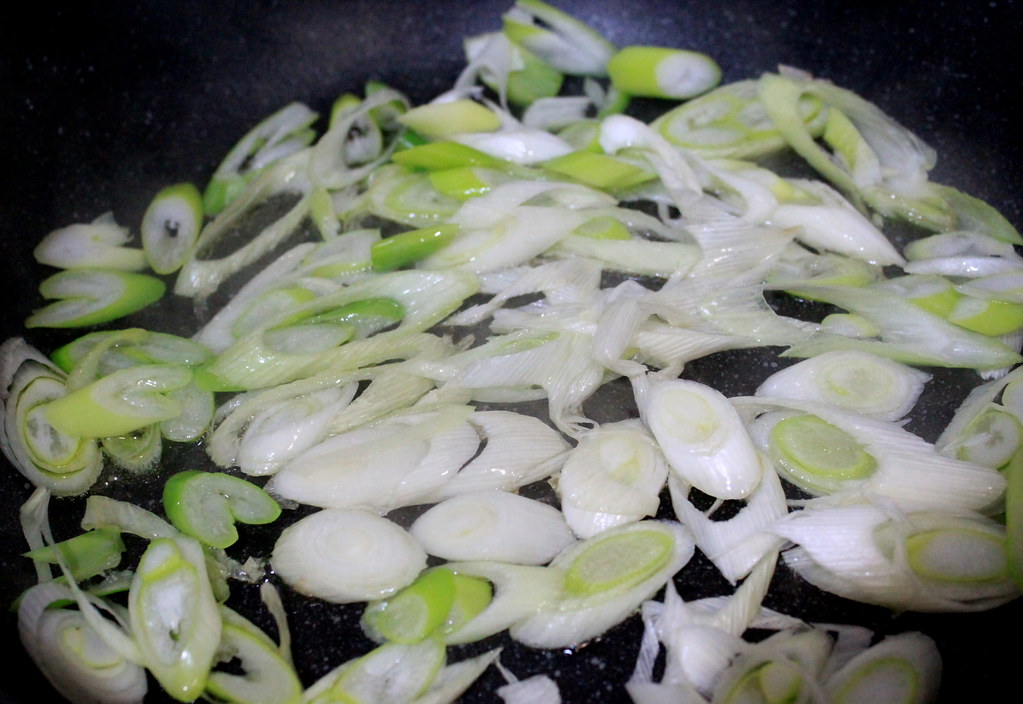
Slice spring onion and cook it on medium heat until it smells good and gets wilted

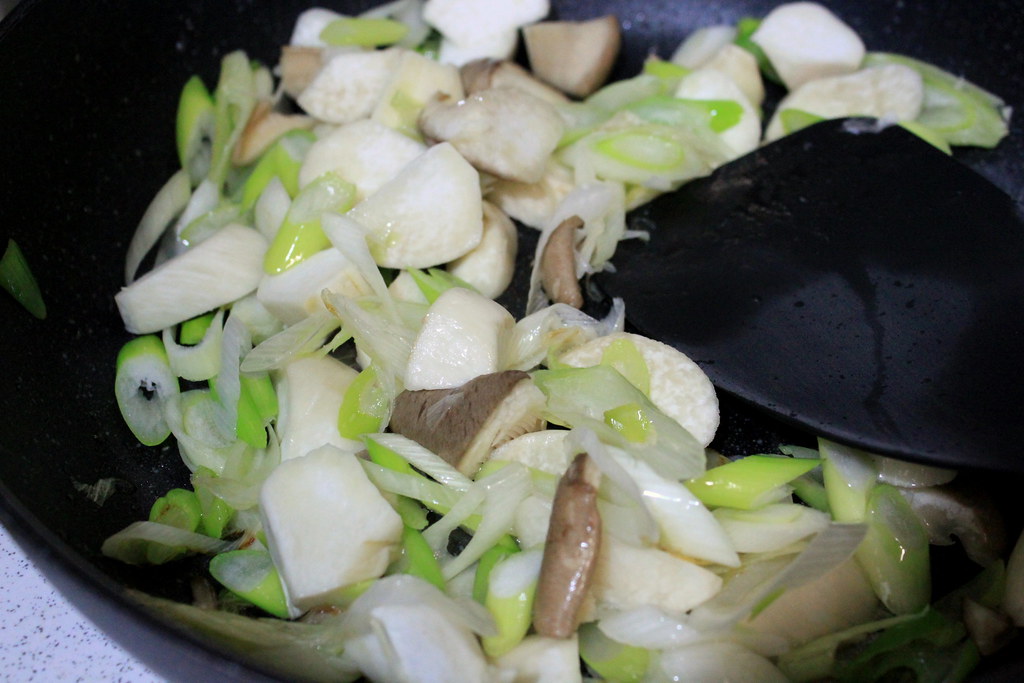
Toss in your favorite mushroom. I used eringi here. I know, I use it awfully a lot in my kitchen.

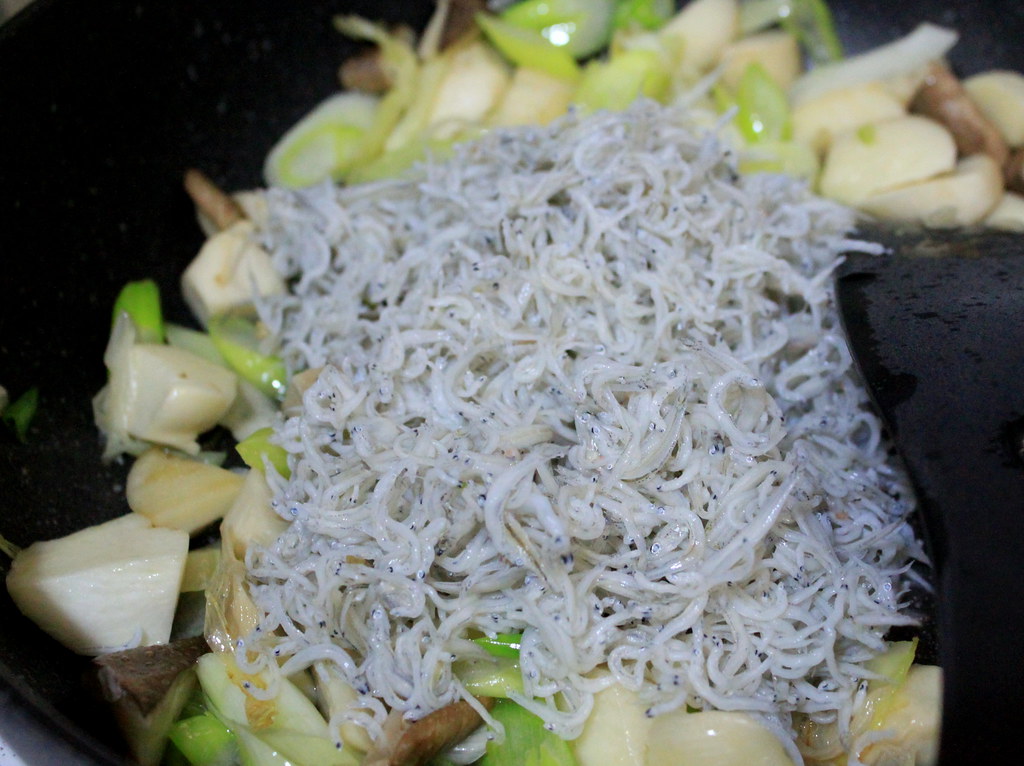
Now here comes the fish. If you can find this kind of fish at your place, by all means use it because the tiny fishes go wonderfully with miso. They are called shirasu in Japanese. In English, some people call it baby sardines and others call it baby anchovies. I actually have a post using shirasu for fried rice here. Anyway, toss in the shirasu or whatever you feel like having with your risotto.

Then, chopped tomato. Since I made miso soup with tomato, I keep using the combo as I love how the tomato gives a light touch of sweet tanginess to the salty miso.

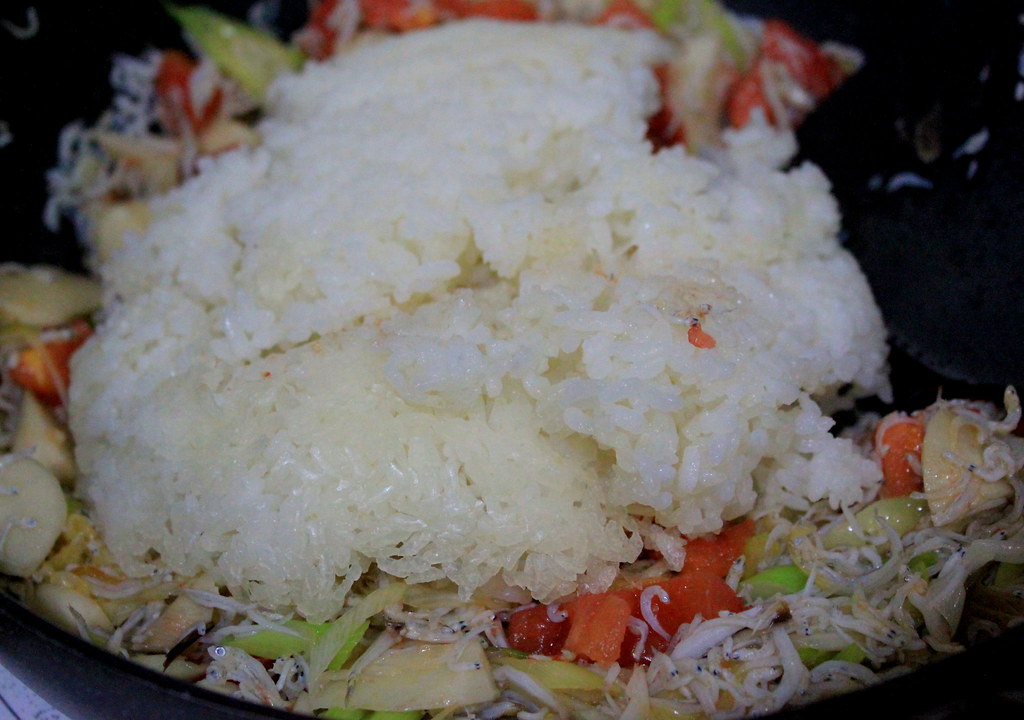
After giving some good stir, dump in the rice and stir again. Oh...poor rice....

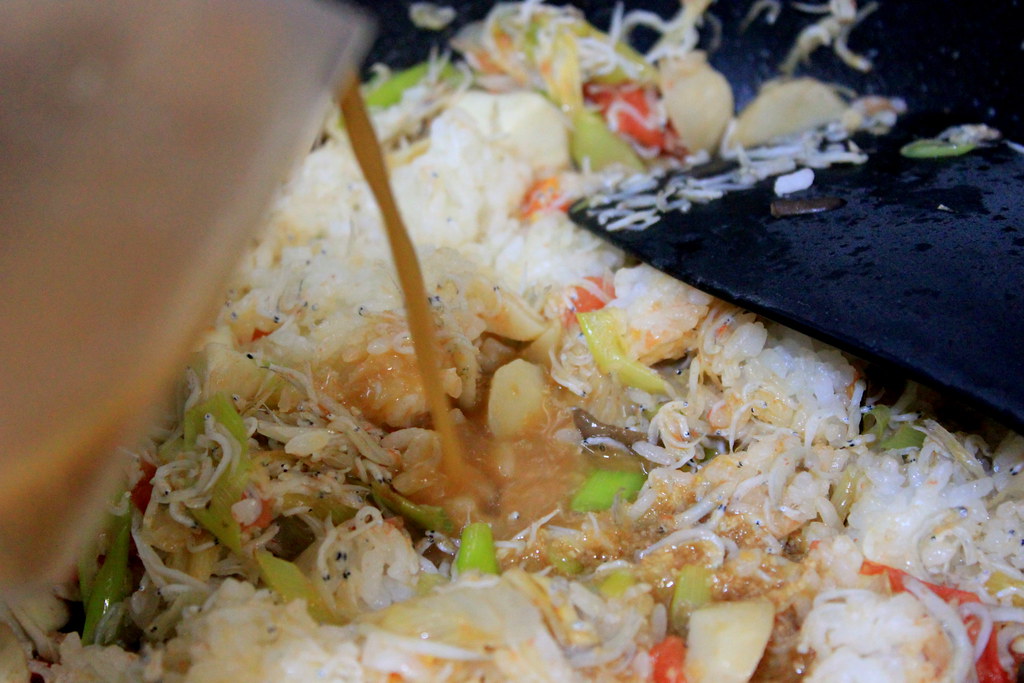
Get the miso sauce you prepared earlier and pour it in to the rice. This looks like a big mess that is far from appetizing, but please, bear with me.
Stir it well and if you think the rice still hasn`t reached the consistency of risotto, add more water. I did add an extra cup of water since the rice seemed too dry to me. By the way, although I haven`t tried it, I think you can try adding cream or milk instead of water to make the risotto creamier, like a real risotto. I just wanted something lighter when I made this, so I went with water.

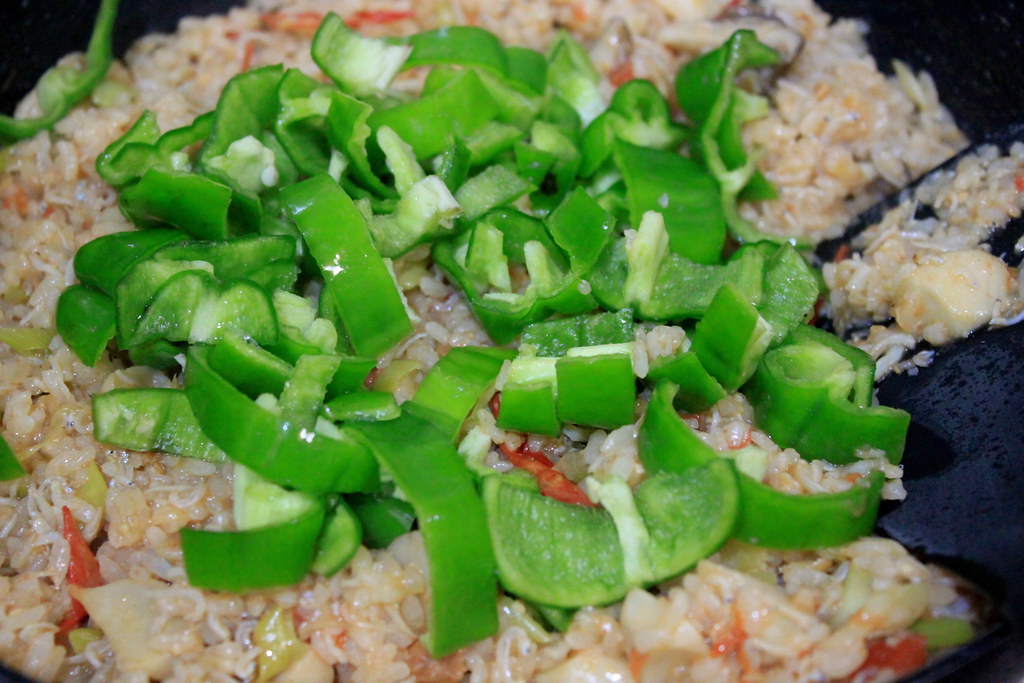
When your risotto seems done, adjust the seasoning and stir in sliced green paprika to give the crunchy edge to the whole mushiness.

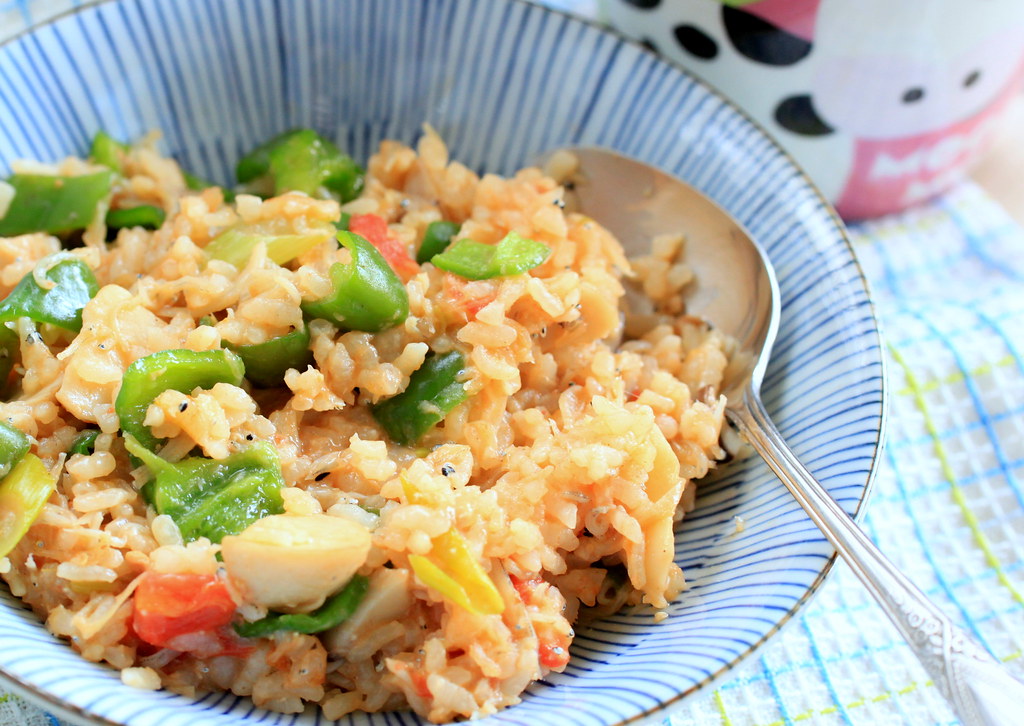
Olalaaaaa....here it is, our miso risotto. My risotto wasn`t watery enough compared to risotto I`ve had before, but I didn`t think of this at all once I spooned it in my mouth. Uuummppphhh.....yum! That`s all I can say. And if you love miso soup served with rice, there is a pretty good chance you`ll enjoy this one too.
By the way, can I call it "misotto" now?

MISO RISOTTO
Makes about 2 plates

Ingredients: 
1 spring onion
100 g mushrooms
100 g shirasu
1 medium-sized tomato
5 small green paprika
2 plates cooked/steamed rice
2 tbs miso
3/4 cup water to dissolve the miso*
2 Tbs soy sauce
Pepper
1 cup water to soften the rice during cooking*
Salt (only if necessary)
*Substitute water for heavy cream or milk to get a creamy consistency

Method:
1. Prepare the miso sauce by dissolving 2 tbs miso paste with 3/4 cup of water
2. Add soy sauce and a pinch of pepper to the miso sauce and set aside.
3. Cook sliced spring onions with a bit of oil in a pan over medium heat until fragrant and soft.
4. Toss in sliced mushroom, shirasu, and chopped tomato to the pan and stir well.
5. Throw in cooked rice and stir until the rice is evenly coated.
6. Pour in the miso sauce, stir, and adjust the consistency by adding more water to thin out. 
7. Adjust the seasoning and throw in sliced green paprika.
8. Ready to serve.

Saturday, October 15, 2011

Teriyaki saury

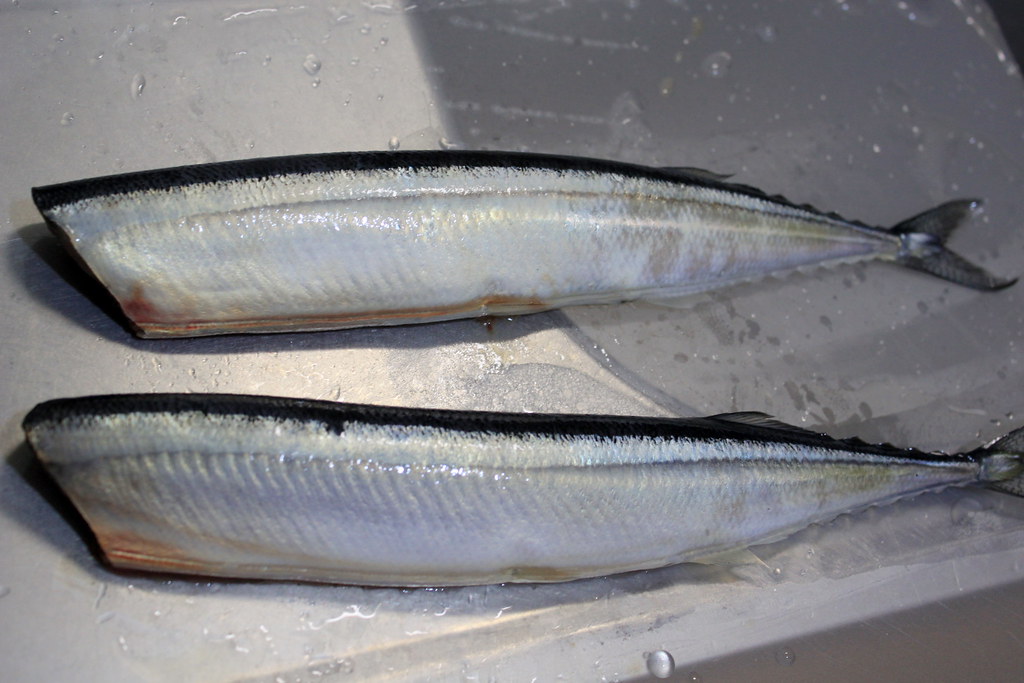
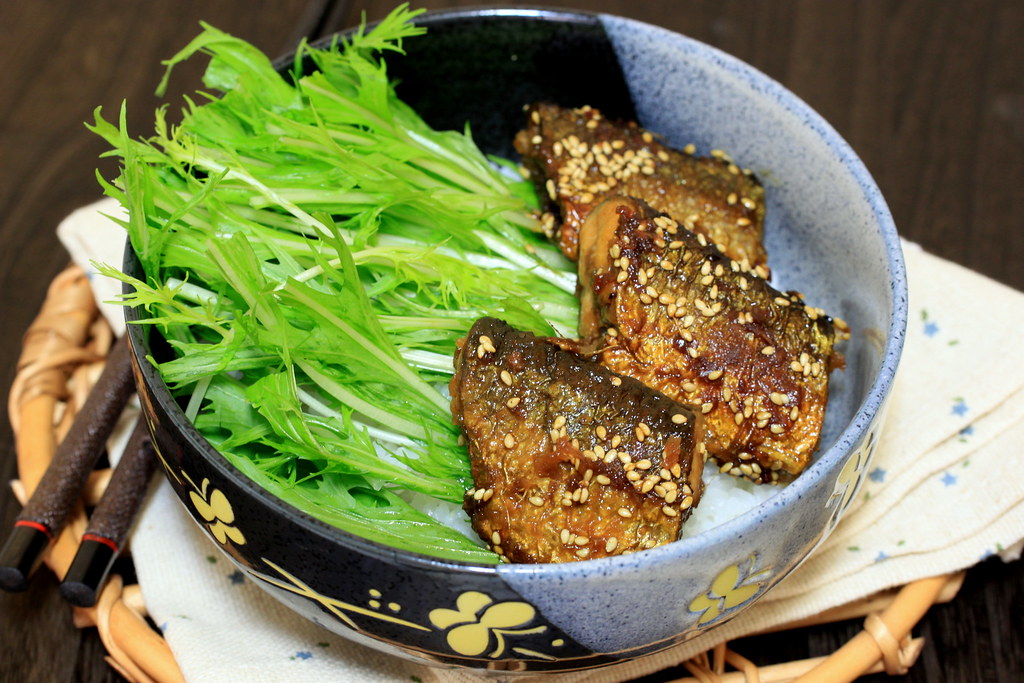
Pacific saury. First time I know the English name of this fish, from Wikipedia.  I usually call it in Japanese, which is Sanma. Sanma is in season since a month ago and from what I`ve seen, the most common and simple way to cook this fish is by rubbing some salt on the whole fish and grilling or broiling it. Very tasty, I tell you. The only downside, like other fish, is the bones. Sanma actually has a lot of bones scattered throughout its flesh and I usually pressure-cook sanma or other bony fish to make the bones more edible (I had posted it here) and to make my husband enjoy the fish more. However, this time I turned away from my pressure cooker, cooked the fish using my regular frying pan, and hoped that we could handle the bones during eating.

Anyway, I was lucky to get this gutted sanma from the store, although actually doing the gutting myself won`t take more than 10 minutes. Well, I chose less mess for me to clean up. You see how the sanma laid partly on my counter and above the sink? I put a small bowl next to fish and that`s how big my kitchen counter is.

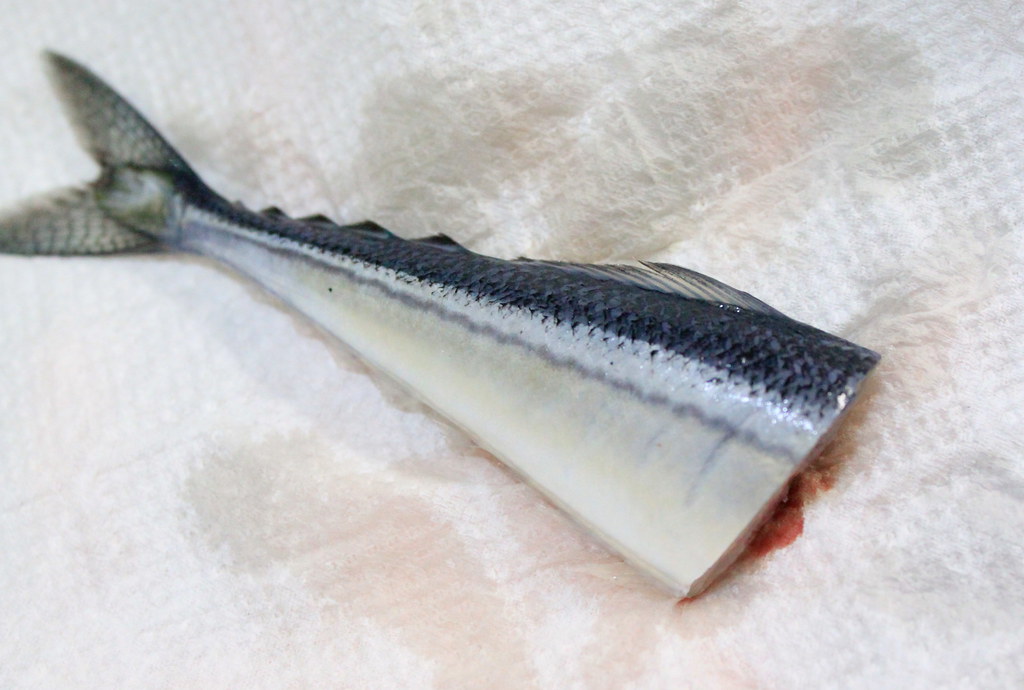
Cut the fish into smaller pieces, wash, and pat dry with paper towel.

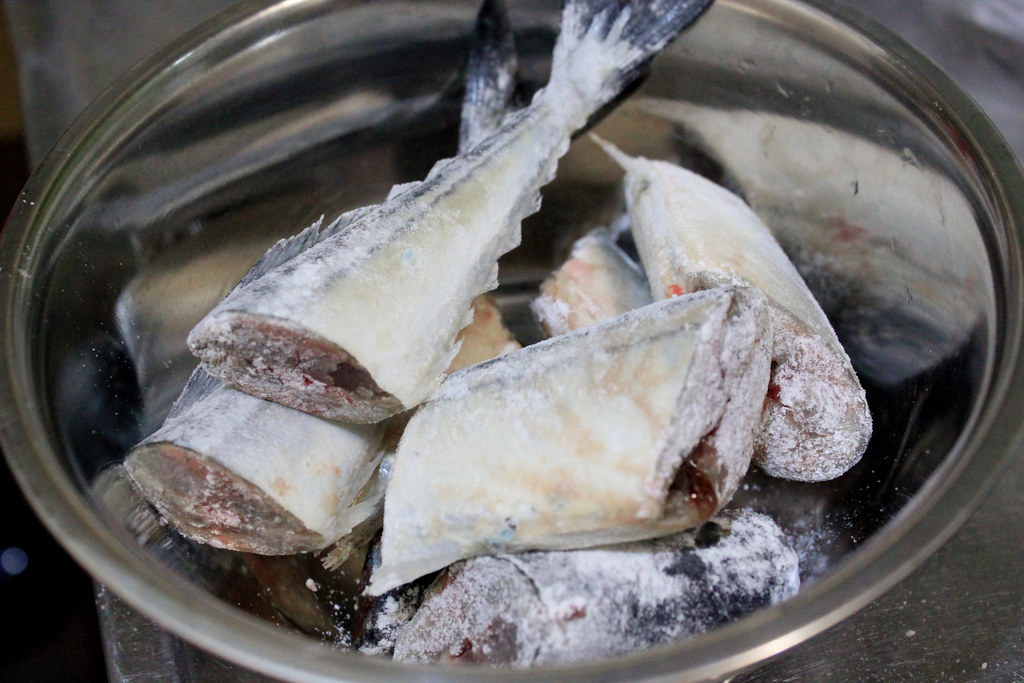
Dust the fish pieces evenly with flour. This will help the fish to hold its texture during frying. That`s what I heard from TV.

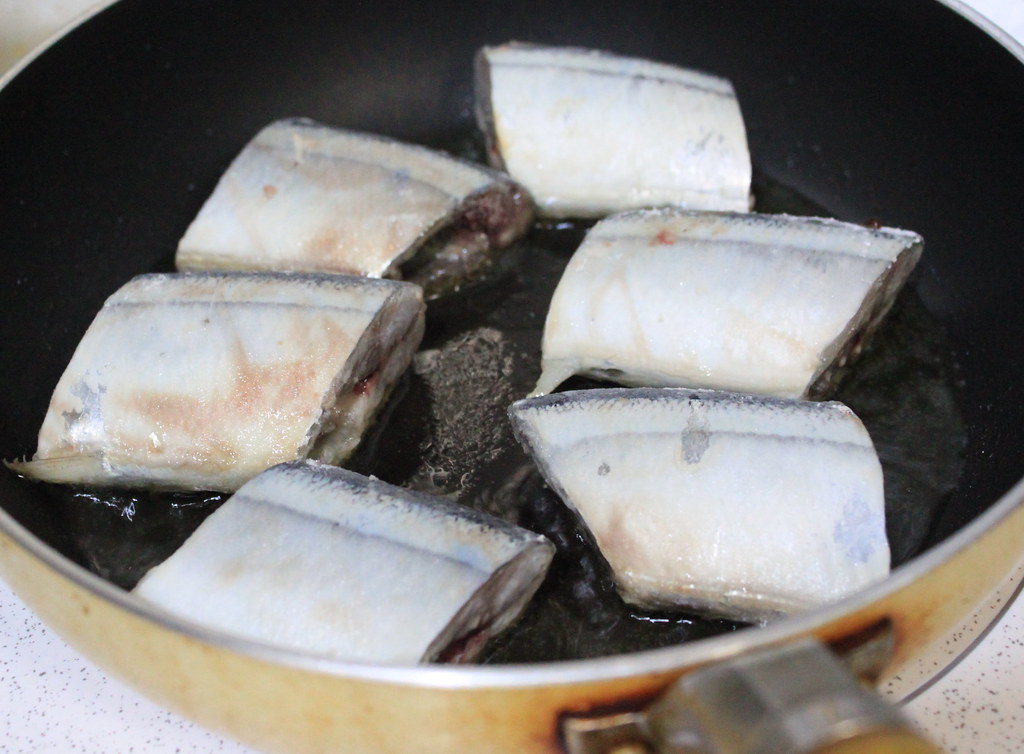
Heat oil on medium heat and sear the fish.

When both sides has turned golden brown, set aside on a plate. Don`t eat them yet. I know you want to.
By the way, remove oil used for frying fish from the pan and wipe off the pan surface with paper towel to make it super clean. We don`t need any oil for the next steps. 

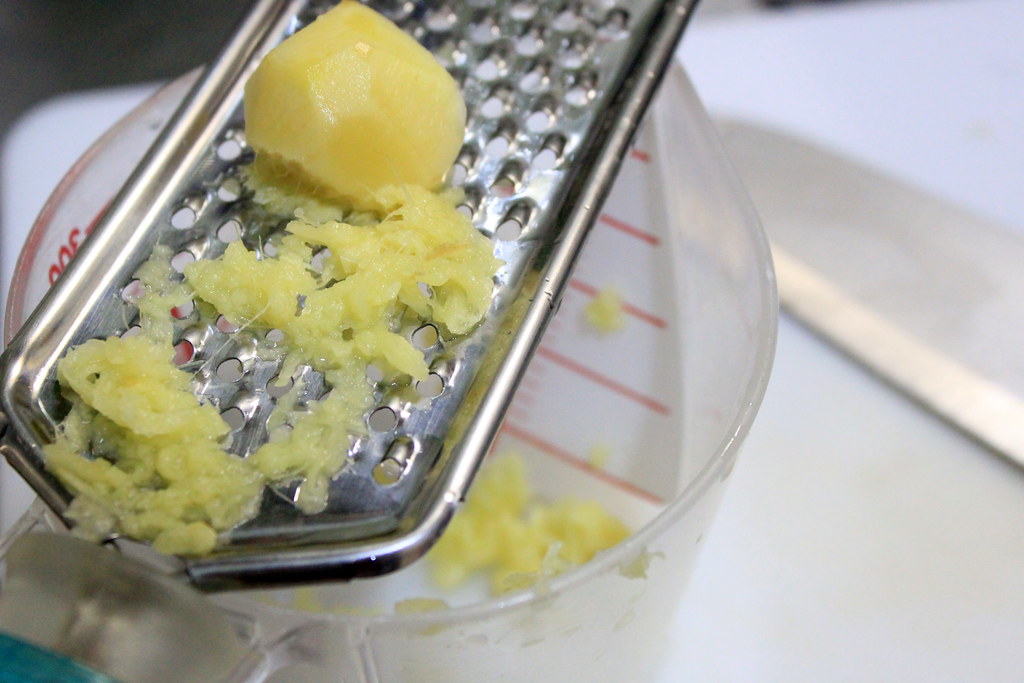
For the sauce, grate a good amount of fresh ginger. By all means, please use the fresh one.

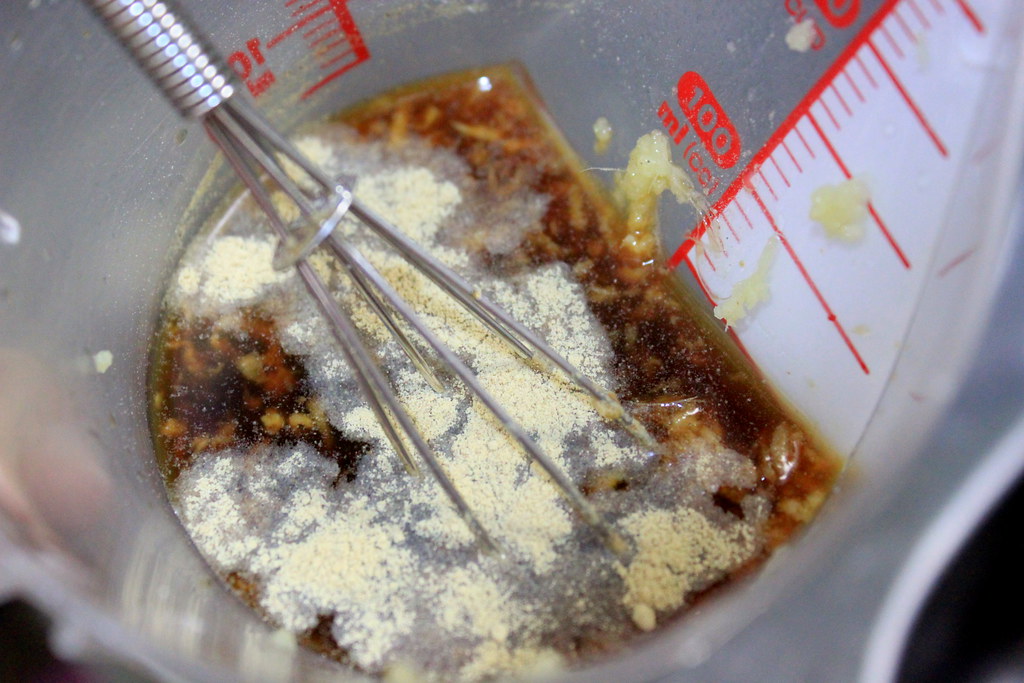
To the grated ginger, pour in soy sauce, vinegar, sugar, mirin (I didn`t add this one) and pepper and mix well. Salt? I didn`t add even a pinch of it because this sauce is already salty for me.

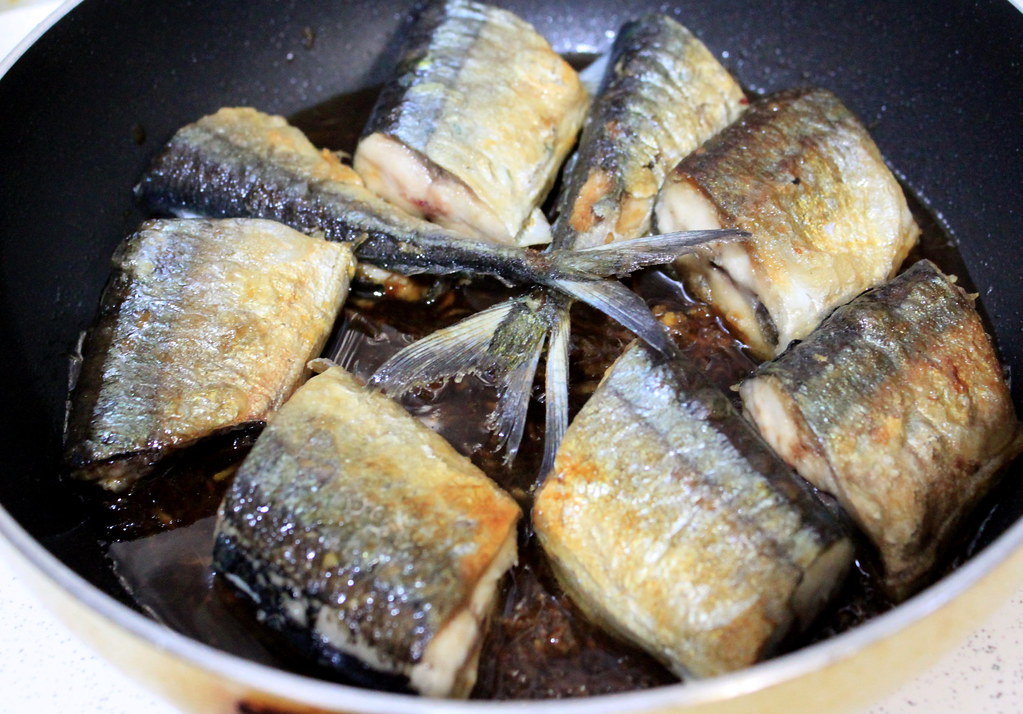
Set your clean pan over low heat and pour in the sauce. 

Put in the fried fish.

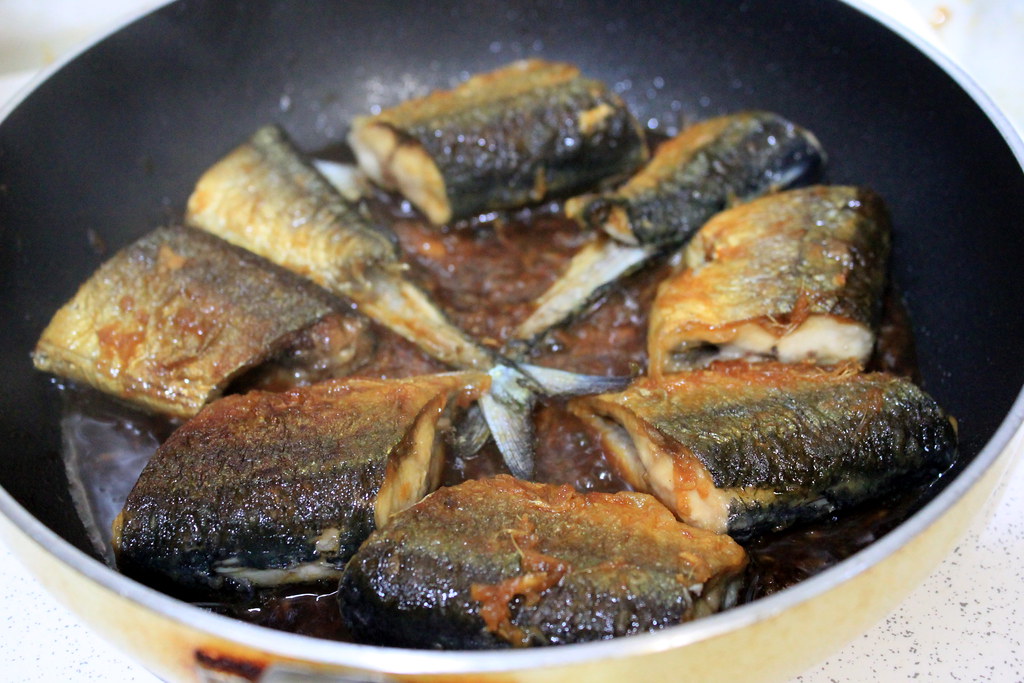
And while the sauce is cooking, flip over the fish to get both sides evenly coated. Cook until the sauce has reduced into glaze and sprinkle in sesame seeds. If you`re worried about the fish not getting cooked through, set a lid over the pan and cook it for a few more minutes. Be careful, though, the sauce will thicken quite fast and get scorched if you don`t watch it.

Although the ingredients are utterly simple, this dish is an absolute pleaser. The flavors coming out from the fish and the sweet savory glaze were just fantastic!
The bones? Yeah, they`re still there making my chopsticks busy. Maybe next time I will tenderize the bones first. But hey, you can choose your own fish and still try this recipe because you have to experience this yumminess. With or without bones. Trust me.

TERIYAKI SAURY
Ingredients:
2 sanma (Pacific saury)
1 tbs flour for dusting
3 tsp grated ginger
50 ml soy sauce
2 tbs vinegar
Mirin (I didn`t add)
1 tsp sugar
Pepper
Sesame seed

Method:
1. Gut and cut Pacific saury (or other fish) into small pieces.
2. Wash the pieces and pat dry with paper towel.
3.  Lightly dust the fish with flour.
4. Sear the flour-coated fish with a bit of oil in a frying pan over medium heat until both sides get nicely browned. Set aside.
5. Wipe off the frying pan to clean the remaining oil and set aside.
6. For the sauce, grate fresh ginger in a container and add soy sauce, vinegar, sugar, mirin, and salt and stir well.
7. Set the cleaned frying pan over low heat and pour in the sauce. 
8. Put the seared fish pieces in the pan and cook both sides to coat with the sauce evenly until the sauce has thickened.
9. Garnish the fish with sesame seeds and serve.

Sunday, September 25, 2011

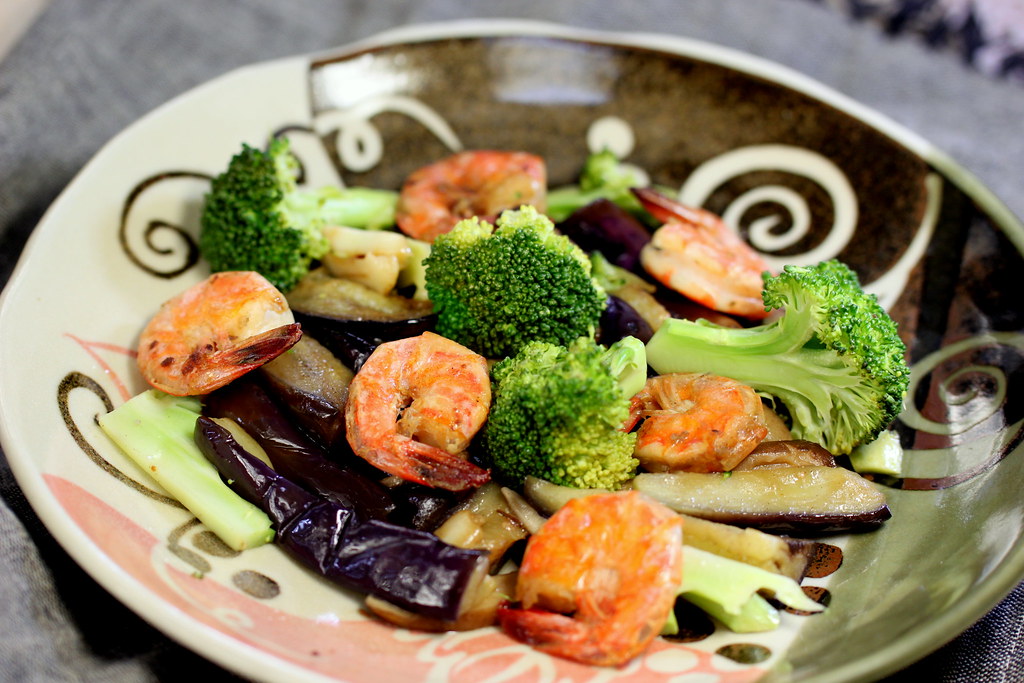
Stir-fried shrimps with vegetables

Stir-frying is probably the most frequent cooking method I use at home. I mean, why not? With stir-frying, we can whip up descent, if not fabulous, meals in a matter of minutes from almost any kind of food, be it vegetables or meat, whole food or processed ones. But there are times when my stir-frying rituals run a little slower than usual, especially when the ingredients need some extra time for the preparation.  Like for today`s dinner where I used fried eggplants as one of the ingredients. Plus, I used shrimps, which also means extra work for me to devein them. But even so, I usually end up forgetting all the fussy preparation when I start the cooking.

So, shall we cook now?
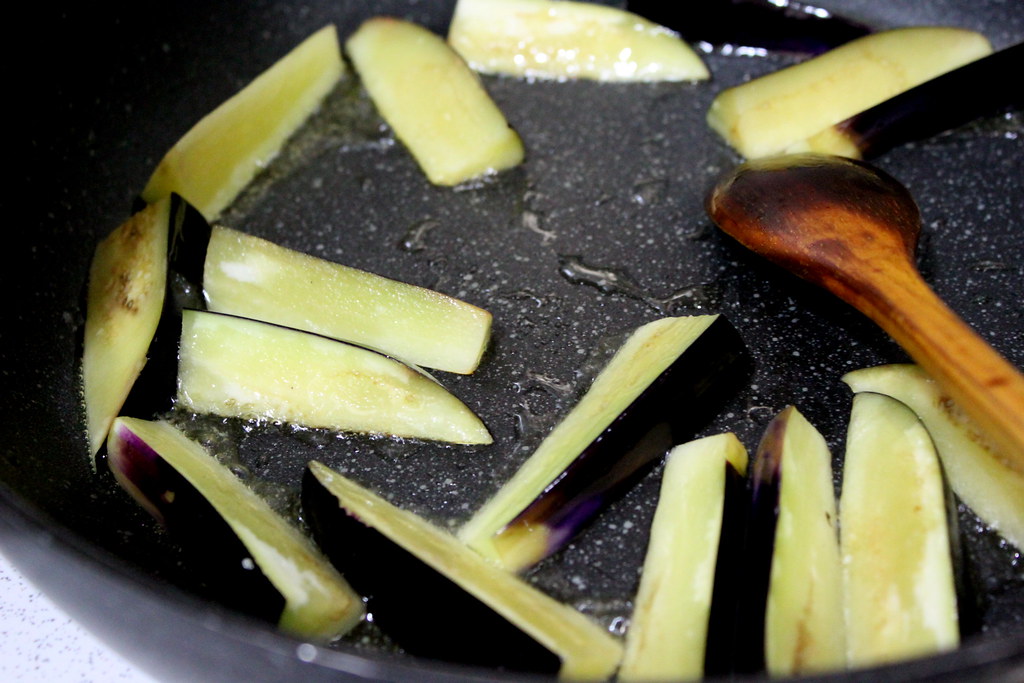
Wash eggplants and cut them into your desired shapes. For me, I quartered them lengthwise and then halved them crosswise. Usually people deep-fry the eggplants to make the "fried eggplants", but I always shallow-fry them because I`m too stubborn. If you too want to shallow-fry them, heat oil enough to coat the eggplants on a pan and do the frying in batches. Just make sure you don`t put too many pieces at once because the frying is supposed to give the caramelized bits, not to steam them. Another thing is, the eggplants will absorb the oil very quickly that you might need to add more oil every time you fry the fresh batch.


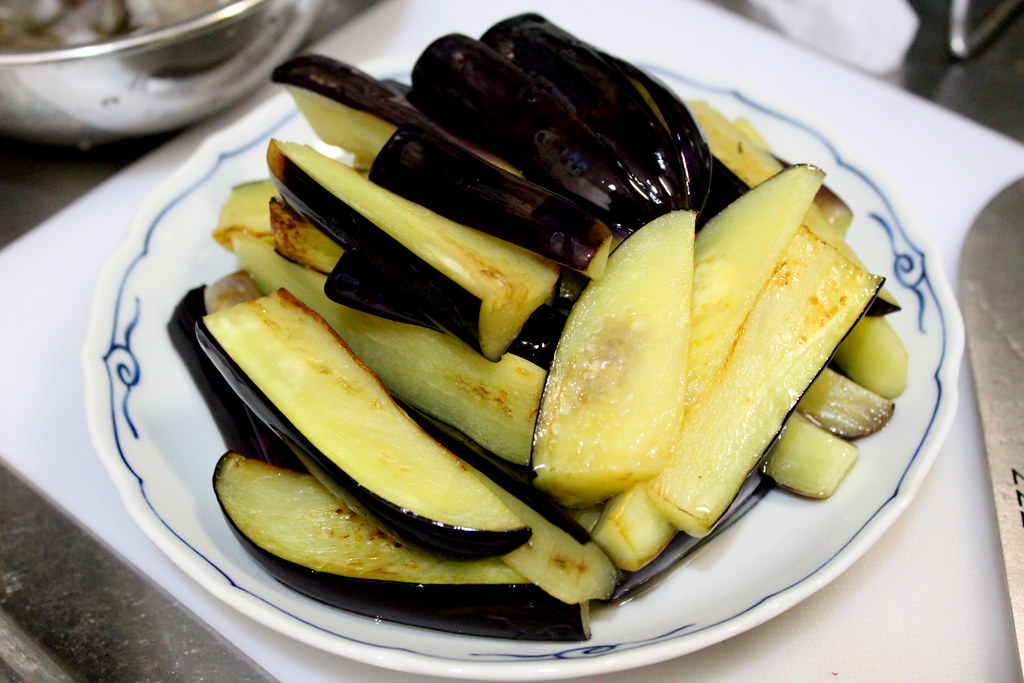
Set aside the fried eggplants. Honestly, I can just gobble these guys up only with a drizzle of soy sauce.


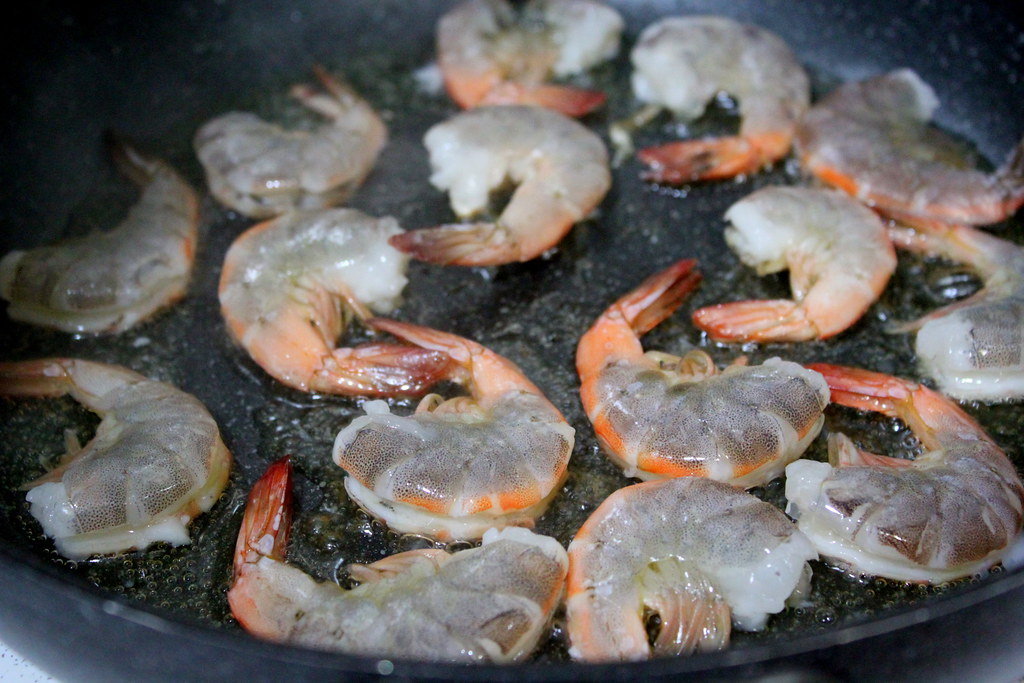
Next ingredient: shrimps.  I didn`t remove the shells as I wanted to get more flavor and to prevent them from curling in too much, but I cut open their backs and discarded the veins. And washed them, of course.
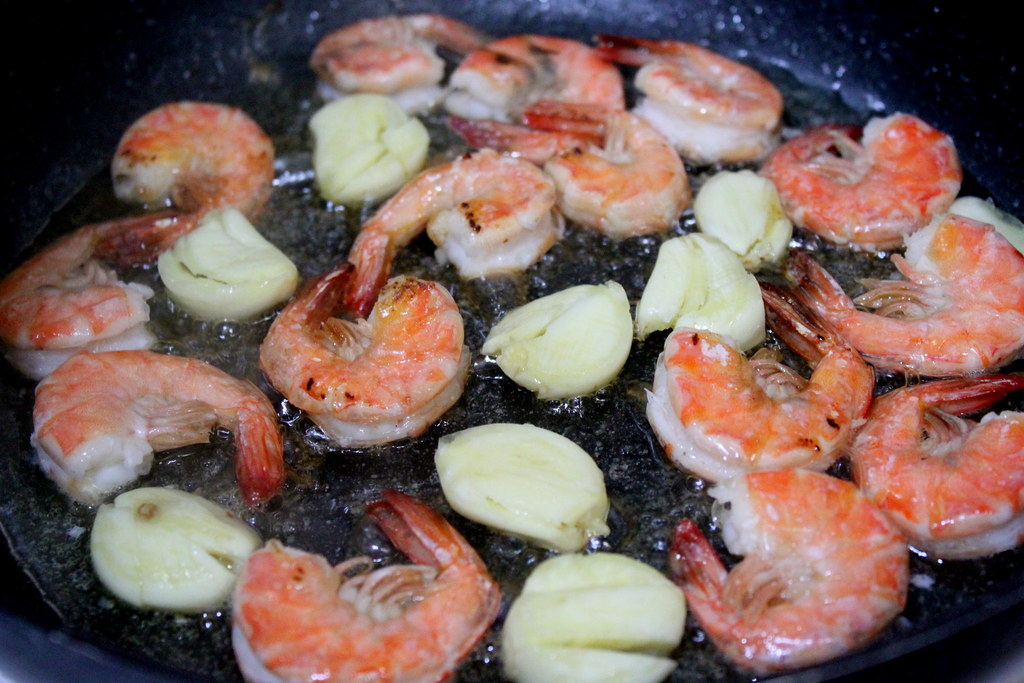
On the same pan used for fyring eggplants, heat oil and fry the shrimps. I think the smell and the changing color are what I love the most from frying shrimps.


Flip over the shrimps and throw in garlic. I usually mince the garlic, but this time I just bashed the cloves and used them right away. Oh, this smells even better!


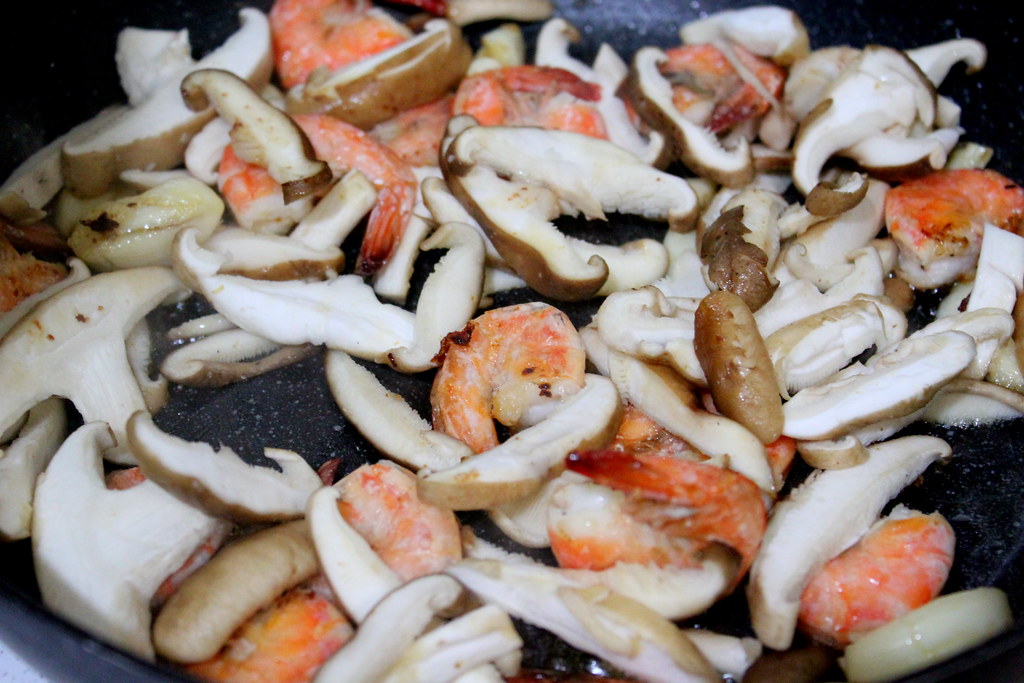
Then, throw in shiitake mushroom slices and keep stirring until the mushrooms shrank and wilted. Now the smell is getting double-better!


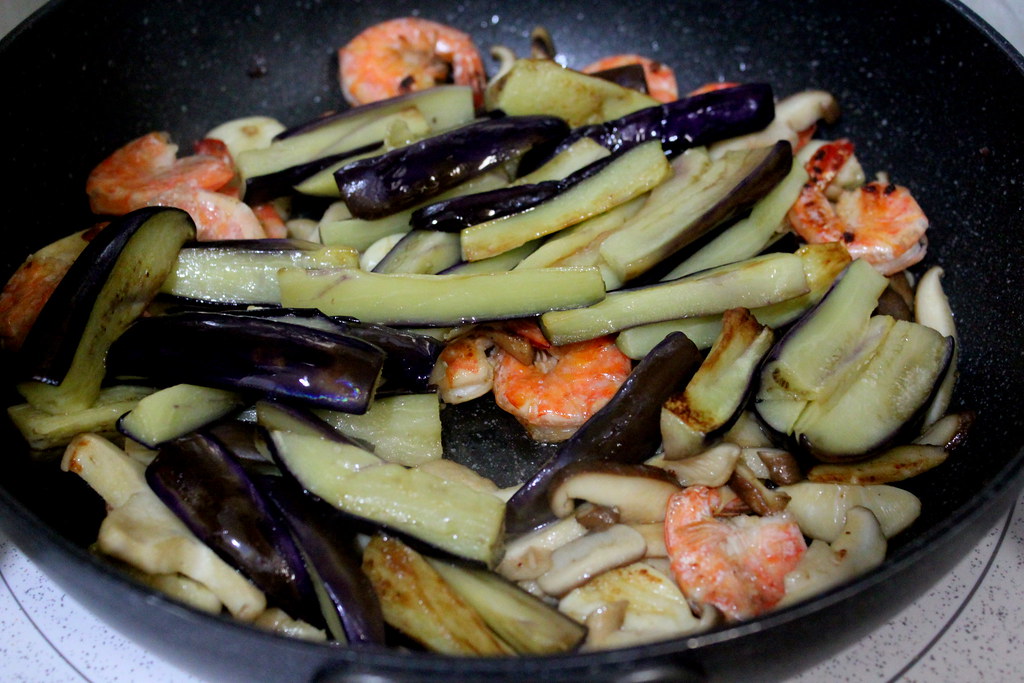
Slowly stir in the fried eggplants and season it with soy sauce, salt, and pepper. The fried eggplants are very soft, so be careful not to break them apart during stirring.
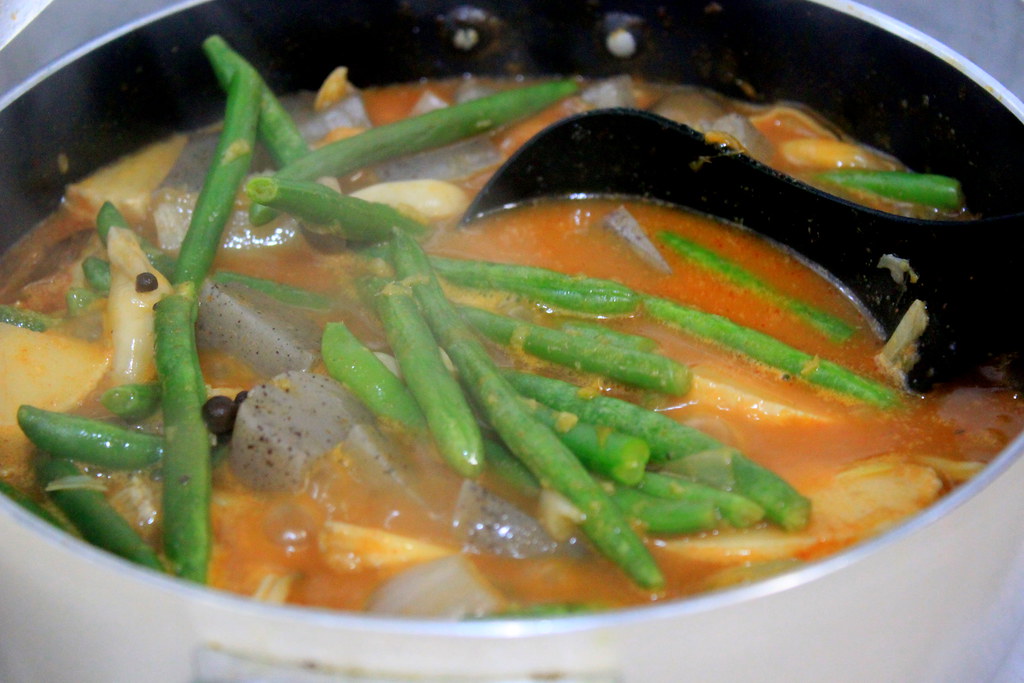
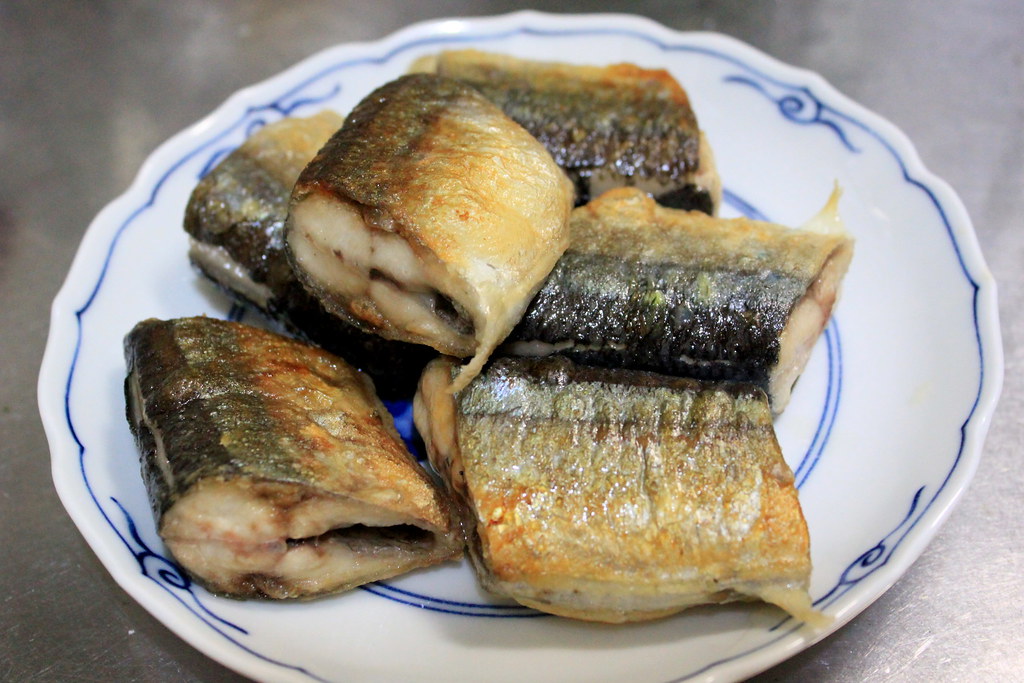

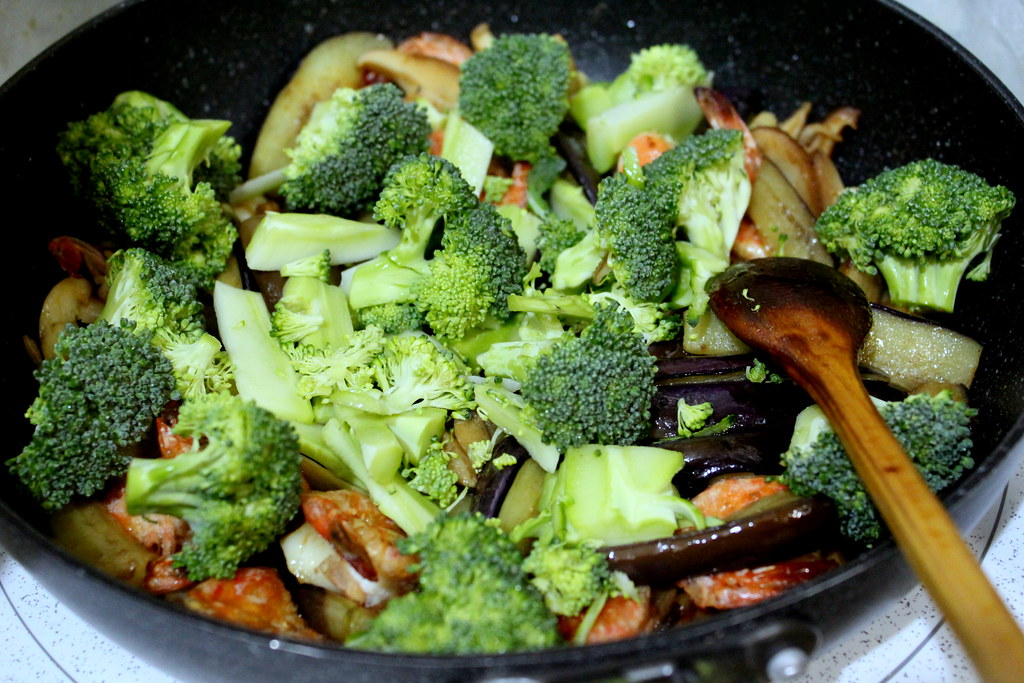
Final touch to add the greeny look: broccoli. The stems and florets. Please use them all. Now, since I love the broccoli to stay crunchy, I usually just throw them in the pan, cook for like 30 secs, turn off the heat, and put a lid on the pan to trap the heat inside and thus steaming them  for a few minutes.


This looks like a cooked salad, I know. But I loved every bit of it that I finished this whole plate without even remembered that I didn`t eat rice with it. Juiciness, crunchiness, and bursts of flavors blended beautifully in this dish. The fussy work on cleaning the shrimps was definitely gone far from my mind when I devoured everything on this plate. What fussy work?


Happy Saturday and enjoy your weekend feasts!

Ingredients:
Shrimp, washed and deveined
Garlic
Eggplants
Shiitake mushrooms
Broccoli
Soy sauce
Salt
Pepper