Saturday, March 17, 2012

Cheese cookies

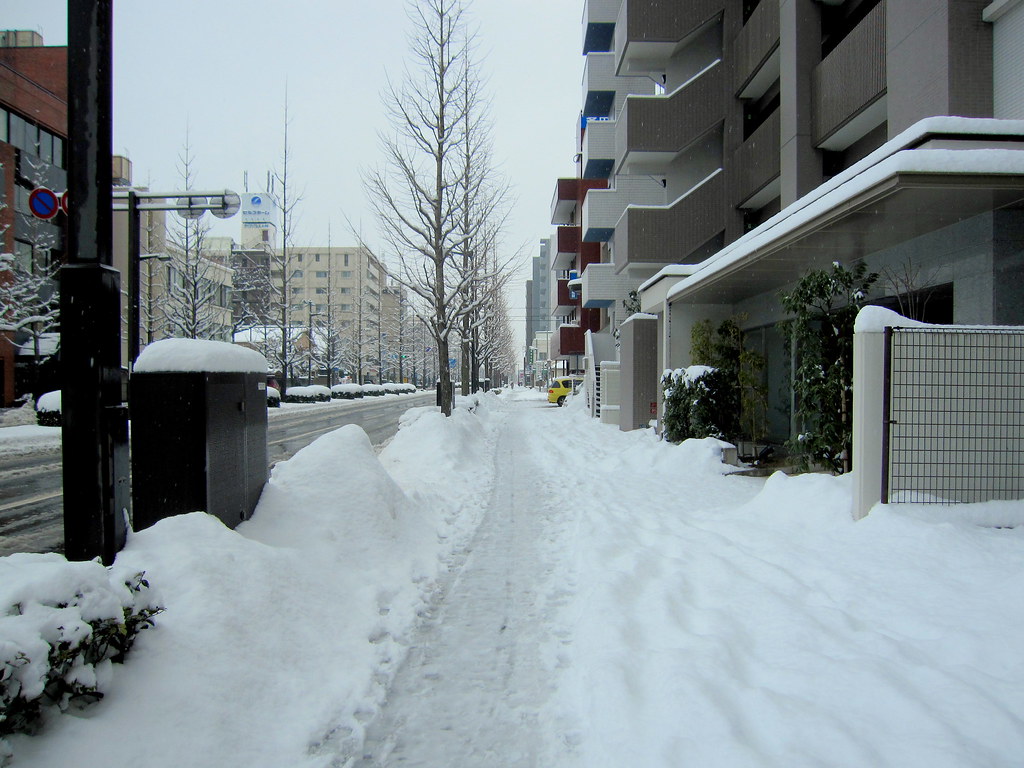
What a cold cloudy Saturday evening we`re having here! I remember telling you all in my previous post how I was ready to welcome the spring, but what really happened for these past two weeks was snow still occasionally came to cover everything in white. Like these. 


Regardless of that chilly whiteness, I know the spring and sunshine will come to us eventually (they have to!), and in the mean time, let`s check out how I made my easy-peasy cheese cookies. The recipe is actually a modification from an English chocolate biscuit recipe in Nigella Christmas, which is a very good crispy cookie recipe that I keep making again and again. As I ended up having too much sweetness, I thought I wanted something savory this time. I actually have posted a cheese cookie recipe before, but this time I made it eggless, simpler, with much less salt content, but still with amazing result. 
Now, savory cookie lovers, are you ready?

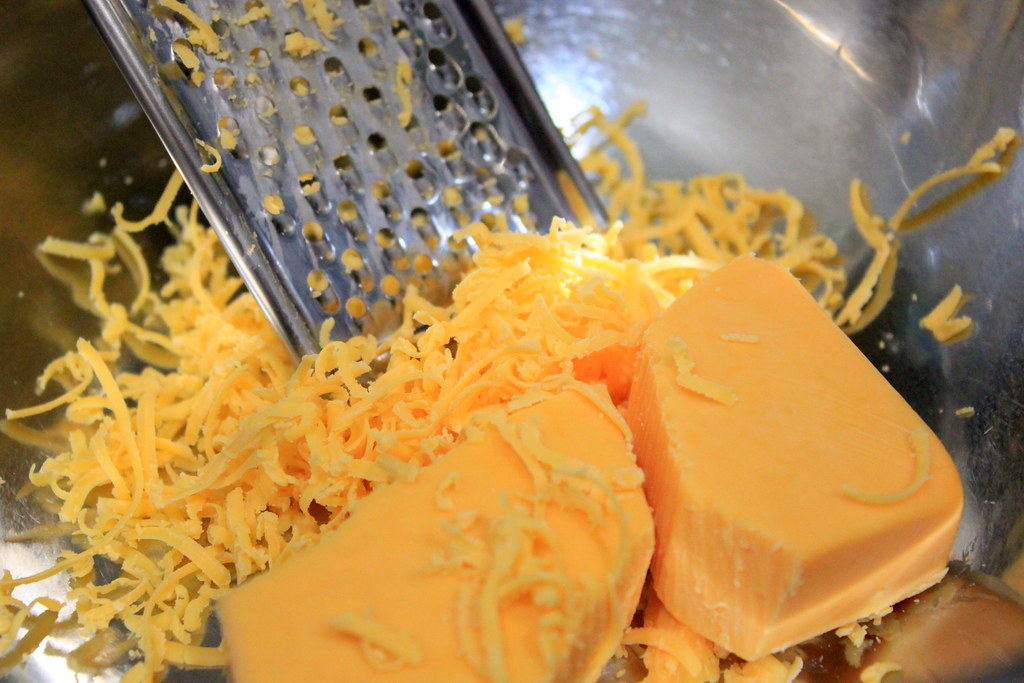
Grate cheddar cheese and set it aside. I llllove red cheddar. Just look at that color!

Due to my super low kitchen temperature, I usually soften my butter in the microwave. If you too use microwave, heat and check it every few seconds. Just be careful not to overheat it because you don`t want completely melted butter here. I do sometimes have my butter a bit melted at the base, but I just go on and the cookies turn out fine.
So, soften your butter and cream it in a mixing bowl until it has turned pale and much creamier.

Fold in the grated cheese now.

Sift in flour and baking powder until the mixture has turned into dough consistency.
My dough here looks very crumbly, but I learned that it will turn into a nice dough when I use my hand for the final mixing. I guess the heat from my hand helps resoften and melt the butter and thus combine with the flour.

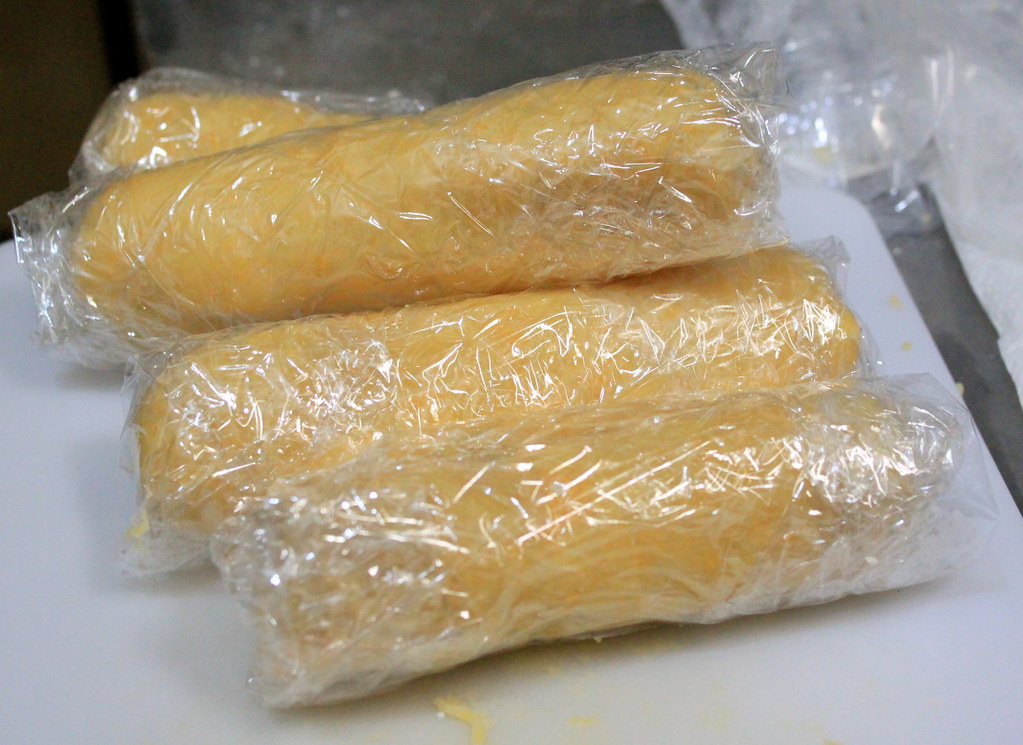
Shape the dough into logs with equal sizes, wrap with a cling wrap, and keep them in refrigerator for at least an hour.
My kitchen counter and fridge don`t have large space, so I always make the logs short. Mine in the picture were about 4-cm in diameter and 10-cm long. If you`re in a hurry, though, you can just roll out the dough on the counter and cut it up with a cookie cutter like making sugar cookies. But for those of you who have the same space problem like me and don`t mind with simple coin shape, I think you`ll find this log-cool-cut method very helpful.

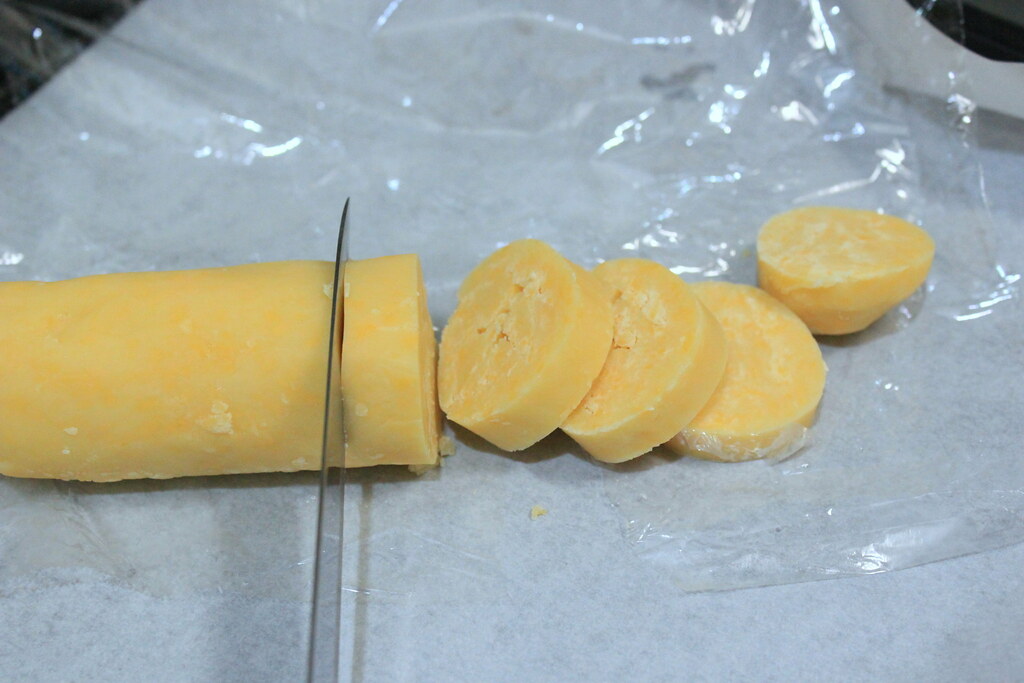
After an hour or so in the fridge, cut the dough into fat coins. Mine were about 2-cm thick here.
Cutting up a cold dough always makes me feel really good! By the way, you can keep the dough in the freezer for a longer storage time and bake later when you want. I usually make 4 logs, bake 2 logs, and keep the other 2 logs in the freezer.

Arrange the coins onto a baking sheet lined with parchment paper and bake them in a preheated oven at 170 C for 20 mins.
Your kitchen and home will smell really great during the baking!

These cookies will melt in your mouth and you will have difficulty to stop after having one.
Oh I`m having a serious drooling problem and I guess I just have to make these again now. 

Happy weekend!

CHEESE COOKIES
Makes about 3 dozens

Ingredients:
200 g unsalted butter, softened
80 g cheddar cheese
240 g flour
1 tsp baking powder

Method:
1. Grate the cheddar cheese and set aside.
2. Cream softened butter in a bowl until it has turned paler.
3. Fold in grated cheese, sifted flour, and baking powder.
4. Shape the dough into logs (about 4-cm in diameter). 
5. Wrap the logs with cling wrap and keep in refrigerator for at least 1 hour or until the dough is firm enough.
6. Open the wrap and cut up the dough into fat coins (about 2-cm thick).
7. Arrange the coins on a baking sheet lined with parchment paper.
8. Bake at 170 C for 20 mins.
Note: For a smaller baking batch, you can keep the leftover dough logs in freezer and bake them anytime you want to. 

Sunday, March 4, 2012

Spicy vegetable soup with grilled turmeric shishamo

I think March is probably the most memorable month in a year for me and my husband as it reminds us of many important episodes of our lives. For now I`m not going to talk further about the personal sides, but Japanese academic and fiscal years start in April and end in March, so March is kind of the year-end month where people usually get busier to finish their works and anticipate the upcoming schedules for April as the New Year. And climately speaking, March is also the month when people prepare to welcome the beginning of spring where the snow melts quicker and the trees start to seem alive again. 

Now, to celebrate the end of the frosty winter, I`m going to share one Indonesian-ish dish that I usually cook when I feel the urge to consume fibrous meal and one fish dish to make them as a beautiful set.

Let`s start with the soup first.

Heat a bit of oil on medium heat and saute onion, garlic, ginger, coriander, chili, and chili powder until fragrant.

Stir in shrimp paste. For whatever reason you have, you can substitute it for dried shrimp or anchovies (I sometimes do this) or omit it (sometimes I do this too), although it will slightly alter the final taste.

Pour in water-preferably hot-, stir in coconut powder until completely dissolved, and let it simmer. 
If you use liquid coconut milk, pour in the coconut milk first, and add water until the liquid volume reach about 2 cups in total. You can even add water in the last step instead. We are going to add quite a lot of stuff to the pot after this, so you don`t want to overfill the pot with liquid right now.

 I believe I don`t have many recipes here that include this bamboo shoot despite how frequent I use it. The only bamboo shoots sold in the our nearest store is the one that is ready to use packed in bag filled with water. According to the pack, that white powdery stuff sticking on the bamboo shoots is a kind of amino acid and thus no need to remove it. I hope you can find this bamboo shoots at the stores in your area. Too bad that I never buy fresh bamboo shoots so I have no idea how to handle it.
Anyway, cut the bamboo shoots-in random shapes, as you can see- and add to the simmering liquid in the pot.

Have you met nameko? My husband dislikes this mushroom for its sliminess, but I LOVE it for the same reason. The mushroom is covered with a slimy gelatinous layer, but crunchiness stays even after cooking. It kind of has a distinctive smell that some people probably are not fond of, so you might want to check it first before adding to the whole dish. I usually quickly rinse them with hot water and add them to whatever I`m cooking. Nameko work nicely in stir-fried dishes, but when you add them to soups, they will make the liquid thicker.

So, here is the soup already with nameko and bamboo shoots in it. Oh, I added shimeji mushrooms too but I didn`t have the picture.

Next is konnyaku. If you`ve been following my blog, you probably noticed how I often have konnyaku in my soups. It is recommended to blanch the konnyaku in hot water for a few minutes to remove unpleasant odor, but I usually dice it up, rinse under hot water, and add the cubes to the pot.

Adjust the seasoning with salt, pepper, and a pinch of sugar while keeping the soup simmering.

When you`re done with the seasoning, put frozen long beans on top, remove from heat, and cover with lid for 5-10 mins until the green beans are softened.If you are using fresh long beans, cook it on low heat with the lid on for 5-10 mins depending on your liking of mushiness or crunchiness.

The soup is done! If you have omitted the shrimp paste or dried shrimp, it means your soup is a vegan version. But if you`re like me who still can`t fully commit to 100% vegan lifestyle, you can continue prepare this side dish. 
I used shishamo fish, but you can use your own choice of fish. I use this turmeric seasoning recipe for many kinds of fish, or even chicken, and it always worked in our house. My husband especially is a fan of this turmeric seasoning. It`s quick and simple, but the result is very rewarding.

Wash whatever fish you use and pat dry before starting the seasoning. 
Then, if you use small fish like these shishamo, just dump them in a bowl, add olive oil, turmeric, ginger powder-or grated ginger, even better!- pepper, and salt. Mix together everything until each fish is evenly coated with the seasoning.

Line a baking tray with aluminium foil and arrange the turmeric-coated fish onto it. Grill it for 20-30 mins or until the skin has crisped up.

Ah, look at this pair. If you`re an Indonesian, I`m 200% sure you`ll remember about sayur lodeh and ikan asin. But if you`re not, it means you need to give these dishes a try and see if you enjoy them as much as we do.
Happy Sunday!

SPICY VEGETABLE SOUP
Serves 3-4 persons

Ingredients:
5 cloves garlic, minced/chopped
1/2 cut onion, chopped
2 tsp grated ginger
1 tsp coriander, minced/milled
3 chilies (remove seeds for milder heat)
1 Tbs chili powder
1 tsp shrimp paste
2 cups hot water*
1/2 cup coconut milk powder*
150 g bamboo shoot, chopped
100 g shimeji mushroom
80 g nameko mushroom
100 g konnyaku, diced
100 g frozen long beans
Salt
Pepper
A pinch of sugar
*Note: If using liquid coconut milk instead of powder, adjust the volume into 2 cups

Method:
1. Heat a bit of oil on medium heat and saute onion, garlic, ginger, coriander, chili, and chili powder until fragrant.
2. Stir in shrimp paste.
3. Pour in water and stir in coconut powder until completely dissolved.
4. Stir in the mushrooms, bamboo shoots, and konnyaku.
5. Adjust the seasoning with salt, pepper, and sugar while simmering.
6. When finished with seasoning, put green beans on top, remove from heat, and cover with lid for 5-10 mins until the green beans has softened.

GRILLED TURMERIC SHISHAMO
Makes 12 grilled shishamo

Ingredients:
12 shishamo, washed and patted dry
1 Tbs olive oil
1 tsp turmeric
1/2 tsp ginger powder
1/2 tsp pepper
1/2 tsp salt

Method:
1. In a bowl, mix together shishamo with the remaining ingredients until the fish is evenly coated.
2. Grill for 20 mins or until the skin has crisped up.