Showing posts with label fruits. Show all posts

Monday, June 18, 2012

Pineapple banana frozen yogurt and coffee ice cream

A while ago after I saw the gorgeous shots of strawberry cheesecake ice cream by Nami of Just One Cookbook, I couldn`t stop thinking about getting myself an ice cream maker. Although I`m usually more into frozen yogurt than ice cream, the idea of making such desserts at home sounds terrific to me. And hellooo...summer is so close already!
I`m really glad that Nami also gave the Amazon link for her ice cream maker because I was totally clueless about any ice cream maker. Although it turned out that the one that I wanted isn`t available here and there is a 100 USD shipping charge if I purchase it from Amazon US (unbelievable, right?!), I decided to purchase the older version of the Cuisinart ice cream maker through Amazon Japan and my new toy is here now! Yeehaaa!


My first ever homemade ice cream was blueberry ice cream using the recipe that came with the manual. The recipe was a quick and simple one as it doesn`t involve any cooking. Just chill the ingredients and churn them altogether in the freezer bowl. I`m also a bit hesitant about including eggs in making ice creams, so I decided to make no-cook and eggless ice creams. Using this method, my blueberry ice cream turned out okay for a starting point and I`m so excited to learn and create more. 

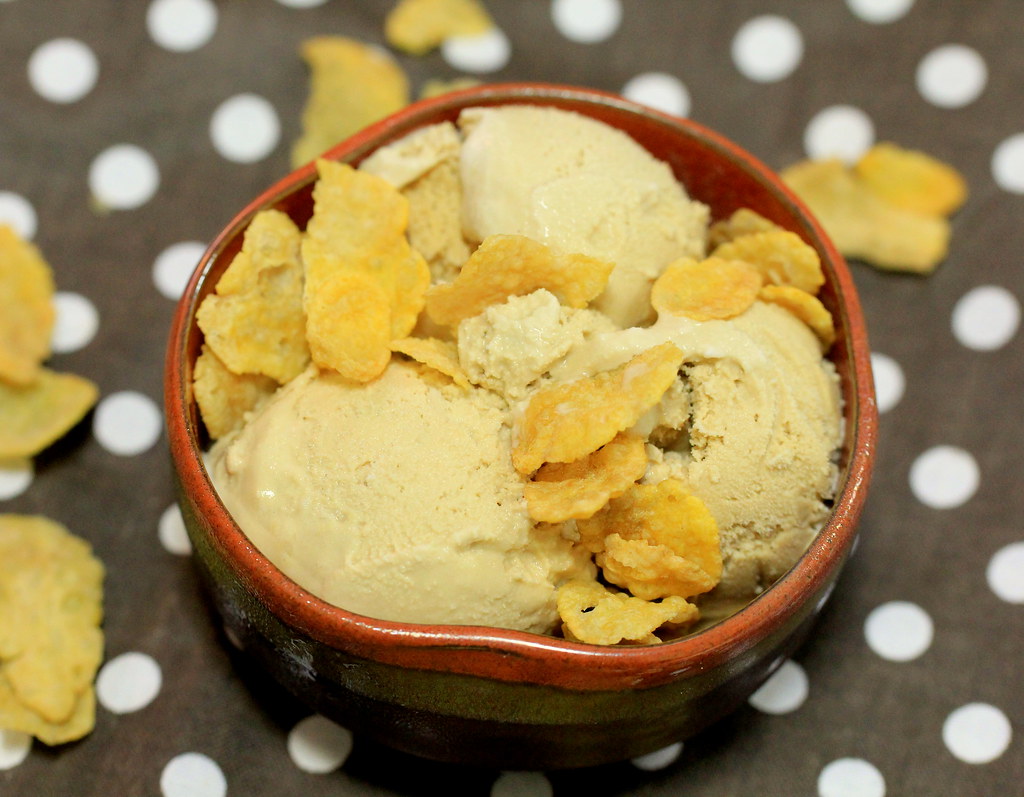
My second product is this coffee ice cream, which is still no-cook and eggless version. I also used decaffeinated instant coffee as I don`t want to stay awake all night after devouring it. I was initially worried about the texture of ice cream because I omit the eggs and the cooking process, but the result was still pretty much satisfying. My husband and I super lllllove this ice cream both for the taste and texture and I had to keep an eye on him because otherwise he would easily finish the whole batch I made. I guess I don`t need to go to Baskin-Robbins for a cup of coffee ice cream anymore!

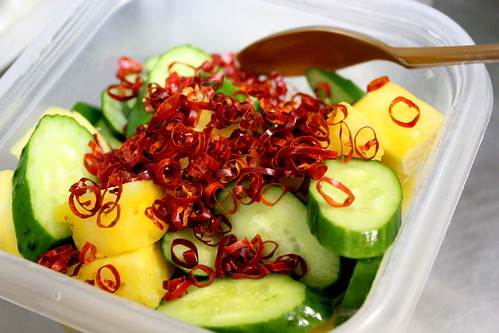
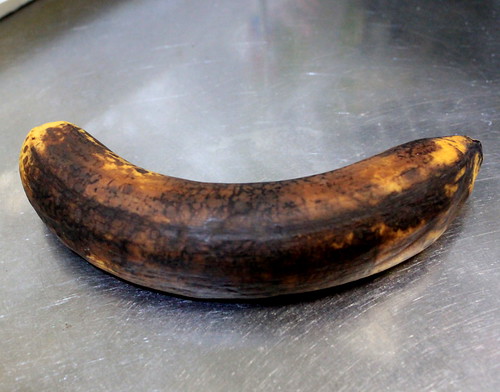
After having nonstop sugary and creamy days, for my next trial, I made frozen yogurt using pineapple and banana. The idea is to use as many fruits as possible and borrow their natural sweetness for the dessert. For the fruit, I initially intended to use pineapple only, but then I thought that I needed something to give more thickness in the mixture and that led me to include banana.
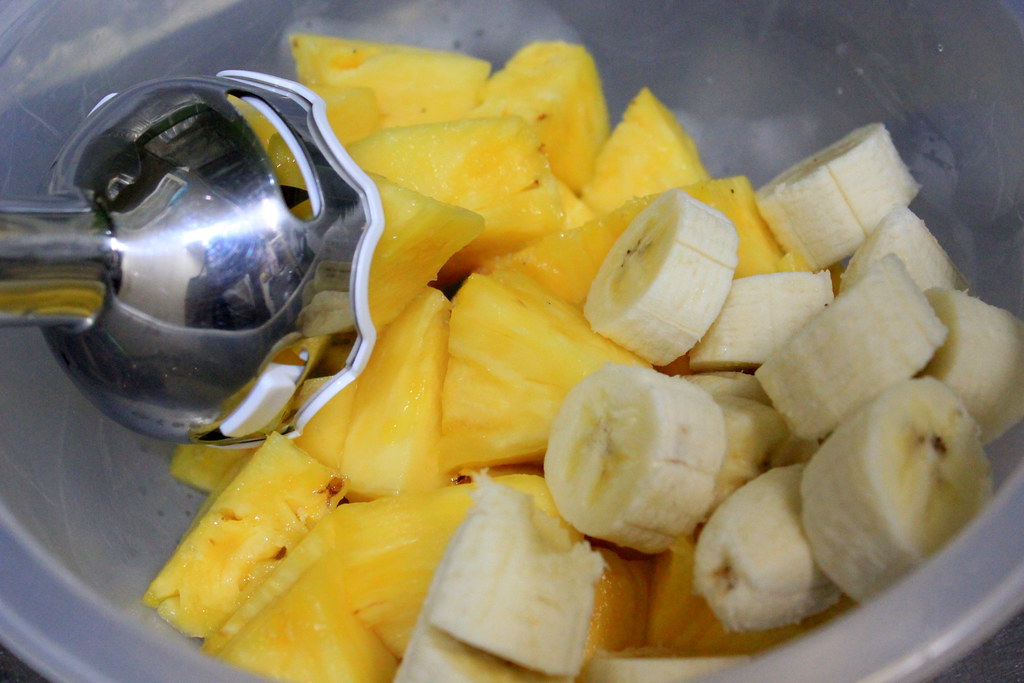
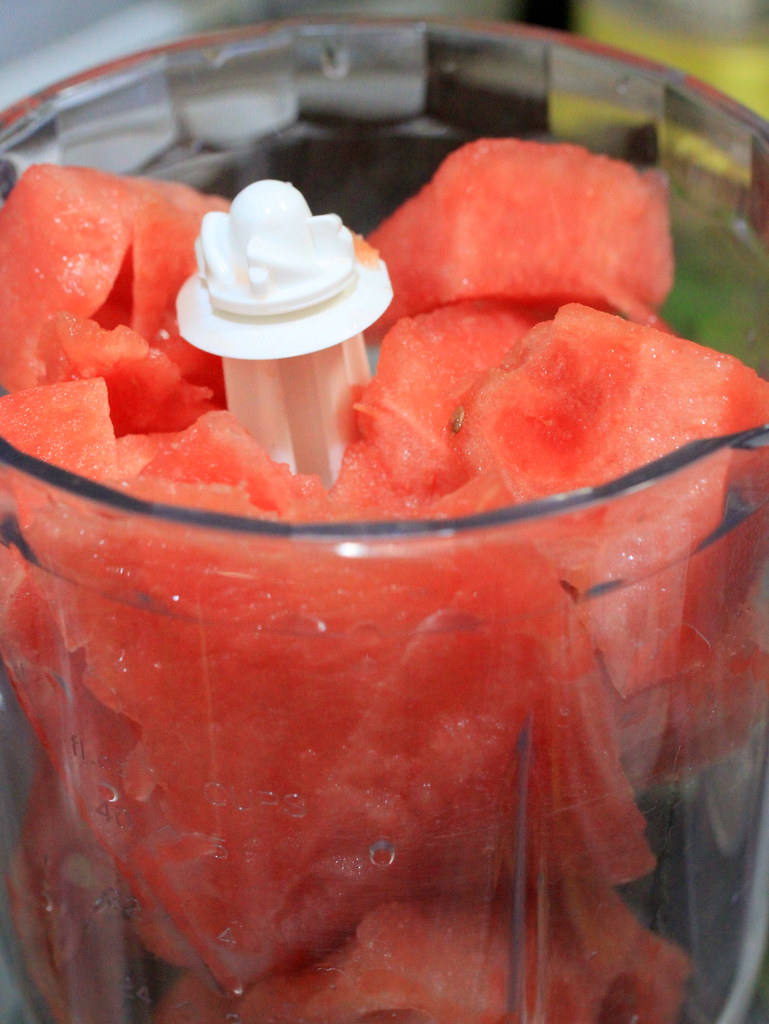
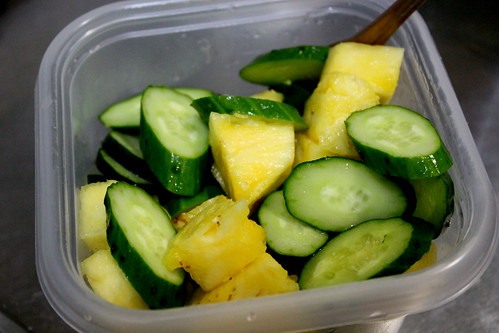
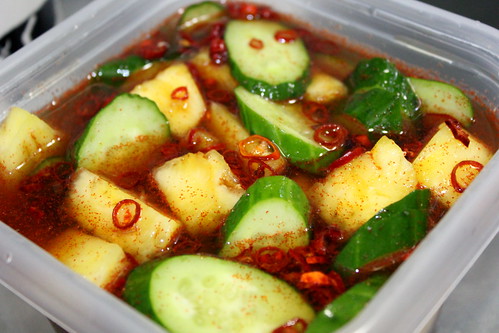
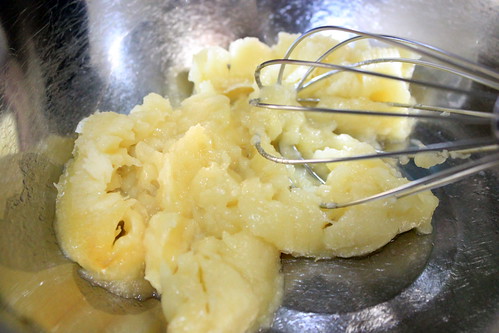
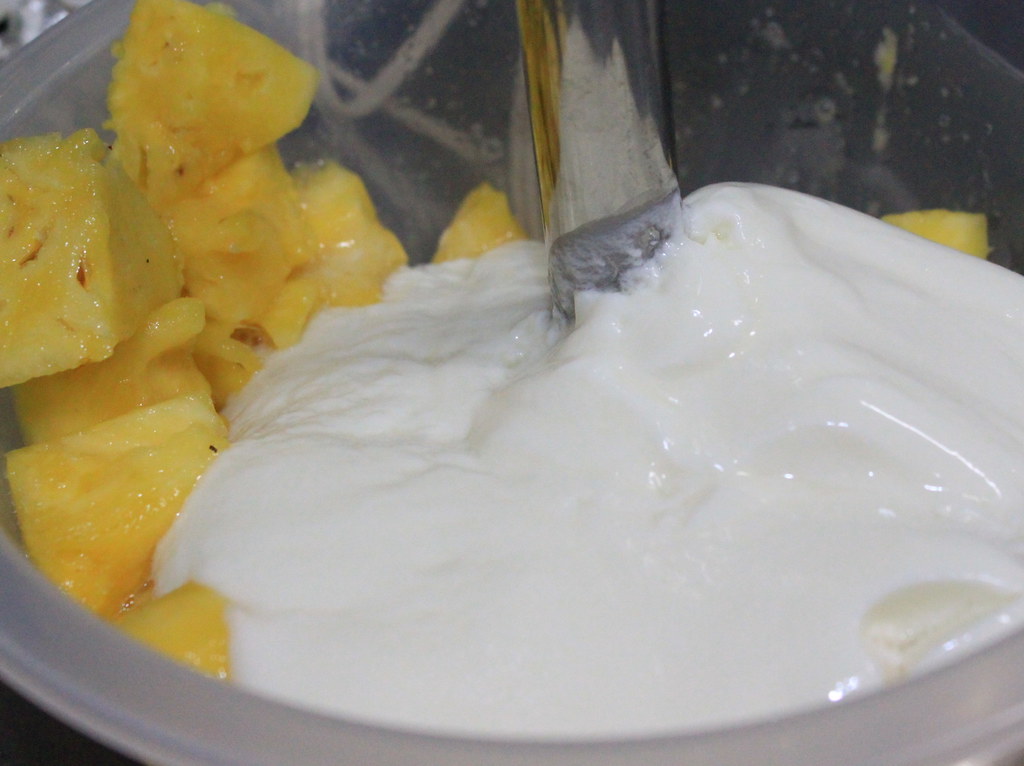
So this is where I have the pineapple and banana cut into chunks and I was ready to puree them until.....

I remembered that I forgot something. The yogurt. So typical me.

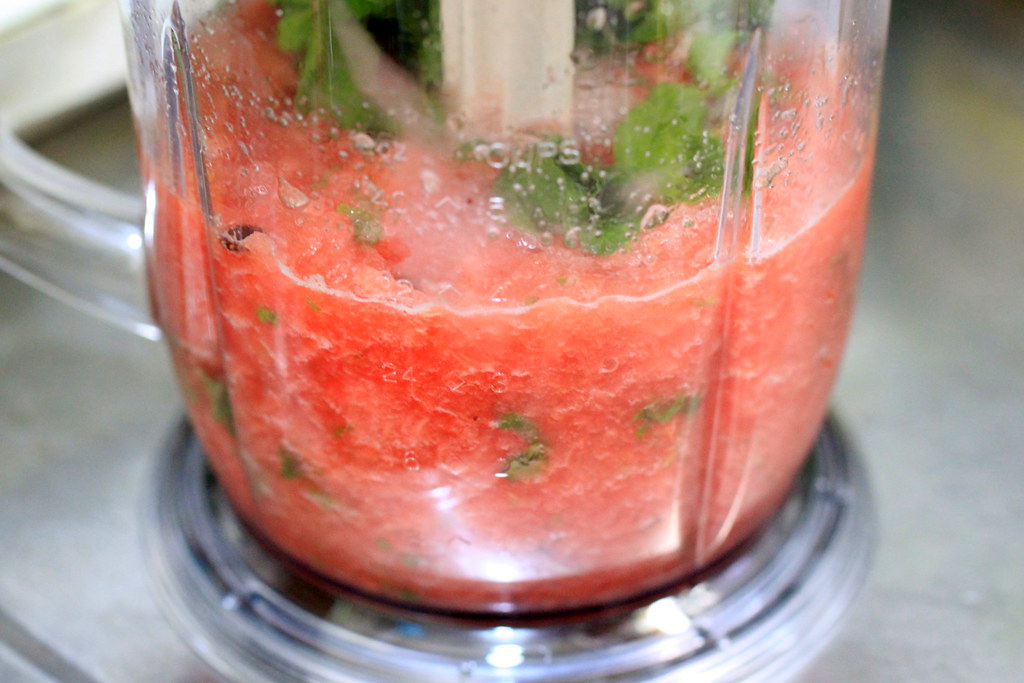
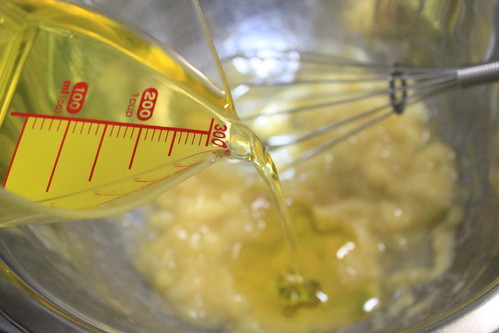
After everything has turned into this pale yellow smoothie texture, I tasted it and decided to add a few tablespoons of honey. Sweet and sour. I`m happy now.
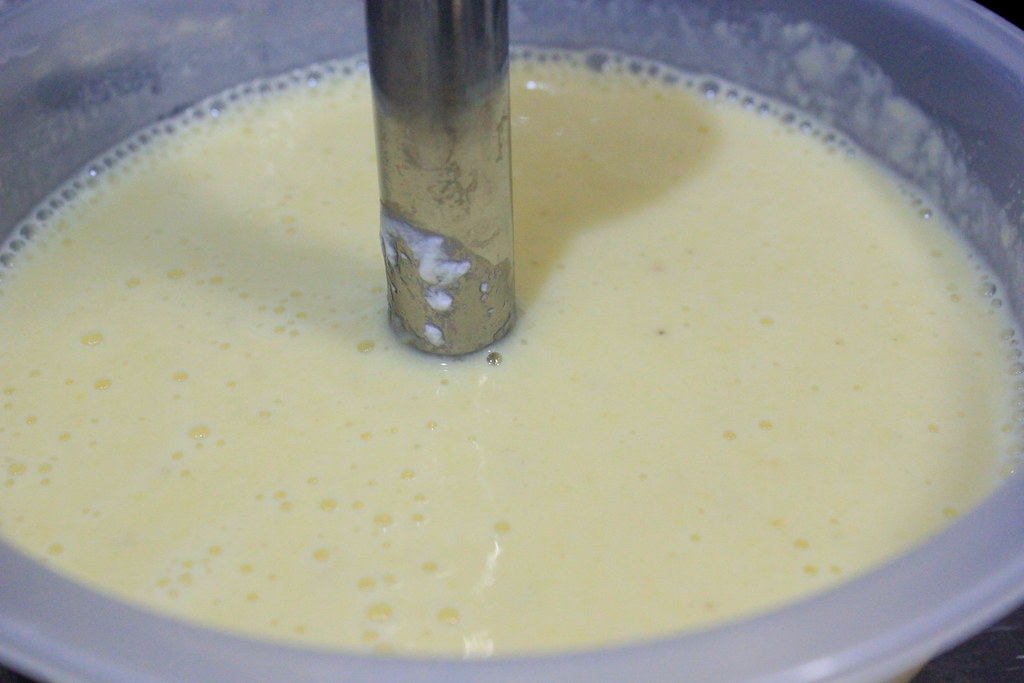
So I did still add more sweetener here, but comparing it to how much sugar I used for my previous ice creams makes me feel better.

Here it comes my magic bowl!

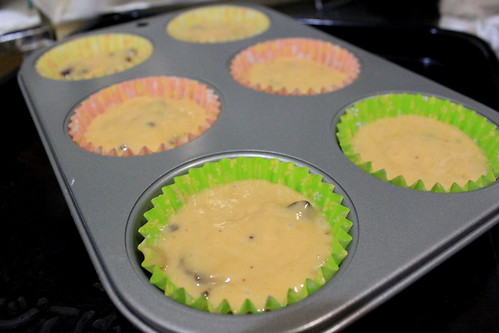
I set the mixing paddle in the freezer bowl, which had been kept in freezer overnight, put the lid on, turn the machine on, and pour the puree through the spout. 
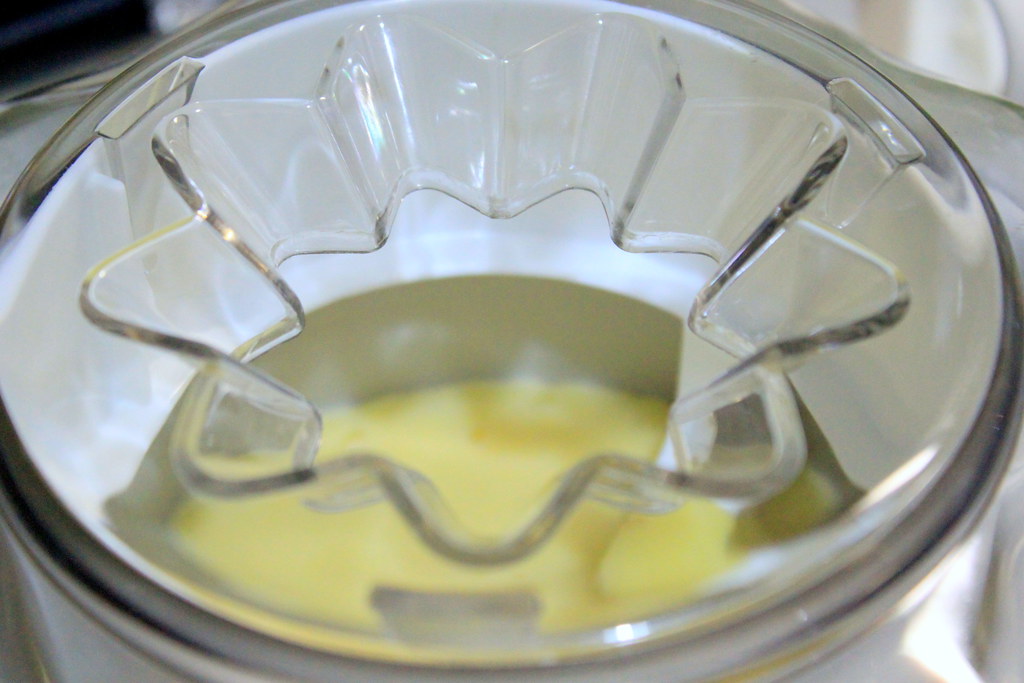
I set my timer for 30 minutes and let the magic happens. 

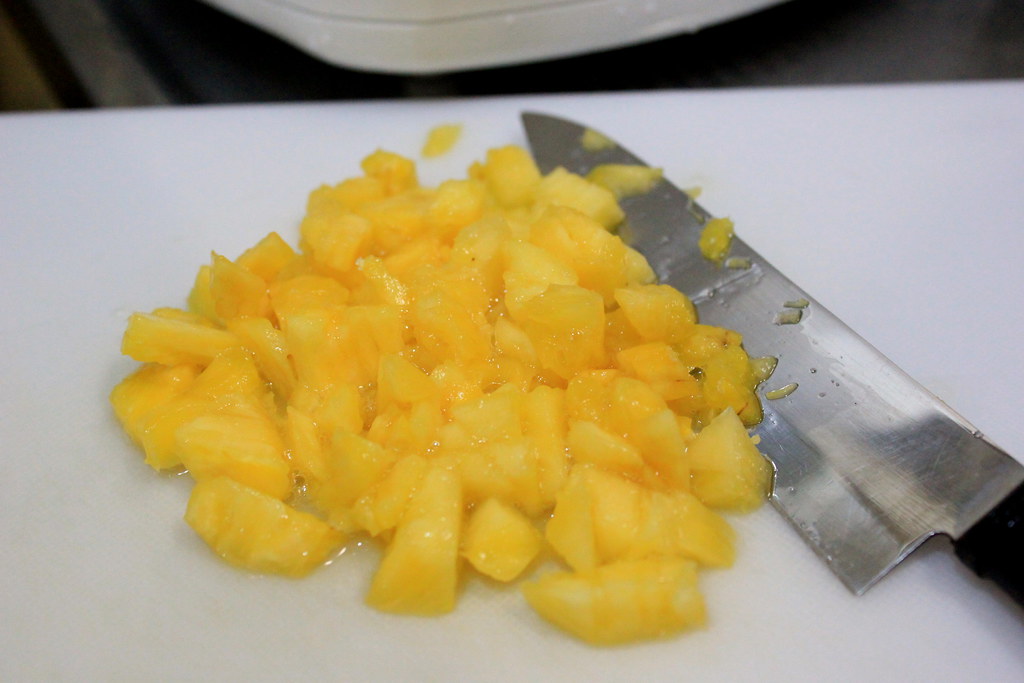
While waiting for that,  I chop some of the pineapple chunks that I have reserved.

After 20 mins or so, the puree thickened up and started to reach the top of the paddle. How exciting is this!

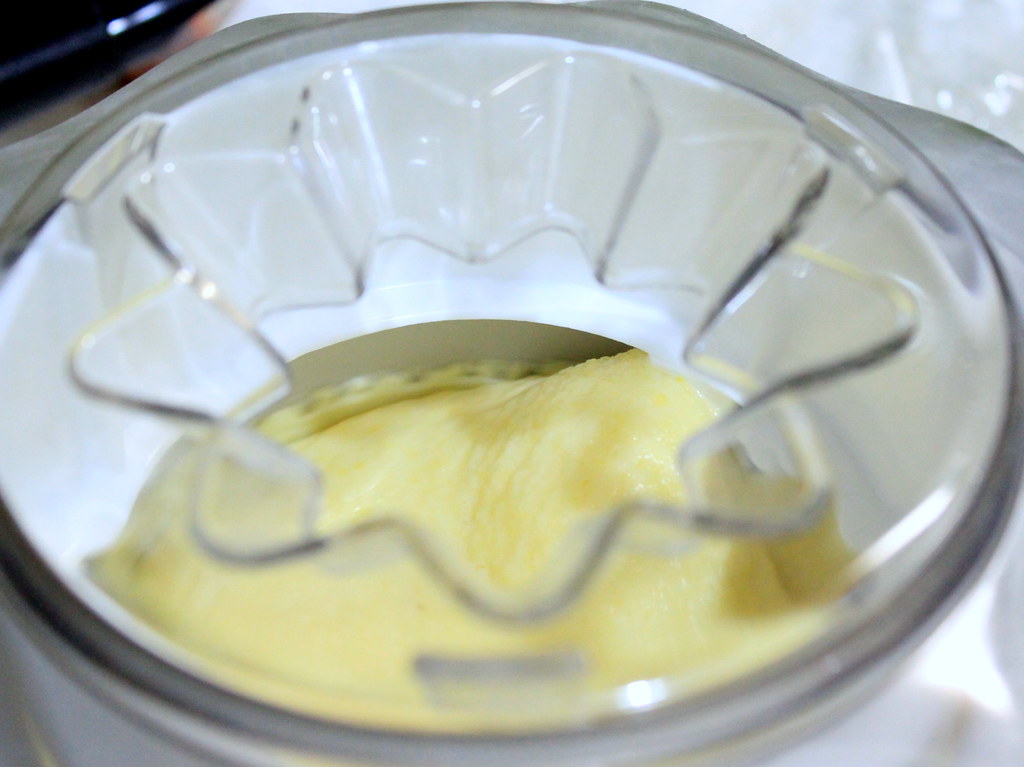
The frozen yogurt turned thicker and thicker and before I turned off the machine, I sprinkled in the chopped pineapple and churned it for another 5 minutes.

Voilà! It`s done! The mixture might seem too gooey at this step, but after another hour in the freezer (not the bowl), it set nicely.
Oh, I`m totally in love with my ice cream maker. 

I`m not sure if I`ve ever tried sorbet, or at least a decent one before, but this dessert looks more like sorbet than frozen yogurt to me, especially if I compare it to Golden Spoons` products. I`m not sure why, but probably the absence of milk or double cream in it have something to do with that. And speaking of sorbet, the day when I made this dessert and finished my photo-work, I found that Nami has posted her pineapple sorbet with banana too! Maybe the weather has made us think of exactly the same fruits :D
 なみさんへ:同じようなデザートを作っちゃって、すみません!
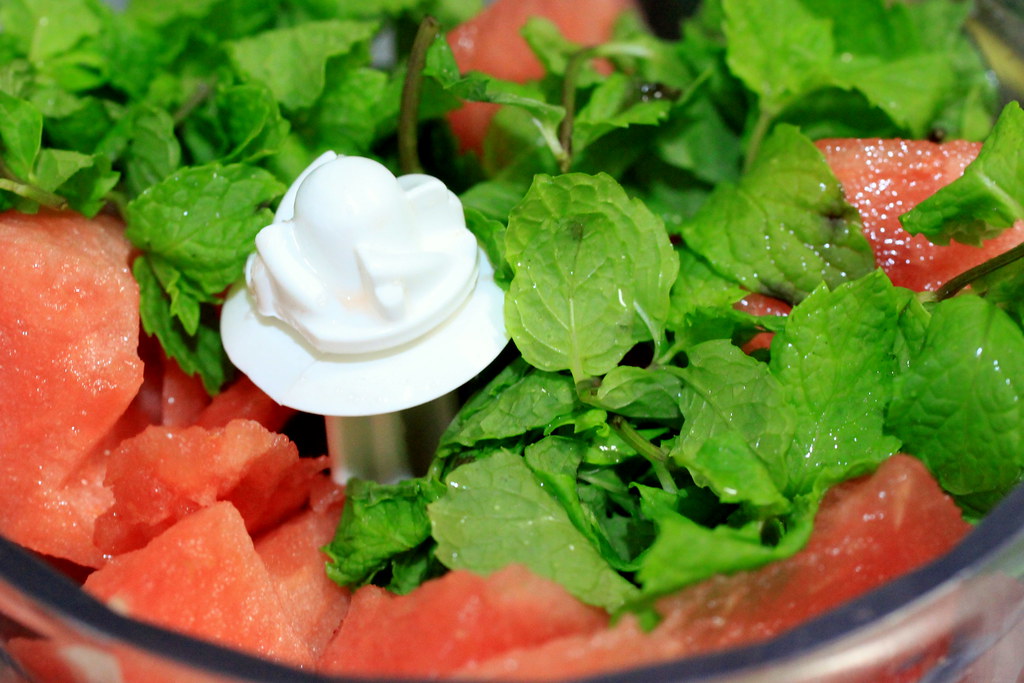
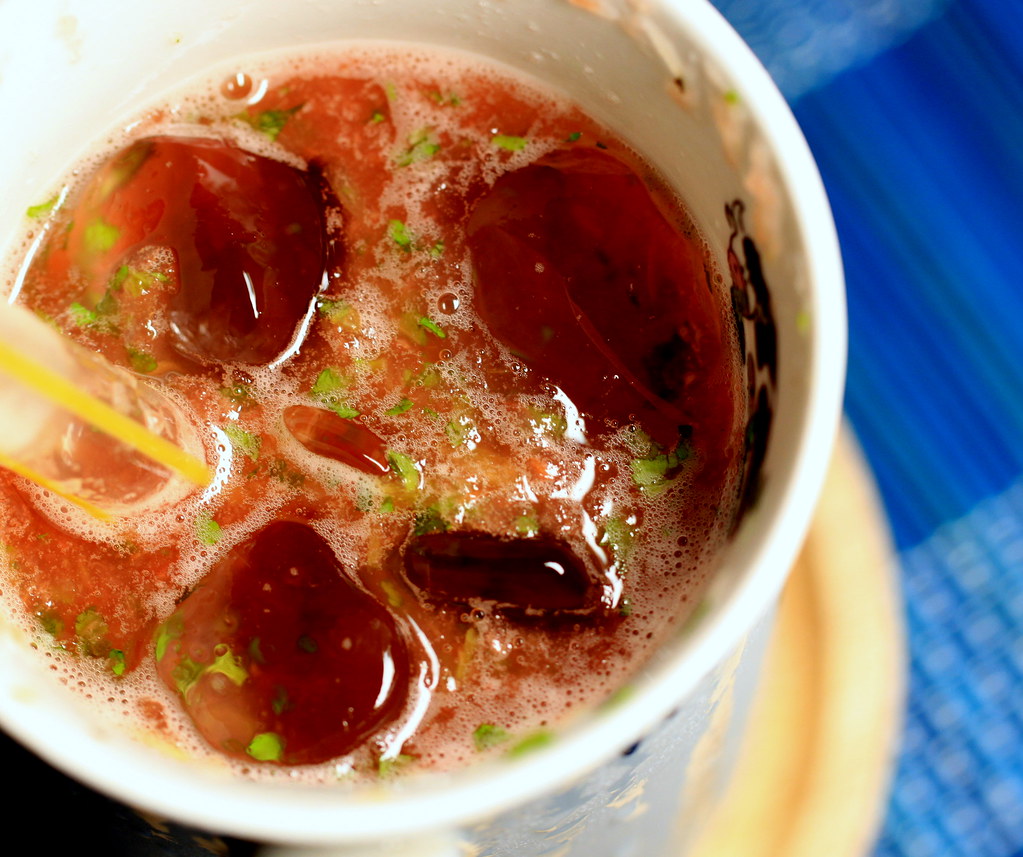
I apologize for the wilted look of the mint leaves, but I hope it doesn`t suck out all the sunshinyness of the dessert. A verdict on the taste, next time I probably will use less banana for this as the banana turned out to have very strong aroma that almost overpower the pineapple. But all in all, the result made me smile from ear to ear!

PINEAPPLE BANANA FROZEN YOGURT
Makes approximately 1 liter

Ingredients:
1 pineapple, cored and cut into chunks 
Reserve some of the pineapple chunks and chop up
2 banana (or less), cut into chunks 
400 g plain yogurt (I used non-fat)
4 Tbs honey

Method:
1. Puree all the ingredients and chill the puree in refrigerator for 2-3 hours.
2. Churn the puree in an ice cream maker according to the manual for 30 minutes or until the puree has thickened up.
3. Five minutes before stopping the churning process, add the reserved pineapple to the frozen yogurt.
4. Transfer everything to a freezing container and keep it in the freezer for another 2-3 hours.


COFFEE ICE CREAM
Makes approximately 1 liter

Ingredients:
400 ml double cream
200 ml milk
150 g sugar
3 Tbs decaffeinated instant coffee
1/2 tsp salt

Method:
1. Chill all the liquid ingredients in the refrigerator for 2-3 hours.
2. Dissolve instant coffee with some part of the milk. 
3. Churn all the ingredients, including the dissolved instant coffee, in an ice cream maker according to the manual for 30 minutes or until the mixture has thickened up.
4. Transfer everything to a freezing container and keep it in the freezer for another 2-3 hours.

Friday, February 17, 2012

Cream biscuit with strawberry orange jam

Friday night is finally here and now I can sit down sharing with you about my recent experiment. And speaking of experiment, sometimes I think it`s funny when I realize that I work in a lab where I measure chemicals and stuff, mix them altogether, heat or freeze them, make notes, take pictures, and so on. Then, at home, I practically do the same things, only with edible ingredients and these additional steps. Tasting, and eating the results. I guess I spend my time in two laboratories with two different projects and purposes.

So, back to my kitchen experiment. As I told you before about how I`m into baking these days, I found a biscuit recipe in Betty Crocker`s The Big Red Cookbook in which whipping cream is used to replace butter or shortening. Great! I always prefer to bake everything without butter whenever possible, so I was very excited to give the recipe a try. Not that I`m a butter hater person-believe me, you can kidnap me only with a jar of butter cookies-, but if I  have the option not to use it, I`ll  be happier. 
I`ve once made biscuit using butter before, but the biscuits turned out to be heavy and didn`t rise as high as what I`ve expected. I`m sure my baking skill is the only thing to blame for, but I knew I had to try making them again and I`m so glad I did!

Mix together flour, baking powder, and salt in a bowl.

Stir in whipping cream until you can form the dough into a ball.

Like this one. To me it looks like a cauliflower.
You can adjust the amount of the cream to get the right consistency. If you`ve added the whole amount of cream I listed below but your dough is still dry and too crumbly, add 1-2 Tbs more cream. If your dough is too sticky, add a bit more flour.

Knead the dough for a few times on a floured surface and roll out until 1-cm thick.
The next proper thing to do is cutting it out with a biscuit cutter or a cup. I don`t have the cutter or cups with suitable size either, so I just cut it using my knife unevenly. Unintentionally, of course. My apologies to the biscuit inventor.

Have you ever seen biscuits that look like tofu??

Bake them at 210 C for 15 mins or until the top has turned browned.
Seriously, I thought the biscuits has turned into tofu puffs in my oven. Anyway, tofu puffs or biscuits, just look how wonderfully they rise up!

After they`re out from the oven, they will shrink down a bit and you`ll notice the cracking side in each of them.

You can serve them with whatever you like, but I happened to have some strawberries and oranges, so I decided to make my own jam. I don`t have any special recipe for making fruit jam, but in case you`ve never made any, it`s no rocket science and here`s how to make it. 

Start with: washing the fruits. Of course.
If you use the same fruits like I did, cut up the strawberries into small chunks and juice the oranges.You can puree everything if you like, but I prefer to have some texture in my jam.

Heat the strawberries, orange juice-I added the pulp in too-, sugar, and a pinch of salt on medium heat.
Confession: that white powder you are now looking at is all SALT. Salt, everyone. It was a very salty accident. I had to discard the juice, rinse the strawberries with water, and pour in another fresh batch of orange juice. 
So, make sure that you`re adding more SUGAR than salt, unless salty jam is what you want.

I didn`t add water at all, but the orange juice and the water coming out from the strawberries is enough to turn the mixture into a thick liquid. 
Keep stirring and cook until the jam has thickened or until it has reached your preferred consistency.

Pour the jam into a jar, seal, and store it in fridge.

Spread the jam on the biscuits and you`ll find how wonderfully they marry together. The biscuits are so light and puffy and the sweet tangy strawberry jam makes everything joyful! Homemade bread and homemade jam under 1 hour. Can you believe it? I should call them weekend achievement. 

I`ll be coming back, hopefully soon, with a post on how I used up the stale biscuits! 

CREAM BISCUITS
Makes about 12 buns

Ingredients:
240 g bread flour
2 1/2 tsp baking powder
1/2 tsp salt
200 ml whipping cream (heavy cream)

Method:
1. Mix together flour, baking powder, and salt in a bowl.
2. Stir in whipping cream until you can form the dough into a ball. 
3. Knead the dough for a few times on a floured surface and roll out until 1-cm thick. 
4. Cut out the dough with a biscuit cutter or cup. 
5. Bake at 210 C for 15 mins or until the top has turned browned.

STRAWBERRY ORANGE JAM
Makes about 1 1/2 cup

Ingredients:
10 strawberries
2 medium-sized oranges to produce about 1 cup of juice
2 Tbs sugar
A pinch of salt

Method:
1. Cut up the strawberries into small chunks and juice the oranges
2.  Heat the strawberries, orange juice (and the pulp too), sugar, and a pinch of salt on medium heat. 
3.  Keep stirring and cook until the jam has thickened.
4. Pour the jam into a jar, seal, and store it in fridge.

Thursday, August 18, 2011

Watermelon drink

Since I made my cucumber agua fresca that day, I just can`t stop making fruit drinks in my kitchen. And when I got myself a book for smoothie recipes, I stepped up to add some vegetables in. I realized how rare I ate raw vegetables for my daily meals and I know that`s just not good. Not good for my skin! So I blend up carrot, cabbage, bell pepper, tomato, apple, blueberries, oranges, lemon, etc etc, you name it. The good thing is, I get to borrow the natural sweetness from the fruits and make the less sweet or rather bland vegetables more drinkable. I don`t usually eat raw vegetables due to their blandness at the first place. Anyway, I drink it everyday, usually twice at morning and night. Repeat: Everyday. To my surprise, not only I started to get used to the natural sweetness (although sometimes when it tastes too bland or weird, I add a bit of honey), I found the taste of the fruit and veg mix isn`t that bad for me.
Now this post is for what I`ve made last month, where I haven`t thought of mixing it with veggies. But still this drink is one of my favorites, next to eating the watermelon as it is. Watermelon is one of my biggest love affairs with food. I see it as a beautiful crunchy yet moist sponge full of refreshing sweetness. It`s just perfect. Even with the seeds in. If the seeds bother you, though, you might be better choose the seedless watermelon for this drink.


Chop up and put them in a blender


Aah..the cooling mint leaves. I never get enough of them.


Whiz up. Oh, lovely.
By the way, I didn`t need to add sugar or honey at all as this was sweet enough for me. 


And as always, I forgot something. Oranges.
Use a squeezer to get the juice (and pulp too if you want), pour it in to the blender and puree it again.


And since I didn`t take the picture after I added the orange juice, please pretend that you see a jar of watermelon puree with light orangeness. Thank you.
By the way, you can add water (or not) to your preference of thickness. Although the more water you add, the less sweet it would be, and the more sugar (or honey) you would likely add.


Say hello to this freshness. Happy slurping!


Ingredients:
Watermelon (seedless one, if necessary)
Orange juice
Mint leaves
Water (optional)
Sugar or honey (optional)

Sunday, August 14, 2011

Pineapple and cucumber in spicy light syrup

The idea of eating fruits with chili, which is my nature by the way, never fails to bring out the puzzled looks on my Japanese friends` faces whenever I mention it. It was sort of Fruits with chili?? Really?? faces. And that was when I realized how I basically grew up  and live up chewing chili with almost any kind of food. Chocolate with chili? Tried it last year. What an interesting taste!
Anyway, the fruit drink I made here is basically a lighter and partly drinkable (or slurpable) version of Indonesian fruit salad called rujak, which is a mix of cut fruits like mango, cucumber, and pineapple dressed with sweet and spicy sauce made of dark brown, chili, and tamarind. I do love rujak the way it is, but  at the moment I need to keep the thought of eating the fruits with the thick sugar paste  (aka. more sugar less water) away. After all, slurping the cold  spicy syrup (aka. more water less sugar) with occasional fruits chewing is what I am craving for these super hot days.

I only used pineapple and cucumber here, but you`re certainly welcome to experiment with your favorite fruits. Maybe next time I`ll go with apple.
So, start with pineapple. My first time dealing with fresh pineapple was just a year ago (I know!). Having to peel off its skin was my only reason for not buying pineapple. But when I found pineapples sold with a  serving guidance tagged on them, my pineaple-less days were over.

So, if you too are intimidated by the skin like I was, I hope this guidance can be handy for you. It`s in Japanese, but I`m sure you can figure it out from the pictures.


Peel off the skin and cut up the pineapple. Oh, I love this last part of the cutting process.

Next is cucumbers. After the pineapple, they come very easy to handle with. Slice them up in any shapes you like.


Mix the cut pineapple and cucumbers in a container.


Now for those of you who are new with eating fruits with chili, here comes the challenge.
Throw in sliced chili. It depends on how much you can handle the heat, but you can  certainly use much less chili than I did. I turn crazy when it comes to chili and you don`t have to be like me.
And by the way, I used dried chili because that`s what I got here. Go with fresh chili (deseed or not, depending on your heat tolerance) whenever you can because the fresh skin are soft enough to eat. The skin of the dried ones are actually a little too hard and papery to chew, so I sometimes boil them together with the syrup. And since I said sometimes, this time I just threw them in with the fruits and let the syrup soften them a bit after several hours soaking.


Because I skipped the boiling work, I used hot water to dissolve dark brown sugar in a cup.


Add this chili powder, vinegar, and a pinch of salt. If you have tamarind in hands, use the juice instead of vinegar.


Just make the syrup thick, pour it in batches to the fruits while thinning it out with water, and adjust the taste until  the fruits are completely soaked up in the container. For me, I like it to be lightly sweet but with intense heat and sourness. For a rough measurement, I added 1 tbs sliced chili, 3 tbs brown sugar, 6 tbs of vinegar, and a pinch of salt to a total volume of 750 ml fruits and water, which was my container capacity.


Add peanuts too. You can sprinkle the peanuts later when serving for a greater crunch factor, or before soaking to make them mushy. Whichever it is, please add the peanuts. Trust me.
Close the container tightly and keep it in refrigerator for several hours before serving. The longer you soak the fruits, the more they gain the taste. Ah, heaven.


Ready for the challenge?


Ingredients:
Pineapple
Cucumbers
Dark brown sugar or palm sugar
Chili
Chili powder
Vinegar or tamarind juice
Salt
Peanuts
Water

Wednesday, July 27, 2011

Chocolate banana muffins

Have you ever had your banana so overripe and blackened that no one in the house wouldn`t touch it? Well. I have. In fact, many times. And it felt as if I was the most horrible person on earth when I decided to threw them away as I used to consider them as "ugly and non-edible" food. Guilty!
But it`s different now. In a good way. Thanks to Nigella, again, there are good recipes in her Nigella Kitchen book that transform these bad-looking banana into something more appetizing. One of the recipes was this chocolate banana muffins. I made some changes with the original recipe, which were less banana (as I only had one left),  less sugar, and less oil. Oh, and I added choc bar.

So, speaking of bad, how bad did my banana look like?
This bad. Sad, right? I feel sad just looking at it.

No worries, though, as we`re about to do some magic here. Ready with your magic wand whisk?
Peel off the skin, put the banana in a mixing bowl, and mash it up with a whisk. If your banana is ripe enough, or overripe like mine was, mashing it up would be very very easy, although  using a whisk will probably leave a bit of texture.

Whisk in vegetable oil (I used olive oil, regular one) and few drops of vanilla oil. And love potion too, if you have it.


Beat in eggs...

...brown sugar...

...then chocolate bars broken - or torn, as they were already melting out in my hot kitchen - into small chunks.

Note 1: The original recipe calls for cocoa powder mixed with flour to be added later on, but I wanted to use the chocolate bars that had been sitting for ages in my kitchen. 
Note 2: If you omit the chocolate, you`d better add more sugar because with the amount of sugar I used here (see Ingredients), the muffin itself  doesn`t taste sweet enough. 

Fold in sifted flour and baking soda.

And spoon the mixture into muffin tin lined with parchment paper or muffin cups.
Bake for 15 mins at 200 C.


Here they are, puffing up delightfully! Not so ugly anymore, huh?
My muffins came out in irregular shapes of course. I can`t remember if I`ve ever made something neatly.


So let me show you again what the magic did. 
From this:

To this:

And you can totally smell the banana aroma coming out from these fluffy muffins filled with heavenly oozes of dark chocolate.


My husband is not big on some particular fruits and banana are one of them. He also tends to freak out whenever we had blackened banana in our house. Even so, he already ate three (three!) muffins while I am typing this. Wonderful day. 
So this is my Wednesday resolution: I will never, ever, throw away my banana, again.

Ingredients (adapted from Nigella Kitchen):
Makes for 12 muffins
1 overripe banana
100 ml olive oil
2 whole eggs
80 g brown sugar
Vanilla oil
80 g dark chocolate
200 g cake flour
1 tsp baking powder

Bake at 200 C for 15 min