Sunday, February 19, 2012

Chocolate bread pudding

As promised, I`m back to share this bread pudding using the stale cream biscuits I made before. I actually made it on Valentine`s night where I got home at night wondering what I could prepare for a simple celebration. I didn`t prepare any certain menu ahead because initially we didn`t plan to have any celebration. Regardless, I still wanted to bake something chocolatey and sweet for the night and I spotted the stale biscuits sitting sadly in the room. Then I realized I also had the other ingredients, so I quickly grabbed my mixing bowl and whisk. 
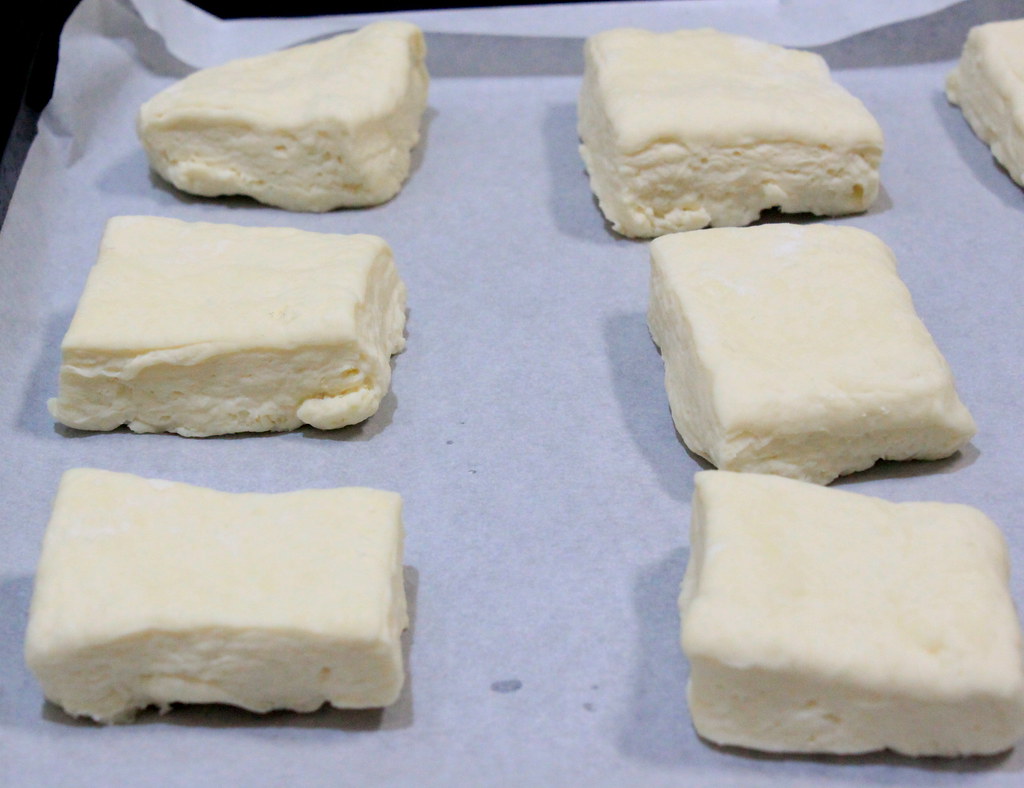
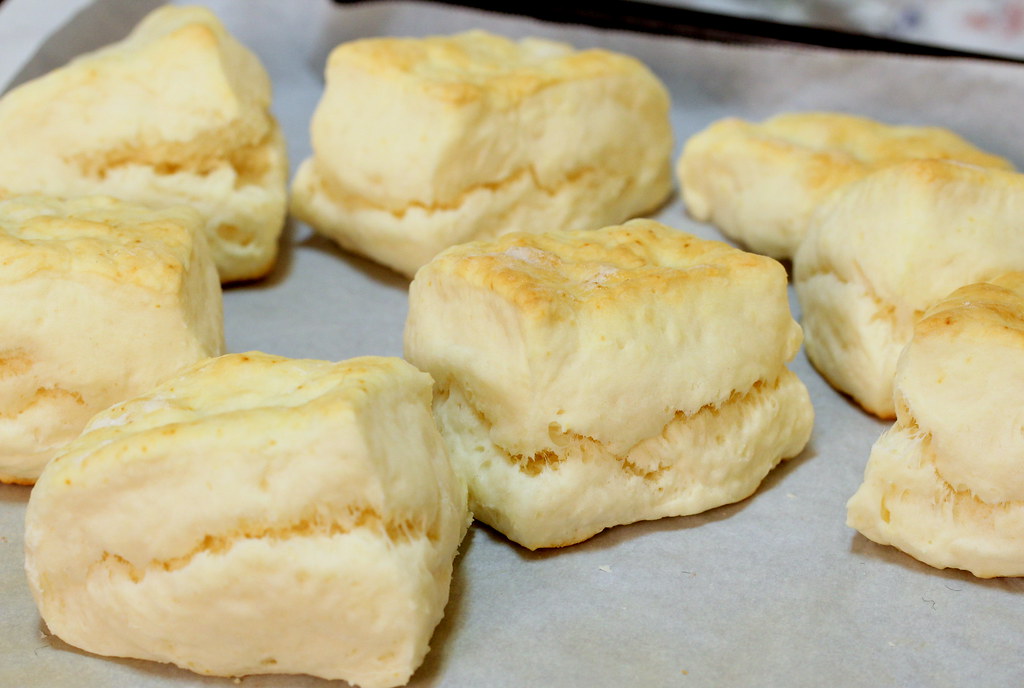
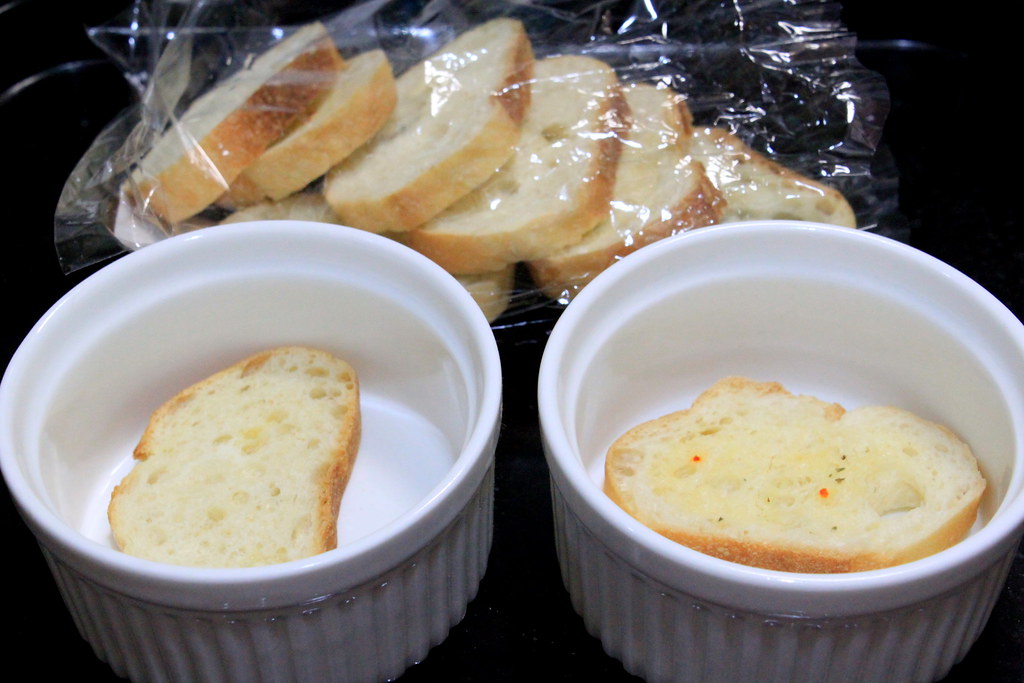
Arrange stale bread in a baking dish or cake tin and set aside.
I tore the biscuits to make smaller pieces and placed the crust down as I think they will absorb the liquid better that way.

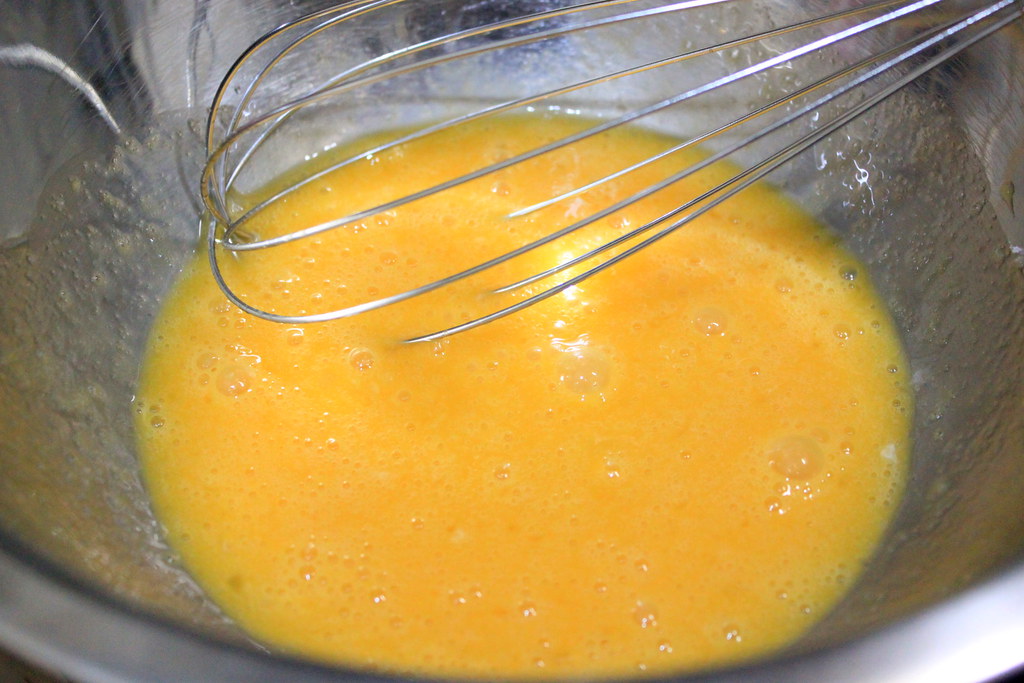
In a mixing bowl, beat eggs and sugar. 
I really love it when I can simply use my whisk, not the electric mixer, to make this kind of simple treat.
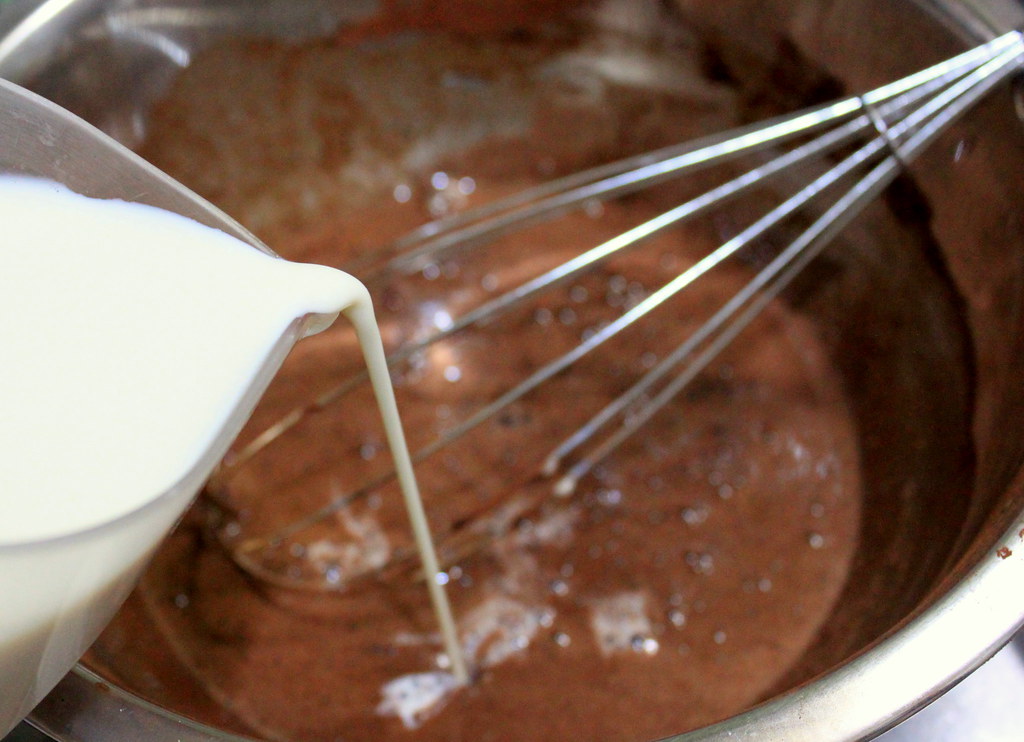
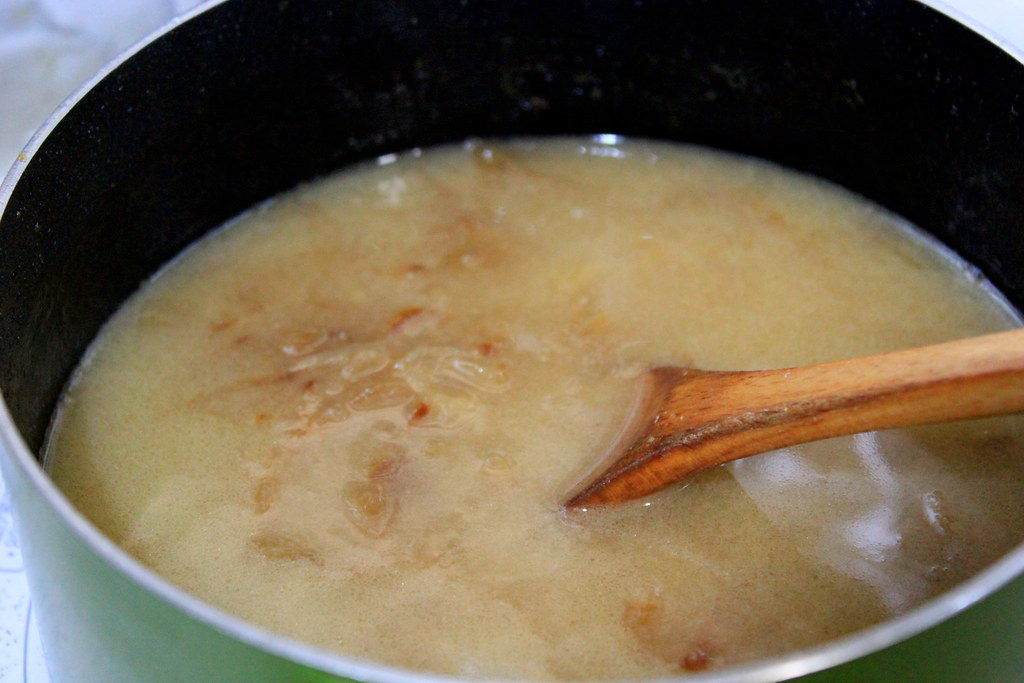
 
Stir in milk...

...and cocoa powder...whisk..whisk..

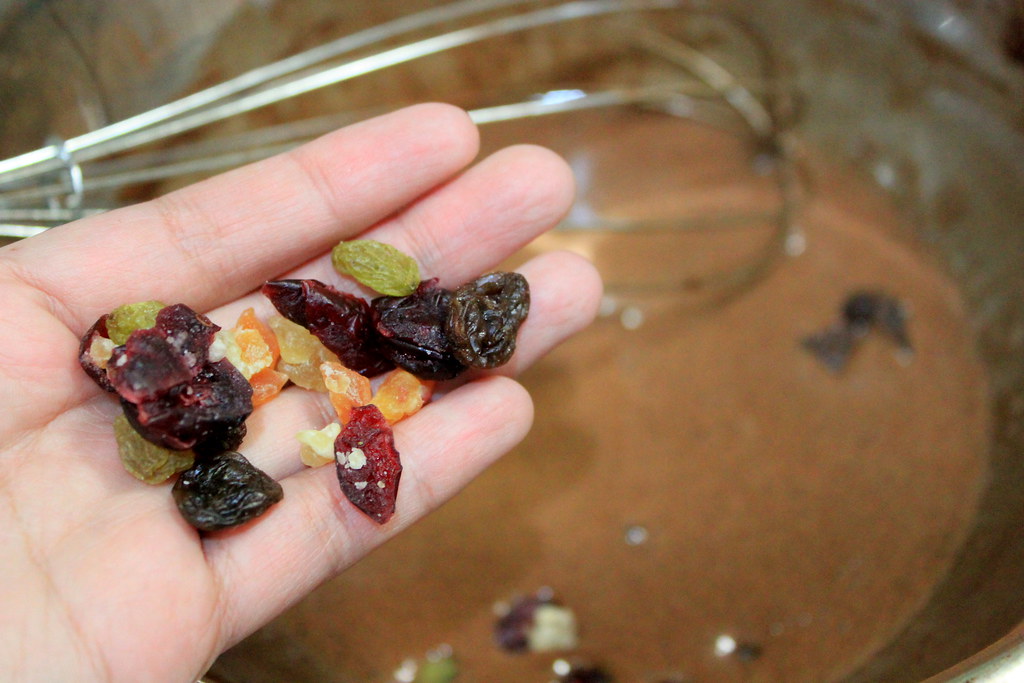
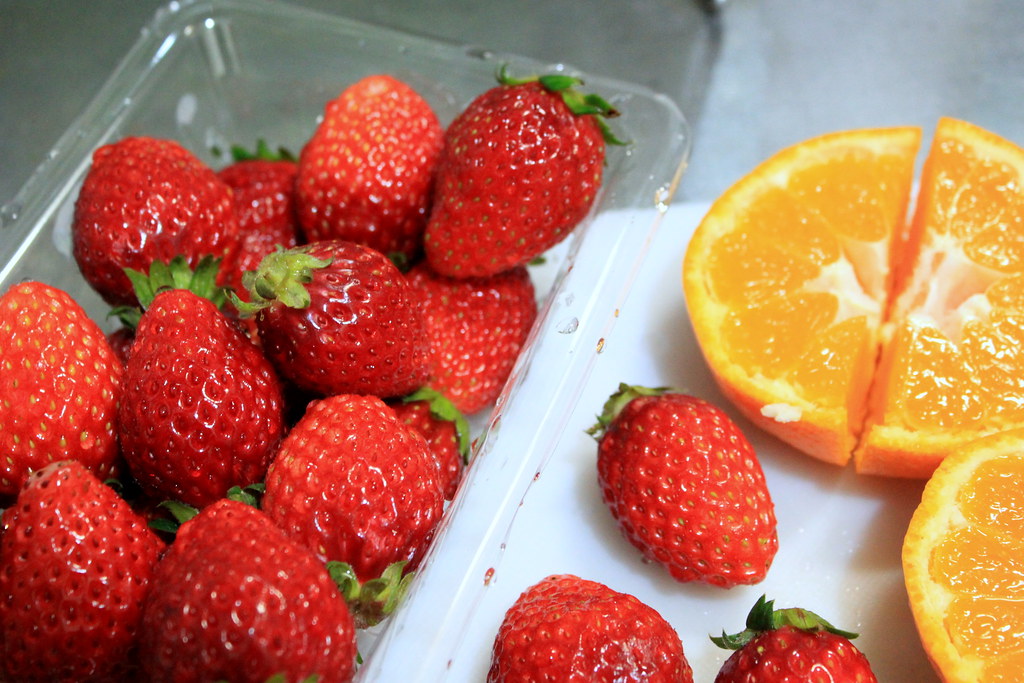
...and these beautiful little jewels. 
If you want to use more dried fruits, maybe you should reduce the amount of sugar in the batter to prevent the pudding from being overly sweet.

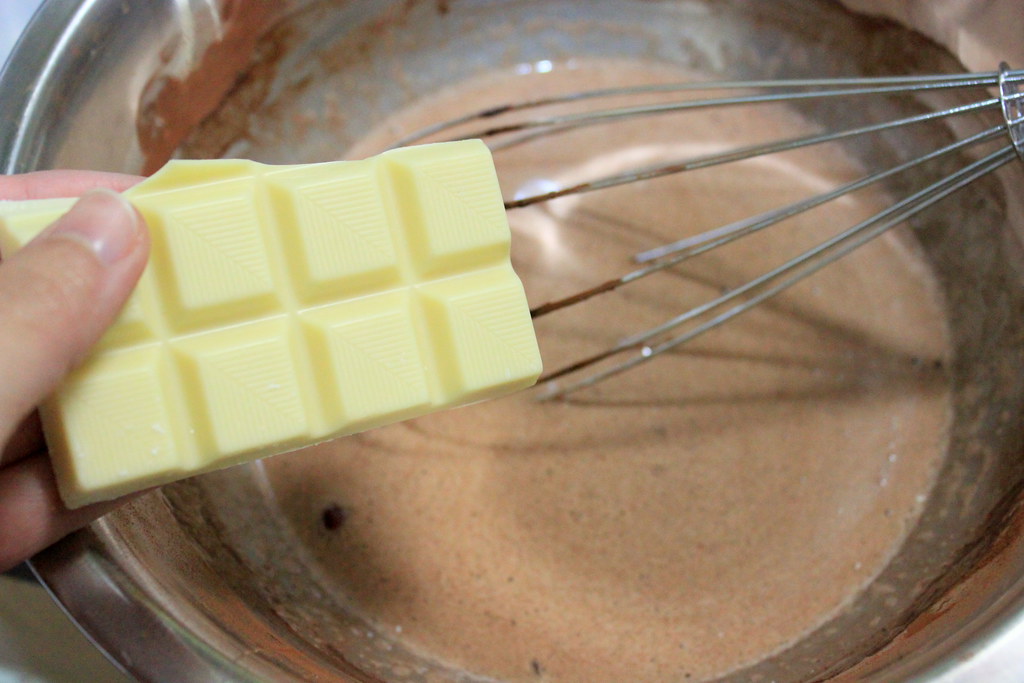
The final item containing sugar and fat and happiness is white chocolate. 
I was too lazy to chop up the chocolate, so I just broke the bar into chunks and stirred them in. And not only that. I also tried to grate the chocolate in, hence the white tiny chunks sticking on my ladle below. I thought I would love it, but it turned out the big chunks worked best for me.

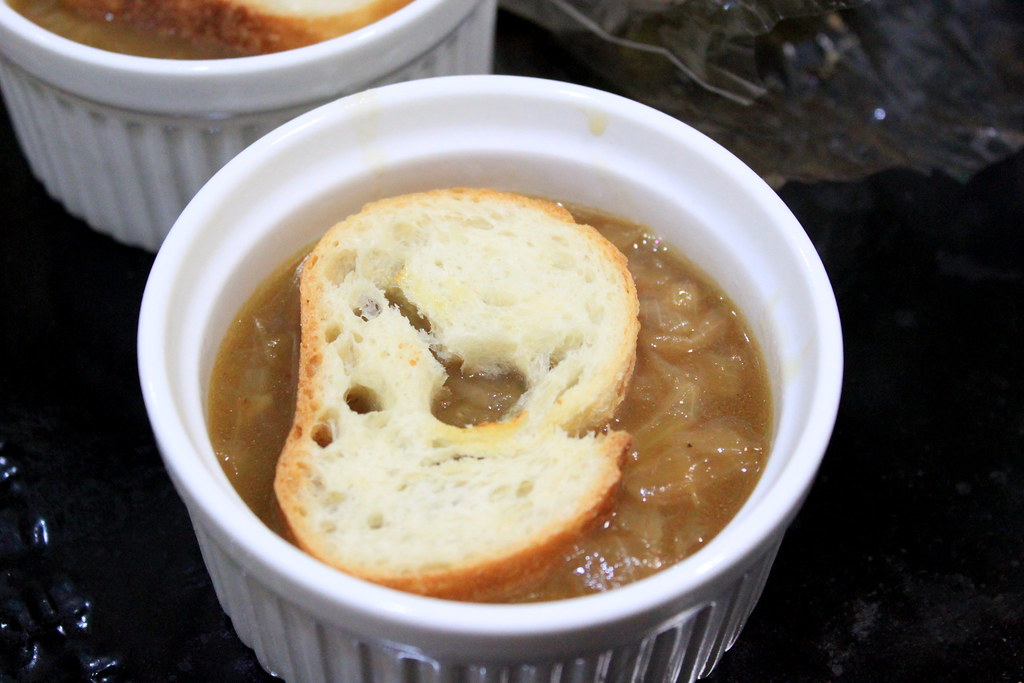
Alright, now gradually pour the batter into the tin and let the bread absorb it.
I don`t make bread pudding often, but pouring in all the batter then bake it right away is what I usually do. Now I came to think that it might be better if:  I throw all the bread into the batter in the mixing bowl, stir everything, and wait for a while until the bread has fully absorbed the liquid before finally baking it.
I really think that this method works better and you should try it.

So, this is when all the batter has been poured in. Some of the dried fruits and white chocolate chunks will float on top, but that`s okay.
Sprinkle cinnamon over (or you can stir it in when making the batter) and bake it in preheated oven at 180 for 30 mins or until the top is browned and there`s no liquid remained underneath.

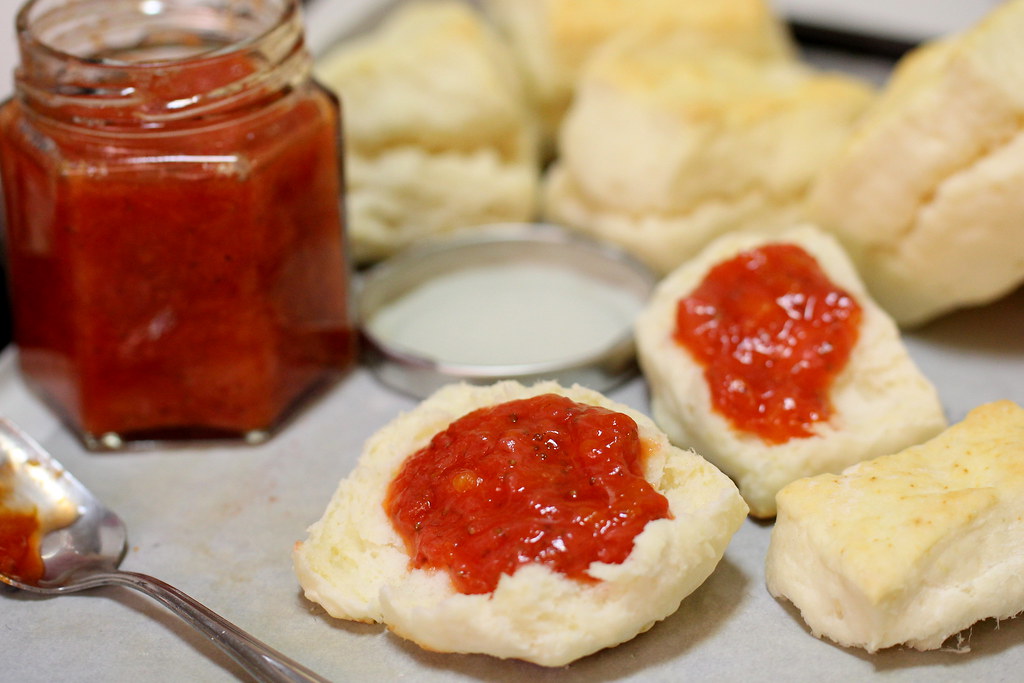
The look is not pretty at all and my ability in food-styling probably made it worse. But, there is a very big but here, this pudding has everything you need when you crave for something warm and sweet on a chilly night. Just hear this: The softened bread is filled with the chocolatey pudding and dried fruits with a lovely sweet milky crust of white chocolate on top. Now what`s not to like there??
CHOCOLATE BREAD PUDDING
Makes for 15-cm diameter and 5-cm deep cake tin

Ingredients:
Stale bread enough to fill half of the tin (see recipe for cream biscuits here)
2 eggs
3 Tbs sugar
150 ml milk
2 Tbs cocoa powder
1 1/2 cups dried fruits
White chocolate
Cinnamon

Method:
1. Arrange stale bread in a baking dish or tin and set aside.
2. Beat eggs and sugar in a mixing bowl.
3. Stir in cocoa powder, milk, and dried fruits.
4. Chop white chocolate into small chunks and stir in.
5. Gradually pour the chocolate batter into the baking tin and let the bread absorb the batter.
6. Sprinkle over cinnamon and bake in preheated oven at 180 C for 30 mins or until the top is browned and no liquid remained underneath.

Friday, February 17, 2012

Cream biscuit with strawberry orange jam

Friday night is finally here and now I can sit down sharing with you about my recent experiment. And speaking of experiment, sometimes I think it`s funny when I realize that I work in a lab where I measure chemicals and stuff, mix them altogether, heat or freeze them, make notes, take pictures, and so on. Then, at home, I practically do the same things, only with edible ingredients and these additional steps. Tasting, and eating the results. I guess I spend my time in two laboratories with two different projects and purposes.

So, back to my kitchen experiment. As I told you before about how I`m into baking these days, I found a biscuit recipe in Betty Crocker`s The Big Red Cookbook in which whipping cream is used to replace butter or shortening. Great! I always prefer to bake everything without butter whenever possible, so I was very excited to give the recipe a try. Not that I`m a butter hater person-believe me, you can kidnap me only with a jar of butter cookies-, but if I  have the option not to use it, I`ll  be happier. 
I`ve once made biscuit using butter before, but the biscuits turned out to be heavy and didn`t rise as high as what I`ve expected. I`m sure my baking skill is the only thing to blame for, but I knew I had to try making them again and I`m so glad I did!

Mix together flour, baking powder, and salt in a bowl.

Stir in whipping cream until you can form the dough into a ball.

Like this one. To me it looks like a cauliflower.
You can adjust the amount of the cream to get the right consistency. If you`ve added the whole amount of cream I listed below but your dough is still dry and too crumbly, add 1-2 Tbs more cream. If your dough is too sticky, add a bit more flour.

Knead the dough for a few times on a floured surface and roll out until 1-cm thick.
The next proper thing to do is cutting it out with a biscuit cutter or a cup. I don`t have the cutter or cups with suitable size either, so I just cut it using my knife unevenly. Unintentionally, of course. My apologies to the biscuit inventor.

Have you ever seen biscuits that look like tofu??

Bake them at 210 C for 15 mins or until the top has turned browned.
Seriously, I thought the biscuits has turned into tofu puffs in my oven. Anyway, tofu puffs or biscuits, just look how wonderfully they rise up!

After they`re out from the oven, they will shrink down a bit and you`ll notice the cracking side in each of them.

You can serve them with whatever you like, but I happened to have some strawberries and oranges, so I decided to make my own jam. I don`t have any special recipe for making fruit jam, but in case you`ve never made any, it`s no rocket science and here`s how to make it. 

Start with: washing the fruits. Of course.
If you use the same fruits like I did, cut up the strawberries into small chunks and juice the oranges.You can puree everything if you like, but I prefer to have some texture in my jam.

Heat the strawberries, orange juice-I added the pulp in too-, sugar, and a pinch of salt on medium heat.
Confession: that white powder you are now looking at is all SALT. Salt, everyone. It was a very salty accident. I had to discard the juice, rinse the strawberries with water, and pour in another fresh batch of orange juice. 
So, make sure that you`re adding more SUGAR than salt, unless salty jam is what you want.

I didn`t add water at all, but the orange juice and the water coming out from the strawberries is enough to turn the mixture into a thick liquid. 
Keep stirring and cook until the jam has thickened or until it has reached your preferred consistency.

Pour the jam into a jar, seal, and store it in fridge.

Spread the jam on the biscuits and you`ll find how wonderfully they marry together. The biscuits are so light and puffy and the sweet tangy strawberry jam makes everything joyful! Homemade bread and homemade jam under 1 hour. Can you believe it? I should call them weekend achievement. 

I`ll be coming back, hopefully soon, with a post on how I used up the stale biscuits! 

CREAM BISCUITS
Makes about 12 buns

Ingredients:
240 g bread flour
2 1/2 tsp baking powder
1/2 tsp salt
200 ml whipping cream (heavy cream)

Method:
1. Mix together flour, baking powder, and salt in a bowl.
2. Stir in whipping cream until you can form the dough into a ball. 
3. Knead the dough for a few times on a floured surface and roll out until 1-cm thick. 
4. Cut out the dough with a biscuit cutter or cup. 
5. Bake at 210 C for 15 mins or until the top has turned browned.

STRAWBERRY ORANGE JAM
Makes about 1 1/2 cup

Ingredients:
10 strawberries
2 medium-sized oranges to produce about 1 cup of juice
2 Tbs sugar
A pinch of salt

Method:
1. Cut up the strawberries into small chunks and juice the oranges
2.  Heat the strawberries, orange juice (and the pulp too), sugar, and a pinch of salt on medium heat. 
3.  Keep stirring and cook until the jam has thickened.
4. Pour the jam into a jar, seal, and store it in fridge.

Sunday, February 12, 2012

Anchovy fried rice

I`ve probably lost count on how many kinds of fried rice I`ve been making in my kitchen. It seems to me that the weekend`s lunch menu in our house is dominated with fried rice and I suppose that happens because lazy cooking is all I can think about when I wake up on weekends.
This fried rice is not only super quick to prepare, but also embarrassingly simple. Still, I decided to post it anyway. Who knows, maybe my future kids who will stay in their future dorms will read this (on their future tablets perhaps?), cook the fried rice, and forget their cup ramens for a while. Or who knows, you happen to have all the ingredients and are hungry?

What I`d put in my fried rice mostly depends on what`s inside my fridge and this time I had leftover anchovies.

I could have laid the anchovies on my chopping board and chop them, but snipping them up in the jar gives me less mess to clean up later.
So, snip, or chop up the anchovies and set aside.

In a frying pan on medium heat with a bit of oil, stir-fry sliced spring onions, 1 Tbs of grated ginger, and chili. The ginger might sound awfully a lot, especially if you`re not a regular ginger eater, but I find that the ginger gives a nice mellow warmth to the fried rice.

After the spring onions have wilted, stir in the chopped anchovies.
Smells heavenly now, doesn`t it?

And now, stir in cooked rice and adjust the seasoning with pepper and salt, if necessary.
I didn`t add salt because to me the saltiness was good enough.

See? The fried rice is done within 20 minutes or probably even less. The anchovies-ginger combo really gives a very nice flavor to this fried rice. The look is definitely far from fancy, but with this, you can tell that your weekend has started.

Happy Sunday!

ANCHOVY FRIED RICE
Makes about 2 plates

Ingredients:
2 spring onions
1 Tbs grated ginger
2 dried chili (remove seeds for milder heat)
1 Tbs chopped anchovies
2 plates cooked rice
Pepper
Salt (optional)

Method:
1. Stir fry sliced spring onions, grated ginger, and chili with a bit of oil. Cook until spring onions has wilted.
2. Stir in chopped anchovies.
3. Stir in rice and adjust the seasoning.

Wednesday, February 8, 2012

Onion soup

This onion soup was actually one of the realization of my food-dreaming moment during my way home in a freezing snowy evening. Walking. This time I didn`t ride my bike because I`ve learned in a hard way. I still got that bruise as a reminder. Anyway, that day was unbelievably cold that it wouldn`t be surprising at all if a bowl of hot soup was what everyone on the street was thinking about.
And speaking of onion, I always have this love-hate relationship with onion because eating it raw is the least thing I want to do-you`ll find me frowning and sighing every time my burger or sandwich has raw onion in it-, but using it for cooking is kind of a sacred ritual in my kitchen. First time I`ve tried onion soup was at a restaurant and I was utterly impressed on how onion can turn into such a wonderful soup. So, I had been meaning to recreate the soup at home and I finally made it based on Julia Child`s Soupe a l`oignon, but without the wine and cognac. And without the Swiss cheese either. I found the Gruyere cheese sold in the stores to be quite expensive, so I just keep my curiosity inside and moved on with the more affordable cheese. If you think you can handle my butterless, wineless, and Gruyereless onion soup, which I really hope you can, please move along with me. Believe me, it wasn`t bad at all. In fact, I think this was really really good!


Thinly slice 2 onions (which will give you approximately 2 cups of sliced onions) and cook them in a saucepan with 3 Tbs of olive oil on low heat.
The original recipe calls for butter and oil, which you might want to try, but I`m perfectly happy with my olive oil.

During this stage, cover the saucepan and let the onions slowly cook for about 15 mins.
With the low heat, I think the onions should not easily scorch. But since I`m a worrier (not warrior), I sometimes stirred them around to make sure nothing disastrous going on inside there.

After 15 mins, the onions should be all wilted and slightly browned.

Open the cover, raise the heat to moderate, and stir in salt and sugar. From here, all you need to do is stir, stir, and stir. Not every second, but frequent enough to prevent them from burning.

Cook them for like 30-40 mins or until the onions have greatly reduced their volumes-like one fifth of the initial volume- and have evenly caramelized.

Julia wrote, "...until the onions have turned an even deep golden brown". Now I really wish I could see how deep is deep in her kitchen, but I think this one is deep enough for me.

Stir in 1 Tbs of flour to the caramelized onions and let cook for 3 mins.

I`m not proud showing you this, but I had prepared beef stock and stored in my fridge the day before. By stock I mean the boiling water of beef that I`ve used for my pan-fried buns filling. I didn`t add anything to it, so it`s simply water with the beef flavor, although sadly, fat as well. That`s why I fished out the solidified fat with my skimmer in the picture above.

Pour in the beef stock or any stock you want or even water to the onions, lower the heat, and stir to combine. Simmer the soup for about 30 mins and adjust the seasoning.
Julia`s method is to remove the pan from heat while blending in the stock and dry white wine before simmering it again.


Now here`s for extra oomph factor.

Place toasted bread in an oven-proof ramekin.

Ladle in the onion soup until 4/5 full. Hold your self, we`re not done yet.

Place another toasted bread on top.

 Top with your choice of cheese and bake at 210 C for 20 mins or until everything looks yummier!

I`m not too happy with the final photos, but I couldn`t wait any longer. So after giving it merely several shots, my spoon got busy digging in all the soul-warming goodness. My husband was about to sleep when I fed him a spoon of the soup. The soup seemed to be effective enough to wake him up, because he sat up straight and finished the whole ramekin.


The soup is rich, sweet, and savory and the addition of bread and cheese make the whole set even harder to resist. If I were the one to decide what Seven Wonders are, this onion soup would definitely be in the list.

Bon appetite!
ONION SOUP 
Makes about 2 cups or 3-4 individual ramekins

Ingredients:
2 onions or approximately 2 cups of sliced onions
3 Tbs olive oil
2 tsp salt
1/2 tsp sugar
Pepper
400 ml beef stock
Toasted bread
Cheese for topping

Method:
1. Thinly slice onions and cook them in a saucepan with 3 Tbs of olive oil on low heat.
2. Cover the saucepan and let the onions slowly cook for about 15 mins.
3. Open the cover, raise the heat to moderate, and stir in salt and sugar. Stir it frequently to prevent the onions from burning.
4. Cook them for like 30-40 mins or until the onions have greatly reduced their volumes and have evenly caramelized or turned deep brown.
5. Stir in 1 Tbs of flour to the caramelized onions and let cook for 3 mins.
6. Pour in the beef stock or any stock you want or water, stir to combine, lower the heat, and simmer for 30 mins.
7. Simmer for 30 mins and adjust the seasoning.

For serving
1. Place toasted bread in an oven-proof ramekin.
2. Ladle in the onion soup until 4/5 full.
3. Place another toasted bread on top.
4. Top with your choice of cheese and bake at 210 C for 20 mins