Tuesday, June 21, 2011

Garlic-seaweed-cheese cookies

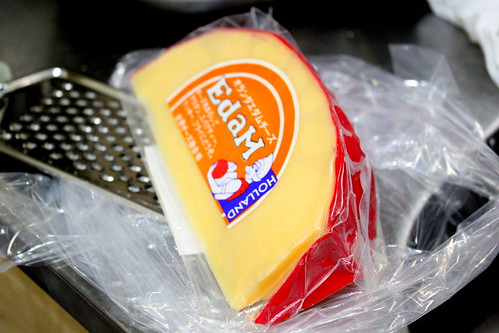
This is actually an improvised version of cheese cookies I`ve made before as I made several changes with the recipe. This time I finally got to use this gorgeous Edam cheese (although I think still not the matured one). I found it at a supermarket that I accidentally found when I was wandering around the city. Oh, I always love finding new (food) stores! 

And this time I also used garlic. As if I still don`t get enough of it everyday. Probably I should rename my blog. A box of garlic. Garlicky kitchen.My love affair with garlic.
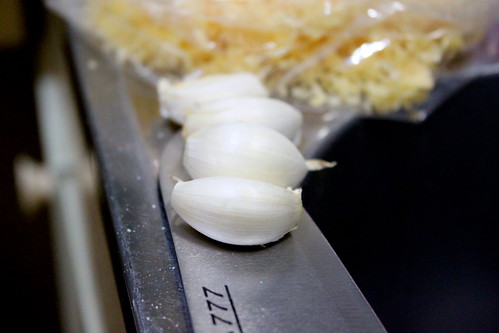

Sorry. I`m back.

Grate the cheese and the garlic...
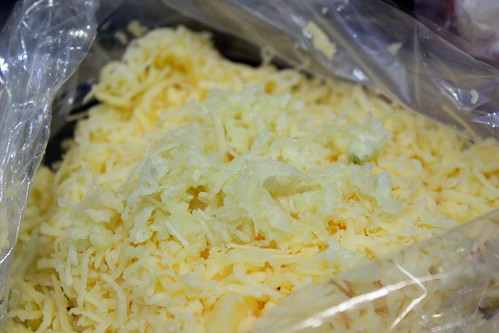

...and mix well. They`ll form a damp lumpy mass because of the water released from the grated garlic.
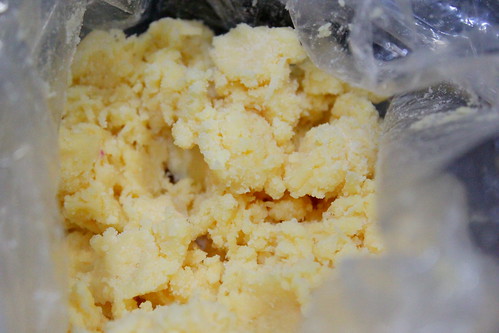

In a bowl, add butter and egg yolks. 
Now this, I think, is important. If this is your first trial, I suggest you to start with unsalted butter because that way you can control the saltiness easier.
Whenever I used regular salted butter (or margarine), the cookies ended up too salty. And to make thing worse, I sometimes added SALT to the dough because the dough always, always tasted undersalted. And that actually happened also in these cookies I`m showing you now. 
Confession: My cookies are never perfect. That`s the truth.

Now I need to move on with the next step.
I added some extra egg yolks here. 


Beat them up until well blended using a mixer (or your Kitchen Aid..*envy*).
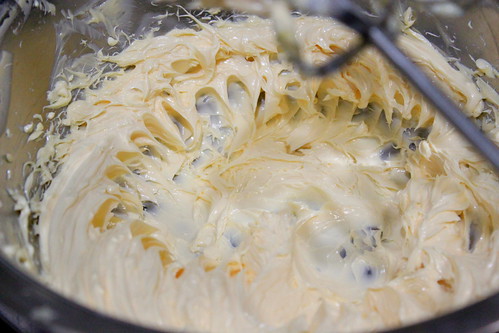

Fold in the cheese and garlic mixture.
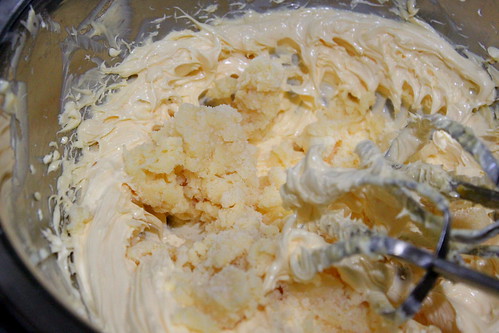

Then the flour.
Another note here, I reduced the amount of the flour so now the ratio of butter:flour:cheese is 1 : 1 : 1.


Piping time. I always clip the upper part of the pastry bag to avoid the messiness during the piping. It works all the time for me, who is super duper clumsy.
You can use your favorite nozzle too. I was really excited to know how this whole garlic and changes of ingredient ratio would turn out, I couldn`t care less about giving them pretty looks.
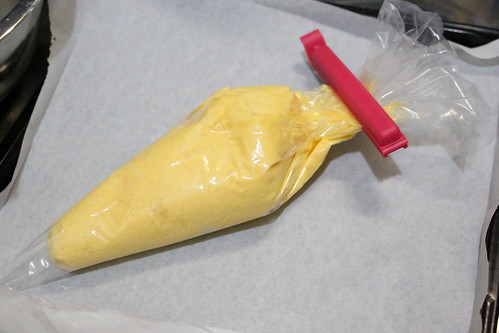

I made them in finger-sized log shape. Very simple, and quick too. One thing you need to do if you go with this shape, though, make sure you make both ends of the log blunted. You can simply give a couple of gentle taps with your finger to any protruding thin sharp ends.  Otherwise, the ends will either get overbrowned or worse, burnt already while the remaining log part are perfectly in golden color.
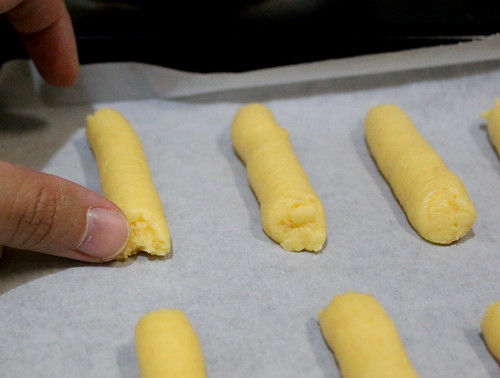

No, I`m not saying they have to look neat. This is me talking and my cookies always look far from neat. Did I tell you that my cookies are never perfect? And to be fair, not only cookies. Well, I know you knew it well already.
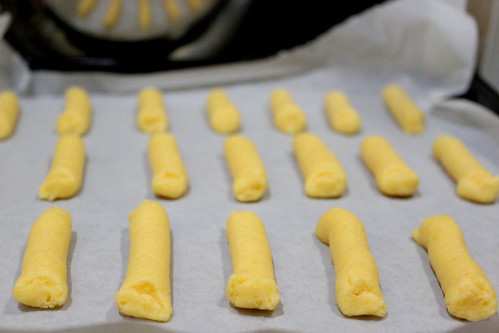

Same with my previous cheese cookies, this time too I was curious how the garlic and cheese would work with seaweed. So I saved a small batch of the dough and folded in a tbs of seaweed. If you are new with the idea of combining cheese and seaweed, just make a small batch of it and go figure if you like it.
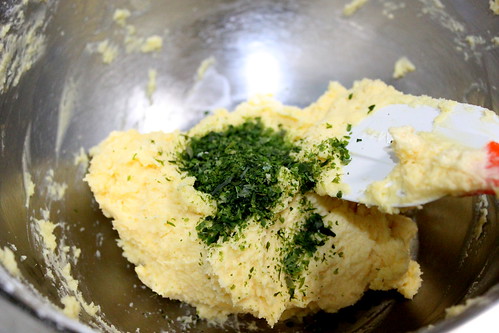


And...bake`em, baby. The butter will quickly melt out of the dough creating lots and lots of oil bubbles. I actually thought that this would be another disaster in my kitchen, but the bubbles were quickly gone once I took the tray out from the oven.


Can you imagine how my kitchen smelled when I was baking these?? It was insanely good!
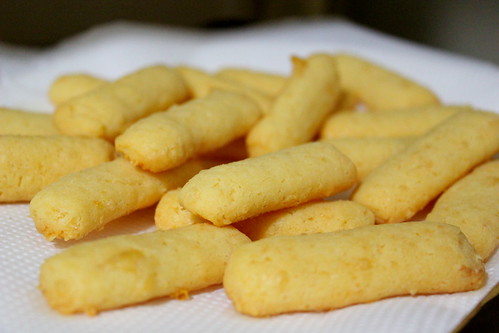

Alright, the cookies are done and now is time for my verdict.
With the modified recipe (more butter, less flour), the cookies came out in a better texture, which is mostly crunchy, definitely not crumbly, yet still leaving some fluffiness. The aroma coming out from the baked cheese, garlic, and seaweed gave the huge drool factor. So, texture is good, smell is great.
The downside is, though, the taste. The saltiness seemed to overpower the cheese richness itself and that was a real shame. Although the cookies smell crazily cheesy, I could barely taste anything but salt there. Sad!


So, pretty please, use unsalted butter. Especially for your first trial. And although if your dough tastes like you need to add salt, try bake some first. From my experience, the cookies will come out saltier than the dough is.  The only reason I could think of is the reduced water content during the baking probably makes the salt more concentrated. 

With that trick, I really really hope your cookies will come out zillion times better than mine!

Ingredients:
150 g edam cheese
4 cloves garlic
150 g butter (preferably unsalted one)
3 egg yolks
150 g flour
1-2 tbs seaweed flakes (aonori)
Bake at 180 C for 20-25 mins (until golden brown)

Saturday, June 18, 2011

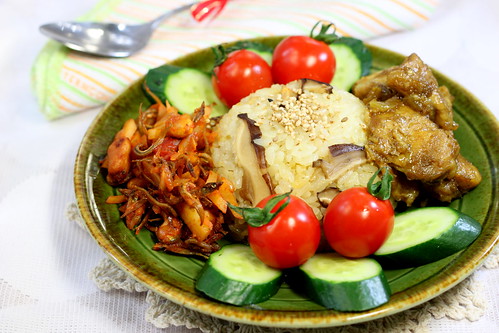
A plate of celebration (finale): Stir-fried fish and potato with sambal

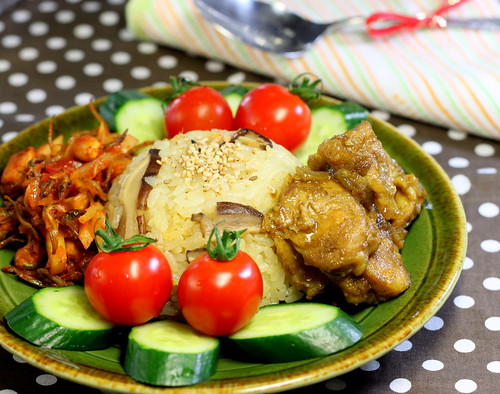
Here it comes, as I promised, the final sequel from our celebration last Monday. This time, I`m showing you the red hot spicy sambal dish. Oh yes, with the rice and the chicken, sambal is totally a must. I simply have no idea why some people (including me) love to burn their (and my) tongues.

So, because this is a sambal dish, naturally we need chili for the spice paste. Two reasons: to make it spicy and red. But, if you`re not into hot spicy dish, just remove the chili seeds (where most of the heat comes from) before adding the chili.
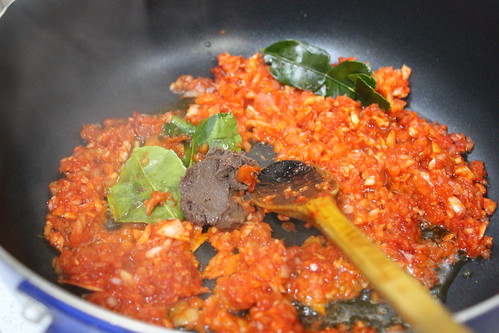
For the paste, I used garlic, onion, ginger, chili, and Korean chili powder gochugaru to enhance the redness. Gorgeous.


Heat a pan with a bit of oil and saute the spice paste. Add shrimp paste, fish sauce, and kaffir lime leaves and keep stirring. 


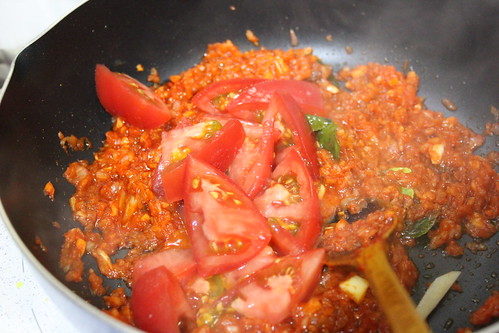
Throw in chopped tomatoes and mash`em with the spatula. I actually intended to puree the tomato first like I always do for making sambal, but I forgot and washed up my food processor already. Anyway, using the chopped tomatoes is actually just fine as they will get pretty much mashed up eventually.


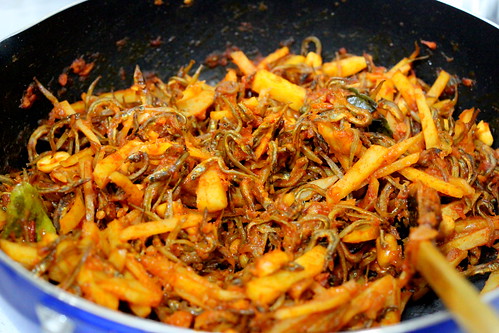
When the tomato chunks melted and are barely visible, throw in julienned potatoes. Now I need to let you know that traditionally, the potatoes should be fried first. But you know me, always want to get things done quicker. So I just use the raw potatoes and let it cook for a while until it get wilted and softened enough.


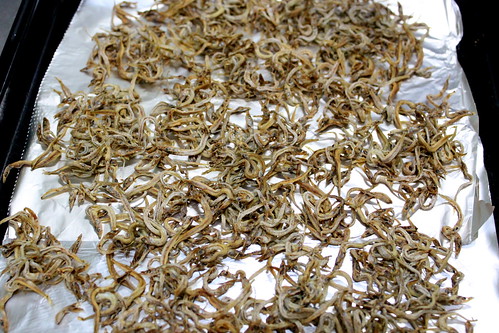
Same way goes for the fish. I didn`t fry it. I used Japanese dried sand eels called ikanago and I think the ones I got from the store are the dried version (not fried). So I just baked them for a while to crisp them up a bit before finally dumping them into the sambal.
And you can use different types of tiny fish you have there (small anchovies will do great), although I recommend you to either fry or bake them first so they won`t get too mushy during the cooking.
Stir and stir. Don`t forget to season with salt, a pinch of sugar, and pepper. 


Last item to add: roasted peanuts. Keep stirring until everything gets evenly coated with the sambal. Hot!!


And done!


Oh, what a relieve! Now I can smile before I go to bed and thanks for bearing with me with all these marathon posts.
Happy eating!

Ingredients:
Spice paste
Garlic
Onion
Chili
Chili powder
Ginger

Kaffir lime leaves
Shrimp paste
Tomato
Potato
Sand eels
Roasted peanuts
Fish sauce
Salt
Sugar
Pepper

A plate of celebration (continued): Spiced braised chicken

After the spiced rice, here I`m back again, this time with spiced braised. I`ve mentioned before that the original recipe for this dish came from my beloved husband. Even now, I still can`t believe it. He cooked. I knew he used to cook for himself before we met and got married. But him cooking in my kitchen for me when I wasn`t around was RARE! To be honest, I was a bit of freaked out when the picture of how messed up my kitchen must have been came across my mind. But I chose to concentrate more on enjoying the dish he made and I`m glad I did! It was undoubtedly one of the most amazing things he`s ever done for me.

Alright, I need to move on to the cooking-related talk.
So I`m going to start with the garlic...story. I`m sorry..I`m just full of stories these days.
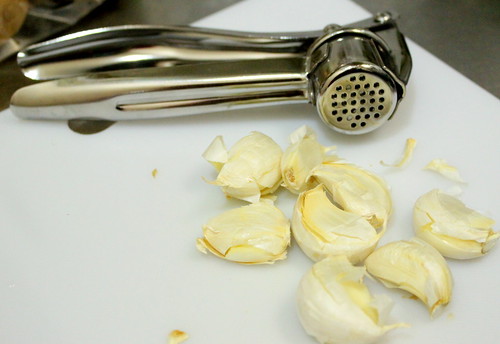
I just got this garlic crusher like a week ago, which I was so excited to use, but it turned out that the garlic wouldn`t come out from the crusher`s holes. Or even when some did come out, the amount was unbelievably tiny. I almost thought that this stuff was no use at all, or me being not powerful enough, but I figured that peeling off the skin after the garlic has been crushed was so much easier. I used to dislike peeling off garlic (other than washing the dishes), but it`s a whole different story with the crusher in my hand.Why not just crush it on the counter with the knife? I (and my clumsy hand) can`t. The counter can`t. It just can`t. Really.
Now, done preparing your garlic?


Here is a new item in my kitchen. Thai`s tamarind. So happy to finally get it! This chicken dish is not supposed to be sour, but a small amount of tamarind will be great to give just a hint of sweet tang.
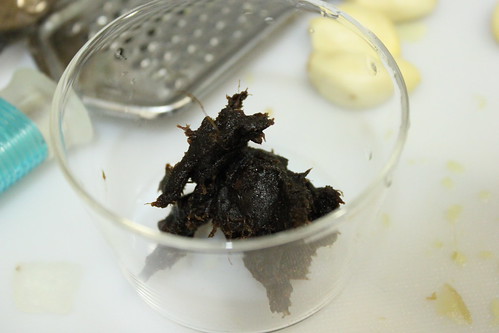
Place some amount of tamarind in a heat-proof cup and pour in some hot water. Leave it a little while, then stir and press with the back of a spoon to get the juice out.


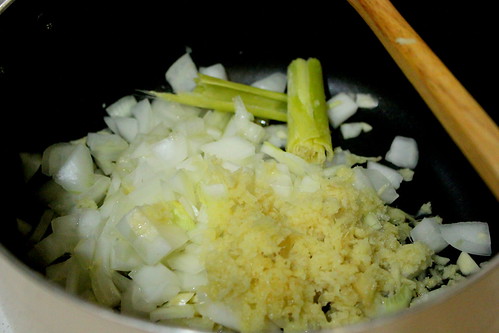
Now let`s work on the spice. With a bit of oil, saute garlic, onion, ginger, and bruised lemon grass on a heated pan.


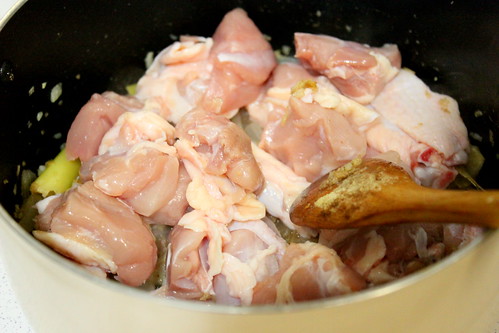
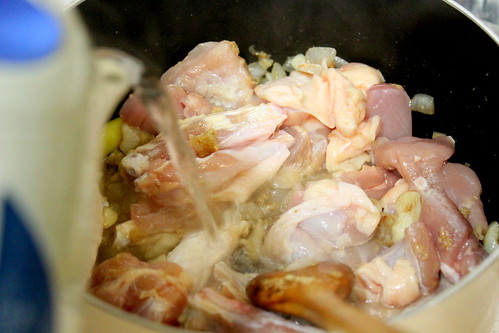
When the fragrance is coming out, throw in the chicken and stir a bit.


Pour in hot water and stir again a bit. Cold water (not fridge cold, though) is okay too, which I usually used, but using hot water from the electric kettle saves me a lot of time in cooking.
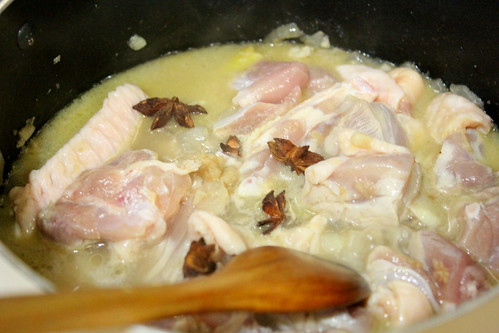
How much water? Not too much, just pour until the chicken is two third soaked.


In the middle of stirring, I felt like I need to add star anise to the soup. So I did it. What a lovely spice.


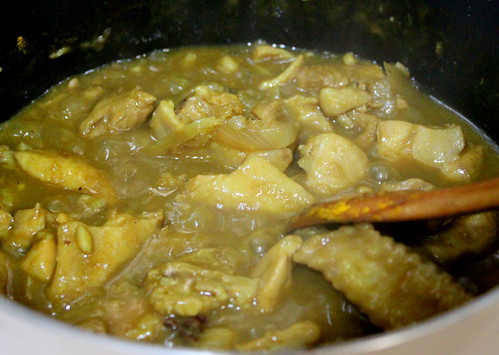
Now add the tamarind juice you`ve prepared earlier. If you`re new with tamarind, go easy. Just add half or one third of the juice and leave some when you need it later to adjust the taste. My taste buds are probably getting numb already that I always need a strong flavor from this kind of dishes. So I dumped in the whole tamarind. The flesh, the seed, the juice, everything.


And...I added turmeric powder too because I want some yellowness. 


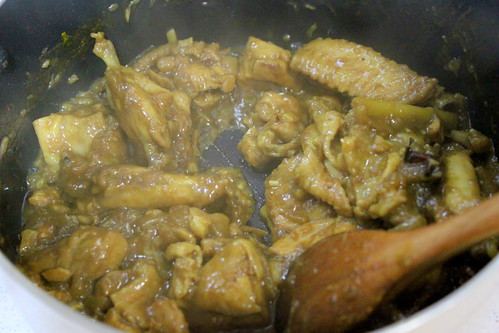
At the beginning, you only need to stir once in a while because the soup still has much liquid in it. But the water will gradually evaporate and thicken up, you need to keep an eye on it and stir it more often so you don`t end up scorching the chicken.
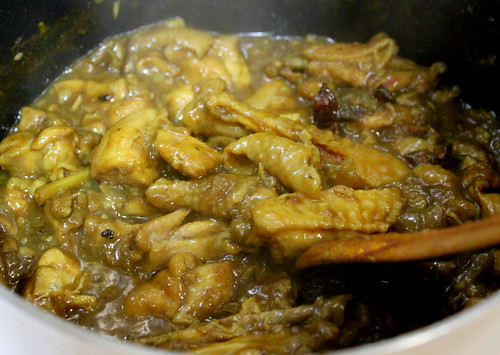
When it has thickened up already, adjust the taste to your liking with salt, brown sugar, pepper, and if you need to, the tamarind juice.


Keep stirring and let it dry up until you can see the side of the pan.


In my husband`s recipe, the chicken needs to be fried after drying up all the liquid. But it was quite late for our dinner time, so I just served this spiced chicken right away.
His fried version was absolutely wonderful and I`d definitely (shallow-)fry this chicken next time I make it. But, if you are in a hurry or not big on fried food, no worry at all because this unfried version will make you sing!


Alright, one more recipe to go to complete the sequels!


Ingredients:
Chicken
Garlic
Onion
Ginger
Star anise
Lemon grass
Cardamom
Tamarind (juice)
Turmeric
Water
Salt
Brown sugar
Pepper