Saturday, October 15, 2011

Teriyaki saury

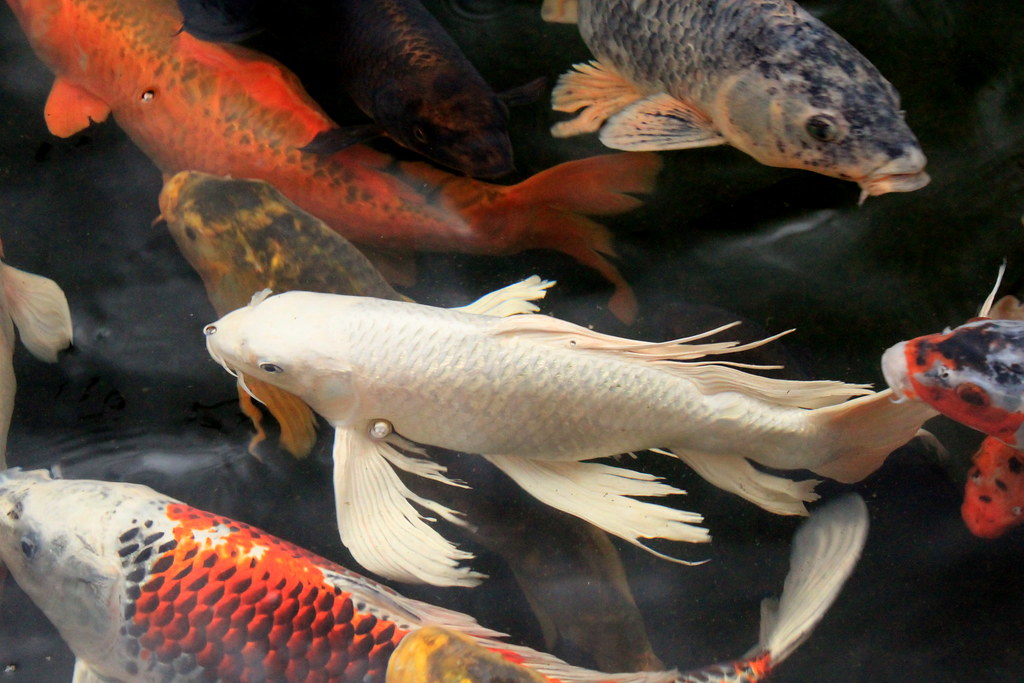
Pacific saury. First time I know the English name of this fish, from Wikipedia.  I usually call it in Japanese, which is Sanma. Sanma is in season since a month ago and from what I`ve seen, the most common and simple way to cook this fish is by rubbing some salt on the whole fish and grilling or broiling it. Very tasty, I tell you. The only downside, like other fish, is the bones. Sanma actually has a lot of bones scattered throughout its flesh and I usually pressure-cook sanma or other bony fish to make the bones more edible (I had posted it here) and to make my husband enjoy the fish more. However, this time I turned away from my pressure cooker, cooked the fish using my regular frying pan, and hoped that we could handle the bones during eating.

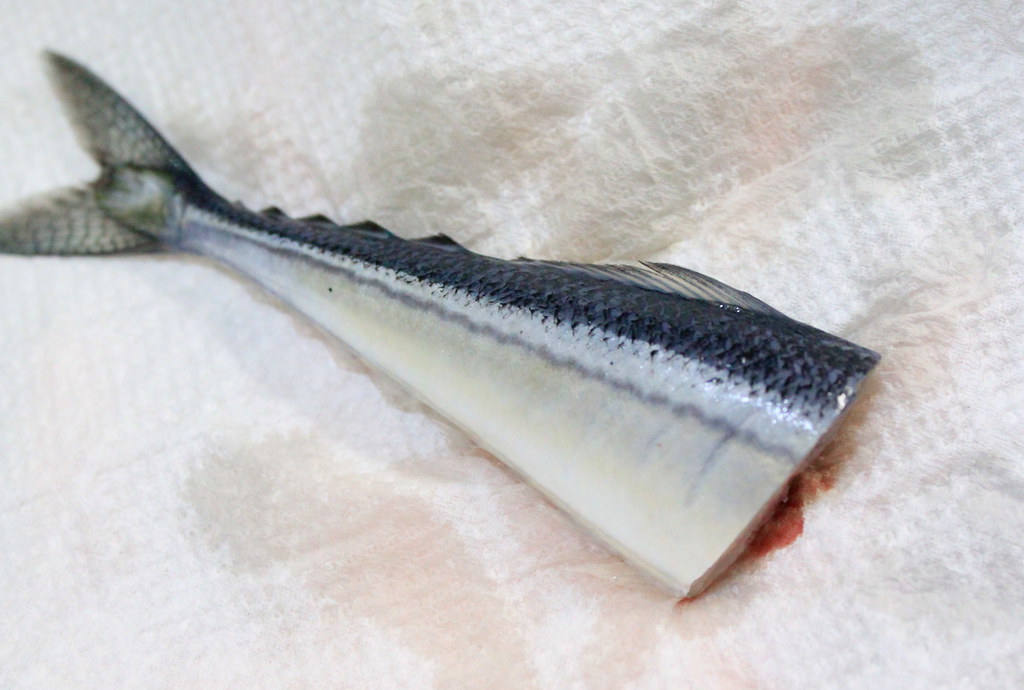
Anyway, I was lucky to get this gutted sanma from the store, although actually doing the gutting myself won`t take more than 10 minutes. Well, I chose less mess for me to clean up. You see how the sanma laid partly on my counter and above the sink? I put a small bowl next to fish and that`s how big my kitchen counter is.

Cut the fish into smaller pieces, wash, and pat dry with paper towel.

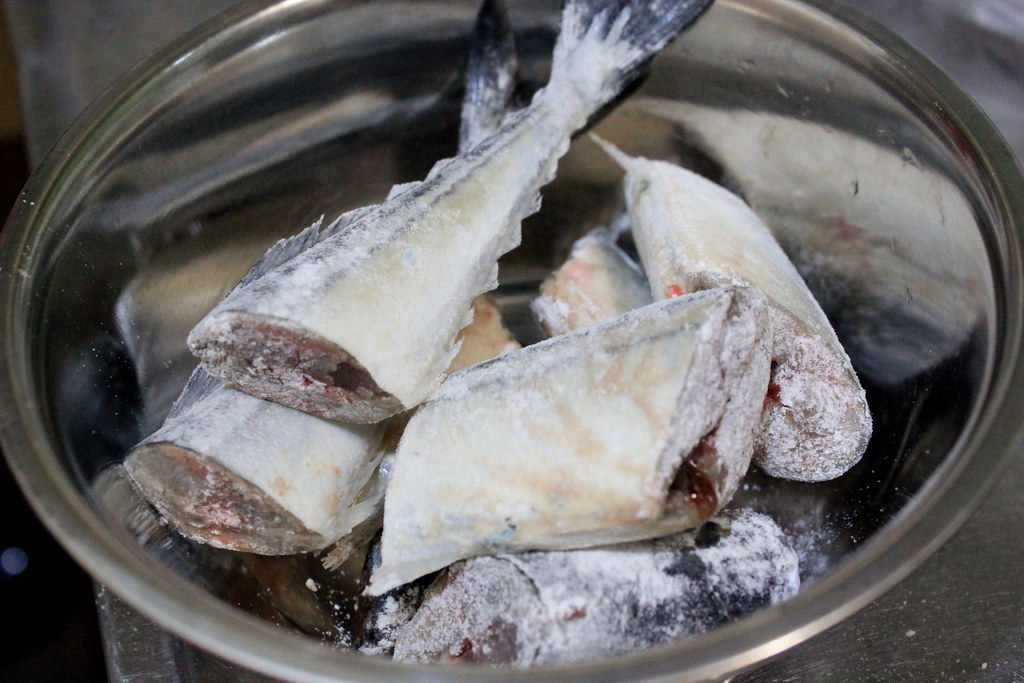
Dust the fish pieces evenly with flour. This will help the fish to hold its texture during frying. That`s what I heard from TV.

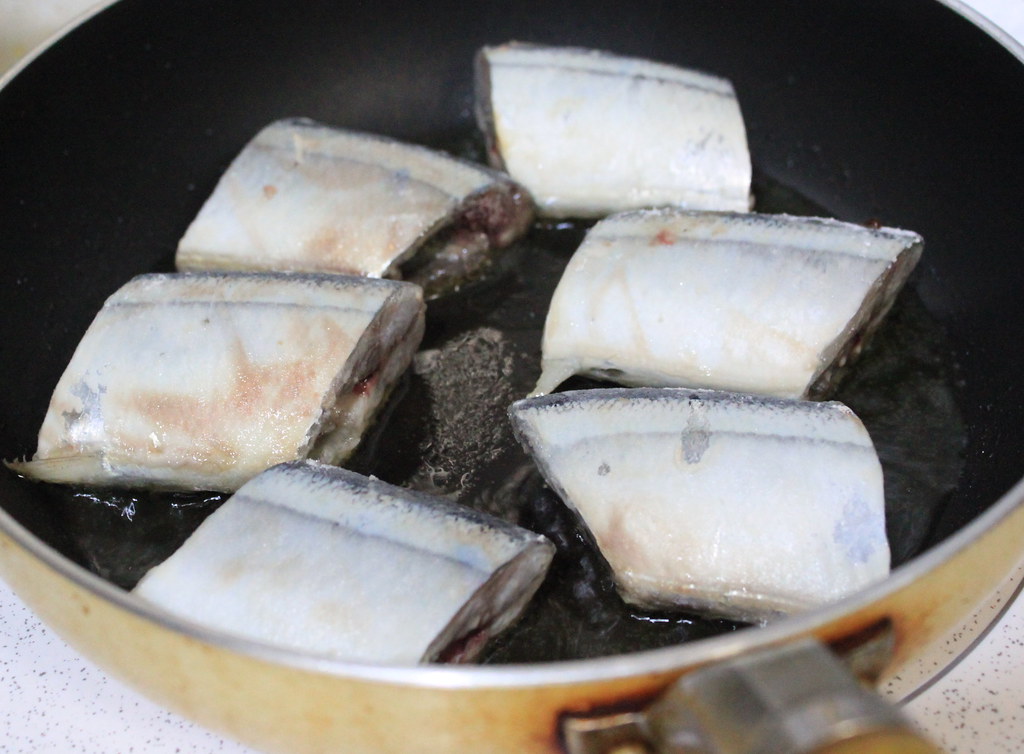
Heat oil on medium heat and sear the fish.

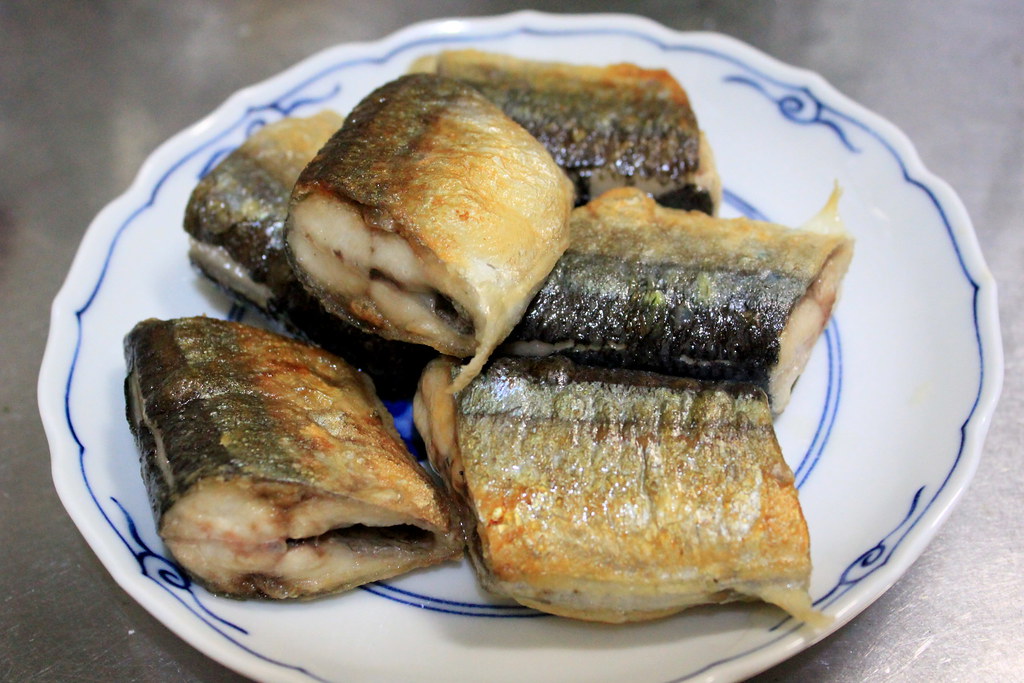
When both sides has turned golden brown, set aside on a plate. Don`t eat them yet. I know you want to.
By the way, remove oil used for frying fish from the pan and wipe off the pan surface with paper towel to make it super clean. We don`t need any oil for the next steps. 

For the sauce, grate a good amount of fresh ginger. By all means, please use the fresh one.

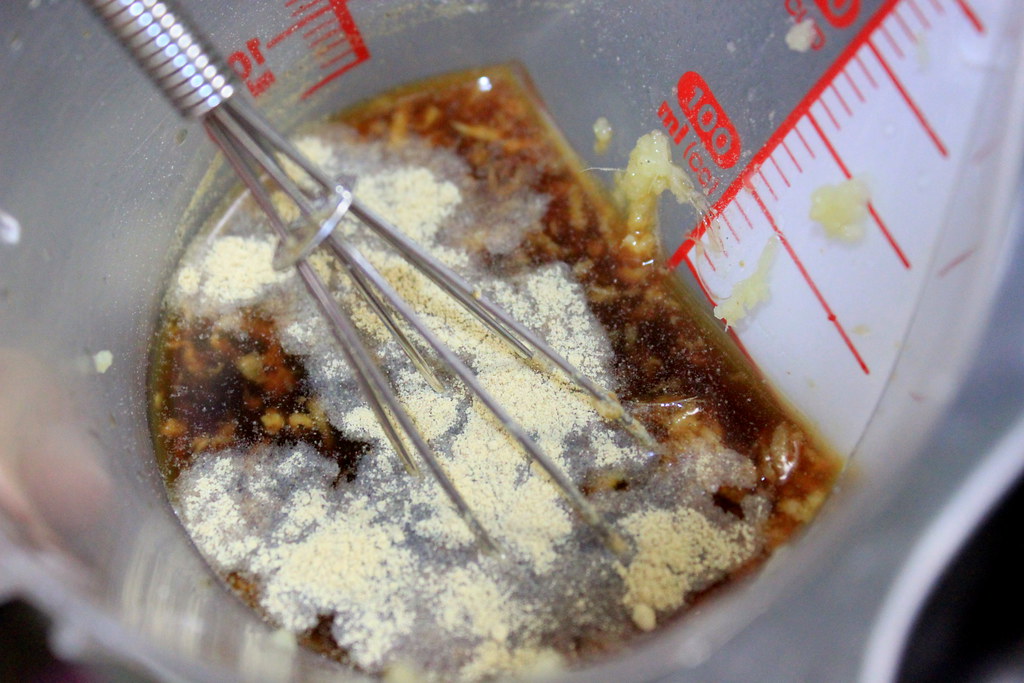
To the grated ginger, pour in soy sauce, vinegar, sugar, mirin (I didn`t add this one) and pepper and mix well. Salt? I didn`t add even a pinch of it because this sauce is already salty for me.

Set your clean pan over low heat and pour in the sauce. 

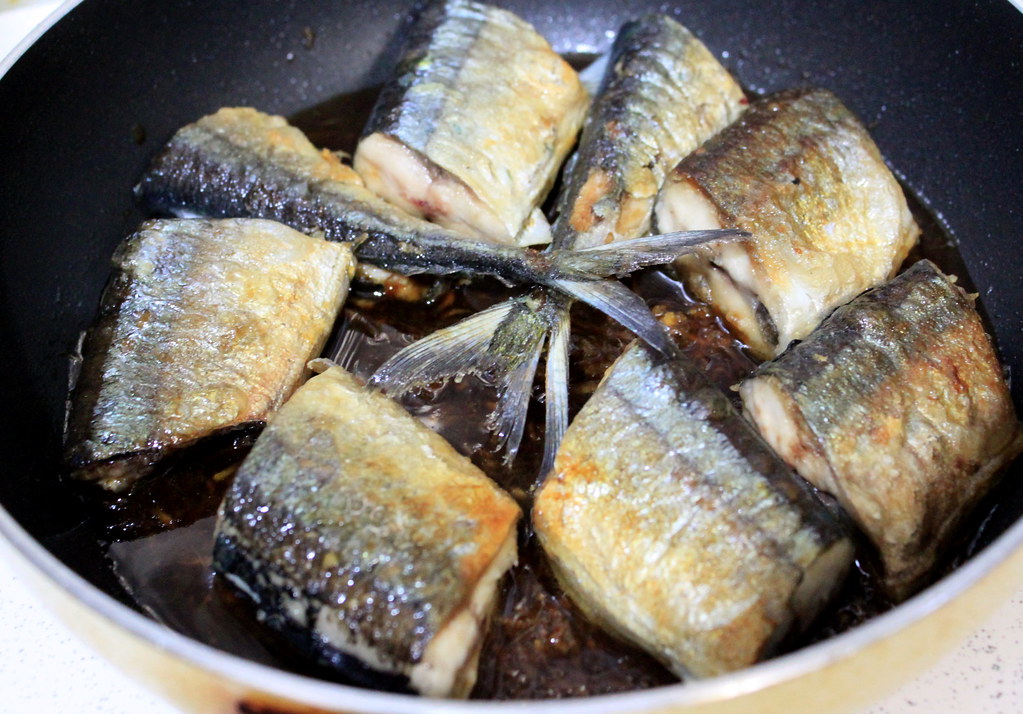
Put in the fried fish.

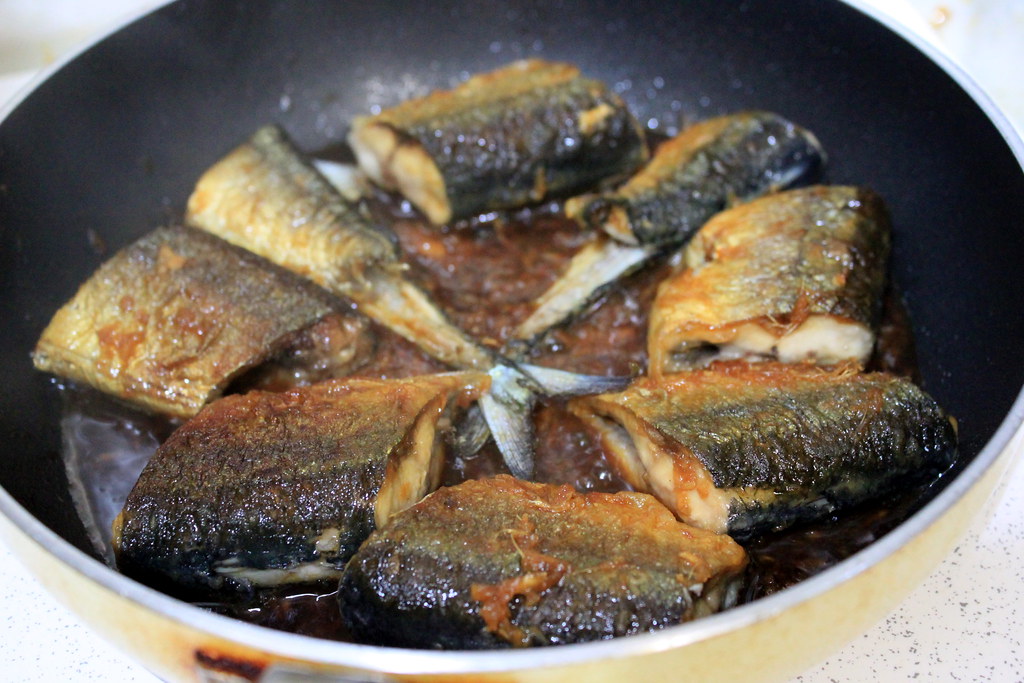
And while the sauce is cooking, flip over the fish to get both sides evenly coated. Cook until the sauce has reduced into glaze and sprinkle in sesame seeds. If you`re worried about the fish not getting cooked through, set a lid over the pan and cook it for a few more minutes. Be careful, though, the sauce will thicken quite fast and get scorched if you don`t watch it.

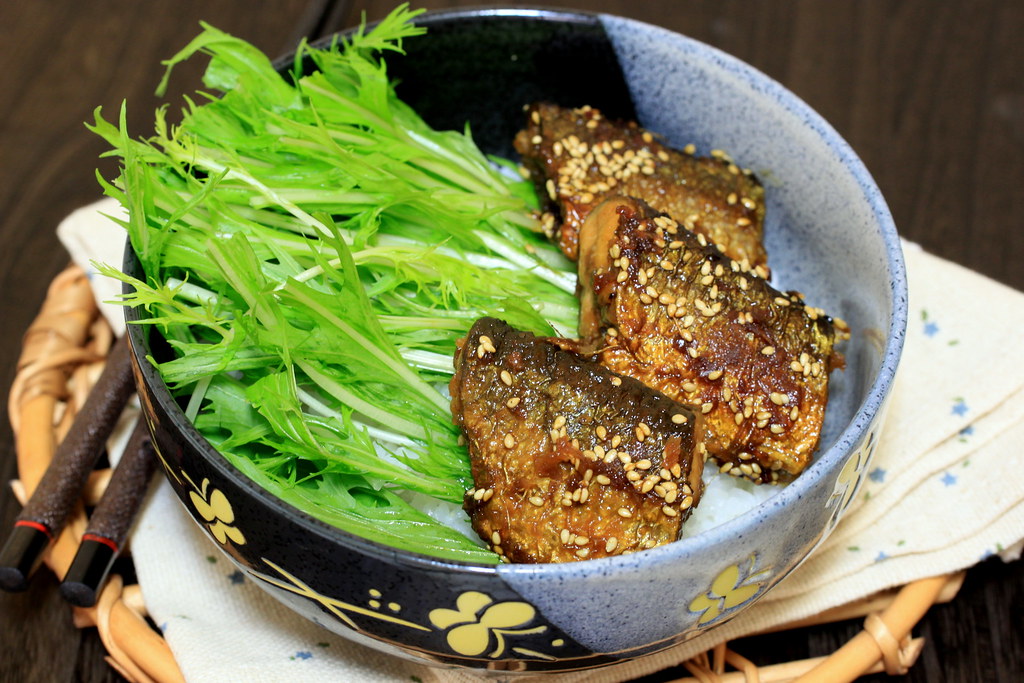
Although the ingredients are utterly simple, this dish is an absolute pleaser. The flavors coming out from the fish and the sweet savory glaze were just fantastic!
The bones? Yeah, they`re still there making my chopsticks busy. Maybe next time I will tenderize the bones first. But hey, you can choose your own fish and still try this recipe because you have to experience this yumminess. With or without bones. Trust me.

TERIYAKI SAURY
Ingredients:
2 sanma (Pacific saury)
1 tbs flour for dusting
3 tsp grated ginger
50 ml soy sauce
2 tbs vinegar
Mirin (I didn`t add)
1 tsp sugar
Pepper
Sesame seed

Method:
1. Gut and cut Pacific saury (or other fish) into small pieces.
2. Wash the pieces and pat dry with paper towel.
3.  Lightly dust the fish with flour.
4. Sear the flour-coated fish with a bit of oil in a frying pan over medium heat until both sides get nicely browned. Set aside.
5. Wipe off the frying pan to clean the remaining oil and set aside.
6. For the sauce, grate fresh ginger in a container and add soy sauce, vinegar, sugar, mirin, and salt and stir well.
7. Set the cleaned frying pan over low heat and pour in the sauce. 
8. Put the seared fish pieces in the pan and cook both sides to coat with the sauce evenly until the sauce has thickened.
9. Garnish the fish with sesame seeds and serve.

Tuesday, October 11, 2011

Mushroom pot pie

Oh finally, finally I`ve finished my presentation today and now is time get back to my "more fun" world.
Before I share the food, let me share about this one first. Or these ones. A blogger friend of mine Sissi from  With A Glass, who is a very dedicated food blogger and talented cook (I truly admire her productivity!) recently passed on the Versatile Blogger award to me, and as if that`s not making me flattered enough, she passed on another award, the Liebster blogger award. Must be my lucky day! Thank you, Sissi! As the award requires the one who accepts it to share a list of 7 random things, here is my list!
1. I`m more a writer than a speaker.
Sadly to say, that doesn`t necessarily mean I`m good at writing.
2. My precious collection is books. 
3. List no 2 explains for my poor eyesight.
4. No heels, flats only.
Well, I tried, but my feet kept telling me that heels are not for them.
5. I`ve never eaten scones in my life. Embarrassing, I know.
6. Doing jogging is my annual New Year`s resolution.
7. "Inception" puzzled me big time.

Now you know more bits about me, and to continue the award tradition, I`d love to pass the Versatile Blogger award on to these food bloggers who are such fabulous cooks, photographers, and bento stylists. I`m 200% sure that all bloggers in my list have (repeatedly) accepted such awards, but I hope they don`t mind accepting another award from me. If you haven`t visited their blogs, oh you should now!
3. Jenn at Bentobird
4. Nami at Just One Cookbook
5. CG at Cooking Gallery
6. Lauren at Lauren`s Latest
7. Lindsey at The Tiny Skillet

I`m really embarrassed to say that I`m still working on my list for bloggers to whom I`d like to pass on the Liebster award, but I hope to come up with it on my next post. So, until that happens, let`s cook now!

I had been wanting to make this pot pie since 2 years ago when I watched Nigella`s video on chicken pot pie. I hope you don`t get sick of hearing me referring to Nigella`s recipes, but  other than I`m a fan of her, it was actually my first time knowing how to make a chicken pot pie and she absolutely makes the process look incredibly easy. Anyway, based on that, I made my version of no meat, all mushrooms pot pie and I l-o-v-e-d it. Not really proud of the cheating step using storebought pie sheets, but still, I loved it.

Okay, so these are the mushrooms I used for the pie filling. They are shimeji (upper left), eringi (upper right), and shiitake (center bottom). Slice or chop them up and set aside. Do not mix them up, since we`re going to cook them separately.

Heat oil on a pan and saute chopped/minced garlic.

Now we`re going to saute the mushrooms, but we need to do that one mushroom type at a time.
Start with shiitake mushroom first. Throw them in to the sauteed garlic and cook them until they shrink and wilted. Ideally, I want them to get browned rather than steamed. When I put too much of them in the pan, I add a little more oil to help the browning. And that usually works for me.
When the shiitake mushroom looks done, place the mushroom and the garlic, everything on a plate and set aside.


Continue with the eringi mushroom. The pan should be still oily enough, but you can add the oil if you need to. Same like the shiitake, sautee until they get browned and set them aside.

Last mushroom, the shimeji. Now, the reason I cook shimeji the last is because this mushroom has way more water content than shiitake and eringi do. After one minute sauteing or so, you`ll see how much water released from the wilted mushroom and this water would hamper the browning process. I suppose cranking up the heat and adding more oil will do the trick, but I`m good with them get cooked through.

Put back the browned shiitake and eringi mushrooms to the pan together with the "watery" shimeji.

To make the white sauce, I added 2 tbs of flour to the mushrooms, but I think the sauce ended up too thick with  200 ml of milk. So I think I`ll reduce half of the flour next time I make this again.

This is the 200 milk I poured into the mushrooms. And it was plain soy milk. It was Plants day.
Stir until the flour is dissolved and season with salt, pepper, and nutmeg.

And I added 1 tbs (or maybe more) of aonori (seaweed flakes).
Okay, I have a confession to make. I remembered having like 1 tbs Parmesan cheese left in the fridge, so I used it up for this filling. Not a Plants day anymore.


Place the filling in individual ramekins, or whatever baking dish you use.


I`m not proud of this, but I was really excited using this pie sheet since it`s my first time making pie.  You make your own pie sheet? Then I salute you, my friend.
Cut the sheet into size that is enough to cover the top of your ramekins or dish and use the leftover for the rim.

Now this is my verdict about this step. Nigella wet the rim of the ramekin with water and lined it with the sheet. So that`s what I did. I suppose this would help the pie sheet covering the top stick to the ramekin and also give a nice thick puffy pie on the rim. But in my case, when the baking is done, the pie sheet on the rim was slightly undercooked. So, although I don`t know for sure, I think skipping the rim part of the pie wouldn`t hurt.

And by skipping the rim, you can go placing the sheet to cover the ramekin while giving the sheet a gentle push so it sticks to the dish.

Now this is a decorative step that you can just follow or simply skip. I probably didn`t push it enough to make the lines visible in the final result.
Finished the preparation? Bake the pie in preheated oven at 200 C for 20 mins. Or just follow the instruction on the pie sheet`s package.

Woohooohoooo....look at these chubby pies! They beautifully puffed up and the smell was really, really good!

Even my spoon smiled a lot. Well, I smiled a lot.

Oh, look inside, and go dig in! Every spoonful of this pie and the filling will totally bring the oomphs out of you.

MUSHROOM POT PIE
Makes 2-3 individual pot pies

Ingredients:
3 cloves garlic
100 g shiitake mushroom
100 g eringi mushroom
100 g shimeji mushroom
1 Tbs flour
200 ml plain soy milk
1 Tbs aonori (seaweed flakes)
1 Tbs parmesan cheese
Salt
Pepper
Nutmeg
2 sheets of 10x10-cm pre-made puff pastry or according to the ramekin`s size
Strips of pre-made puff pastry to line the ramekin`s rim (optional)

Method:
1. Slice or chop up mushrooms, separate each mushroom type, and set aside.
2.  Heat oil on a pan and saute chopped/minced garlic.
3. Saute mushrooms one type at a time. Start with shiitake, eringi, and end with shimeji. Saute the mushrooms until browned and wilted.
4. After all mushrooms are browned and wilted, put them back together in the pan. 
5. Stir in 2 Tbs of flour and cook for 3 mins.
6. Pour in 200 ml soy milk and add 1 Tbs aonori and 1 Tbs parmesan cheese. 
7. Stir to combine and adjust the seasoning with salt, pepper, and nutmeg.
8. Place the filling in individual ramekins.
9. Wet the ramekin`s rim with water.
10. Optional: Line the rim with the reserved puff pastry strips.
11. Cover the ramekin with the puff pastry sheet and press the edge to make sure that it properly sticks.
12. Pierce the middle of the puff pastry for air vent during baking.
13. Optional: Press the surface of a fork on the ramekin edge to give a decorative grids.
14. Bake in a preheated oven at 200 C for 20 mins or according to the puff pastry`s package.

Sunday, October 2, 2011

Jogi Nyorai Saihoji temple

Yesterday we visited Jogi (Johgi) Nyorai Saihoji, a complex of Buddhist temples located 45 minutes away  by motorcycle from our city. Season-wise, this trip was officially our first trip to welcome the fall and say goodbye to summer. And temperature-wise, it was so cold!
For a comparison, this was the temperature on the road in September during our trip to Yakurai Garden. It was burning hot out there!


And this one was during our trip yesterday.

So much for a change! This temperature easily explained  for my shivering under my shirt and jacket that were supposedly warm enough for 20 C. The temperature in our city was indeed 18-20 C, but this Jogi area is located higher, thus has the lower temperature.
Lesson learned: listen to your husband when he asked you to put on warmer jackets, otherwise you`ll end up wearing his too-big-for-you raincoat to make the cold wind a little bearable.
This thermometer sticks on his motorcycle and I  thought it was broken, or even worse, didn`t function at all! But every time we pass temperature signs on the side of the road, they always show more or less same temperatures with his thermometer, I just have to accept that this buddy is nothing but reliable enough.

Anyway, on our way to the temple, we made a quick stop where this enormous Buddha statue gracefully sitting at the side of the road.


And here is the front view. I`m not big on statues, but it`s hard not to record this view.


Standing on the deck, we could see what he watches everyday.


After leaving the Buddha, we continued our ride and made another stop at this artificial lake near a dam. But come on, we should go to the temple already. I wasn`t too happy with that cloud over there. 


Here we came to Jogi bridge! Finally! 
But wait, I saw something wonderful from this very bridge, so we took another, and the last stop here before entering the main Jogi temple site. I know, right? So many "happy distractions"!


And this was what made us stopped at the bridge! 
Helloooo, fall! I love how the leaves reflect the transition of summer to fall through the green-yellow-orange gradation. See that pagoda on the left? Oh we`re going there now!


Err...I`m sorry, another distraction here:  a cute little buddy with the camouflage leafy color  on its head and back and the vibrant red coloring the legs blend perfectly with the bridge tone.


In to the temple area now! 
Alright, you might think that I`m not being serious here since you still can`t see anything with temples, but what`s on my hands here is what I`d call as simplicity at its best. This deep-fried tofu, which is called abura age, or aburage in Japanese, probably the most known keyword for Jogi`s specialties. There are vendors selling freshly cooked aburage for 140 yen (or 1.6 USD) each  and we can eat the aburage inside the shop or under the provided tents.  And yes, this is me standing at the tent, coulnd`t wait to eat this goodness while it`s still hot.


What makes this tofu incredible-in my opinion- is its pillowy texture with  thick and dense interior, but still retains its fluffiness, and the perfect thin crust wrapping all the goodness. And look at the size! I surely lost count on how many millions of tofu I`ve eaten in my life, but this one definitely soared to the top of my list for must-eat food.
How to enjoy this? According to the recommendation from the vendors, simply drizzle soy sauce and sprinkle some shichimi, or seven spices and they`re sure right! This tofu can`t possibly go wrong with them. Excuse me for the bite marks, but good heaven, this was GOOD! So good that we bought a pack of 5 fried tofu to bring home because one is not enough. So really good that he asked me another serving at home the same night before finishing half of mine too. And he`s not even a tofu lover!


Alright, before I drool over this tofu picture, this is the main gate of the temple, everyone.  Behind the gate is a mausoleum for Sadayoshi Taira, one of the important people involved in the history of this temple. We wanted to enter the gate, but it started to rain (oh, I knew it!) and we decided to make a quick visit to the other sites instead.
Hey, we bought our packed tofu at the store on the left! Oh..I can`t think anything else other than tofu right now.


And while we were waiting the rain to stop, he managed to get a picture of this main temple. People come and pray in front of and inside the hall. There is actually a Kannon Goddess statue standing in front of this temple, but too bad the rain, although not falling hard, has successfully turned off our mood in taking her picture.


Then we took a walk to the pagoda site and look what we`ve found! A koi pond!

Give me food, give me food!


I think this one in silver and red colors reminds me of Ultraman.


 And we both agreed that the white fish in the middle looks very pretty and graceful with its feathery fins.


Remember the pagoda top we saw from the bridge? Here it is, the five-storied pagoda.


Sorry for the white fleck near the pagoda top. I didn`t realize my lens was wet until I saw this picture and I thought I was careful enough.


The rain stopped already and we decided to go home before the rain started falling again. He was a little disappointed with the weather, but still we`ve spent such an amazing time here. With fantastic food too.
Happy Sunday!