Showing posts with label chicken. Show all posts

Monday, January 2, 2012

Pan-fried buns for a start in 2012

Happy New Year 2012, everyone! How was your New Year`s day there??
It`s already Jan 2 evening at our place, which also means the last day of my holiday. I have really enjoyed my time in the kitchen and in fact, I baked and cooked so much that he begged me to stop cooking for a while. It really sounded bizarre considering how often I usually ask him to buy store-bought food during our regular weekdays, or even sometimes on weekends. This holiday, however, I had (and am having) a sudden unstoppable obsession in bread making. Bread dough was one of my kitchen nightmares that I used to avoid the best I can. I remembered last year where I burst into tears when both my hands got trapped in a very sticky monstrous bread dough. The results were disasters too! I did stop trying making any kind of bread until I bought an old cooking magazine featuring pan-fried buns (Orange Page 2010, Vol 1). The buns look very similar with the regular steamed buns, only these ones got beautiful crusty side on the base.


My attempt in making the buns using the magazine`s recipe just worked and I hope by sharing this post I can encourage those who haven`t tried making steamed buns. This is going to be a very long post, but please don`t be put off by that because doing it is actually much less complicated than explaining it.


Alright, ready to scroll down your mouse?
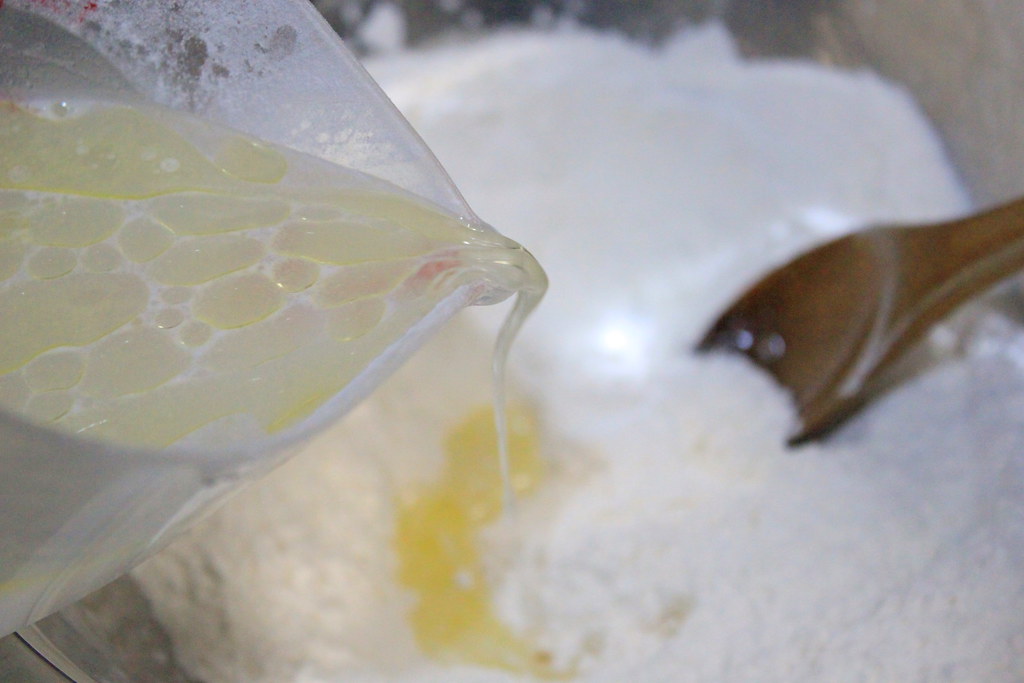
Mix flour, baking powder, sugar, and salt in a bowl and stir in lukewarm water mixed with olive oil. 
From what I`ve experienced, I found that using a wooden spoon to mix the ingredients works best for me. A kneader is good too. But definitely not by hand. Not for me. Not at this stage.

After the mixture turns into a dough, knead it by hands, and shape into a ball and let rest for 30 mins or 1 hour. I was worried looking at how ugly it was, but it turned out to be alright later.

In the mean time, prepare the filling. You can use your favorite filling, but here I used chicken and mushrooms filling.
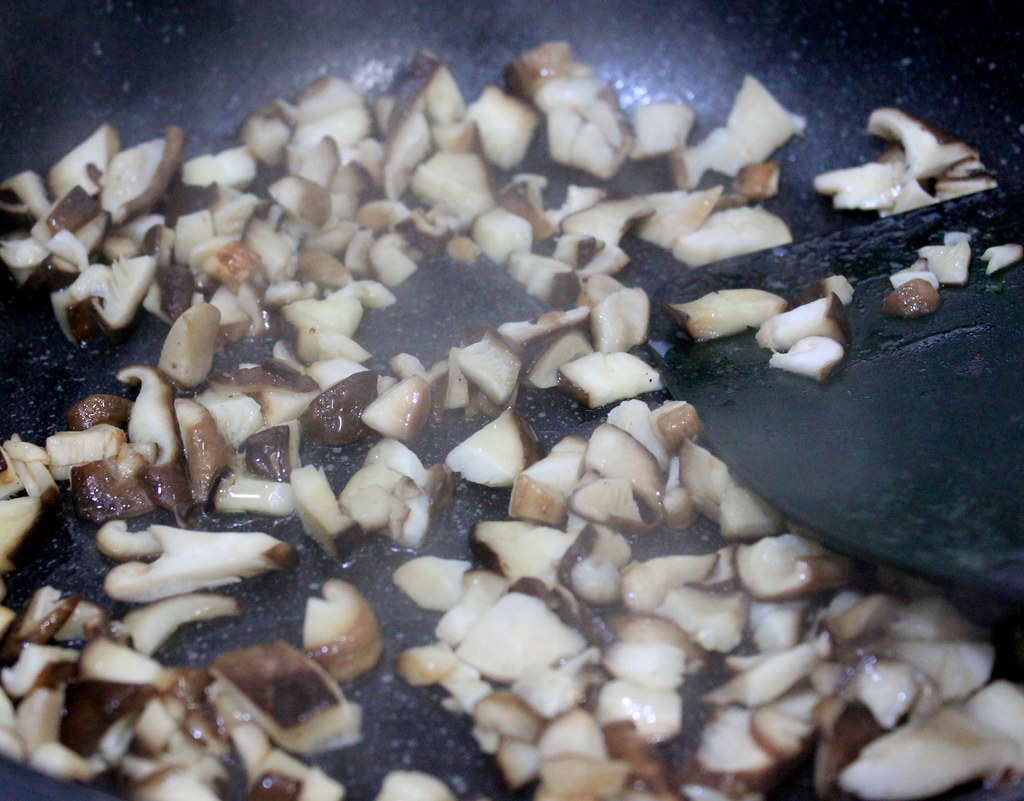
Saute chopped shiitake mushrooms and garlic (the garlic picture isn`t here, sorry!) with olive oil until they have wilted and released the nutty scent.
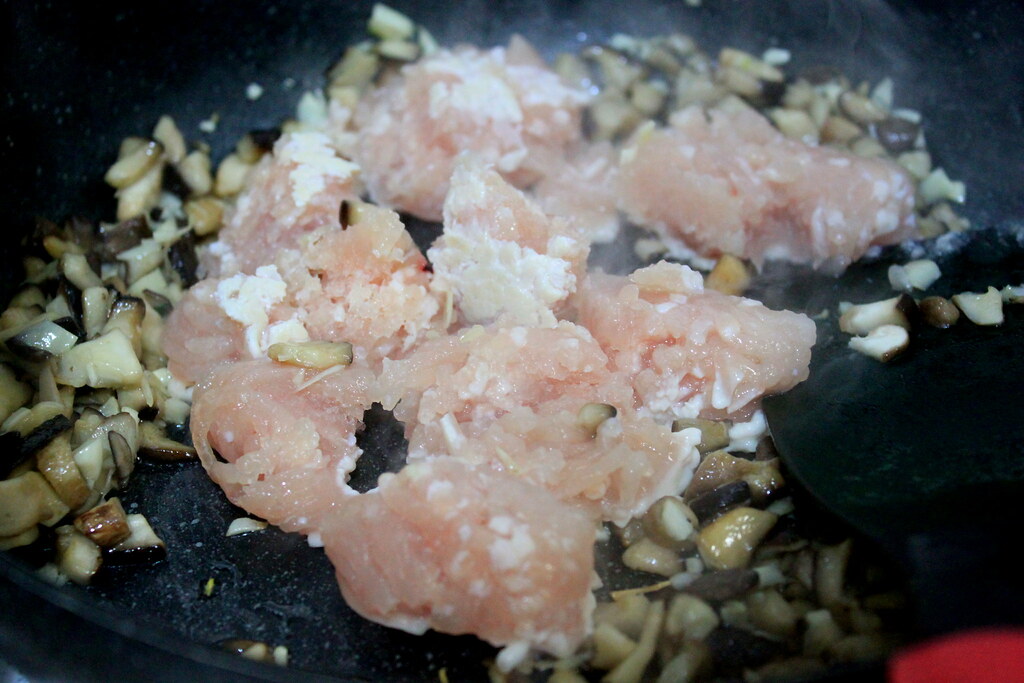
Stir in minced chicken and let cook through.
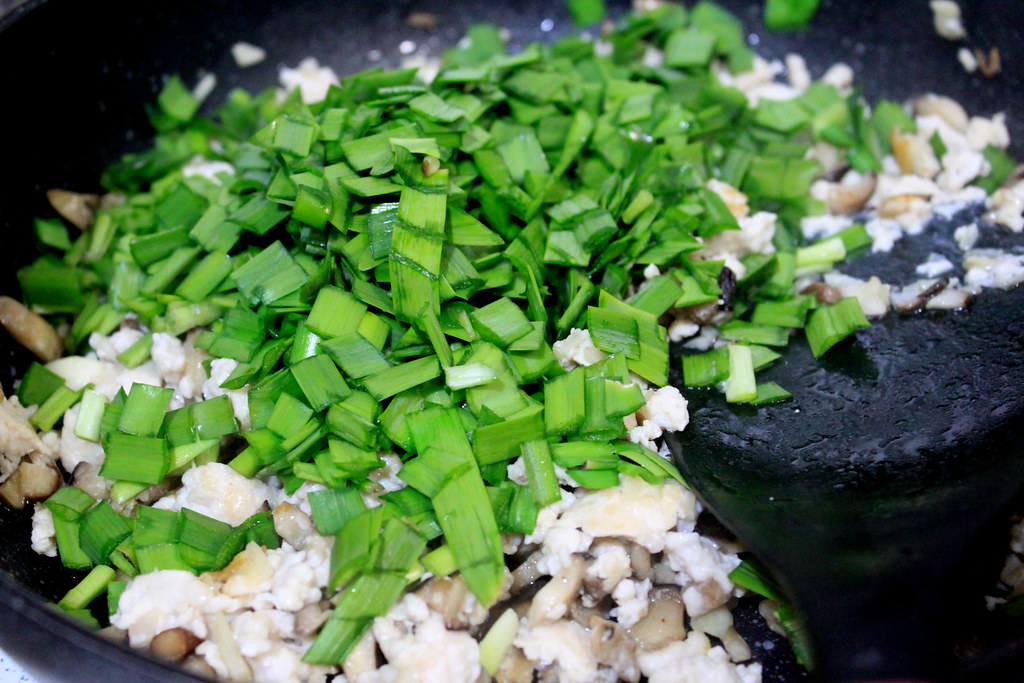
Throw in chopped garlic chives.
This is a very garlicky chickeny filling.
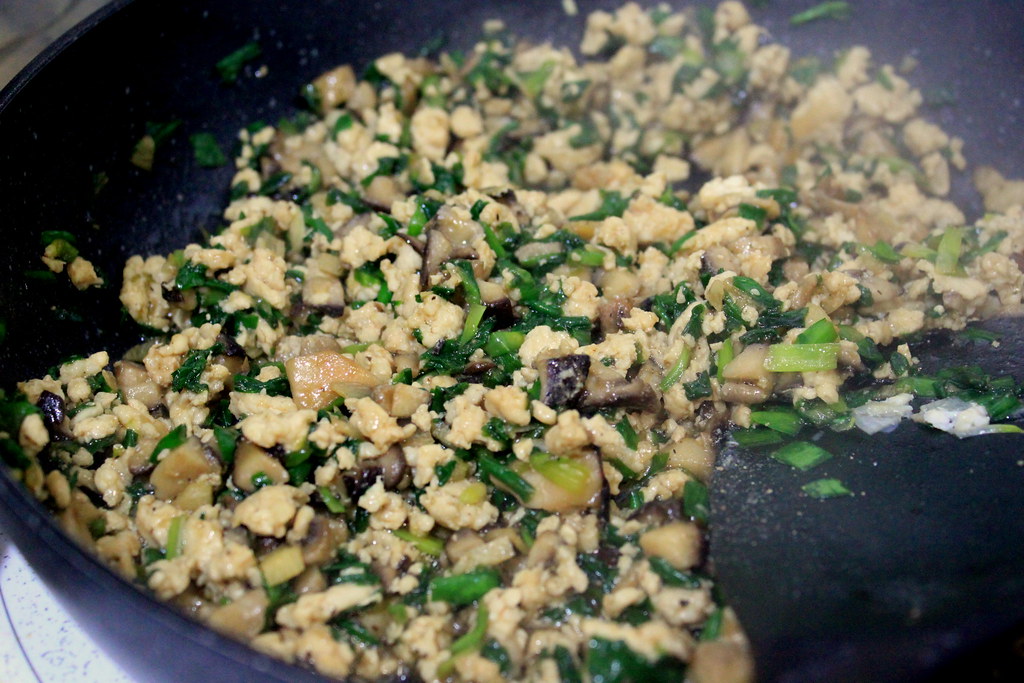
Add soy sauce, vinegar, sesame oil, salt, and pepper. It`s better to oversalt the filling a little bit as it will go together with the plain buns.
After the filling is ready, set aside to let it cool.
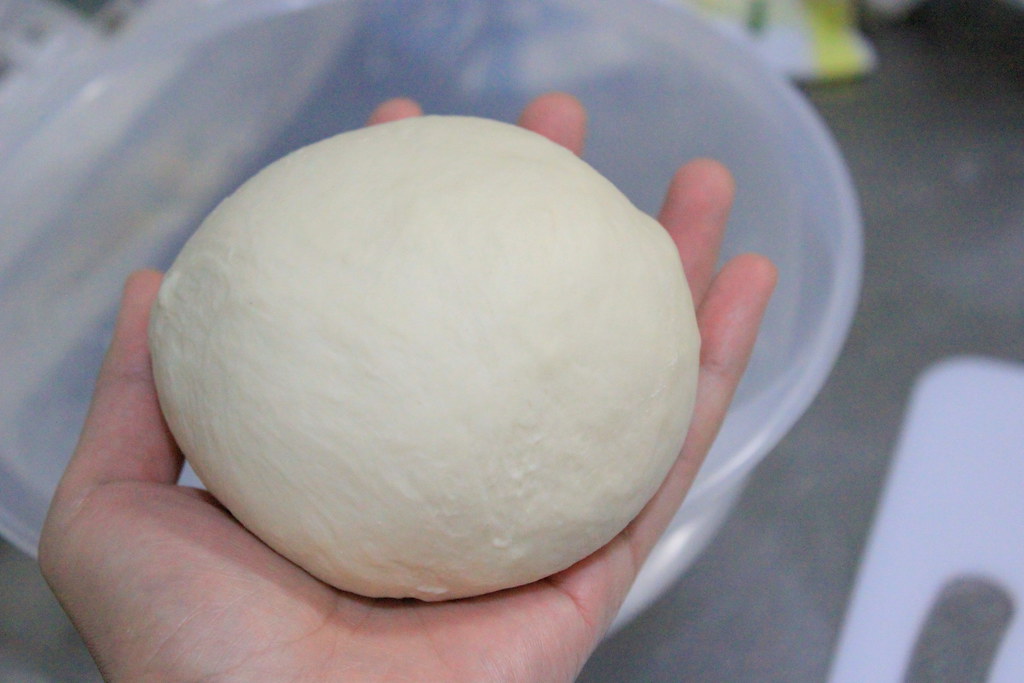
Now here`s the dough ball that has been leavened. I flattened it pushing the air out and kneaded by hand for a couple more times. Look how smooth it is now!

Next is dough portioning.
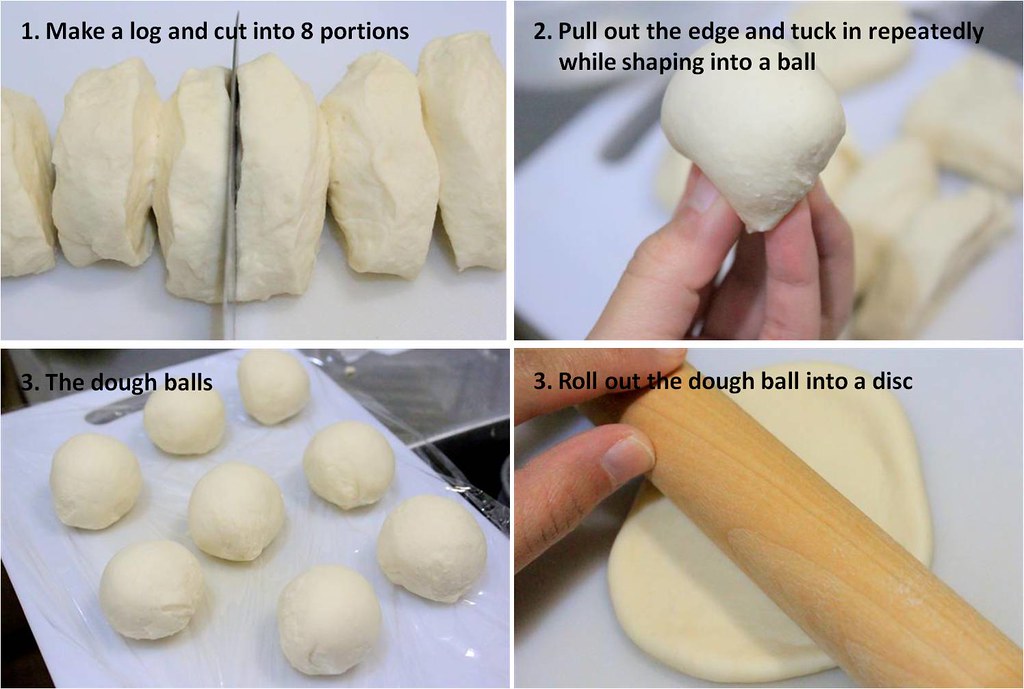
1. Shape the dough into a log and cut crosswise into halves and cut the halves into another halves to get 4 equal portions. Then, half each cut and this will result in 8 equal portions. 
By equal, of course, I mean, humanely possible equal.
2. For the finishing knead, pull out the edge of each portion dough and tuck it in repeatedly while shaping into a ball shown in Picture 3 above.
4. With a rolling pin, roll out each ball into a disc. 
My dough was a little springy that the flattened disc kept springing back making the disc rather thick. But I just continued to the filling anyway.

Next is the filling.

1. Place the disc onto your palm and flatten it once more.
From what I`ve learned, it`s better to flatten the edges and leave the center a little thick. 
2. Place the filling onto the disc.
Try small first and when you get used to the wrapping, add more filling.  
3. Pleat the edge and seal them altogether. 
As you can see in the picture, I didn`t pleat it. I just sealed the edge and I was satisfied enough if the filling could be wrapped neatly. 
4. Twist the edge for final sealing while shaping into a round bun.
Go easy with the twisting. Once the bun is safely sealed, you`re good. I overdid the sealing and the center got stretched out too far making the surface too thin and the base too thick.
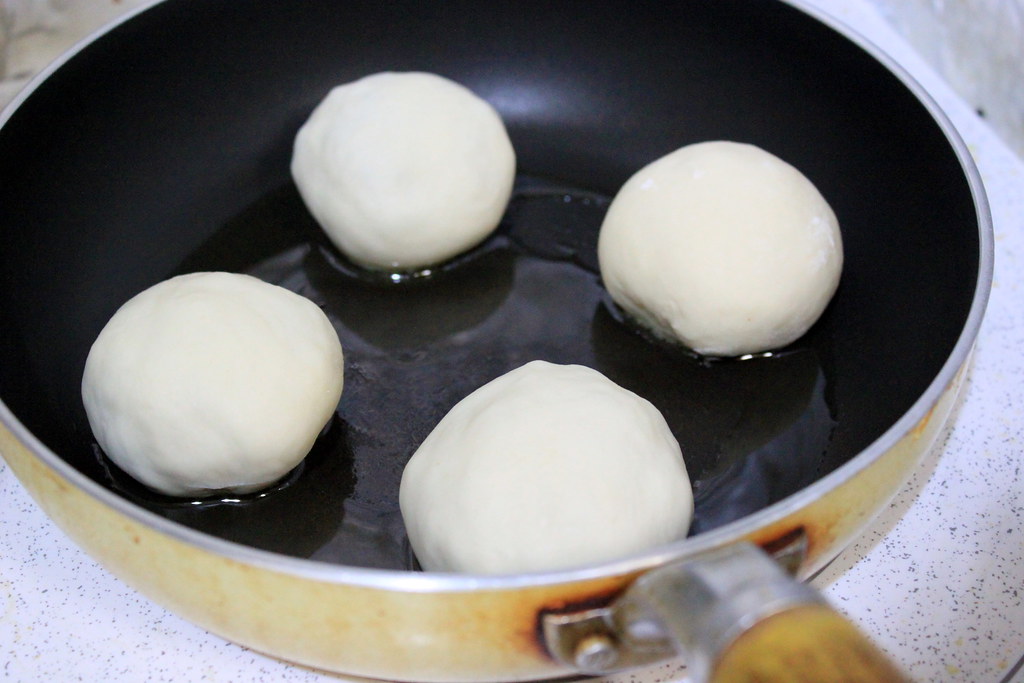
Heat a bit of oil on a frying pan over medium heat and place the filled buns. They will puff up, so space them apart.

After 1 minute frying the base, quickly, but carefully pour in 1/3 to 1/2 cup of water. 
There will be a serious oil splatter at the beginning, but if you add enough water, which covers like 1/4 or 1/3 of the bun, the splatter will be quickly gone and the water will simmer instead.
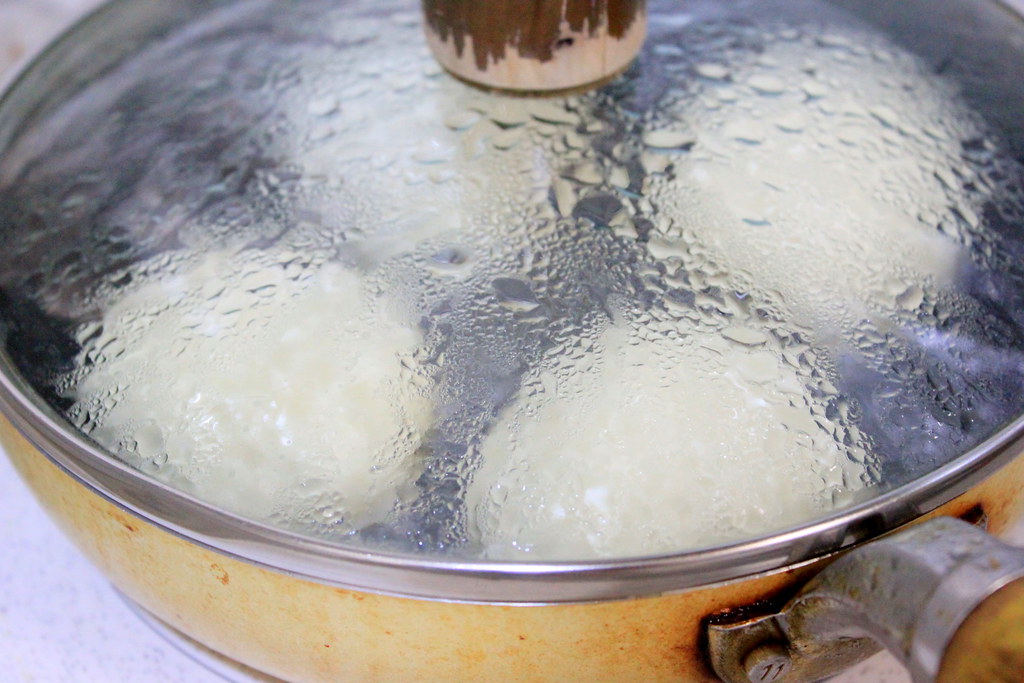
After adding the water, quickly cover the pan with a lid and let the water and steam cook the bun for 7-8 minutes.

After the buns have nicely puffed up, open the lid, crank up the heat, and let the water evaporate. Add sesame oil and swirl around to coat the bun base for final frying for another minute.
Done! 
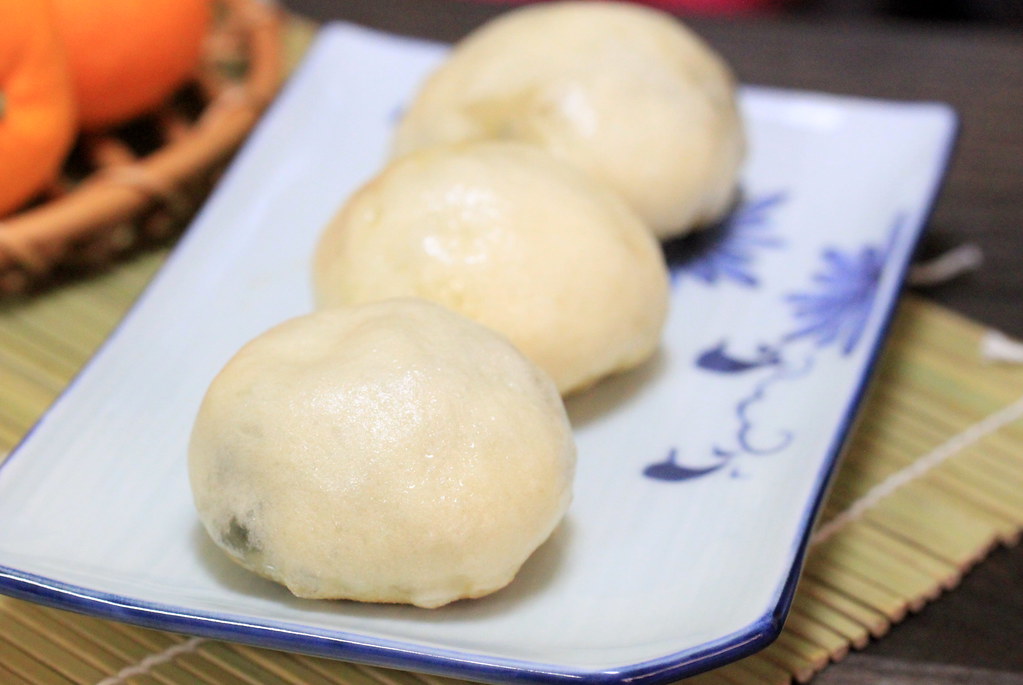
Ready to devour?
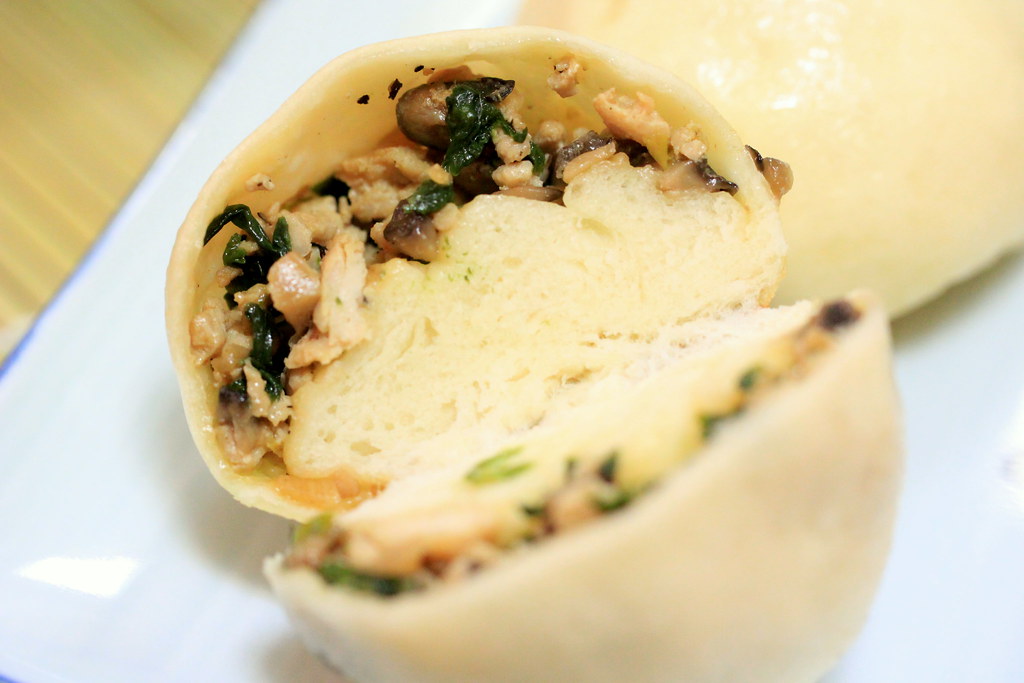
Here, let me cut it open for you so you can see the inside. This is why I suggest you not to overdo the sealing. This must be the most weird-looking bun I`ve ever had.

I also made the regular steamed buns with the same dough. Tastewise, I love them both. Love, love, love. Cooking-processwise, the steaming method was simpler and quicker as I could cook more buns at once in my steamer and I didn`t need to do anything except waiting. Texturewise, the fried ones have wonderful textures with the irresistible heavenly crusts.
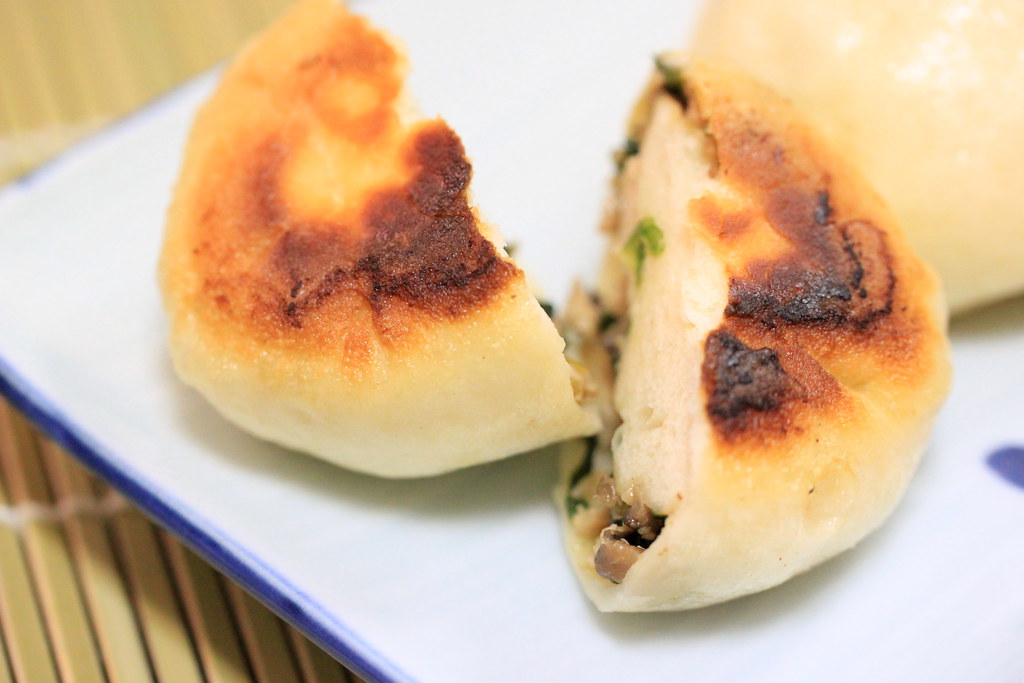
These crusts. Do I need to say more?
PAN-FRIED BUNS
Adapted from Orange Page 2010, Vol 1
Makes 8 buns

Ingredients:
For filling
5 cloves of garlic
150 g minced chicken
100 g shiitake mushrooms
Garlic chives
2 tbs soy sauce
1 tbs sesame oil
Salt 
Pepper

For buns
200 g bread flour
1 tsp baking powder
1/2  tsp sugar
1 tsp salt
1 tbs olive oil
100 ml lukewarm water

Methods:
For the filling
1. Saute chopped shiitake mushrooms and garlic with olive oil until they has shrinked and released the nutty scent.
2. Stir in minced chicken and let cook through.
3. Throw in chopped garlic chives.
4. Add soy sauce, vinegar, sesame oil, salt, and pepper. 
5. Let it cool down. 

For the buns
1. Mix flour, baking powder, sugar, and salt in a bowl and stir in lukewarm water mixed with olive oil. 
2. After the mixture turns into a dough, knead it by hands, and shape into a ball and let rest for 30 mins or 1 hour. 
3. Flatten the leavened dough to push the air out and knead by hands for a couple more times.
4. Shape the dough into a log and cut crosswise into halves and cut the halves into another halves to get 4 equal portions. Then, half each cut and this will result in 8 equal portions. 
5. For the finishing knead, pull out the edge of each portion dough and tuck it in repeatedly while shaping into a ball 
6. With a rolling pin, roll out each ball into a disc. 

For filling and frying
1. Place the disc onto your palm and flatten it once more.
2. Place the filling onto the disc.
3. Pleat the edge and seal them altogether. 
4. Twist the edge for final sealing while shaping into a round bun. 
5. Heat a bit of oil on a frying pan over medium heat and place the buns. They will puff up, so space them apart.
6. After 1 minute frying the base, quickly, but carefully pour in 1/3 to 1/2 cup of water. 
7. Quickly cover the pan with a lid and let the water and steam cook the bun for 7-8 minutes. 
8. After the buns have nicely puffed up, open the lid, crank up the heat, and let the water evaporate. Add sesame oil and swirl around to coat the bun base for final frying for another minute.

Friday, July 15, 2011

Easy peasy spicy wings

Now, how many of my posts have "spicy" word in them? Not sure, but definitely a lot. And how many with "easy" word? A lot too. Maybe my cooking journey is all about easy and spicy. 
Anyway, if you`ve never cooked anything in your life before, try this one. You`ll impress your guests. But there`s a good chance that you finish the whole batch yourself before you can even invite anyone over. Alright, I`m exaggerating here, but you should try this first to get the truth out.

Put chicken wings in a bowl and get all the spices in your pantry. I`m 30% kidding and 90% serious. I know that doesn`t sound mathematically correct. But you must know that I`m terrible at math. And other than that, that`s how badly I want the wings to be spicy. Real hot and spicy. In the middle of this scorching summer.
The dry ingredients I used were: chili, cayenne pepper, white pepper, ginger, garlic, coriander, cloves, and cardamon, and salt. Go generous with the spices, but control your self with the salt.
The wet ones were: olive oil, chili-infused sesame oil, soy sauce and fish sauce.


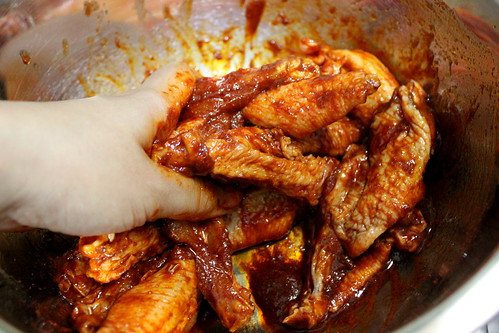
Rub the whole spices, oil, and sauces until the wings are well coated. I use my bare hands, but you can always use gloves if you want. Tongs? Well, not as good as our hands, but you should try them out if you`re curious.


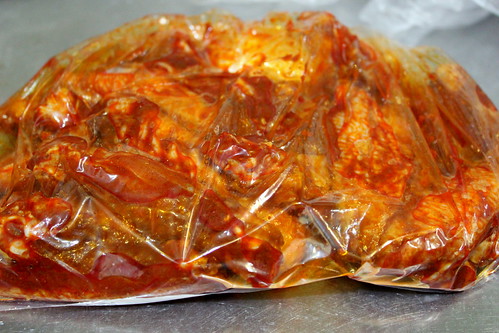
Wrap the bowl with a plastic wrap, or transfer the whole content into a storage bag, and keep the wings in the fridge for at least 2 hours. To be honest, I do sometimes bake them right away. Results were not bad at all, but from what I`ve noticed, letting them rest in the fridge for a couple of hours do help give better flavors.


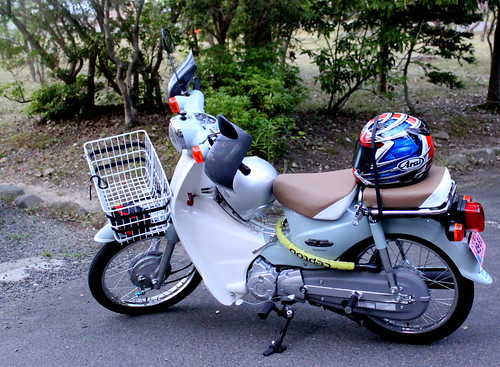
So while the wings were meditating in my fridge, we decided to take a short ride on our beloved Booboo up to the hill in our city and get some fresh(er) air.


It was almost sunset when we got there. And as what I`ve expected, it wasn`t hot at all up there! This is the only picture I`ve got that has trees, but if only you could come with us, you`d see that this place is almost practically an upland forest. And some of our campuses are located here too!


And far down there, standing proudly the concrete kingdom. Sure it has trees, but mostly are buildings. With heat.


And when I started to wonder what people were having for their dinner, I remembered how I missed my chicken wings. Time to go home!


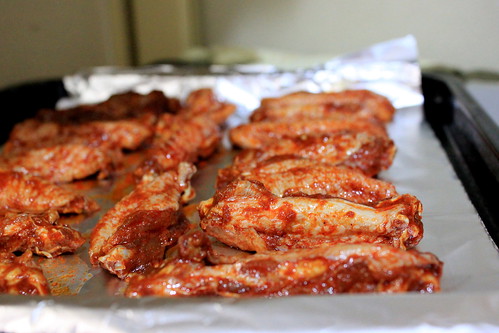
Oh..there you are...all red and sexy. 
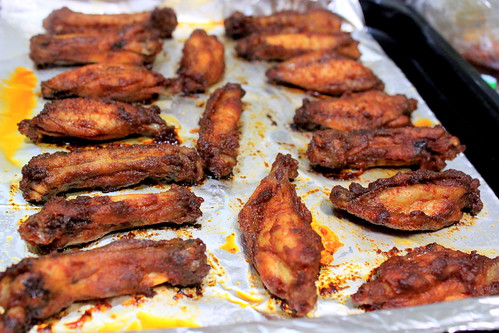
Bake them at 200 C for 15 to 20 mins. Hungry!


Alright, all cooked now. They might not look quite attractive now, but let`s dress them up a bit. 


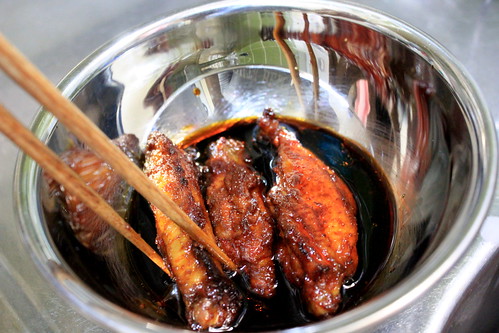
Mix soy sauce and chili-infused sesame oil in a bowl and then lightly coat the roasted wings with the sauce mix. This will make the wings glossy, moist, and more rich in flavor.


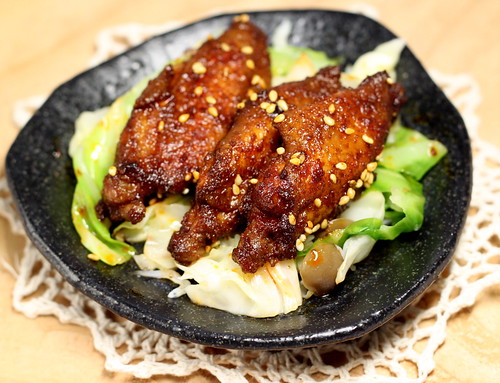
You can sprinkle sesame seeds to give an edge and serve it with some vegetables to lessen the guilt like I did. Don`t forget to prepare a box of tissue paper. To clean your fingers when you`re done. And to wipe off your tears because of the chili and the happiness.


Have fun with the spice experiment and enjoy flying with the wings!


Ingredients:
Chicken wings
Chili
Cayenne pepper
White pepper
Garlic
Ginger
Coriander
Cloves
Cardamon
Olive oil
Chili-infused sesame oil
Soy sauce
Fish sauce

Bake at 200 C for 15 to 20 mins

Saturday, June 18, 2011

A plate of celebration (continued): Spiced braised chicken

After the spiced rice, here I`m back again, this time with spiced braised. I`ve mentioned before that the original recipe for this dish came from my beloved husband. Even now, I still can`t believe it. He cooked. I knew he used to cook for himself before we met and got married. But him cooking in my kitchen for me when I wasn`t around was RARE! To be honest, I was a bit of freaked out when the picture of how messed up my kitchen must have been came across my mind. But I chose to concentrate more on enjoying the dish he made and I`m glad I did! It was undoubtedly one of the most amazing things he`s ever done for me.

Alright, I need to move on to the cooking-related talk.
So I`m going to start with the garlic...story. I`m sorry..I`m just full of stories these days.
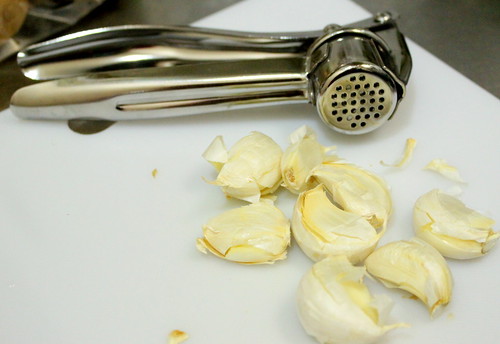
I just got this garlic crusher like a week ago, which I was so excited to use, but it turned out that the garlic wouldn`t come out from the crusher`s holes. Or even when some did come out, the amount was unbelievably tiny. I almost thought that this stuff was no use at all, or me being not powerful enough, but I figured that peeling off the skin after the garlic has been crushed was so much easier. I used to dislike peeling off garlic (other than washing the dishes), but it`s a whole different story with the crusher in my hand.Why not just crush it on the counter with the knife? I (and my clumsy hand) can`t. The counter can`t. It just can`t. Really.
Now, done preparing your garlic?


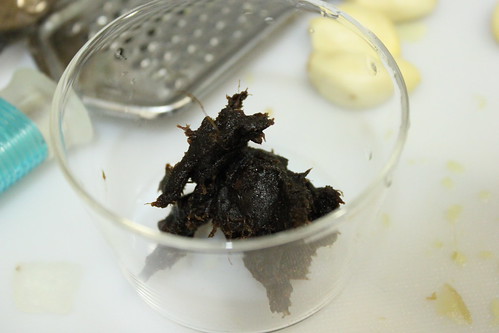
Here is a new item in my kitchen. Thai`s tamarind. So happy to finally get it! This chicken dish is not supposed to be sour, but a small amount of tamarind will be great to give just a hint of sweet tang.
Place some amount of tamarind in a heat-proof cup and pour in some hot water. Leave it a little while, then stir and press with the back of a spoon to get the juice out.


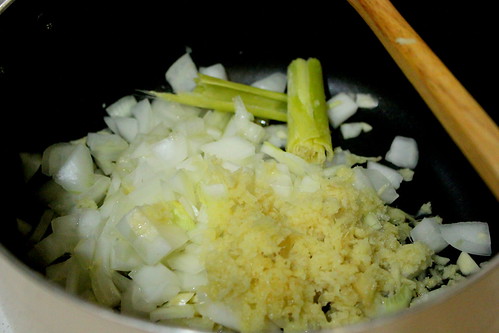
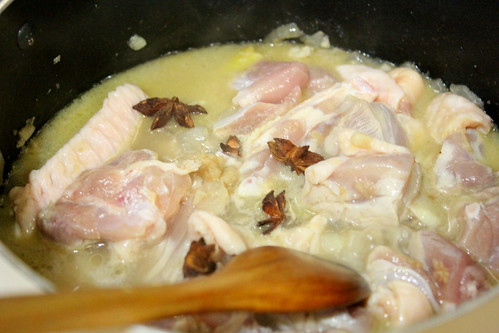
Now let`s work on the spice. With a bit of oil, saute garlic, onion, ginger, and bruised lemon grass on a heated pan.


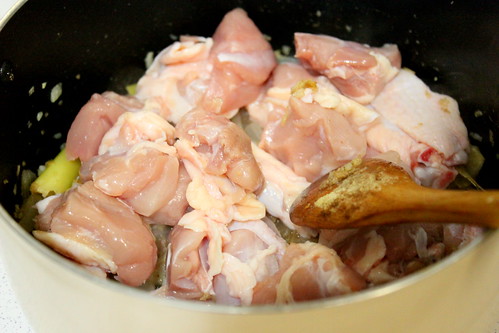
When the fragrance is coming out, throw in the chicken and stir a bit.


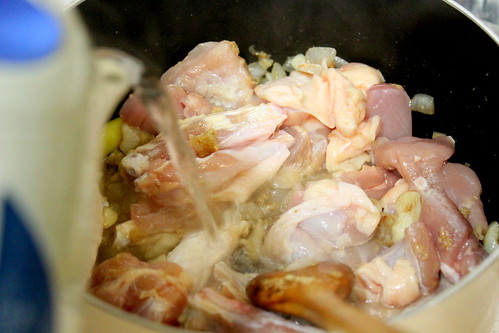
Pour in hot water and stir again a bit. Cold water (not fridge cold, though) is okay too, which I usually used, but using hot water from the electric kettle saves me a lot of time in cooking.
How much water? Not too much, just pour until the chicken is two third soaked.


In the middle of stirring, I felt like I need to add star anise to the soup. So I did it. What a lovely spice.


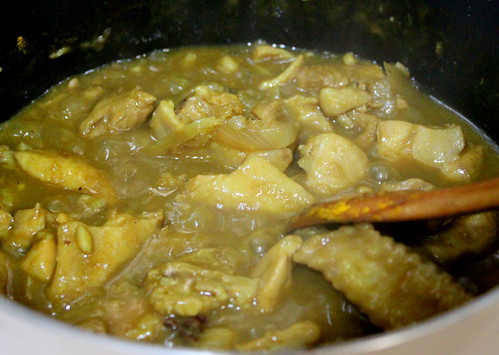
Now add the tamarind juice you`ve prepared earlier. If you`re new with tamarind, go easy. Just add half or one third of the juice and leave some when you need it later to adjust the taste. My taste buds are probably getting numb already that I always need a strong flavor from this kind of dishes. So I dumped in the whole tamarind. The flesh, the seed, the juice, everything.

And...I added turmeric powder too because I want some yellowness. 


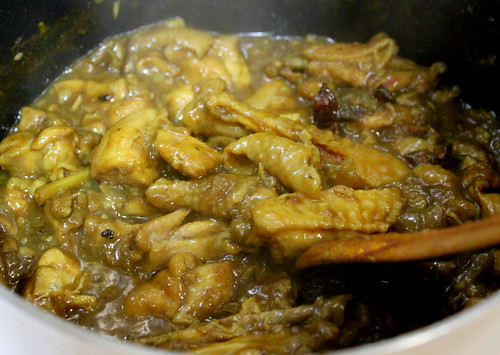
At the beginning, you only need to stir once in a while because the soup still has much liquid in it. But the water will gradually evaporate and thicken up, you need to keep an eye on it and stir it more often so you don`t end up scorching the chicken.
When it has thickened up already, adjust the taste to your liking with salt, brown sugar, pepper, and if you need to, the tamarind juice.

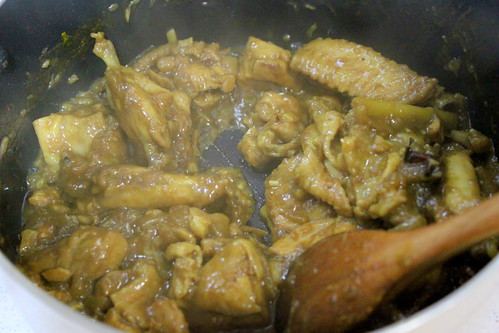
Keep stirring and let it dry up until you can see the side of the pan.

In my husband`s recipe, the chicken needs to be fried after drying up all the liquid. But it was quite late for our dinner time, so I just served this spiced chicken right away.
His fried version was absolutely wonderful and I`d definitely (shallow-)fry this chicken next time I make it. But, if you are in a hurry or not big on fried food, no worry at all because this unfried version will make you sing!


Alright, one more recipe to go to complete the sequels!


Ingredients:
Chicken
Garlic
Onion
Ginger
Star anise
Lemon grass
Cardamom
Tamarind (juice)
Turmeric
Water
Salt
Brown sugar
Pepper

Tuesday, April 12, 2011

Spicy teriyaki chicken

I completely have no idea why it took me ages to finally make this teriyaki chicken. It`s very simple, easy, and quick to make. Especially if you use pre-cut chicken like I did. We all deserve a simplicity in our life and kitchen, don`t we?

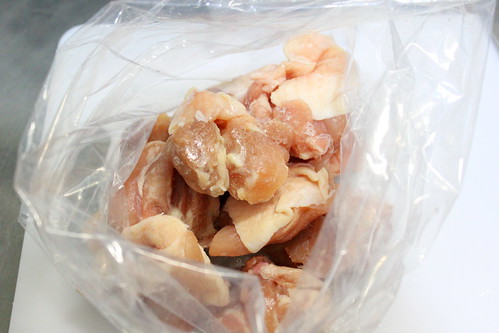
Place chicken pieces in a plastic bag. Using a fork, stab the pieces repeatedly to create holes so it`s easier for the marinating sauce to seep in the meat later.
Now, don`t do what I did. My chicken was frozen and I didn`t have much time to completely defrost the pieces (translation: I was super hungry). So, stabbing them is out of question.


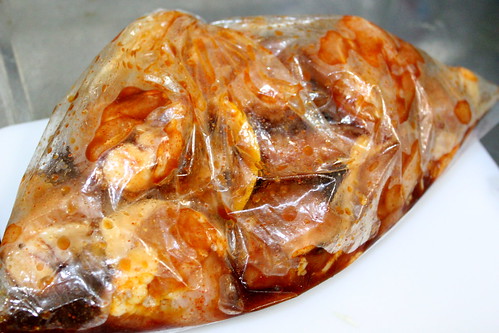
For the marinating sauce, I used soy sauce, oyster sauce, vinegar, sugar, fish sauce, sesame oil, chilli powder, cayenne pepper, garlic powder, coriander, and cloves. Most of Japanese recipes for teriyaki chicken call for mirin (Japanese sweet rice wine) and sake, so you might want to use them too if possible. The chili? This is me cooking (and eating), so it has to be spicy.
I also added lemon juice and threw in the lemon wedge. What`s not to like from lemon and soy sauce?


Close the bag and squeeze up everything from outside until everything combined. Let it sit for a while with occasional mixing.


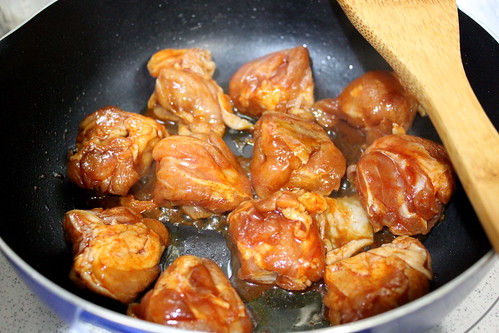
Heat a pan with a little oil and sear the pieces skin side down (if any).


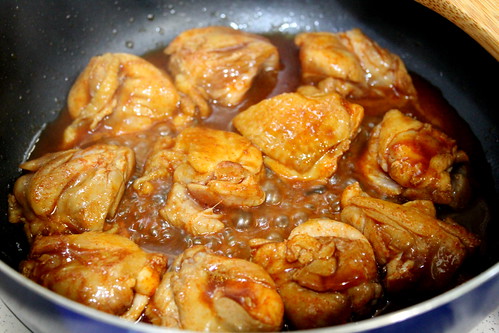
When the skin are slightly cooked (or caramelized, tastes even better I think), turn over and pour in the marinating sauce.


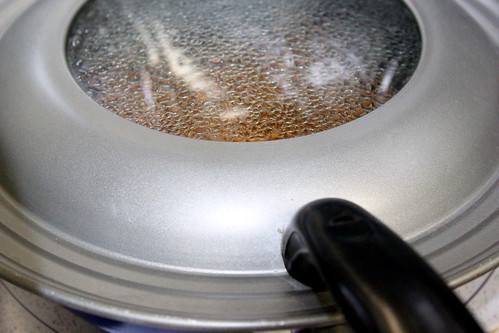
Set the stove on low heat and put a lid on to help cooking the meat.


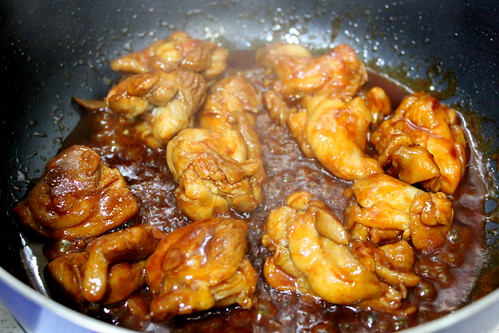
When the chicken is cooked through, open the lid, turn up the heat to thicken the sauce. You need to keep stirring at this stage because the sauce can easily scorch. 


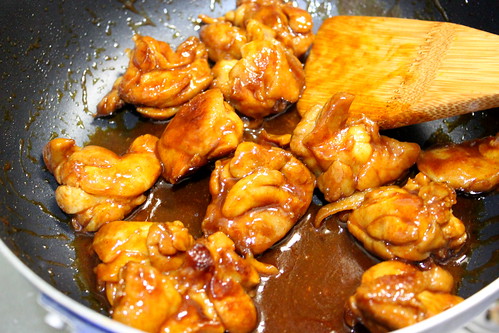
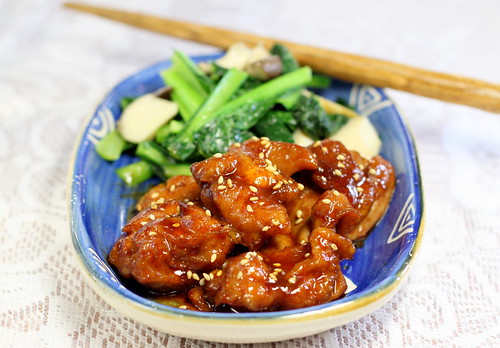
When the sauce reduced until it`s really thick or turns into a glaze, your teriyaki chicken is done.


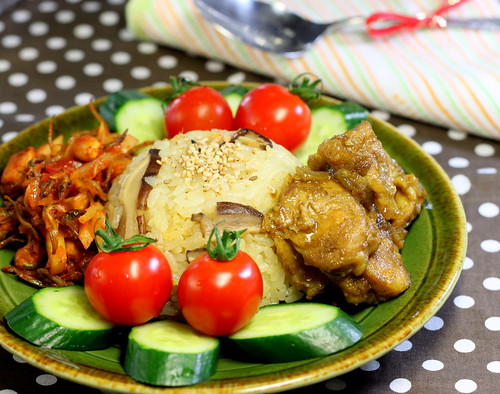
This is what I call as minimum effort that gives an incredible result. Really. The chicken is succulent and tender and the sweet shiny glaze just makes this dish even more delightful.


If you want impress your boyfriend, make this. Believe me. No one can ever resist this high-sodium happiness (oops!). Just make sure you give him a lot of water afterward.


Ingredients:
Chicken
Soy sauce
Oyster sauce
Sugar (or mirin)
Vinegar
Fish sauce
Rice wine (optional)
Sesame oil
Cayenne pepper
Gochujaru (Korean chili powder)
Coriander
Cloves
Pepper
Lemon wedge

Sunday, April 10, 2011

Green curry with chicken meatballs

If any Thai cooks ever read this post, I am sure they will force me to change the dish name. Or at least not calling it "Green curry". Well, until that happens, let`s just call it the way I intended it to be.

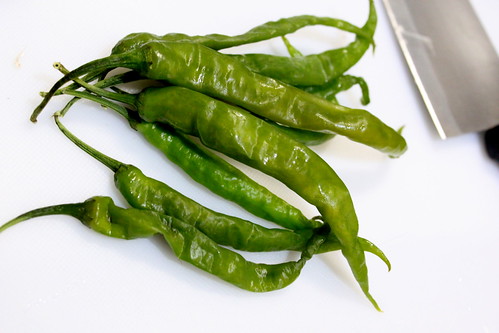
I know these green chilies look wrinkly sad, but that`s what I get when I keep them too long in the fridge. It`s alright, though, they`re still green anyway.
Chop up the chilies (remove the seeds if you avoid the heat). If you want the curry to be really really hot (that no one can eat it except you), use bird`s eye chilies. I still have no idea in what way the birds have anything to do with the chili, not to mention their eyes. I`ll stop blabbering now.


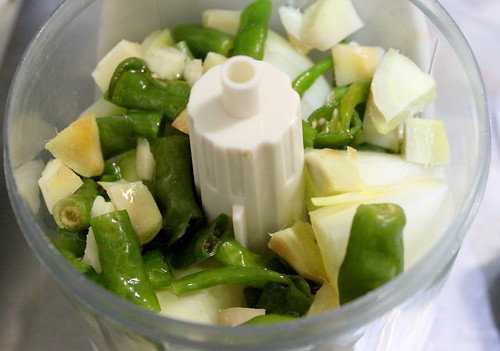
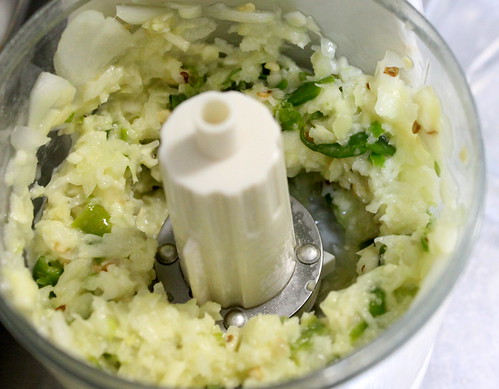
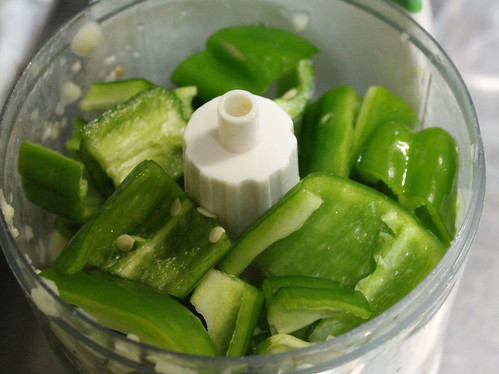
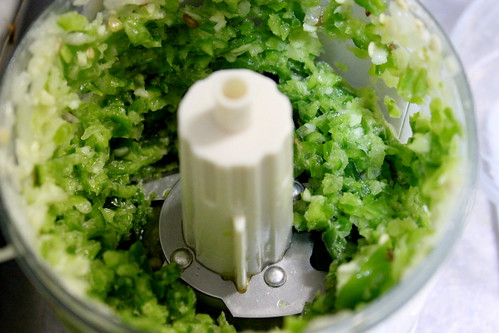
Chop up garlic, onion, and ginger too. Place them together with the green chili in a food processor and whiz up.


Not green enough, I know. Not green at all, indeed.


And that`s why I used green bell peppers.
One thing to consider, though. Green bell pepper contains way more flesh and water than chili does. So it seems that you`ll need more bell peppers to get an equal greenness resulted form fewer amount of chilies. My theory, of course, can be ignored. Using green chilies is the best (and original) method, of course.


Green already. I looove this picture.


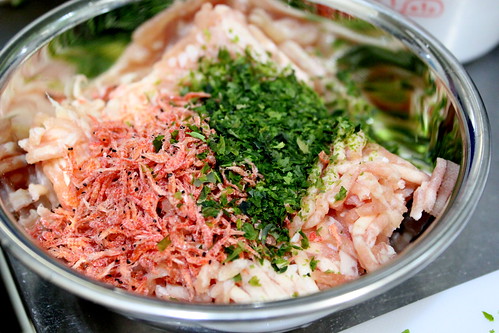
Set aside the spice paste and it`s time to make the meatballs. You can certainly modify the meatballs ingredients, but here`s what I`ve got in my kitchen.
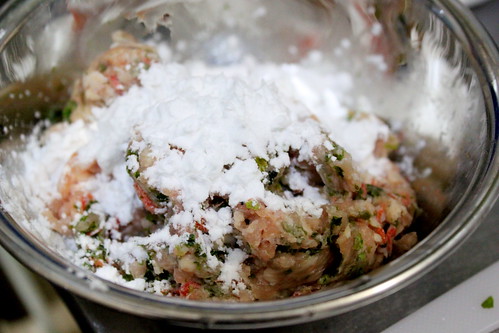
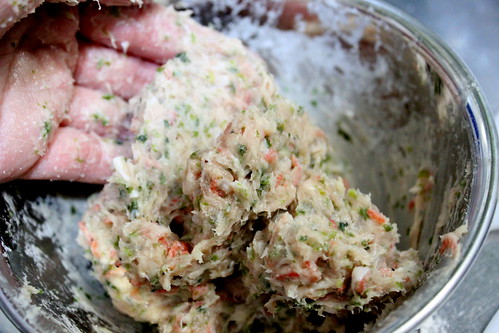
Minced chicken, dried shrimps, and seaweed flakes. Season with a bit of salt and pepper. What to do next? Oh you know it already. Go dunk your hand in it and mix everything.


I want the meatballs to be chewy, so I added corn starch. To 160 g of meat, I added 2 tbs of corn starch. The meatballs turned out to be a little too firm, so I think I`ll use less starch next time.


Mix, mix, mix, and set aside. Please don`t taste it now.


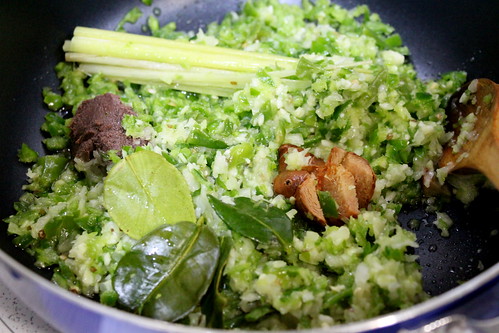
Place the spice paste you prepared earlier on a pan, add shrimp paste, lemon grass (bruise it first), galangal, and kaffir lime leaves and saute them until fragrant.


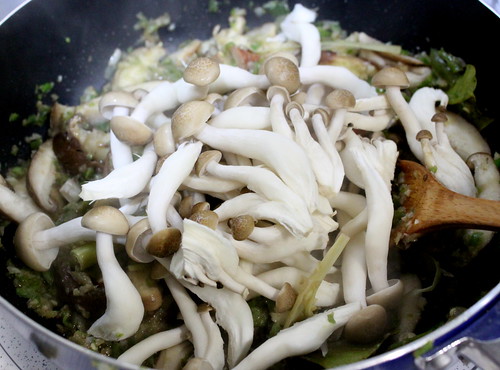
Toss in shiitake mushroom slices. Mushroom is almost a must in my kitchen. No wonder my head started look like a mushroom.


One type of mushroom is not enough for me, so I tossed in shimeji mushroom too.


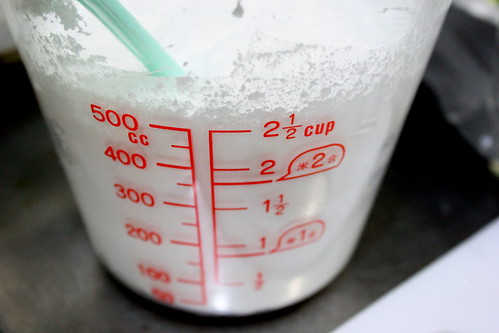
I always use powdered coconut milk and this time I diluted 60 g of it in 500 ml water.


Pour it in and stir.


Can I call it green curry now?
Season with sugar (this curry is supposed to be sweet), fish sauce, cumin, and pepper.
Keep simmering while we make the meatballs.


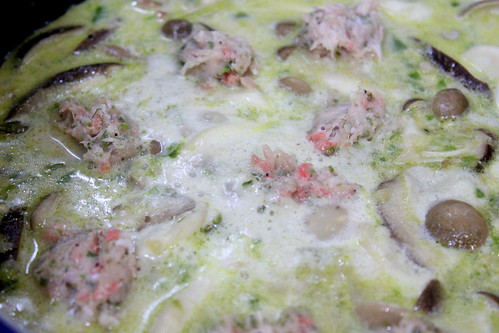
Get the meatballs dough and shape it into (something like) meatballs. You can use two spoons like I did. Or you can place some dough in your fist, squeeze it out between your thumb and index finger and then spoon out one ball at a time before putting them in the simmering curry.


Let the meatballs cook. This is raw chicken we are using, so you want them to be cooked through. To avoid the coconut milk scorches, gently stir the soup without breaking the meatballs. Cook one meatball first, taste it, and adjust the taste of the dough if you need to.
Actually, I don`t really mind if the meatballs end up tasting bland because I think the curry is rich enough to cover the blandness.


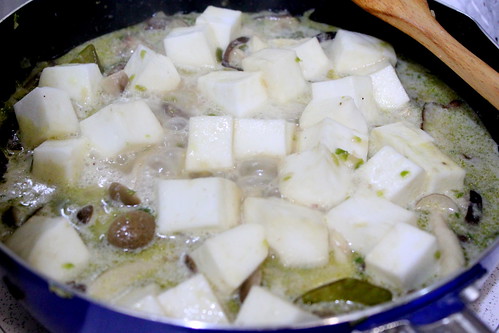
One last ingredient is hanpen. Hanpen is a kind of fish cake made from fish and yams with a soft spongy texture that is very similar to marshmallow. When you touch or eat it, you`ll swear it`s a marshmallow. With a fishy taste, though. If you can`t find hanpen at your place, regular fish cake will do just fine.


Cube the fish cake and throw them in. It won`t take long to cook the fish cakes as they`re cooked anyway.


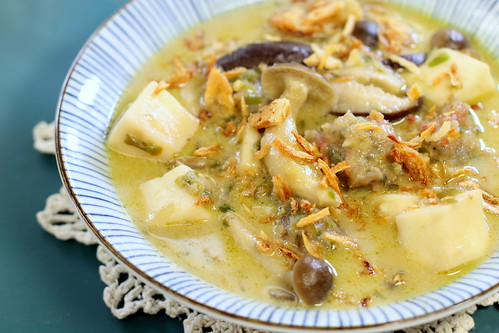
And now the curry doesn`t look that green anymore. It`s yellowish green. Or greenish yellow. Whichever it is, this curry is rich of taste. It`s lightly sweet with a hint of aroma from the green chilies (and bell peppers).And I added fried onion for garnishing. Y-U-M.


Ingredients:
Spice paste
Green chilies
Green bellpeppers
Garlic
Onion

Lemon grass
Galangal
Kaffir lime leaves
Shrimp paste
Cumin
Sugar
Salt
Pepper
Mushrooms
Fish cake

Meatballs
Minced chicken
Dried shrimps
Seaweed flakes
Corn starch
Salt (just a pinch)
Pepper