Showing posts with label dessert. Show all posts

Tuesday, June 26, 2012

Green tea and chocolate soy ice cream

This Sunday I`m going to take an exam for Japanese language proficiency and I`m supposed to meditate s-t-u-d-y, like right now. I was studying, but then my husband offered me to have a cup of ice cream I made this weekend (again!) and just like that, I`m now much more interested in sharing about it with you.So, it will be his fault if I end up abandoning my textbooks tonight.

Ice cream talk now. I`ve been wondering why I can`t find ice cream made of soy milk here in spite of the various products of plain soy milk or the flavored ones. I`ve learned that when the food I want is not available at the stores, or is not affordable for me, that means either I just forget about it or make it myself. Obviously, with my new toy in the kitchen, I did the latter one. Another reason why I make my own ice creams is I can adjust, aka. reduce the sweetness. I don`t actually often buy ice creams (or the popular Japanese soft cream) because I always find they`re too sweet for me. If you follow my recipe here and find that it`s not sweet enough for you, feel free to adjust the sweetness.
Just for a reminder, in making ice creams, I still don`t cook/heat anything and I don`t add eggs. 

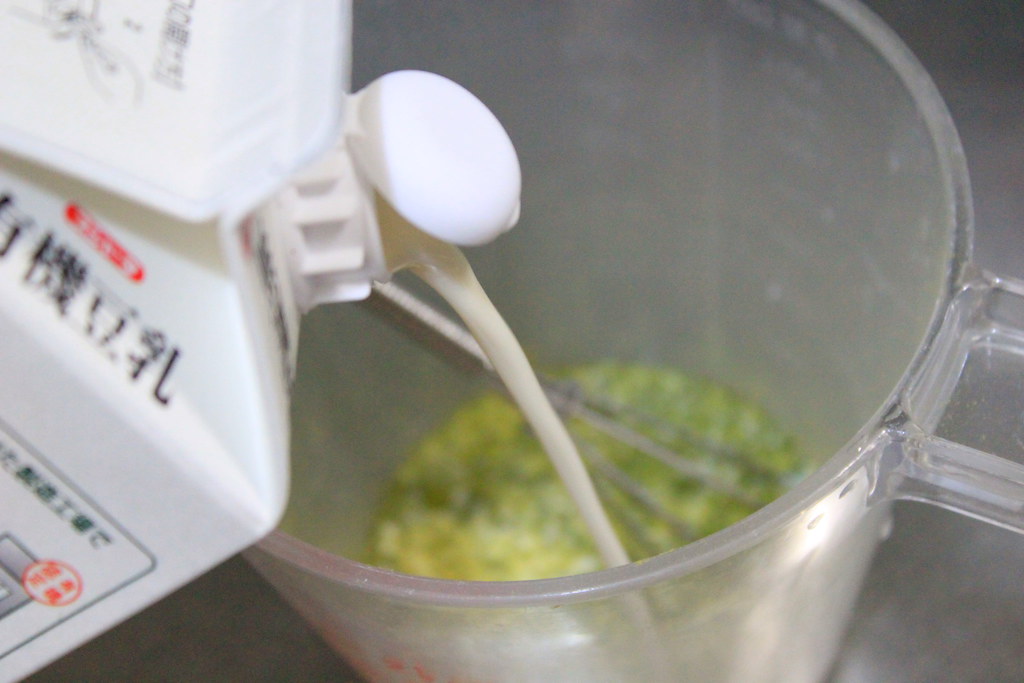
Start with dissolving the matcha (green tea) powder with soy milk gradually in a container. 
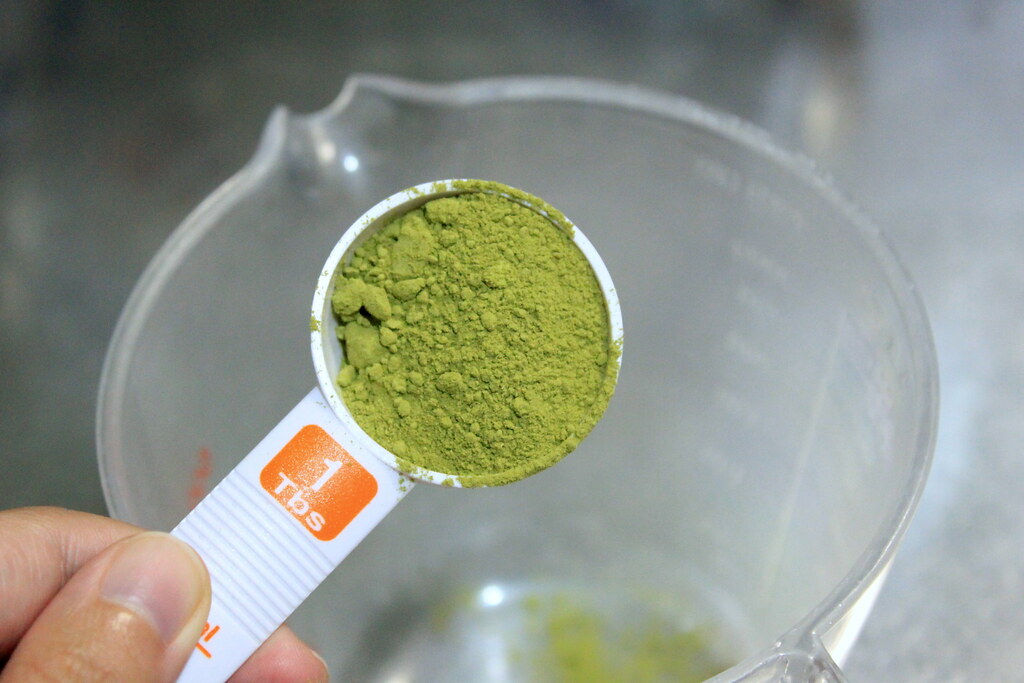
The mixture will be frothy at first, but that`s alright.

While dissolving the matcha powder, stir honey or sugar in.
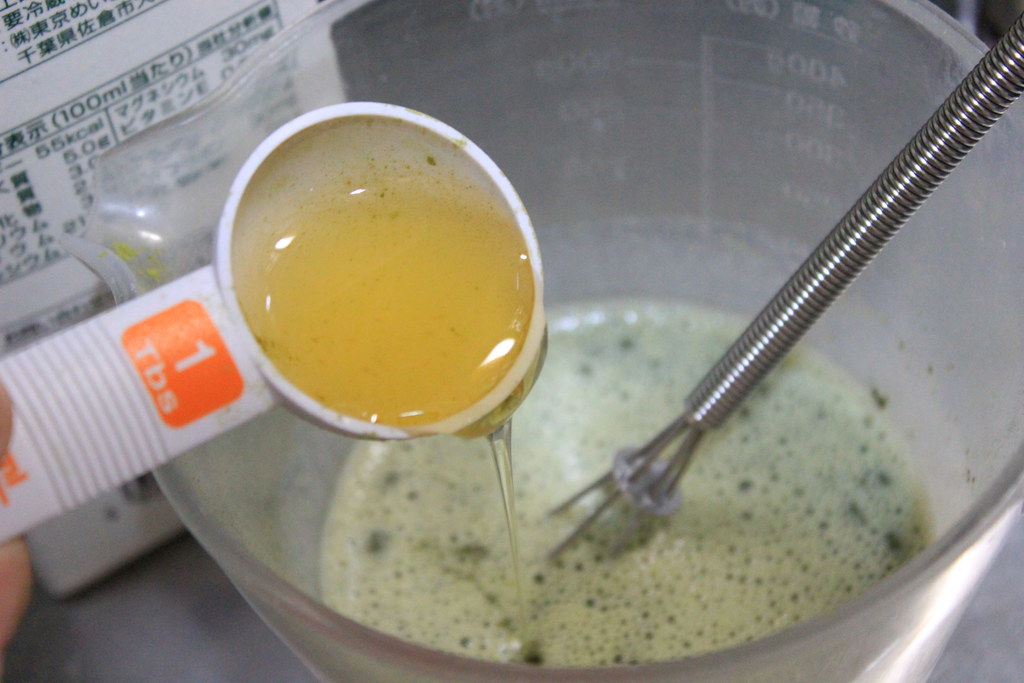
Add the remaining soy milk and pour the whole mixture to a different container while pushing it with the back of a spoon through a sieve repeatedly until no lumps are visible.
Taste it, stir in more honey or sugar if necessary, and add a pinch of salt.  When you`re done, chill the mixture in the refrigerator 2-3 hours.

After the mixture is chilled enough, start churning it in an ice cream maker. 
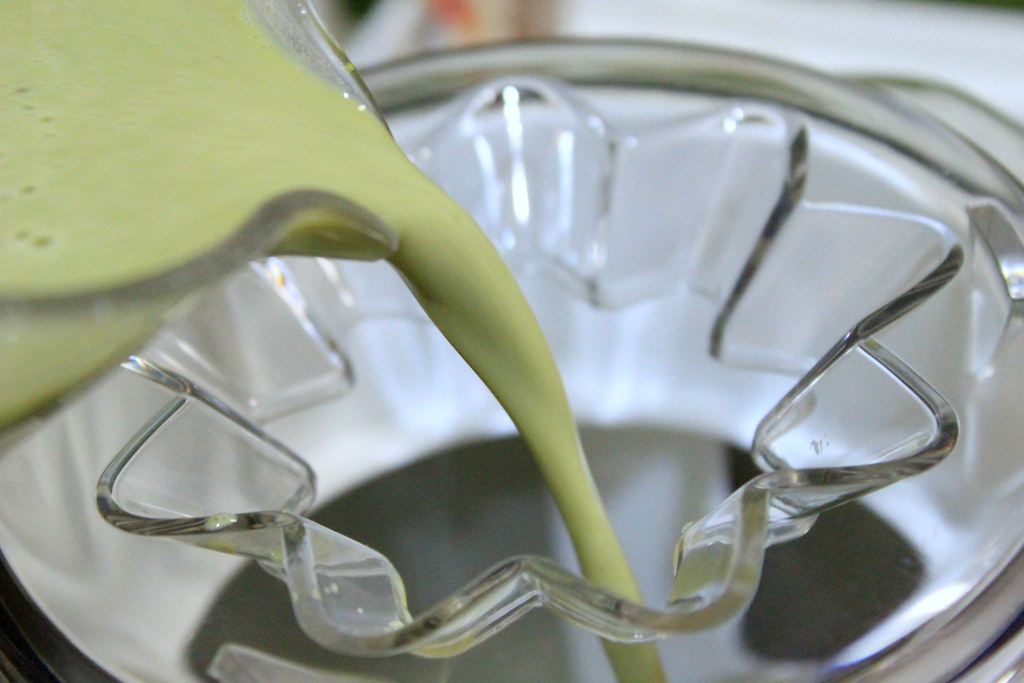
..until it has turned thick.
Transfer the ice cream to a container and keep it in freezer for 2-3 hours.

Shouldn`t I be studying now?I can feel the books staring at me. Ugh.

Alright, to shorten this post, this is the chocolate soy ice cream that I made the next day. The method is pretty much the same, only this time I used cocoa powder.

This is how I kept the ice creams in one container.
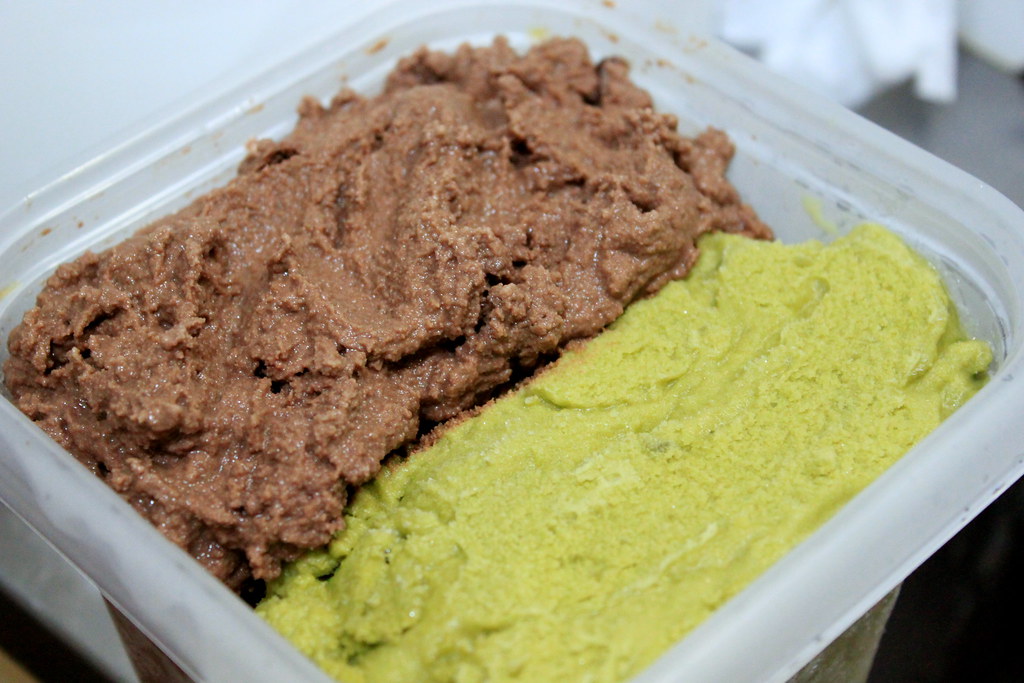
 And I didn`t do this on purpose.
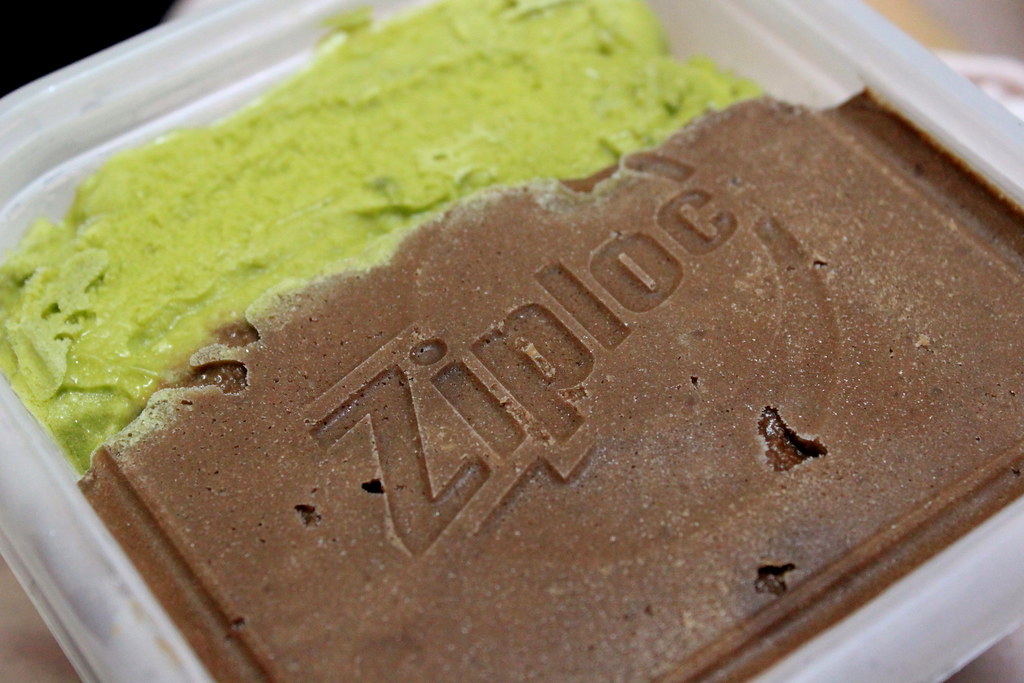
Scooping time! 
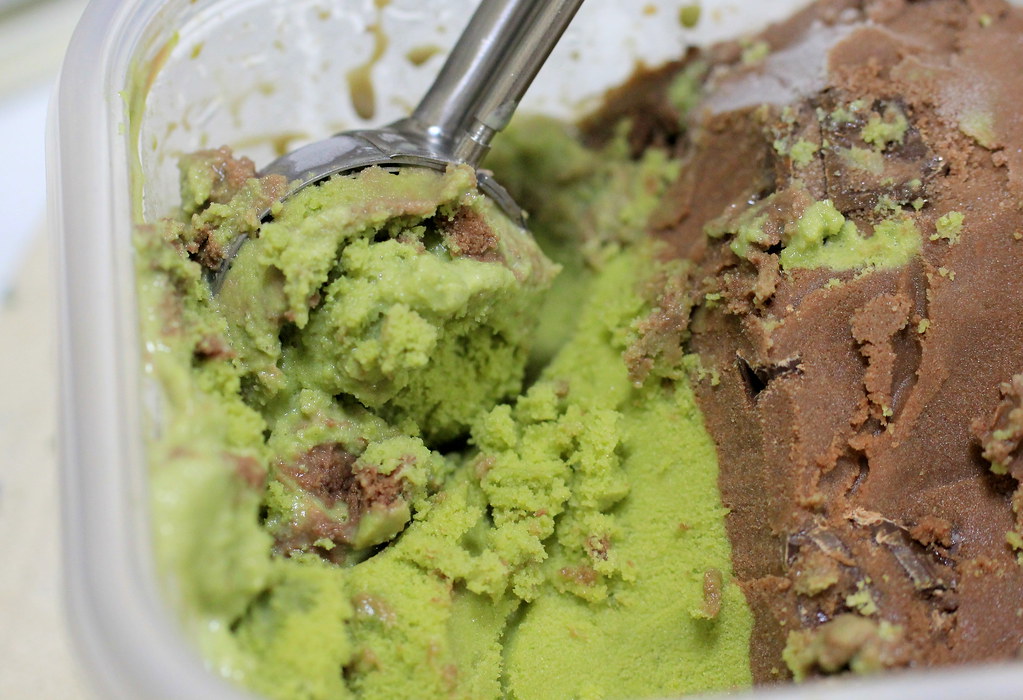
I`m sorry for showing you this green-brown messiness, but in my defense, the messiness is my signature.

Creaminess-wise, this soy ice cream is somewhere between sorbets and dairy cream-based ice creams. Much lighter than the regular ice creams, but still "creamier" compared to sorbets. It has a soft crunchy texture that might bring sorbets to mind, but the milkiness of the soy ice cream might make the difference.
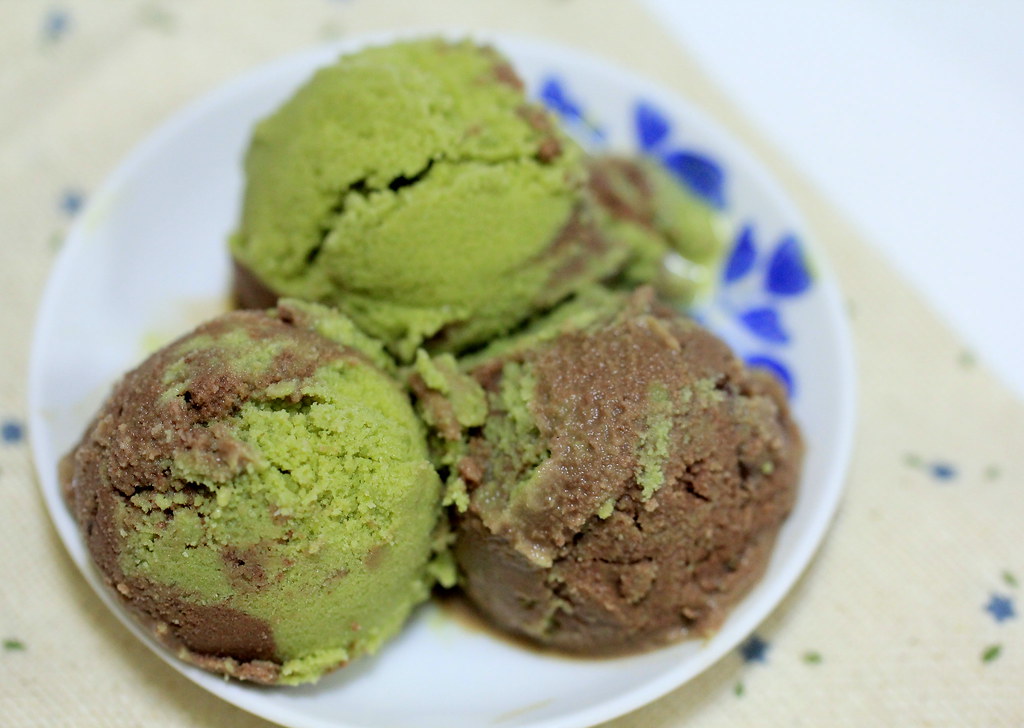
I remember how I can feel the sweet stickiness remaining in my mouth when I eat the regular ice cream, which I don`t find in this soy ice cream. It melts and it`s gone very quickly. I don`t know if this is good or bad, but if you`re looking for a lighter version of ice cream like me, then this one is probably for you.
Enjoy!
MATCHA (GREEN TEA) SOY ICE CREAM
Makes about 500 ml

Ingredients:
1 1/2 Tbs matcha (green tea) powder
450 ml plain soy milk
4 Tbs honey
A pinch of salt

CHOCOLATE SOY ICE CREAM
Makes about 500 ml

Ingredients:
3 Tbs cocoa powder
450 ml plain soy milk
6 Tbs honey
A pinch of salt

Method:
1. Dissolve matcha or cocoa powder and honey gradually with soy milk in separate containers.
2. Pour the mixture through a sieve repeatedly until no lumps are visible.
3. Add a pinch of salt, stir a bit, and chill in the refrigerator for 2-3 hours.
4. Churn all the ingredients in an ice cream maker according to the manual for 30 minutes or until the mixture has thickened up.
5. Transfer the ice cream to a freezing container and keep it in the freezer for another 2-3 hours before serving.
Note: If using only one freezer bowl, make the ice cream one flavor a day.

Monday, June 18, 2012

Pineapple banana frozen yogurt and coffee ice cream

A while ago after I saw the gorgeous shots of strawberry cheesecake ice cream by Nami of Just One Cookbook, I couldn`t stop thinking about getting myself an ice cream maker. Although I`m usually more into frozen yogurt than ice cream, the idea of making such desserts at home sounds terrific to me. And hellooo...summer is so close already!
I`m really glad that Nami also gave the Amazon link for her ice cream maker because I was totally clueless about any ice cream maker. Although it turned out that the one that I wanted isn`t available here and there is a 100 USD shipping charge if I purchase it from Amazon US (unbelievable, right?!), I decided to purchase the older version of the Cuisinart ice cream maker through Amazon Japan and my new toy is here now! Yeehaaa!


My first ever homemade ice cream was blueberry ice cream using the recipe that came with the manual. The recipe was a quick and simple one as it doesn`t involve any cooking. Just chill the ingredients and churn them altogether in the freezer bowl. I`m also a bit hesitant about including eggs in making ice creams, so I decided to make no-cook and eggless ice creams. Using this method, my blueberry ice cream turned out okay for a starting point and I`m so excited to learn and create more. 

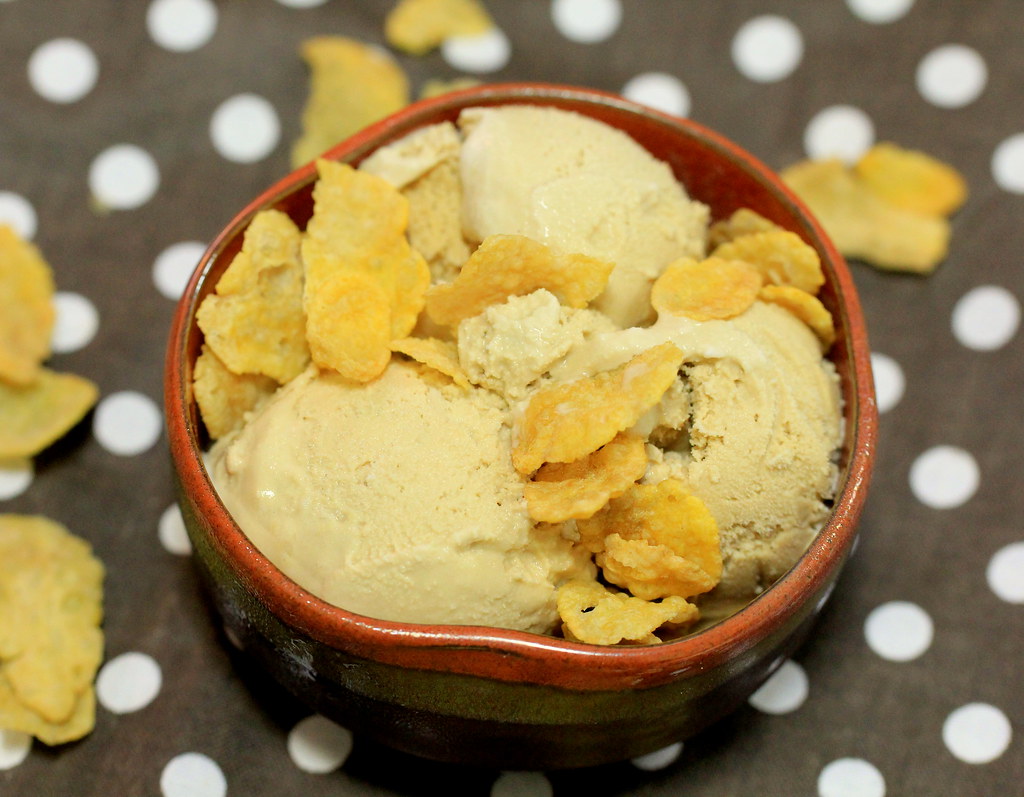
My second product is this coffee ice cream, which is still no-cook and eggless version. I also used decaffeinated instant coffee as I don`t want to stay awake all night after devouring it. I was initially worried about the texture of ice cream because I omit the eggs and the cooking process, but the result was still pretty much satisfying. My husband and I super lllllove this ice cream both for the taste and texture and I had to keep an eye on him because otherwise he would easily finish the whole batch I made. I guess I don`t need to go to Baskin-Robbins for a cup of coffee ice cream anymore!

After having nonstop sugary and creamy days, for my next trial, I made frozen yogurt using pineapple and banana. The idea is to use as many fruits as possible and borrow their natural sweetness for the dessert. For the fruit, I initially intended to use pineapple only, but then I thought that I needed something to give more thickness in the mixture and that led me to include banana.
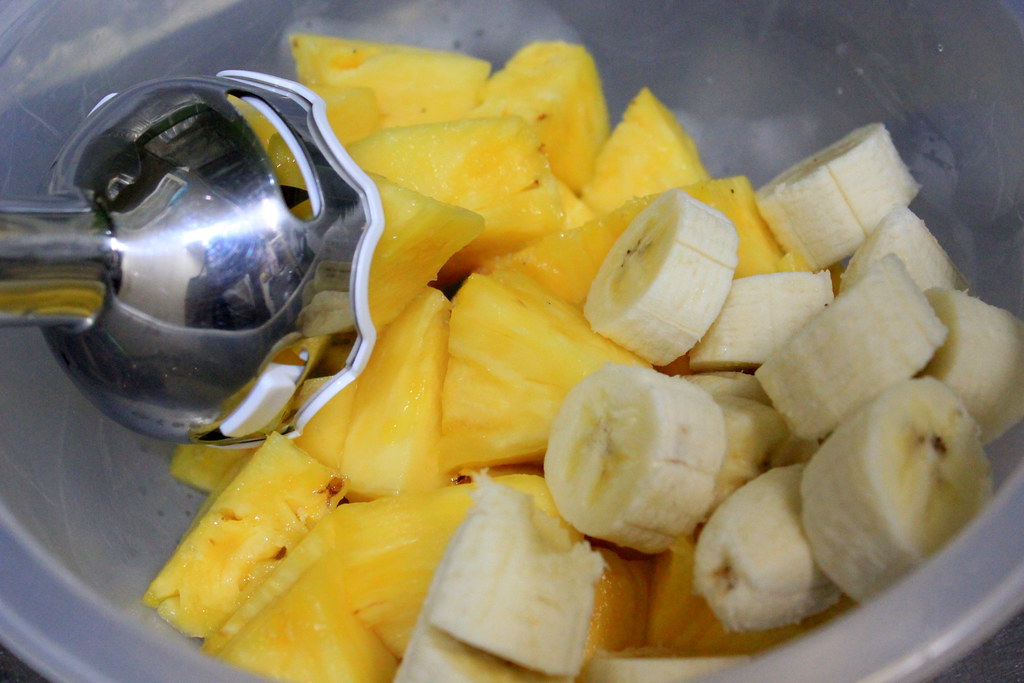
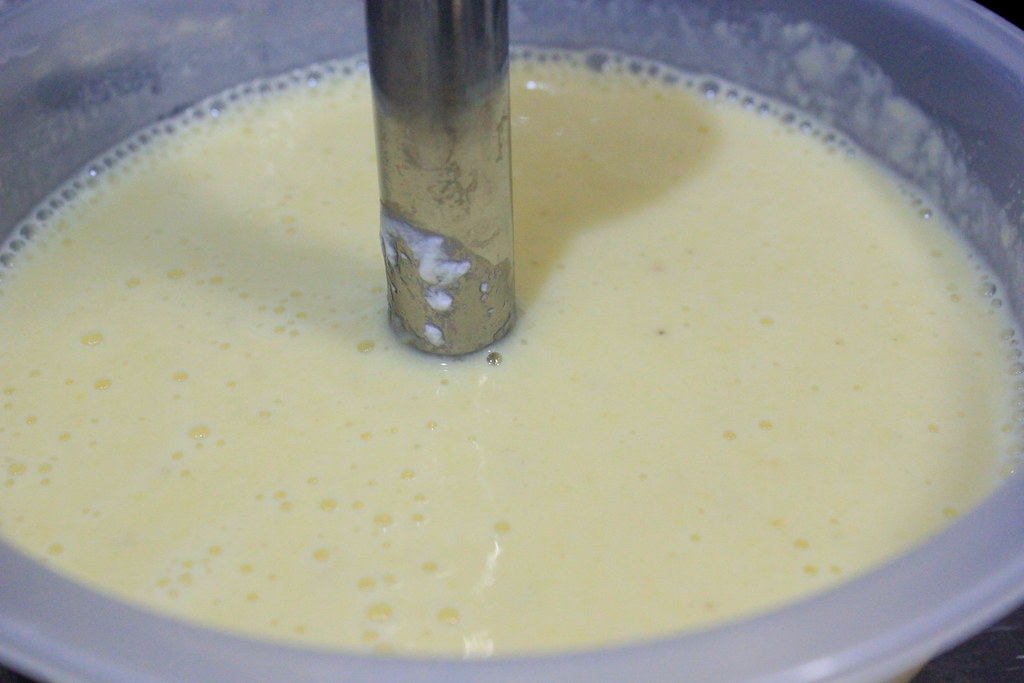
So this is where I have the pineapple and banana cut into chunks and I was ready to puree them until.....

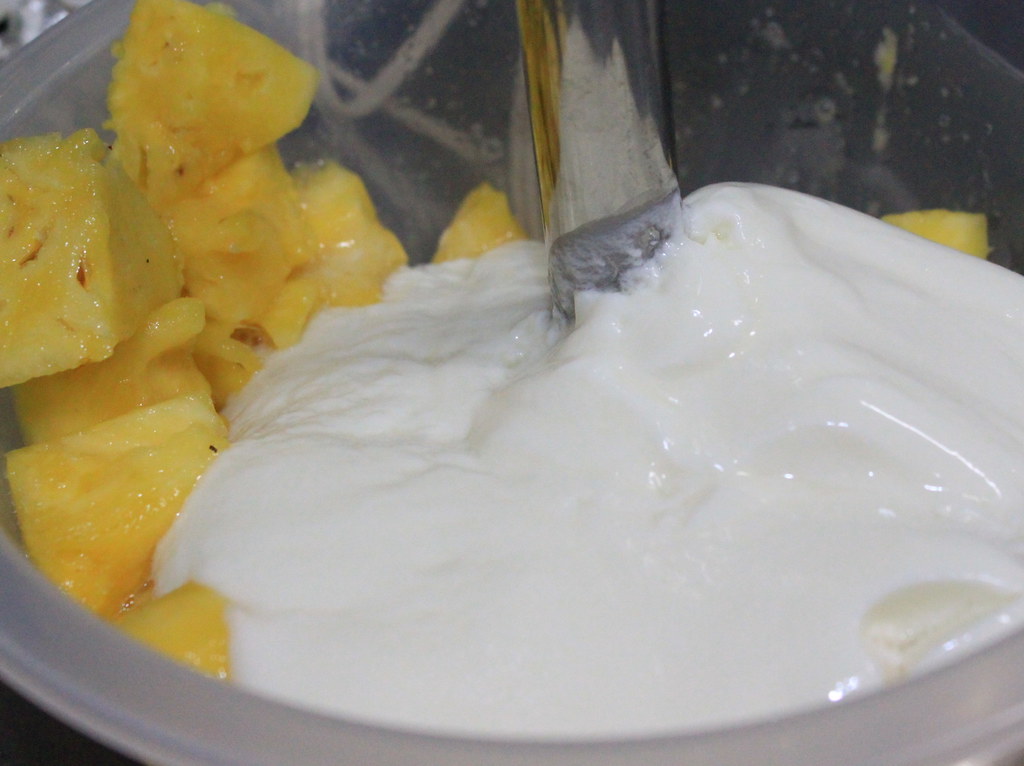
I remembered that I forgot something. The yogurt. So typical me.

After everything has turned into this pale yellow smoothie texture, I tasted it and decided to add a few tablespoons of honey. Sweet and sour. I`m happy now.
So I did still add more sweetener here, but comparing it to how much sugar I used for my previous ice creams makes me feel better.

Here it comes my magic bowl!

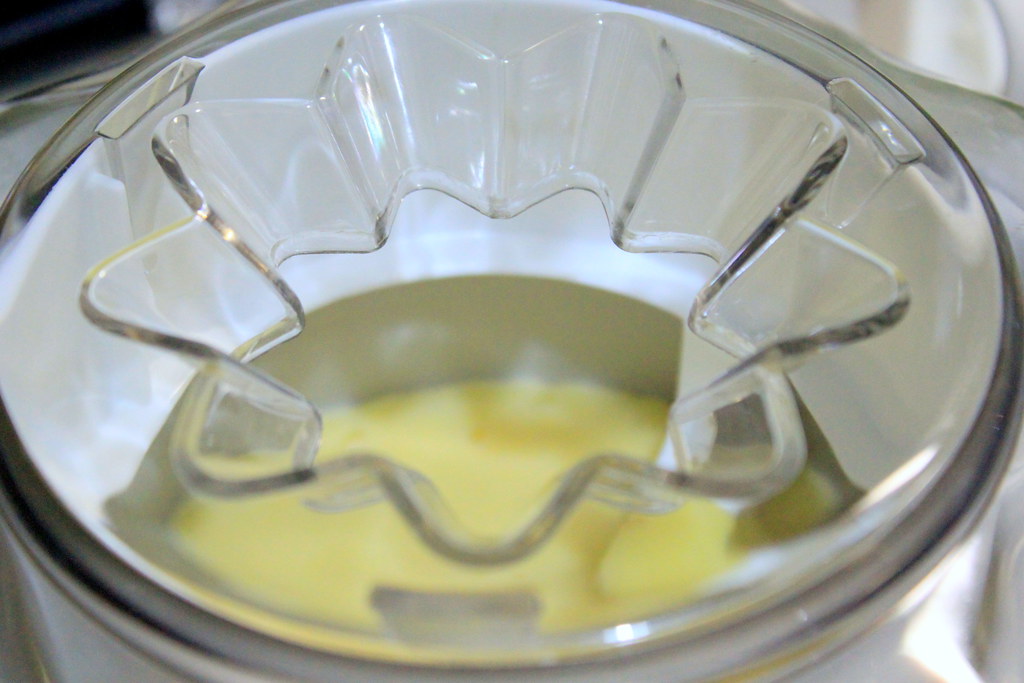
I set the mixing paddle in the freezer bowl, which had been kept in freezer overnight, put the lid on, turn the machine on, and pour the puree through the spout. 
I set my timer for 30 minutes and let the magic happens. 

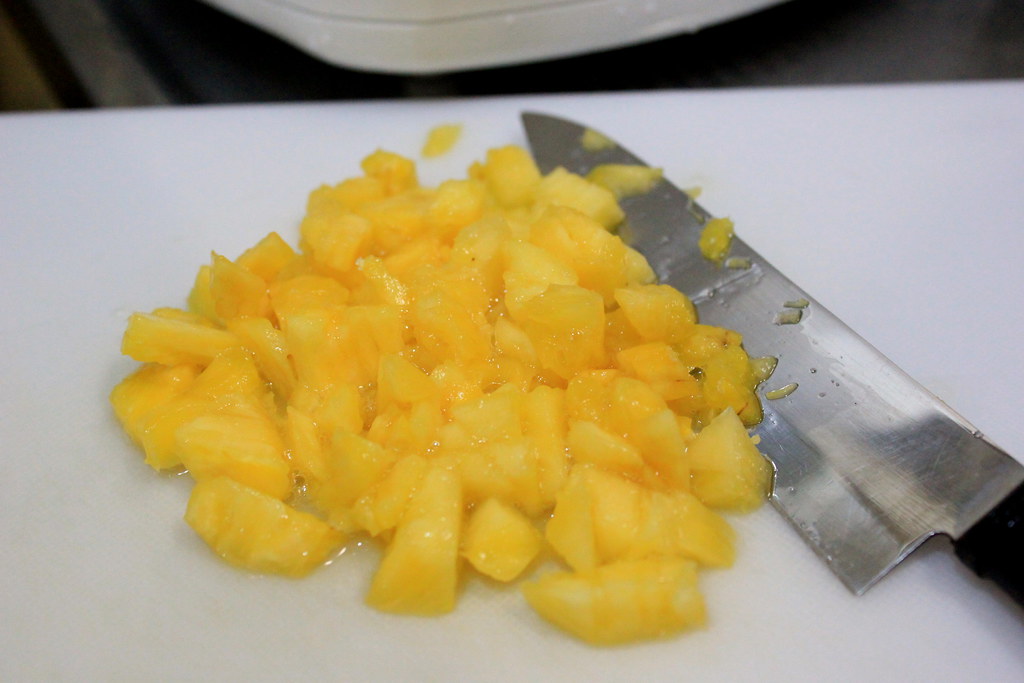
While waiting for that,  I chop some of the pineapple chunks that I have reserved.

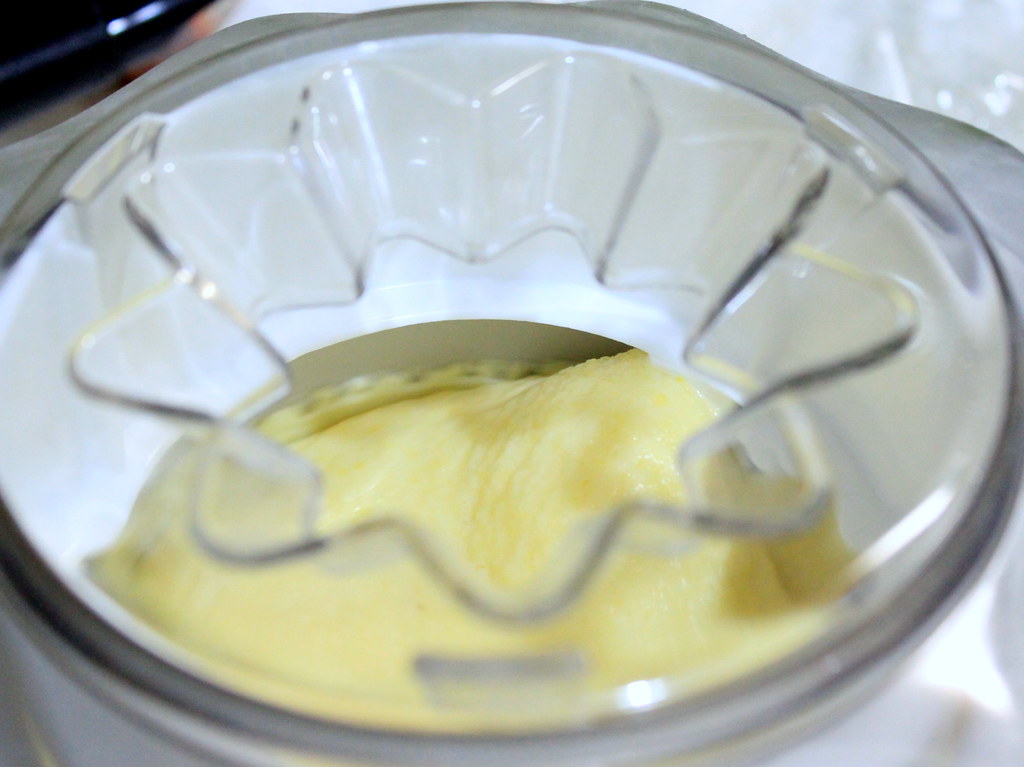
After 20 mins or so, the puree thickened up and started to reach the top of the paddle. How exciting is this!

The frozen yogurt turned thicker and thicker and before I turned off the machine, I sprinkled in the chopped pineapple and churned it for another 5 minutes.

Voilà! It`s done! The mixture might seem too gooey at this step, but after another hour in the freezer (not the bowl), it set nicely.
Oh, I`m totally in love with my ice cream maker. 

I`m not sure if I`ve ever tried sorbet, or at least a decent one before, but this dessert looks more like sorbet than frozen yogurt to me, especially if I compare it to Golden Spoons` products. I`m not sure why, but probably the absence of milk or double cream in it have something to do with that. And speaking of sorbet, the day when I made this dessert and finished my photo-work, I found that Nami has posted her pineapple sorbet with banana too! Maybe the weather has made us think of exactly the same fruits :D
 なみさんへ:同じようなデザートを作っちゃって、すみません!
I apologize for the wilted look of the mint leaves, but I hope it doesn`t suck out all the sunshinyness of the dessert. A verdict on the taste, next time I probably will use less banana for this as the banana turned out to have very strong aroma that almost overpower the pineapple. But all in all, the result made me smile from ear to ear!

PINEAPPLE BANANA FROZEN YOGURT
Makes approximately 1 liter

Ingredients:
1 pineapple, cored and cut into chunks 
Reserve some of the pineapple chunks and chop up
2 banana (or less), cut into chunks 
400 g plain yogurt (I used non-fat)
4 Tbs honey

Method:
1. Puree all the ingredients and chill the puree in refrigerator for 2-3 hours.
2. Churn the puree in an ice cream maker according to the manual for 30 minutes or until the puree has thickened up.
3. Five minutes before stopping the churning process, add the reserved pineapple to the frozen yogurt.
4. Transfer everything to a freezing container and keep it in the freezer for another 2-3 hours.


COFFEE ICE CREAM
Makes approximately 1 liter

Ingredients:
400 ml double cream
200 ml milk
150 g sugar
3 Tbs decaffeinated instant coffee
1/2 tsp salt

Method:
1. Chill all the liquid ingredients in the refrigerator for 2-3 hours.
2. Dissolve instant coffee with some part of the milk. 
3. Churn all the ingredients, including the dissolved instant coffee, in an ice cream maker according to the manual for 30 minutes or until the mixture has thickened up.
4. Transfer everything to a freezing container and keep it in the freezer for another 2-3 hours.

Sunday, February 19, 2012

Chocolate bread pudding

As promised, I`m back to share this bread pudding using the stale cream biscuits I made before. I actually made it on Valentine`s night where I got home at night wondering what I could prepare for a simple celebration. I didn`t prepare any certain menu ahead because initially we didn`t plan to have any celebration. Regardless, I still wanted to bake something chocolatey and sweet for the night and I spotted the stale biscuits sitting sadly in the room. Then I realized I also had the other ingredients, so I quickly grabbed my mixing bowl and whisk. 

Arrange stale bread in a baking dish or cake tin and set aside.
I tore the biscuits to make smaller pieces and placed the crust down as I think they will absorb the liquid better that way.

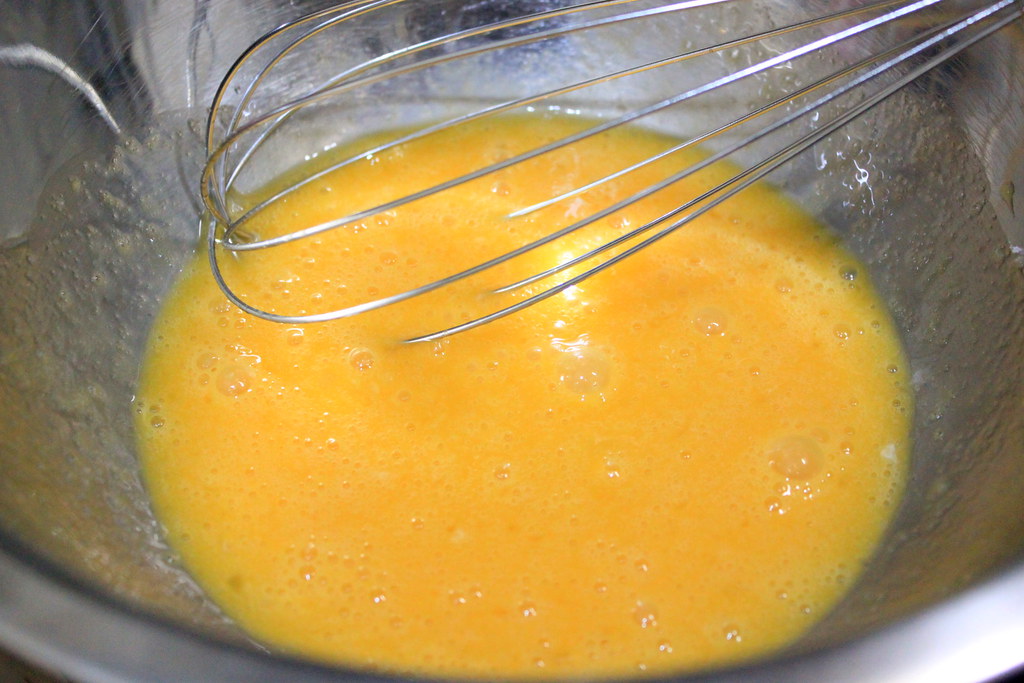
In a mixing bowl, beat eggs and sugar. 
I really love it when I can simply use my whisk, not the electric mixer, to make this kind of simple treat.
 
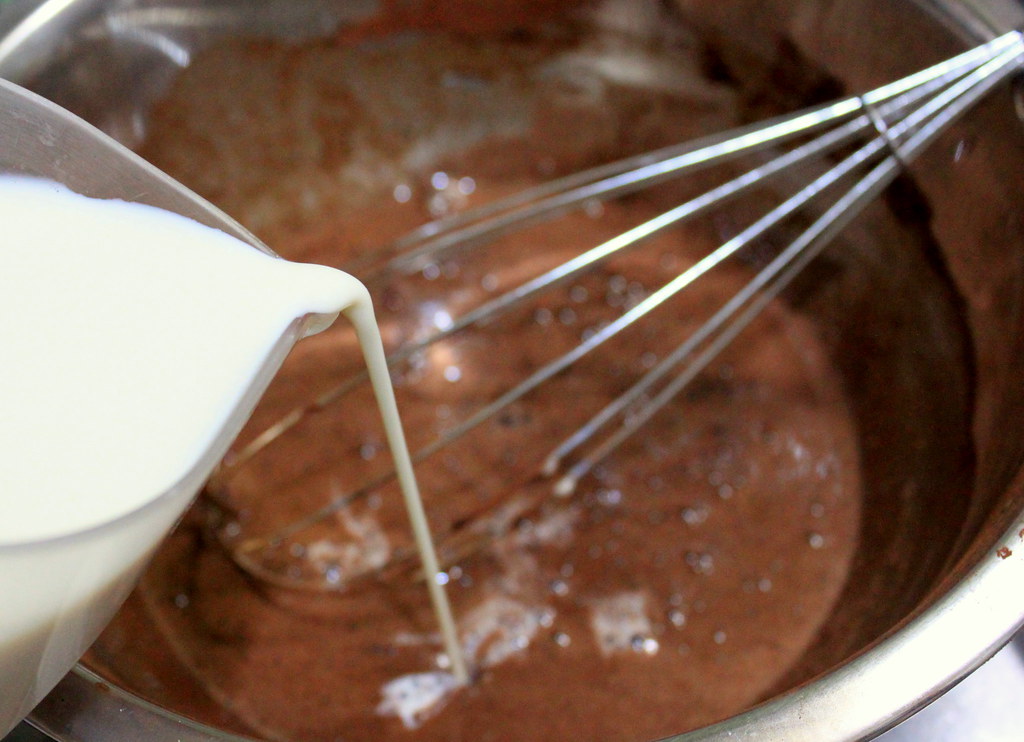
Stir in milk...

...and cocoa powder...whisk..whisk..

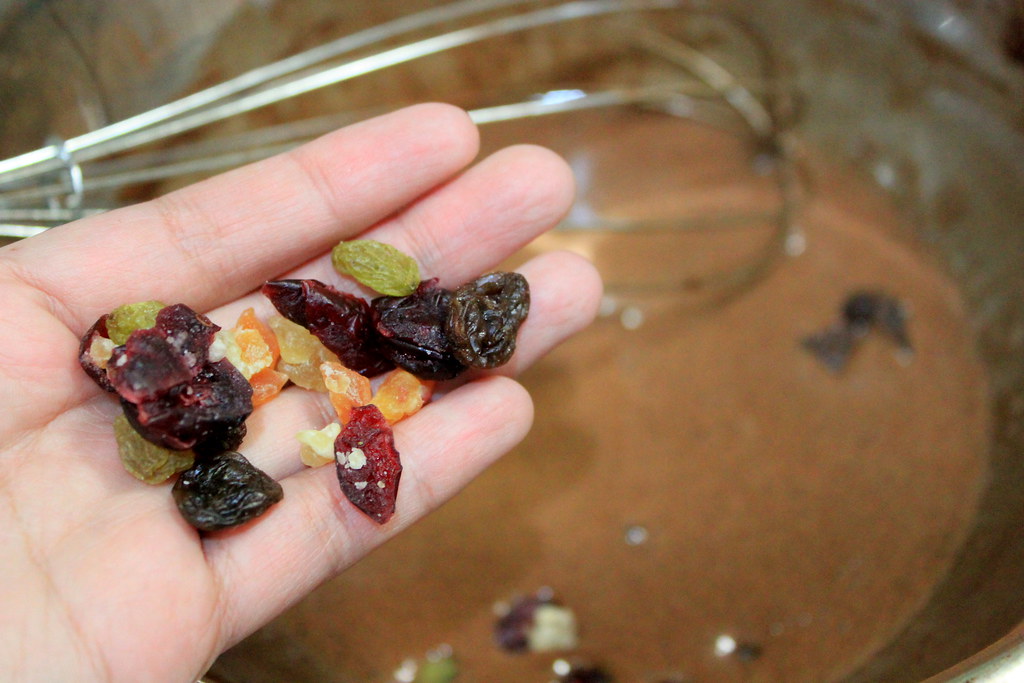
...and these beautiful little jewels. 
If you want to use more dried fruits, maybe you should reduce the amount of sugar in the batter to prevent the pudding from being overly sweet.

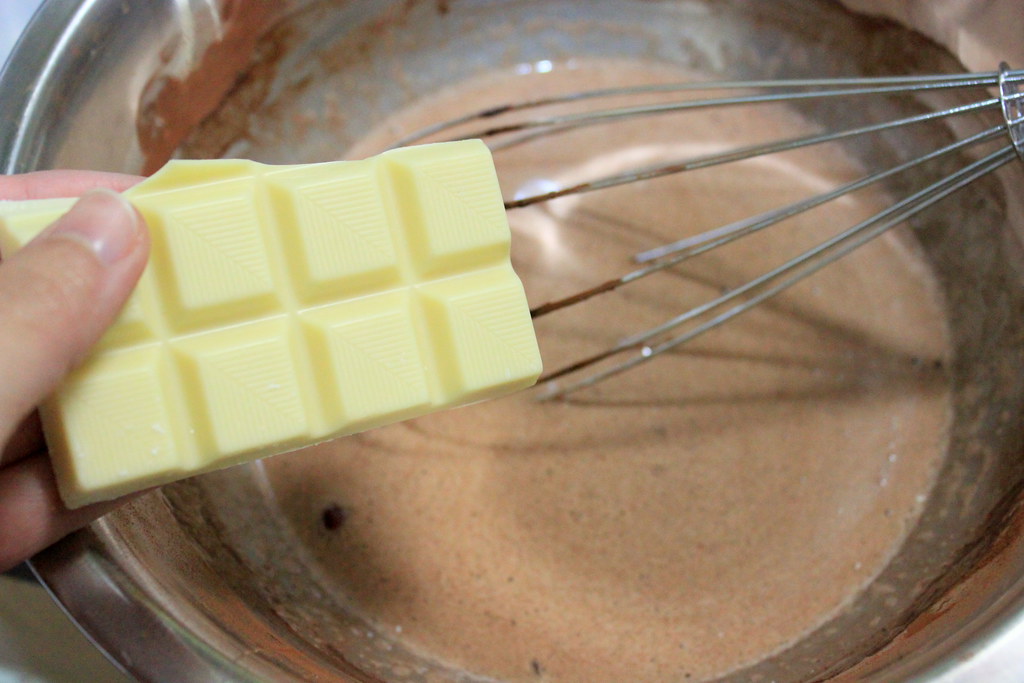
The final item containing sugar and fat and happiness is white chocolate. 
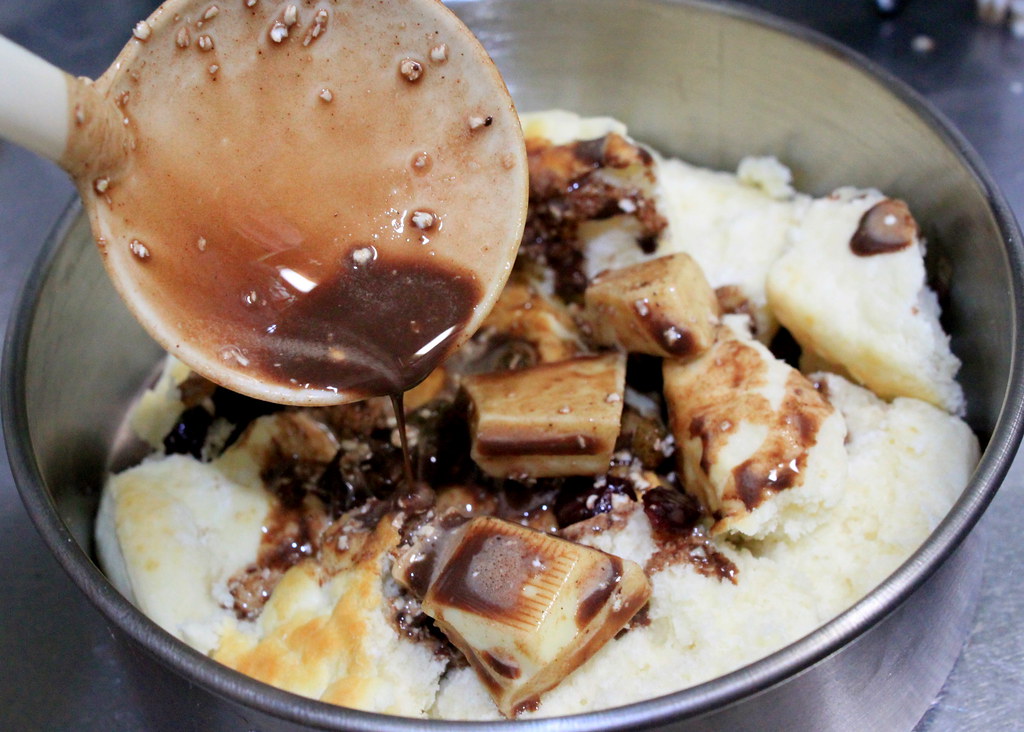
I was too lazy to chop up the chocolate, so I just broke the bar into chunks and stirred them in. And not only that. I also tried to grate the chocolate in, hence the white tiny chunks sticking on my ladle below. I thought I would love it, but it turned out the big chunks worked best for me.

Alright, now gradually pour the batter into the tin and let the bread absorb it.
I don`t make bread pudding often, but pouring in all the batter then bake it right away is what I usually do. Now I came to think that it might be better if:  I throw all the bread into the batter in the mixing bowl, stir everything, and wait for a while until the bread has fully absorbed the liquid before finally baking it.
I really think that this method works better and you should try it.

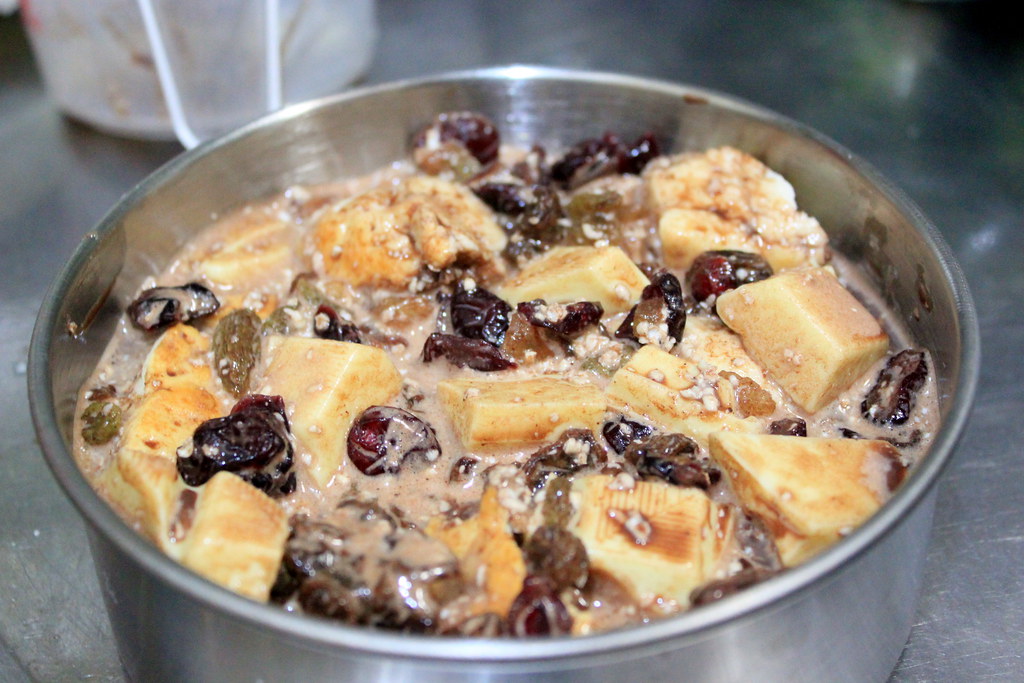
So, this is when all the batter has been poured in. Some of the dried fruits and white chocolate chunks will float on top, but that`s okay.
Sprinkle cinnamon over (or you can stir it in when making the batter) and bake it in preheated oven at 180 for 30 mins or until the top is browned and there`s no liquid remained underneath.

The look is not pretty at all and my ability in food-styling probably made it worse. But, there is a very big but here, this pudding has everything you need when you crave for something warm and sweet on a chilly night. Just hear this: The softened bread is filled with the chocolatey pudding and dried fruits with a lovely sweet milky crust of white chocolate on top. Now what`s not to like there??
CHOCOLATE BREAD PUDDING
Makes for 15-cm diameter and 5-cm deep cake tin

Ingredients:
Stale bread enough to fill half of the tin (see recipe for cream biscuits here)
2 eggs
3 Tbs sugar
150 ml milk
2 Tbs cocoa powder
1 1/2 cups dried fruits
White chocolate
Cinnamon

Method:
1. Arrange stale bread in a baking dish or tin and set aside.
2. Beat eggs and sugar in a mixing bowl.
3. Stir in cocoa powder, milk, and dried fruits.
4. Chop white chocolate into small chunks and stir in.
5. Gradually pour the chocolate batter into the baking tin and let the bread absorb the batter.
6. Sprinkle over cinnamon and bake in preheated oven at 180 C for 30 mins or until the top is browned and no liquid remained underneath.

Thursday, December 22, 2011

Pretzella

First time I had mini pretzels, I knew that I had to do some makeover with them, only I was completely clueless about what I could do. To me it`s a little too dry and the taste was too plain, although fairly speaking, the only pretzels I`ve ever had were from the store packed in a bag like potato chips and they were sprinkled with salt. 
But that was a story from the past, because pretzel never looks the same to me anymore. It was last month when I stumbled upon an awesome post at Live Love Pasta showing how to make chocolate bark using pretzel and that post really got me excited to start my pretzel project. Next thing I knew, I had my chocolate-drizzled pretzels, which I named Pretzella for their pretty princessy looks, lining up on my kitchen counter.
Last December, I made chocolate bark with assorted nuts and it was undoubtedly good not to mention how extremely easy to make it. But this time, I wanted to bring the chocolate-pretzel goodie to my lab as Christmas gifts, so I thought it was better to prepare it in individual portions. With the bark, however, I imagined it would be difficult to divide it into equal portions without the risk of cracking it (in a bad way). I`m just too clumsy to handle it.

Anyway, I finally came up with the Pretzella, certainly with simple method, and here`s what I used:

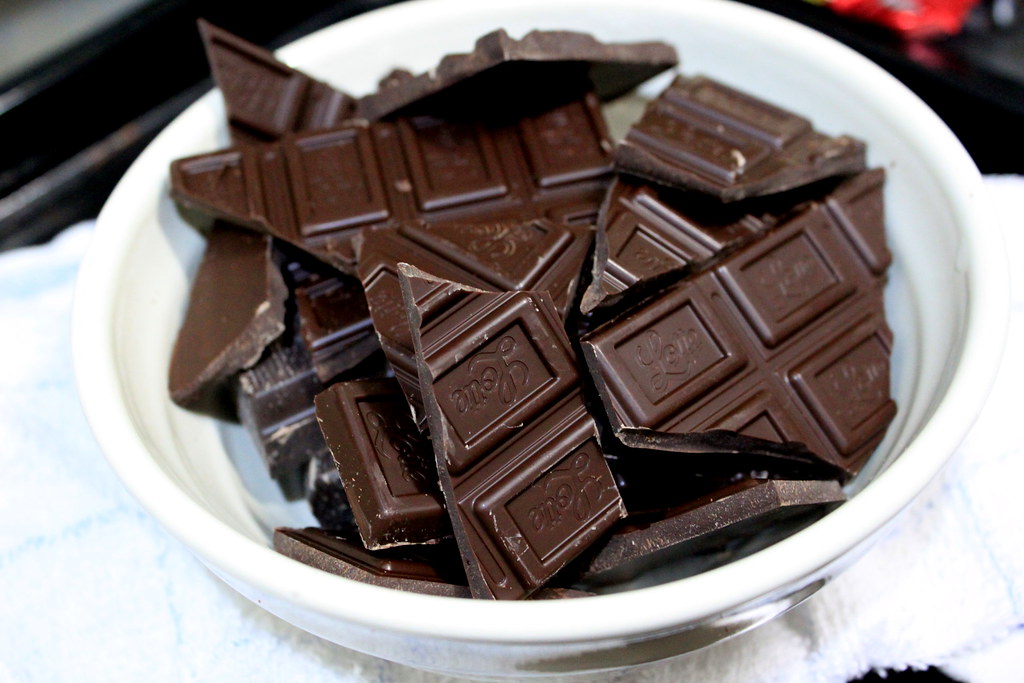
 Dark chocolate...

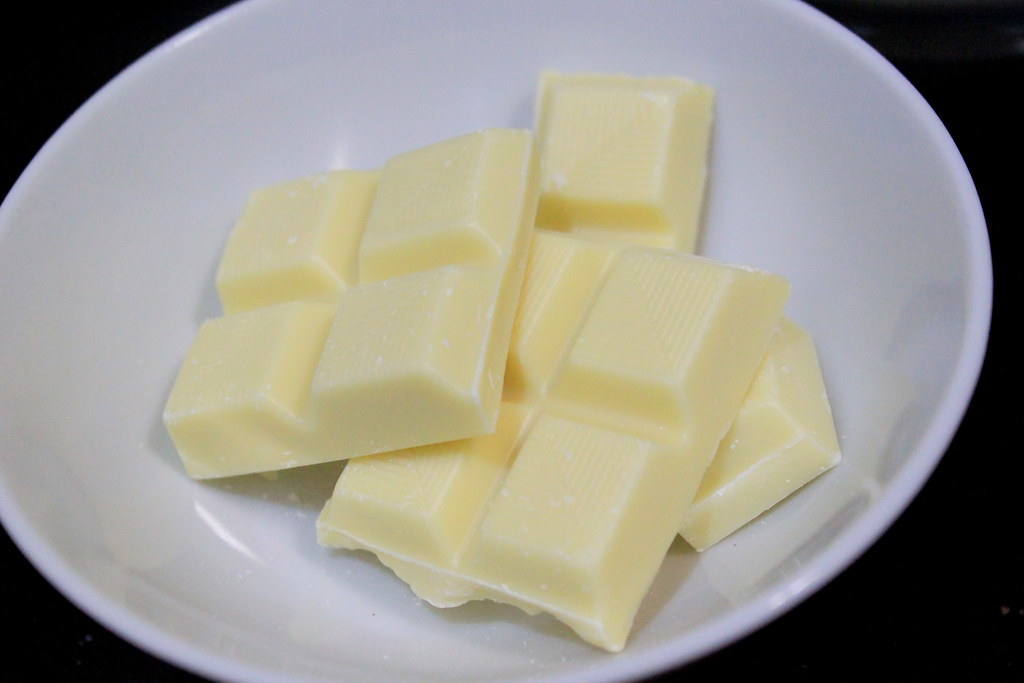
...white chocolate..and milk chocolate (no picture here).
And the last ingredient but with huge impact is....

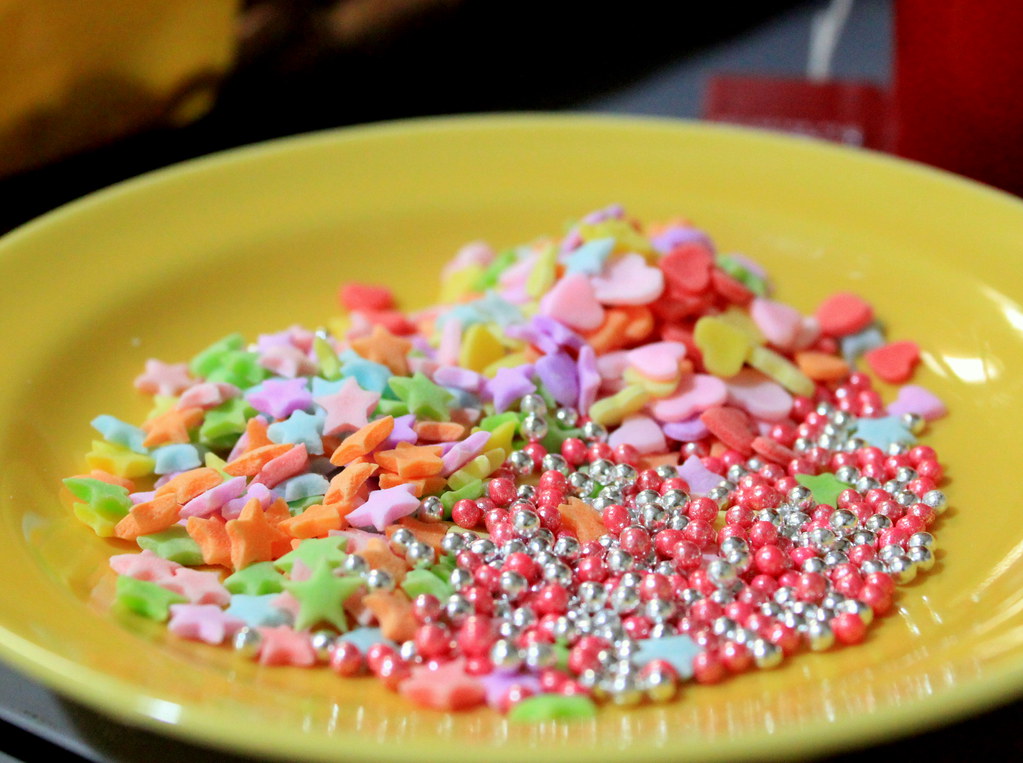
...this joyous full-of-color decorative sprinkles. I don`t usually use artificial coloring in my cooking, but this time I made an exception. This time, I was much much much happier with it.

Let`s assemble now.
 
Arrange the mini pretzels on a parchment paper or aluminium foil.
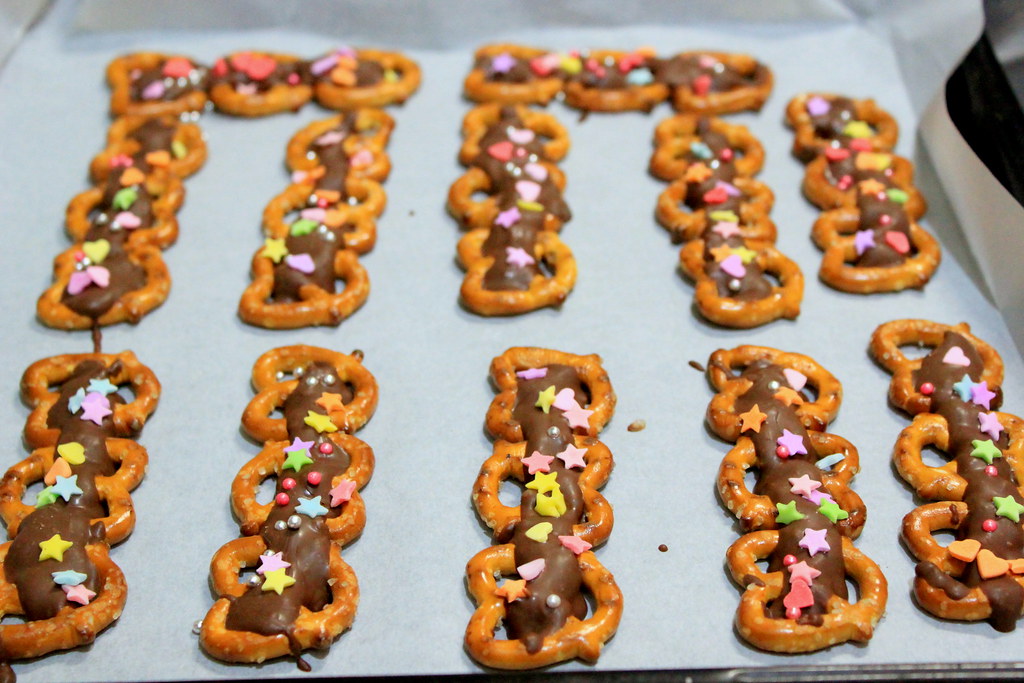
Let your wildest and craziest imagination guide you designing your pretzella. For me, this was what I could think of so far and I`d love to see your version!
After arranging the pretzels, prepare the chocolate. Or, do it reversely, especially if the chocolate is quick to set.
Break the chocolate bars into pieces, place them in separate bowls, and melt them in microwave or double boiler. If you use microwave like I do, heat it for 1 min, check if it melts, and reheat if necessary. If you use double boiler, make sure you keep the simmering water even after the chocolate has melted because you may need to reheat the chocolate later.

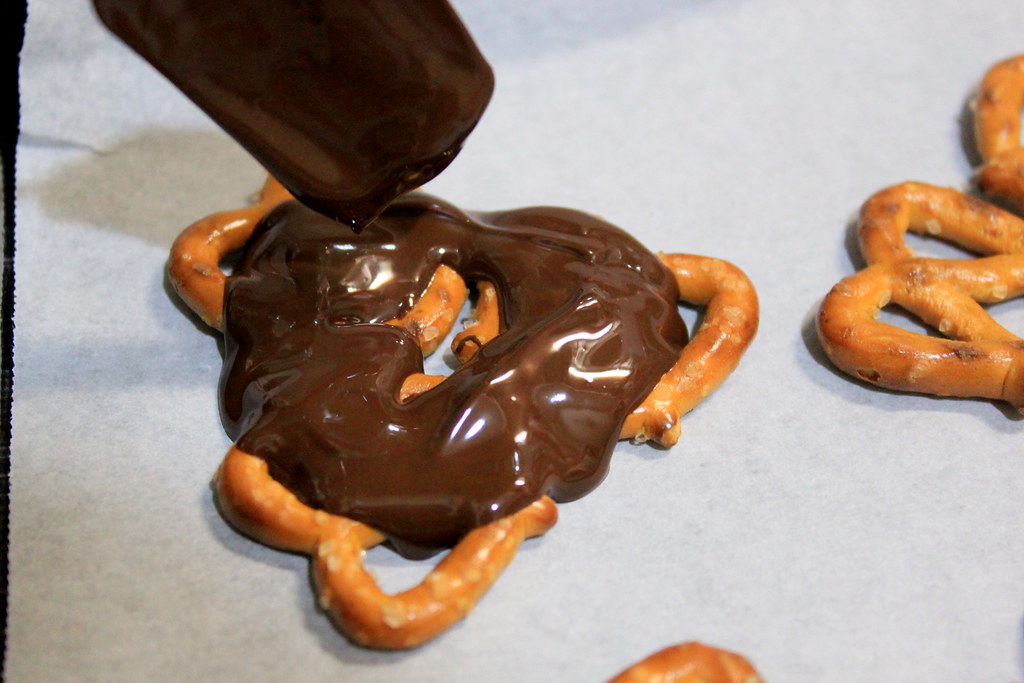
With a spoon (or whatever suits you), drizzle the melted dark chocolate over the pretzels leaving the center unfilled. The basic idea is using the chocolate to glue the pretzels together into whatever shapes you make.

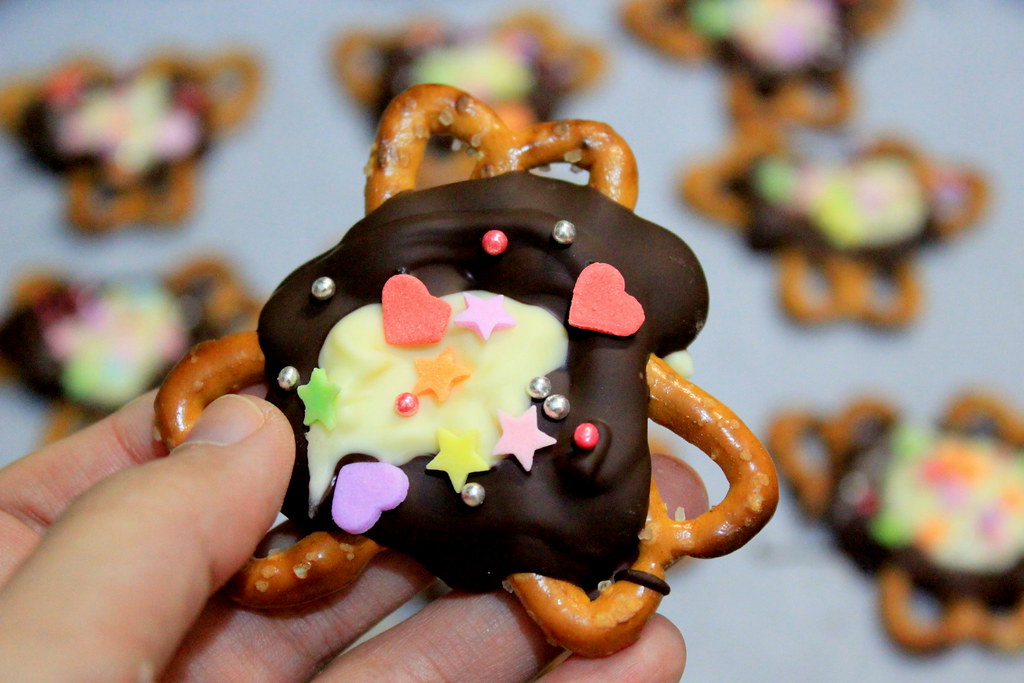
Now carefully fill the center with the melted white chocolate. I flattened the "peak" of the white chocolate by gently brushing it down with the tip of a fork.
I know, it looks as if a toddler made them. In fact, if only I had kids, I would tell people it was them who did the work.

For the last touch, dress them up with the sprinkles. Make sure that you add the sprinkles quick enough before the chocolate starts to set. The sprinkles will easily come off, or won`t stick at all, if you add them after the chocolate has set.
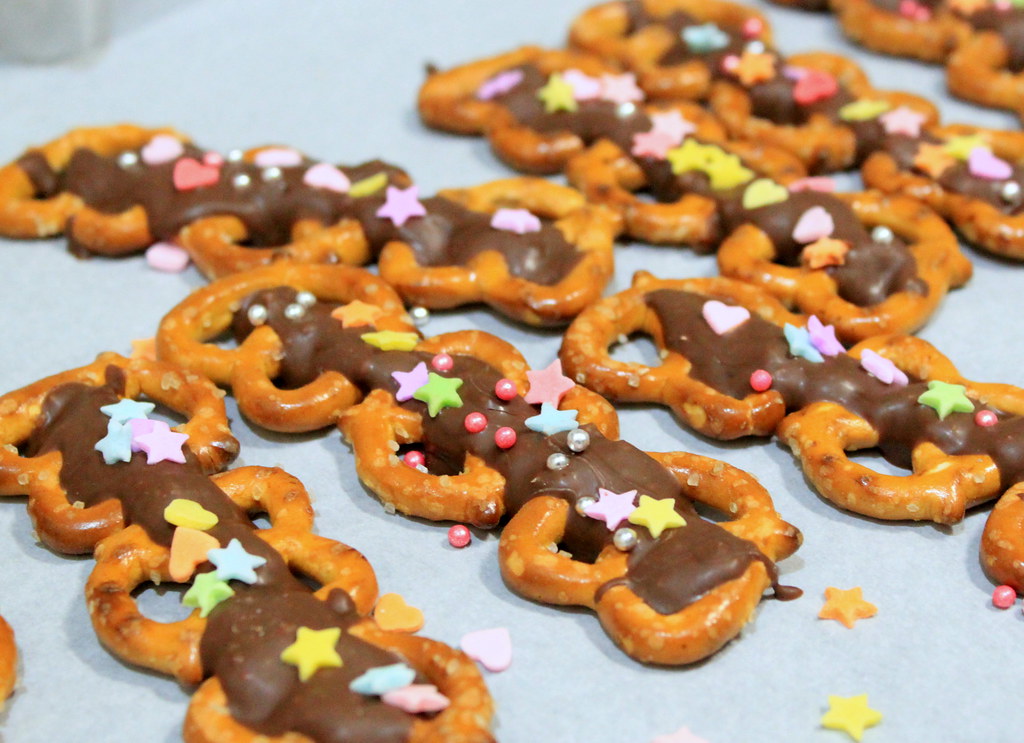
Bibidi-bobidi-boo! The mini pretzels has turned into pretty pretzella!

This is after I let the pretzella sit at room temperature for 15 mins or probably less. In winter, our room is usually cold because we don`t turn on the heater unless the chill is unbearable. You can keep it in fridge if you want.

And this is the back view. The chocolate enters the holes and spreads a little bit making it stick properly to the pretzel.

 And these are pretzella with milk chocolate in another design. Hair barrette, anyone?

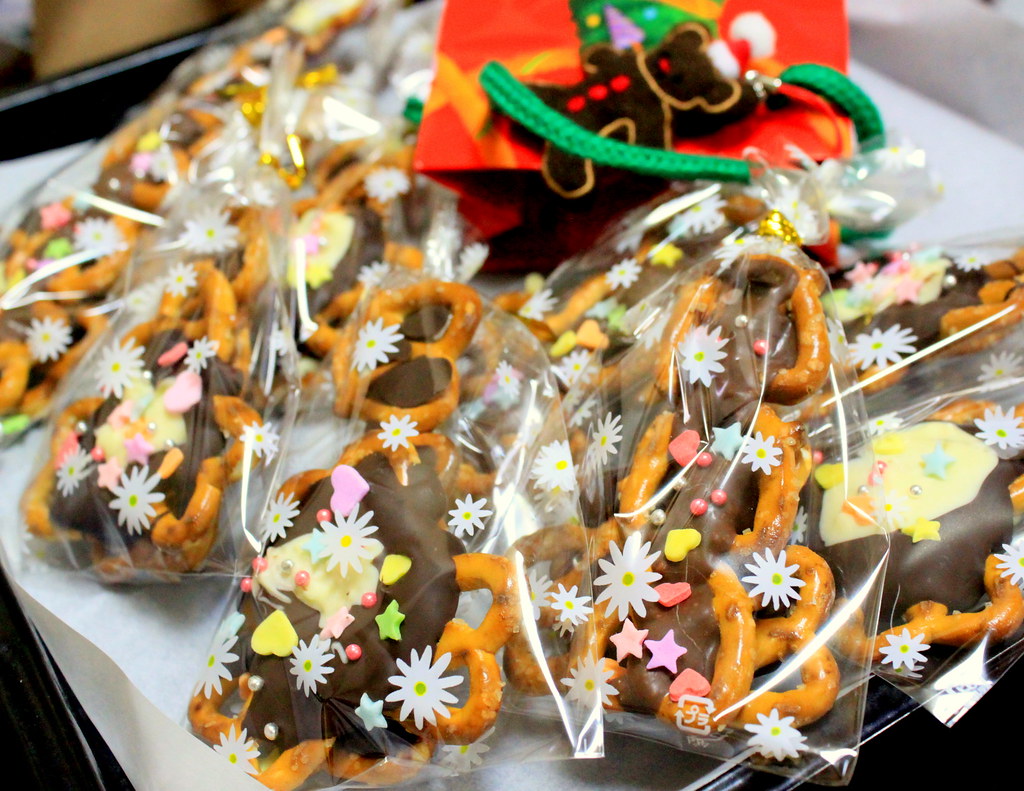
Eye candy, yes. My husband`s face lit up the second he saw them. Crowd pleaser, of course.
After all, you can`t possibly go wrong with pretzel and chocolate, can you?

PRETZELLA
Ingredients:
Dark chocolate
White chocolate
Milk chocolate
Mini pretzels
Decorative sprinkles

Method:
1. Break all chocolate into pieces, place in separate bowls, and melt them in microwave or double boiler.
2. Arrange mini pretzels on parchment paper or aluminium foil.
3. Drizzle the melted chocolate over the pretzels to glue them together.
4. Before the chocolate sets, quickly sprinkle the decorative sprinkles.
5. Let the chocolate set in refrigerator or at room temperature if it is cold enough outside.

Wednesday, July 27, 2011

Chocolate banana muffins

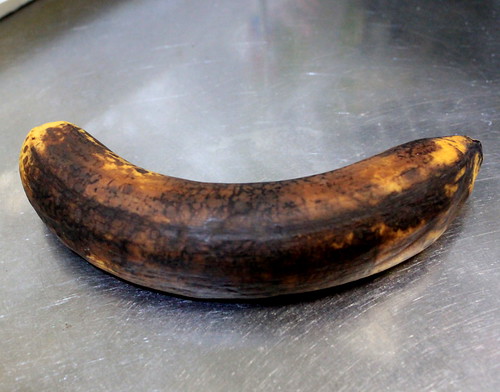
Have you ever had your banana so overripe and blackened that no one in the house wouldn`t touch it? Well. I have. In fact, many times. And it felt as if I was the most horrible person on earth when I decided to threw them away as I used to consider them as "ugly and non-edible" food. Guilty!
But it`s different now. In a good way. Thanks to Nigella, again, there are good recipes in her Nigella Kitchen book that transform these bad-looking banana into something more appetizing. One of the recipes was this chocolate banana muffins. I made some changes with the original recipe, which were less banana (as I only had one left),  less sugar, and less oil. Oh, and I added choc bar.

So, speaking of bad, how bad did my banana look like?
This bad. Sad, right? I feel sad just looking at it.

No worries, though, as we`re about to do some magic here. Ready with your magic wand whisk?
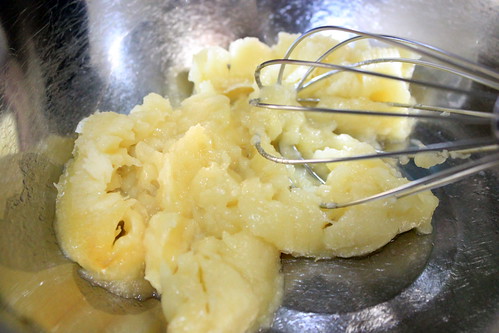
Peel off the skin, put the banana in a mixing bowl, and mash it up with a whisk. If your banana is ripe enough, or overripe like mine was, mashing it up would be very very easy, although  using a whisk will probably leave a bit of texture.

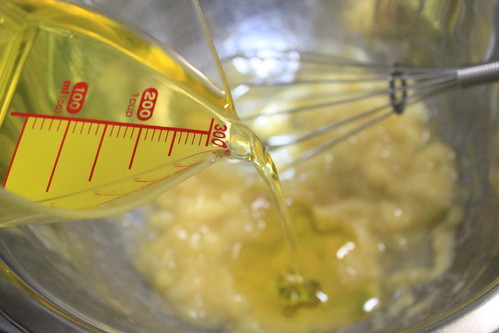
Whisk in vegetable oil (I used olive oil, regular one) and few drops of vanilla oil. And love potion too, if you have it.


Beat in eggs...

...brown sugar...

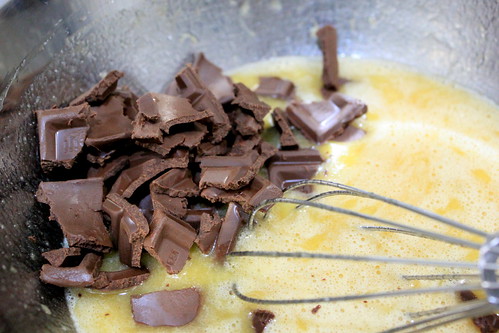
...then chocolate bars broken - or torn, as they were already melting out in my hot kitchen - into small chunks.

Note 1: The original recipe calls for cocoa powder mixed with flour to be added later on, but I wanted to use the chocolate bars that had been sitting for ages in my kitchen. 
Note 2: If you omit the chocolate, you`d better add more sugar because with the amount of sugar I used here (see Ingredients), the muffin itself  doesn`t taste sweet enough. 

Fold in sifted flour and baking soda.

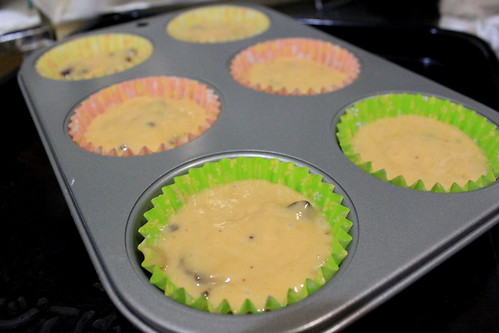
And spoon the mixture into muffin tin lined with parchment paper or muffin cups.
Bake for 15 mins at 200 C.


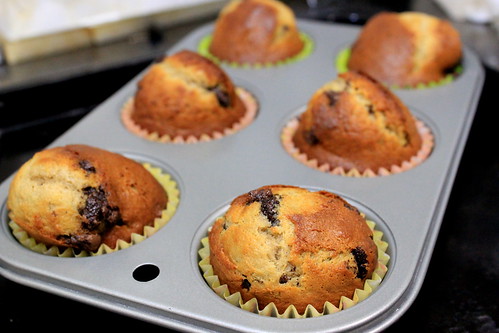
Here they are, puffing up delightfully! Not so ugly anymore, huh?
My muffins came out in irregular shapes of course. I can`t remember if I`ve ever made something neatly.


So let me show you again what the magic did. 
From this:

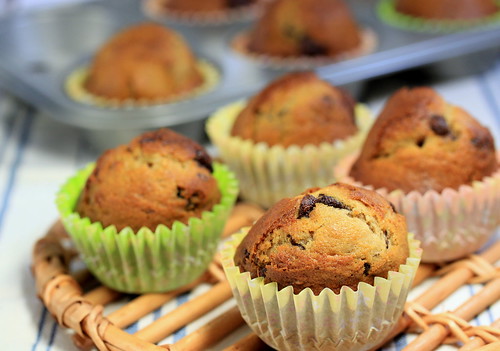
To this:

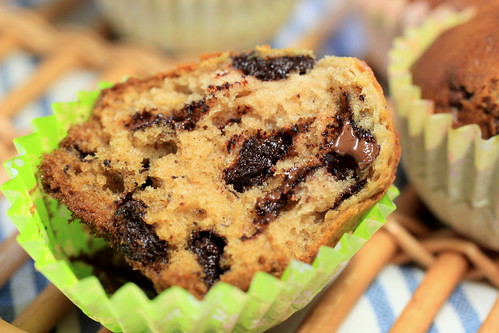
And you can totally smell the banana aroma coming out from these fluffy muffins filled with heavenly oozes of dark chocolate.


My husband is not big on some particular fruits and banana are one of them. He also tends to freak out whenever we had blackened banana in our house. Even so, he already ate three (three!) muffins while I am typing this. Wonderful day. 
So this is my Wednesday resolution: I will never, ever, throw away my banana, again.

Ingredients (adapted from Nigella Kitchen):
Makes for 12 muffins
1 overripe banana
100 ml olive oil
2 whole eggs
80 g brown sugar
Vanilla oil
80 g dark chocolate
200 g cake flour
1 tsp baking powder

Bake at 200 C for 15 min