Showing posts with label cake. Show all posts

Sunday, December 25, 2011

Petite sweethearts and Merry Christmas!

It`s an unbelievably freezing Sunday night at our place here. We were supposed to go outside today, but we cancelled the plan after we saw the snow started falling. Not so much for a willpower, huh. After all, the idea of staying at home with the warmth, plenty of food, and hot drinks leaves us almost no reason to go outside where the freezing air can bite our noses off. 

So, since it`s Christmas today, we`d like to wish you all a very merry Christmas! As a virtual gift, let me share with you these adorable petite cakes snowed with icing sugar on your special day!

The method to make this bite-sized cakes is very similar with making muffins, only the batter is slightly thicker than the muffin batter is. The original recipe of the petite cakes actually comes from my cake mold pack and I have modified few ingredients and steps. Here`s how to make them.

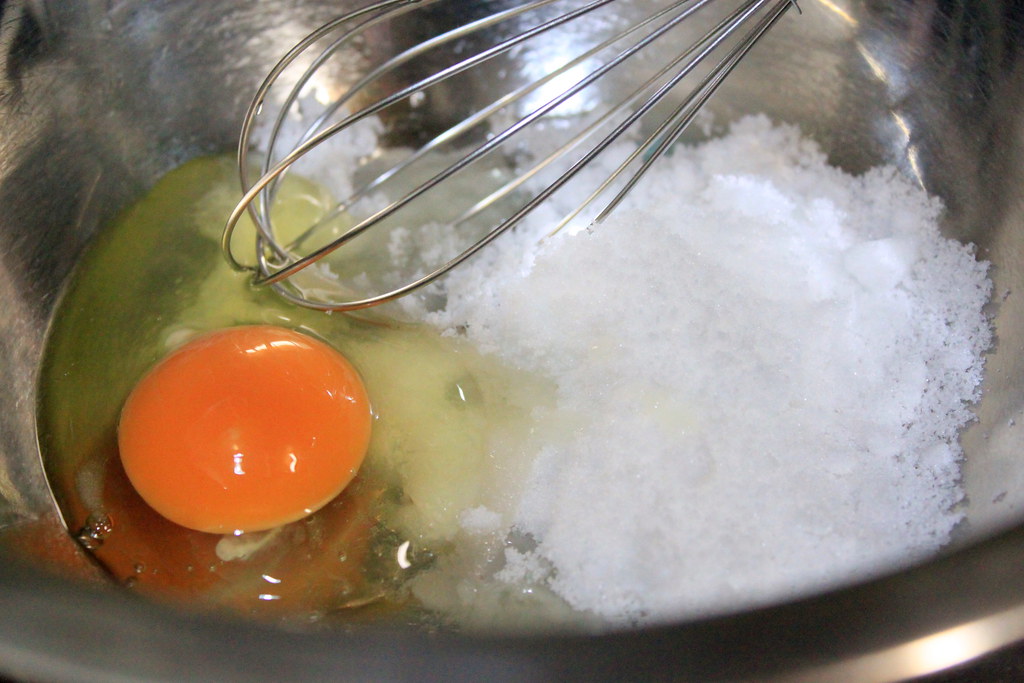
Beat whole egg and sugar until the mixture has turned creamy and pale yellow.

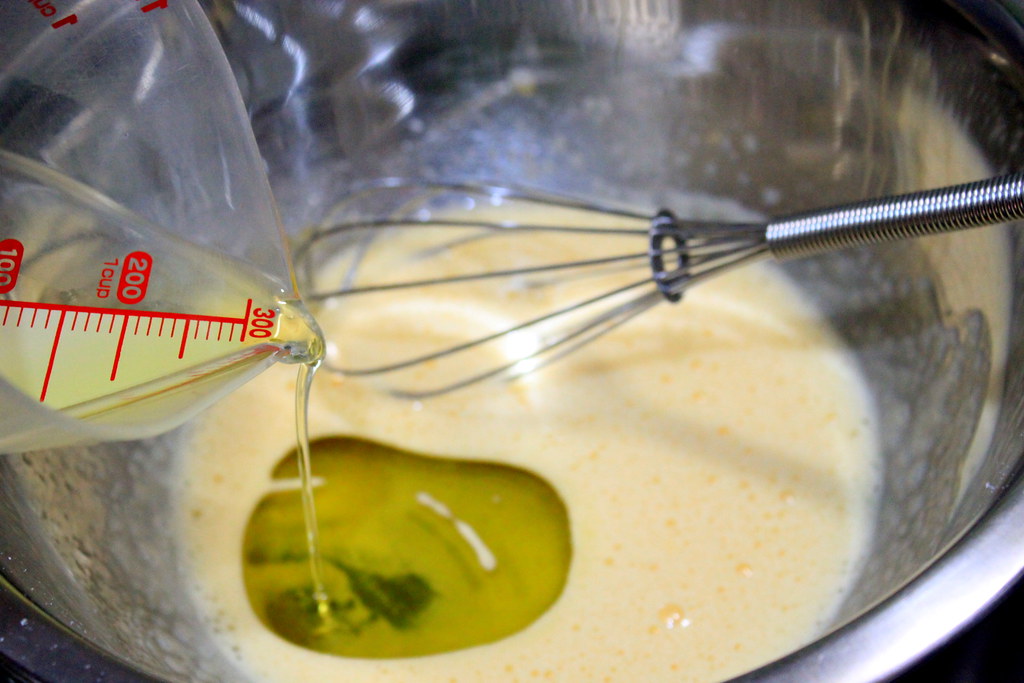
Beat in olive oil (or melted butter, as suggested in the original recipe) to the mixture. 

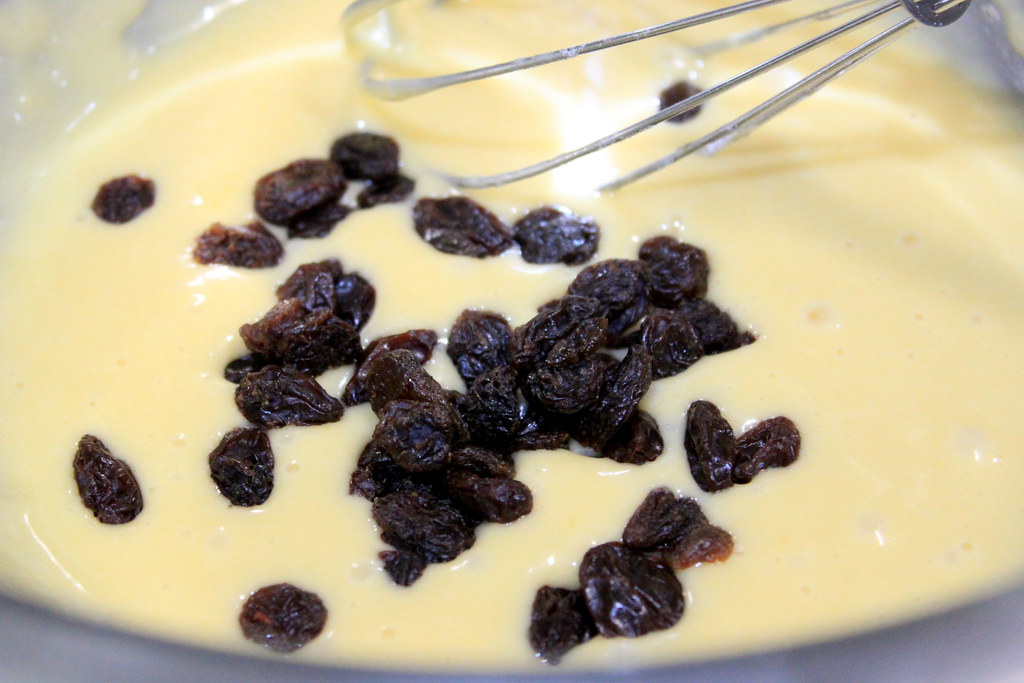
Stir in raisins. 

Fold in sifted flour and baking powder and your batter is ready.
Well, actually the original recipe suggests to let the batter sit for 15 mins before proceeding to baking. I didn`t actually do this step, but it took me a few minutes to prepare my mold and spooning in the batter. So I guess I somehow did the step half-way.

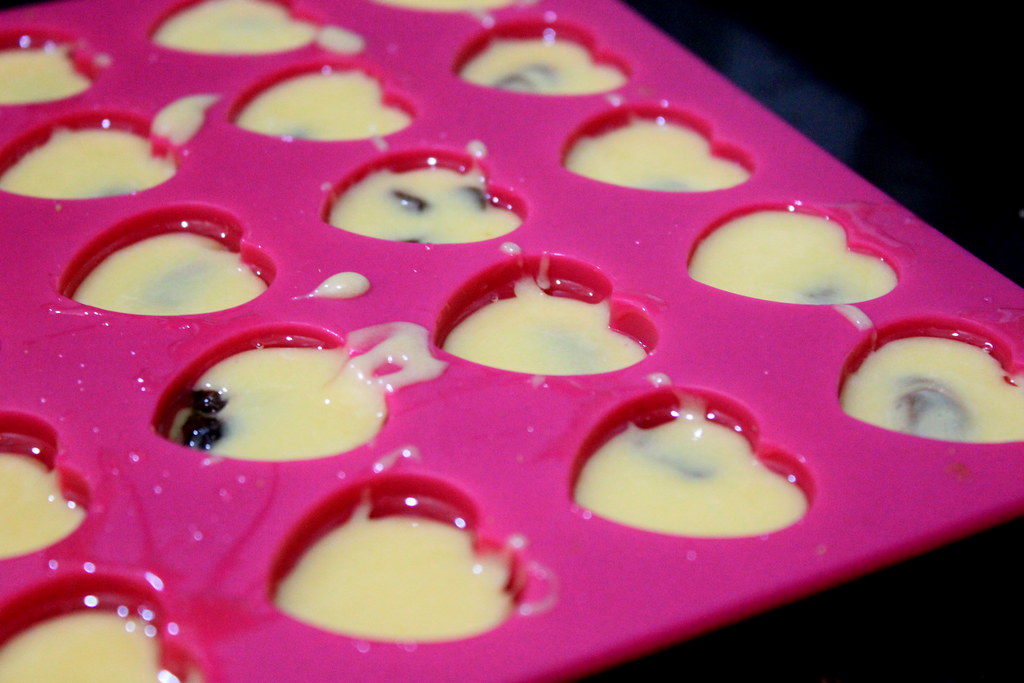
Grease the molds with olive oil or butter and spoon the batter into them until 3/4 (or 7/8, as the original recipe says) full. I filled each mold with roughly 1/2 teaspoon of batter and boy, was it challenging!
You can see here how messy I am in doing this work. And yet I keep thinking that I will get better someday. *yawn*

Bake them in preheated oven at 180 C for 15 C or until the cakes are nicely puffed up and the surface has turned golden brown. Let the cakes cool down.

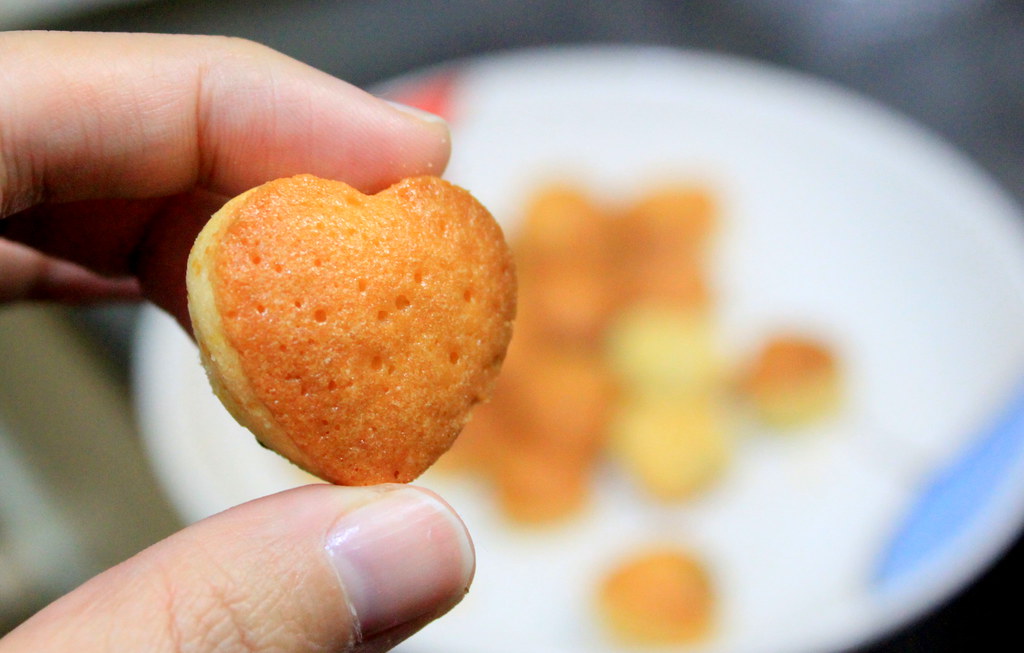
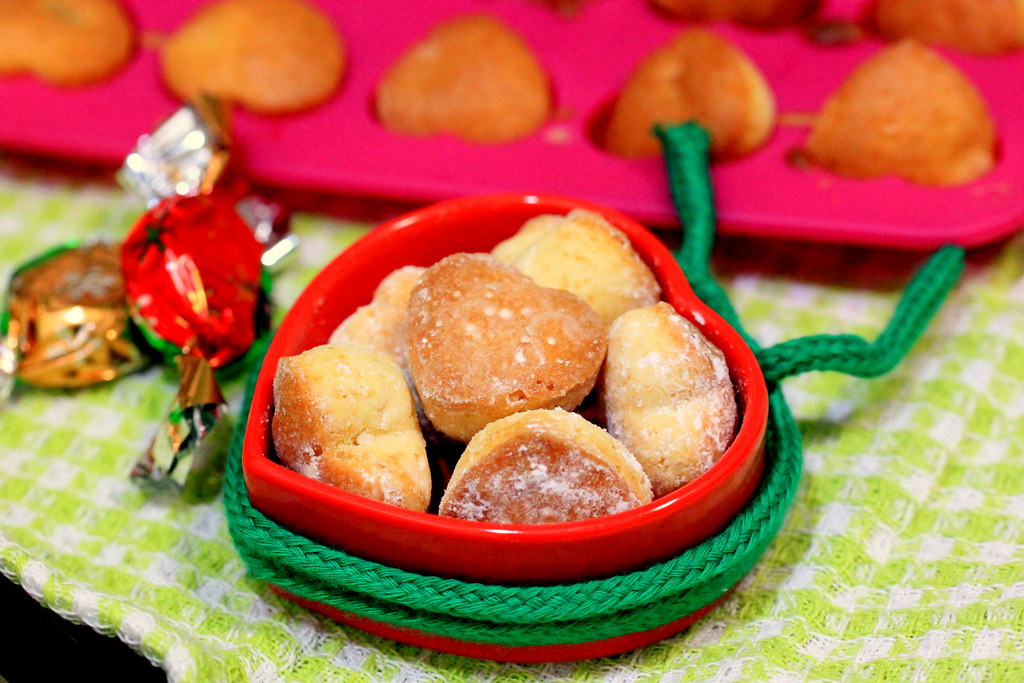
Now, how petite they are? This petite. Although I call it as bite-sized cake, I`m positive my husband can eat 3 of them easily in one go.

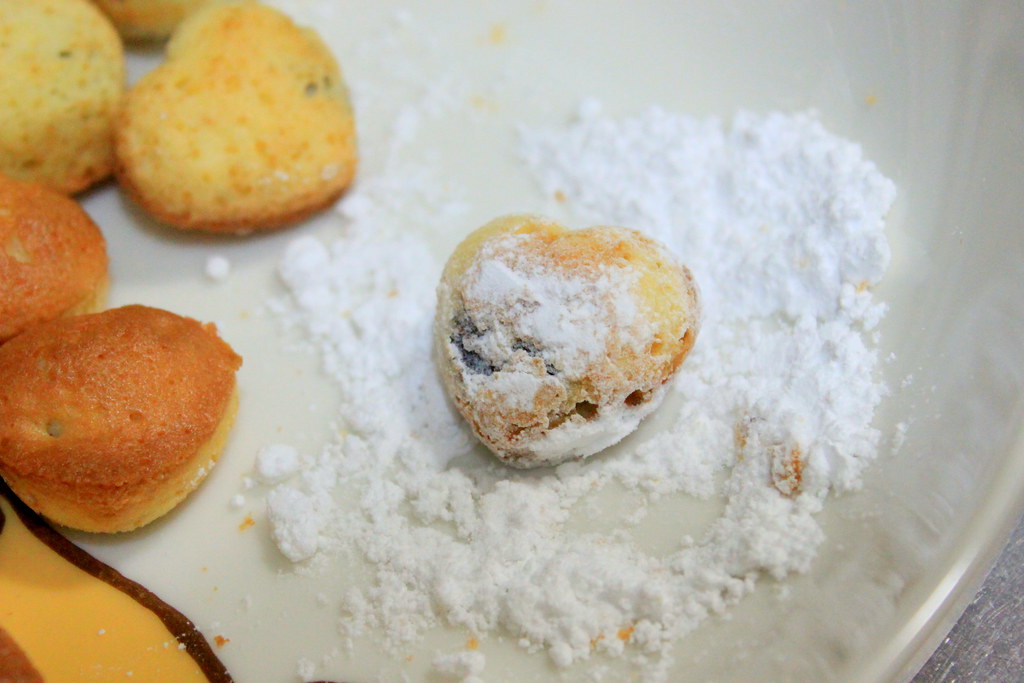
 It`s snowy outside, and snowy inside. After the cakes are cool enough, dust them with icing sugar.

The amazing thing about this cake is the texture. The surface is soft when the cakes are just taken out of the oven, but it will firm up when it cools down. The result is a tiny cake with the whole surface, including the unbrowned surface, crusted up leaving the inside soft and fluffy.
You know what else you should try with the cakes if you don`t mind the extra calories? Chocolate fondue. Yum!
PETITE SWEETHEARTS
Makes about 40 bite-sized cakes

Ingredients:
1 egg
50 g sugar
50 ml (1/4 cup) olive oil or 50 g melted butter
1/4 tsp baking powder
1 tbs raisins
Vanilla oil
Icing sugar for dusting

Method:
1. Beat egg and sugar until the mixture turns creamy and pale yellow.
2. Whisk in olive oil and vanilla oil.
3. Throw in raisins and stir to combine.
4. Fold in sifted flour and baking powder.
5. Spoon the batter into oil/butter-greased cake mold until 2/3 full.
6. Bake in preheated oven at 180 C for 15 mins or until the surface has turned golden brown.
7. Let the cakes cool down and dust with icing sugar.

Thursday, December 1, 2011

Kabocheese mini muffins

I know Halloween is way over and fall is even ending, but I have been planning (and delaying) to make at least one recipe using kabocha or Japanese squash/pumpkin this year. So, I finally made one today, with another weird name. I have prepared a bag of mashed kabocha in my freezer since last month, so it was real quick to whip these muffins up. One thing from this post that amazed me is how quick the whole process went in one day. I planned the recipe only a couple hours ago and now I`m writing a post on it. Even my muffin tin was just delivered today! Maybe this is my productive day. Or muffin day.

Alright, so here`s how I cook and store the kabocha: Steam the kabocha for like 20 mins in a steamer until the flesh and the skin has softened. Microwave works very well too for cooking kabocha. Remove the skin, but don`t throw away because it`s perfectly edible. Mash the kabocha flesh, wrap in a storage bag, and keep in freezer until you use  it.

Now, let`s pretend that you have cooked kabocha in your mixing bowl.

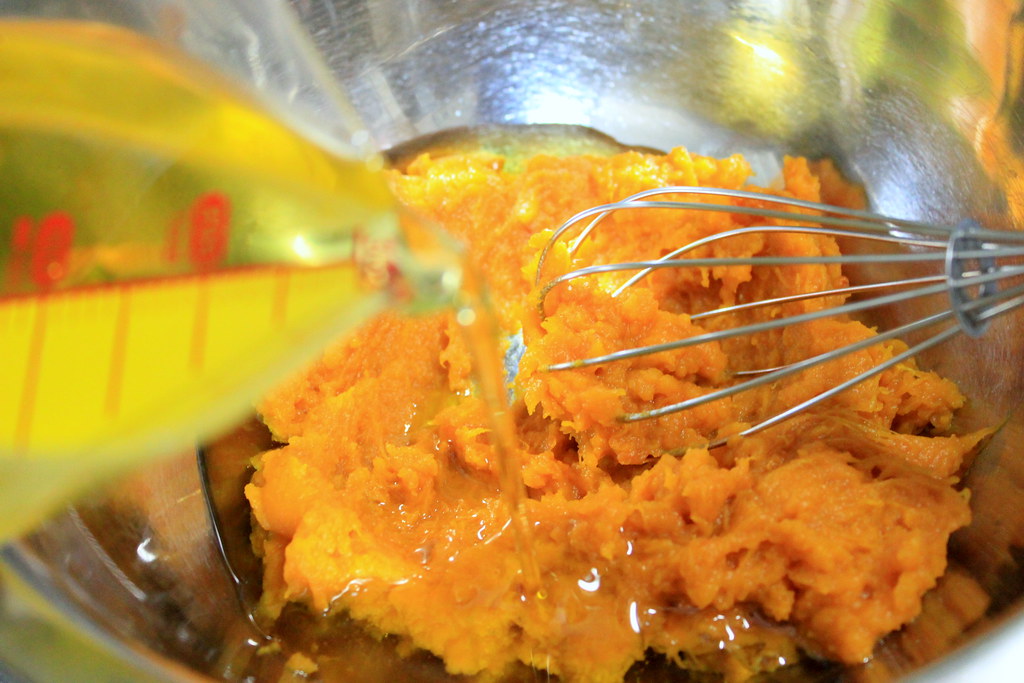
Mash the kabocha in a mixing bowl. 

Whisk in olive oil...

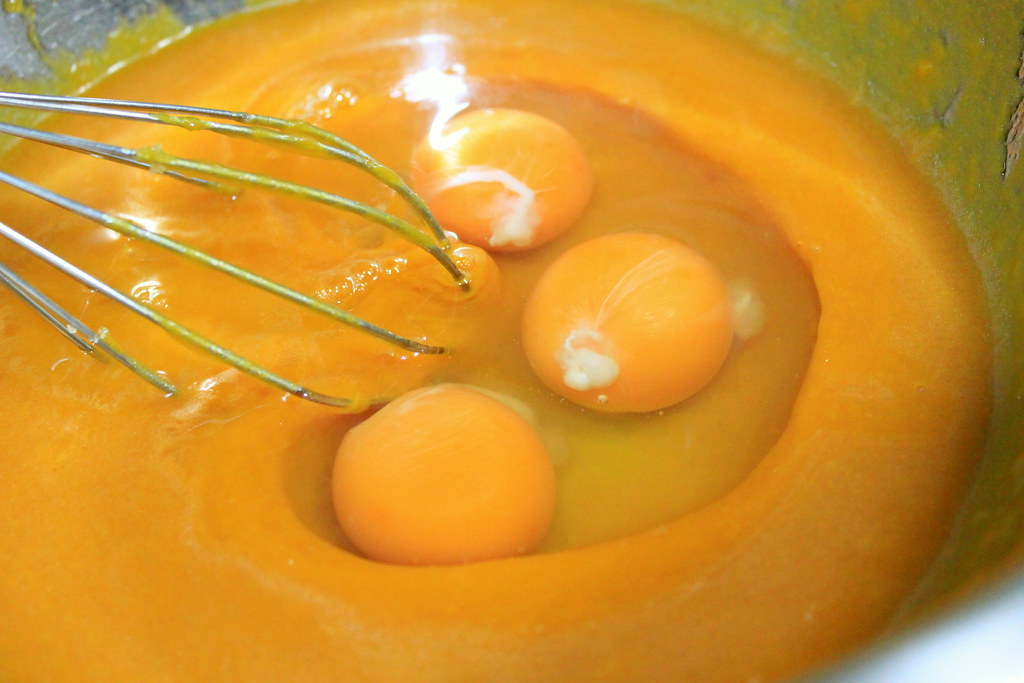
...whole eggs and...

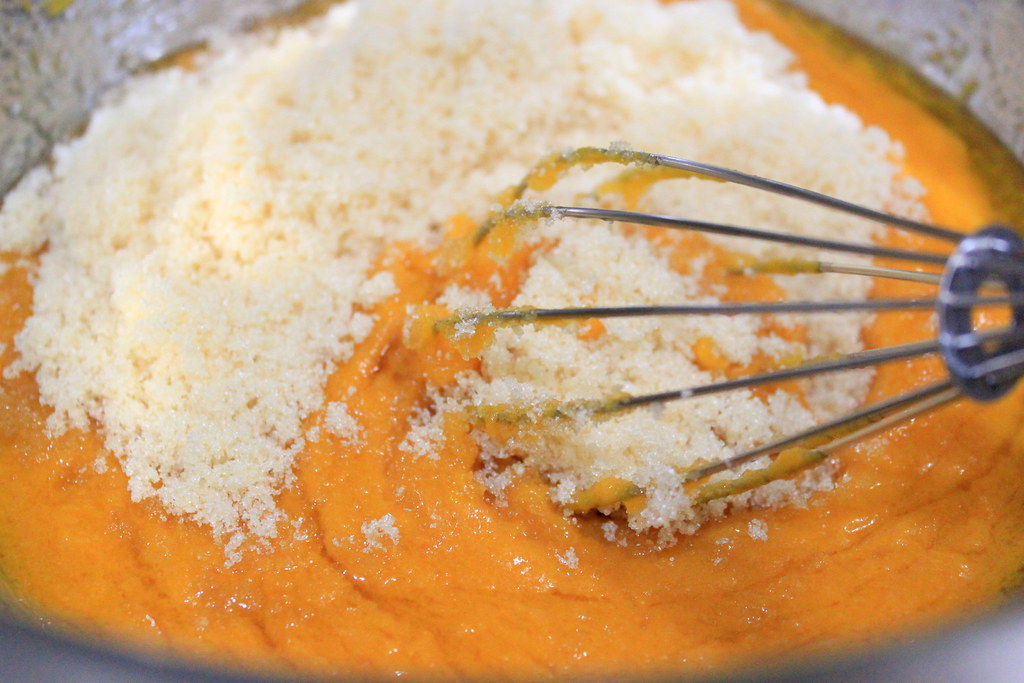
...sugar.
I used light brown sugar for this recipe and with the amount of sugar I used here the muffins were not too sweet. If you prefer sweeter version, try adding more sugar.
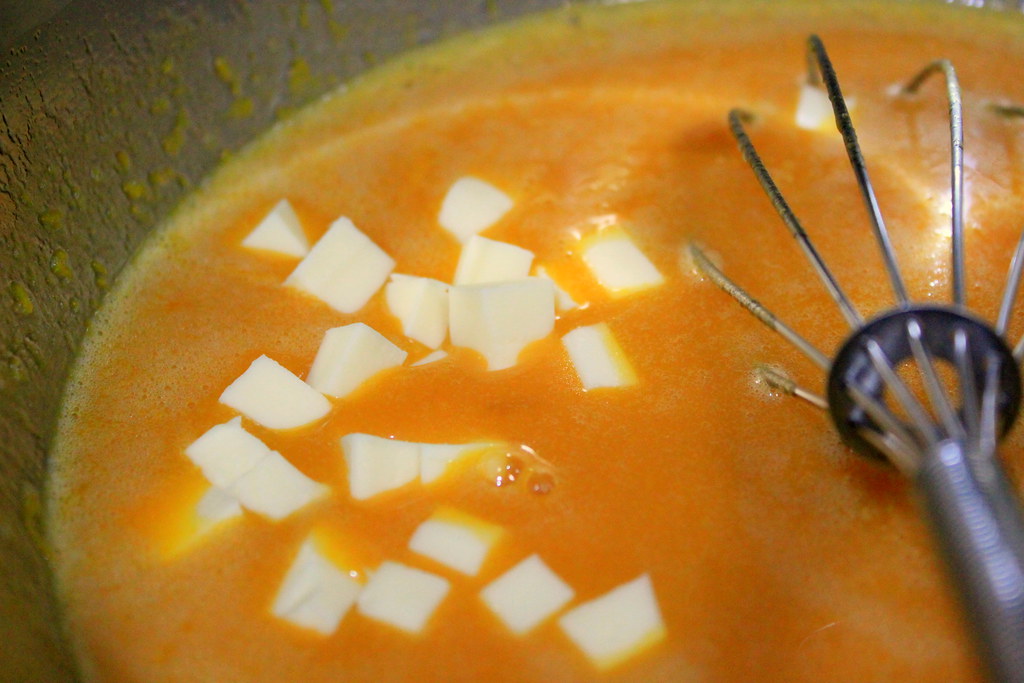
 I wanted something to give balance to the kabocha sweetness, so I added cubed cheese...
...and parmesan cheese. Sweet and salty are made in heaven.

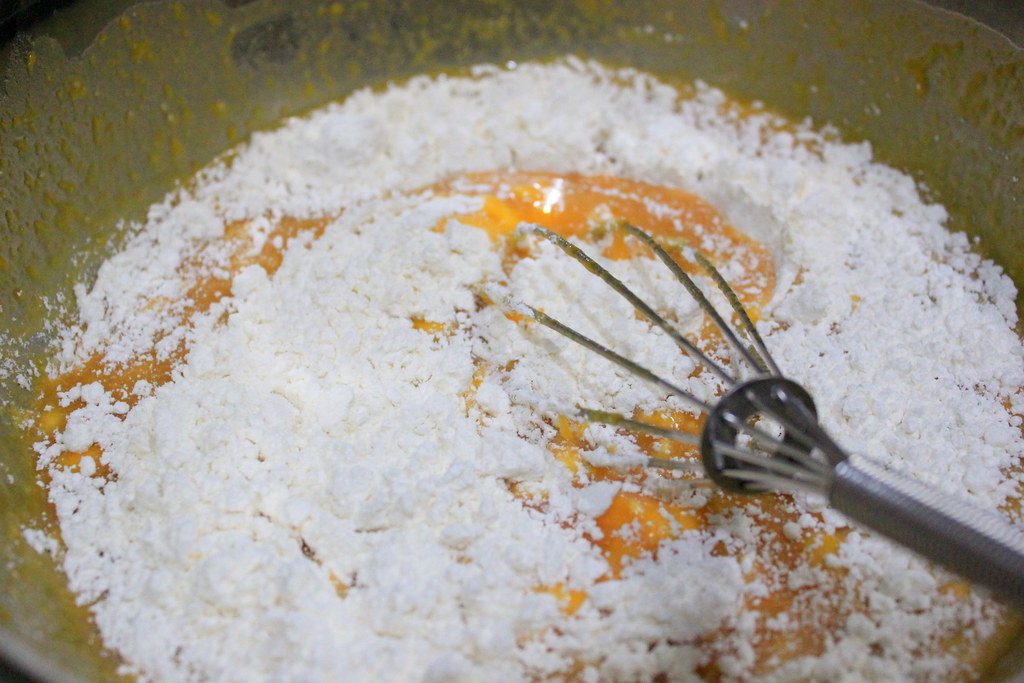
Fold in sifted flour and baking powder.
Try not to overmix the batter to give some fluffiness to the muffin later. Give only a few stirs and just when the flour are invisible, you`re good.

Spoon the batter into muffin cups or tin and bake them in preheated oven at 200 C for 15 mins or until the top has turned firmed and inserted skewer comes out clean. 
I didn`t use muffin cups because: 1, All my muffin cups are too big for this tin, and 2, I needed to test my new non-stick muffin tin (which was delivered today!). I was so nervous thinking about any possible disasters if it didn`t work out!

But watching them puffing up cozily in my oven really made me feel relieved. And hhhhungrrrrry.

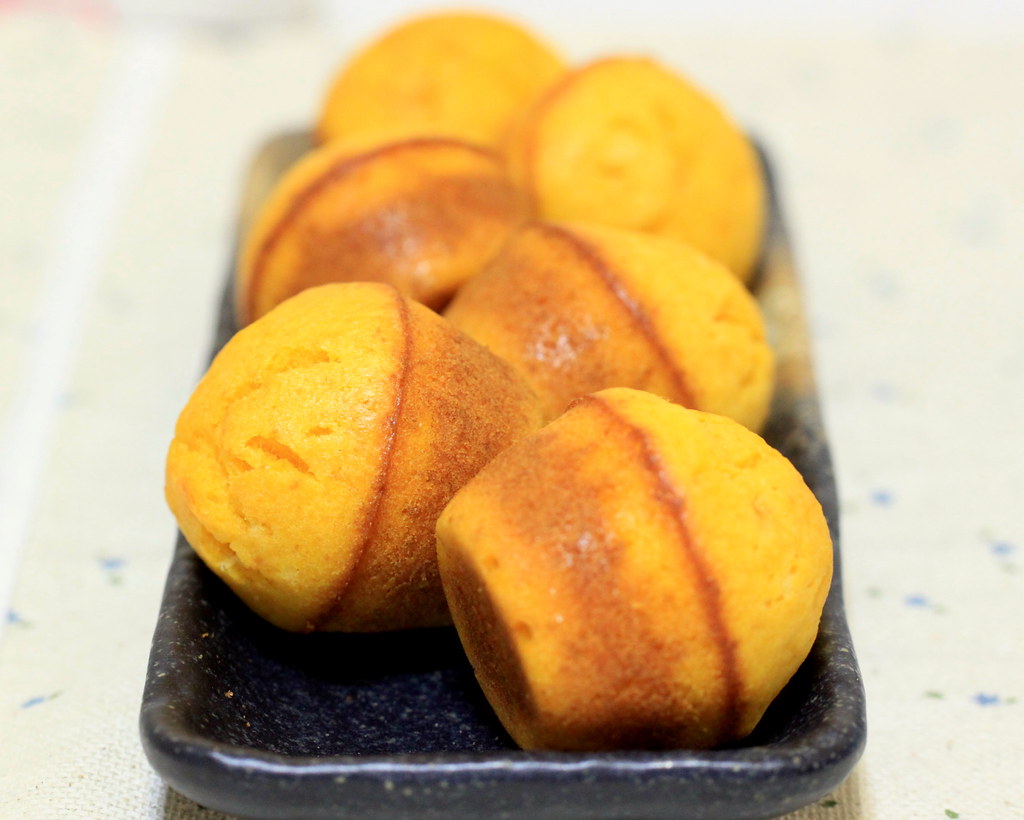
The first word came to my mind when I saw these cuties: BELLS. I don`t know why, but their shapes definitely ring bells in my head.
They might seem dense in texture, but don`t judge muffins from their looks.

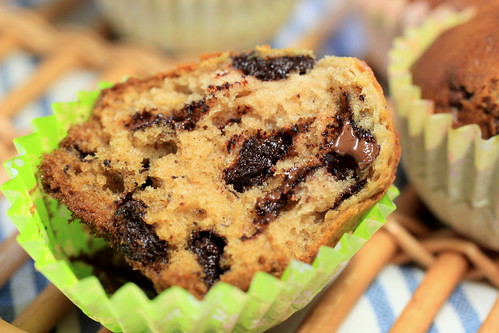
Because, these pumpkiny muffins are fluffy and moist and...look at those ooey gooey cheesy bits inside. I was so happy with how they turned out I thought now is Friday night!
KABOCHEESE MINI MUFFINS
Makes about 24 mini muffins or 12 regular-sized muffins

Ingredients:
200 g steamed kabocha (remove the skin)
150 ml olive oil
3 whole eggs
120 g brown sugar (this gives a mild sweetness)
100 g cheese (cubed into small chunks)
1 tbs powdered parmesan cheese
1 tsp baking powder
200 g flour

Method:
1. Combine mashed kabocha and olive oil in a mixing bowl.
2. Whisk in eggs, sugar, cubed cheese, and parmesan cheese.
3. Fold in sifted flour and baking powder.
4. Spoon the batter into muffin cups or tins.
5. Bake at 200 C for 15 mins or until the top has turned firm and golden brown and inserted skewer comes out clean

Sunday, November 20, 2011

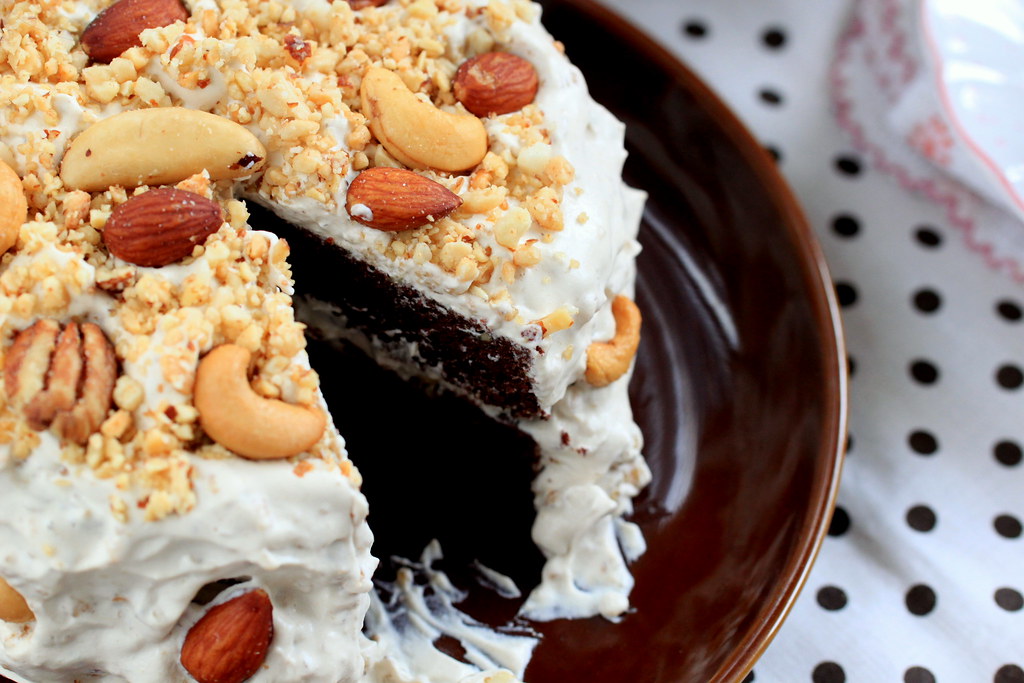
Chocolate mint cake with nutty icing

One thing I realized about my cooking habit is I tend to bake cakes, especially those with icing, in late fall or winter. I seem to crave something sweet, creamy, and rich when the air gets crisp and chill, but doesn`t it happen to everyone? The cake I`m showing you here is actually for my husband`s belated birthday celebration, which we were supposed to have 3 months ago because his birthday was in August. This was our second time celebrating birthdays together and his last year`s birthday cake didn`t come out on time either. My New Year`s resolution should be: make a birthday cake on the birthday.
Anyway, one or two months ago, I stumbled upon a blog of an Irish ice cream maker/company and found their gluten-, dairy-, and butter- free brownies recipe. Unlike other recipes I`ve known and tried, the recipe calls for almond flour, olive oil, and egg whites. As an ice cream maker, they seem to have many egg whites leftovers and this brownies recipe is one of the alternatives to use them. I feel really bad for not keeping the link for the original recipe. I`ve been trying to find the blog again, but still no luck so far. So, if you happen to know this Irish ice cream maker`s blog, please let me know so I can share the link here.
Back to the recipe, I`m more than happy to use the olive oil because honestly, for me it is far easier working with the oil than butter in addition to the health reason. However, as I wasn`t into keeping the leftover yolks, I used whole eggs instead of the whites only. There was one thing in the recipe that brought out my curiosity the most, which was the use of almond flour. During my first trial, I kept worrying if the cake would even turn into a cake, but the result was just fantastic! It surprised me already that the cake rose just like the regular cakes, but I was even more surprised with the texture because it was definitely the moistest yet lightest brownies I`ve ever had. It almost reminded me of sponge cake due to the lightness, which is why I`m calling it chocolate cake, but  its deep chocolatey  flavor brought my mind back to brownies.
This time, however, despite my intention to recreate that joy, I ran out both my almond flour and whole almond stock, so I had to use the regular flour. The cake turned out denser than the almond version, but overall it was still good. So, if you are not allergic to almond and happen to have the almond flour in your pantry, look away from your regular flour and use the almond flour. Also, if you have leftover egg whites or if you`re curious (I am still curious), you can try the original recipe where egg whites are used instead of whole eggs.
Alright, kitchen now?

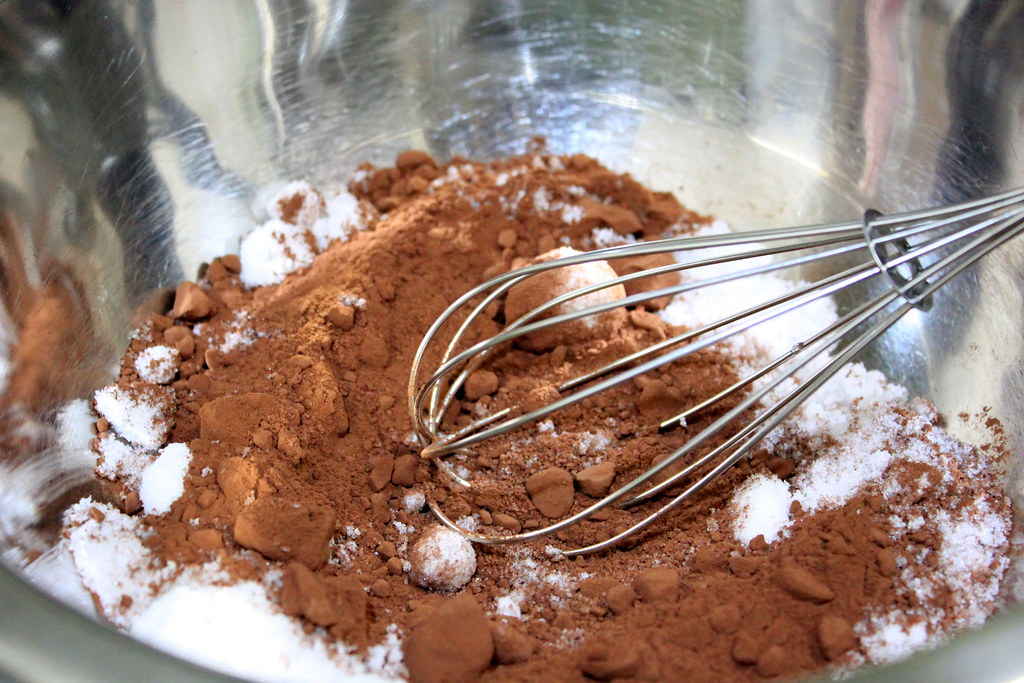
Mix sugar and cocoa with a whisk in a mixing bowl and crush any lumps in the mixture. Having sugar lumps in the cake are fine maybe, but cocoa lumps? Na-ah.

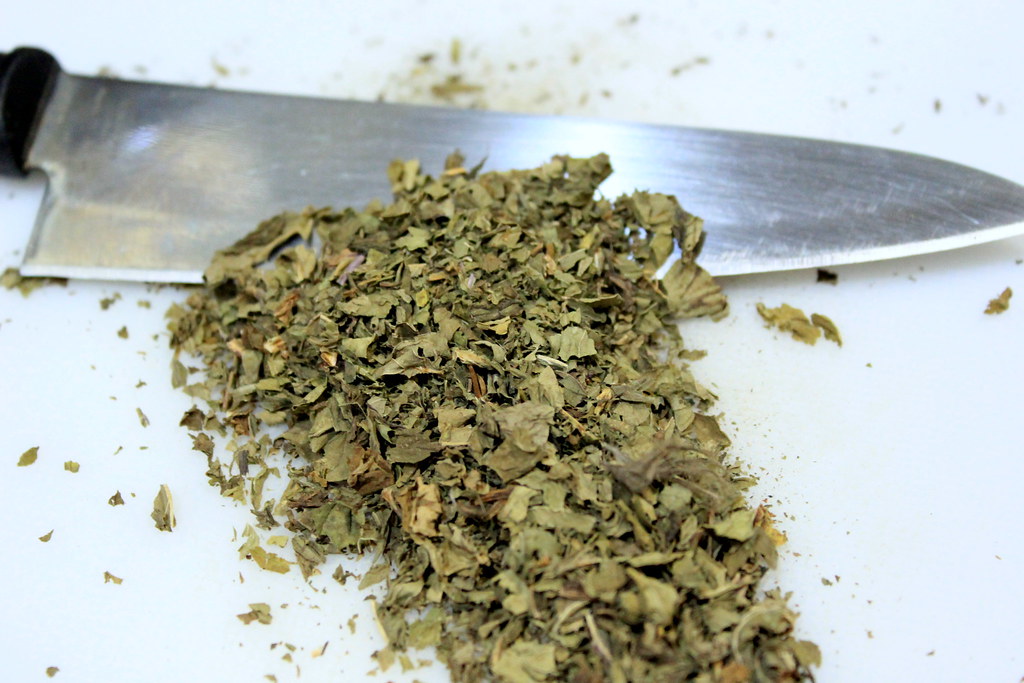
This is not from the original recipe, but chocolate and mint combo is my weakness, so I added dried mint leaves. Your weakness too? If so, get 1 tbs of dried mint leaves- more, if you want the cake to be super minty- and chop up.

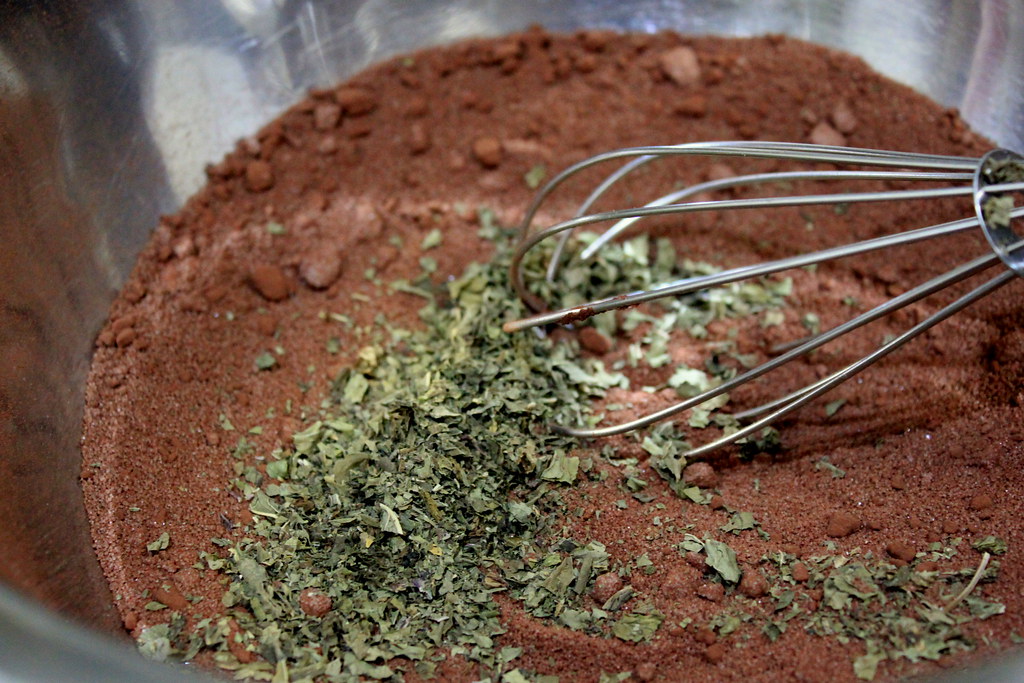
Whisk in the chopped mint leaves.
Ideally, I wanted the mint leaves to be much finer, but this was what I could do the best. I`m never ambitious in my kitchen.
 
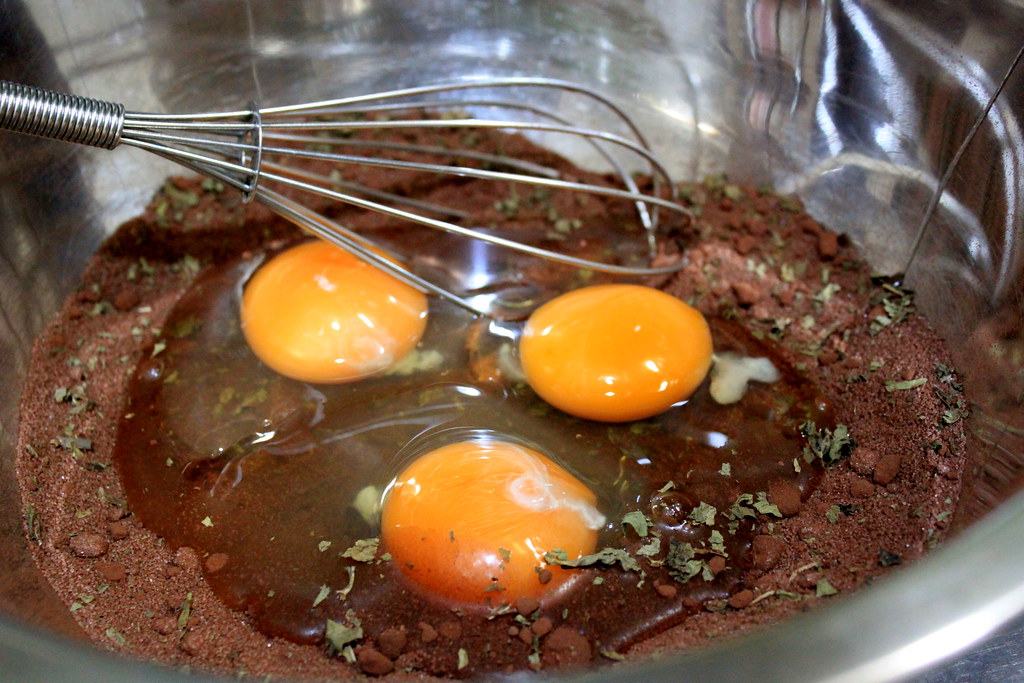
 Beat in whole eggs and the dry mixture will turn into a gooey mass.

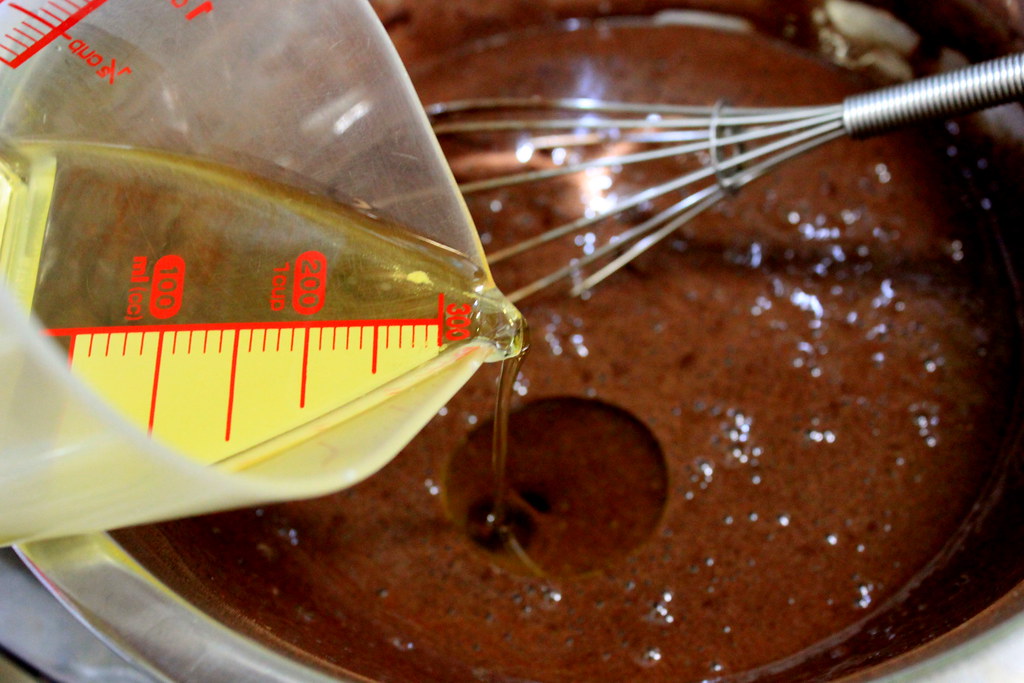
Pour in olive oil and stir well.

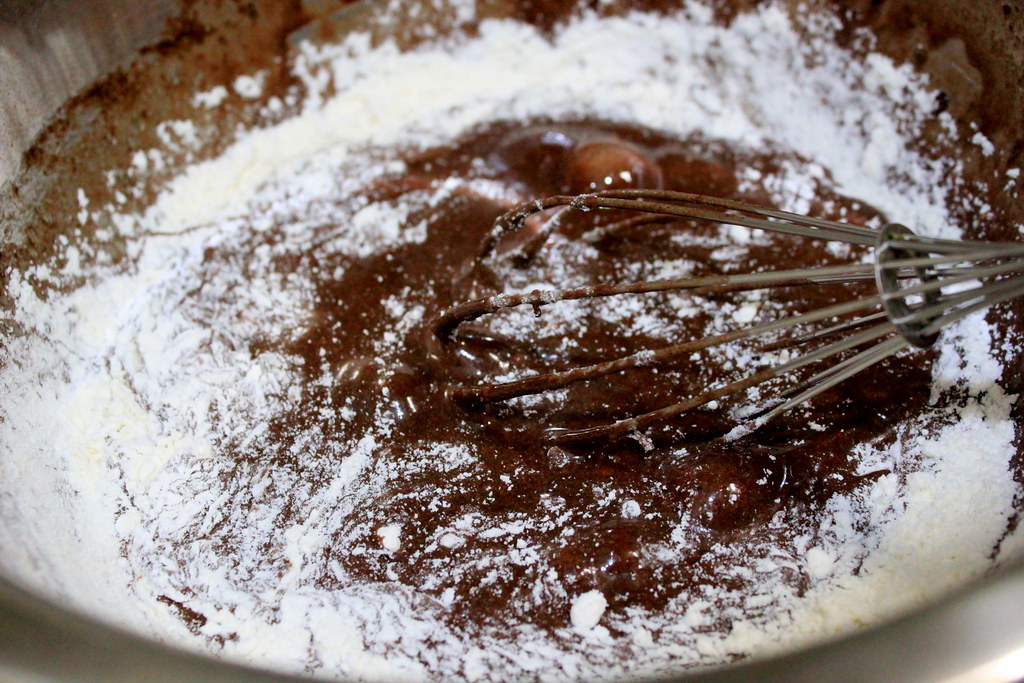
Fold in almond flour (very recommended) or sifted flour.

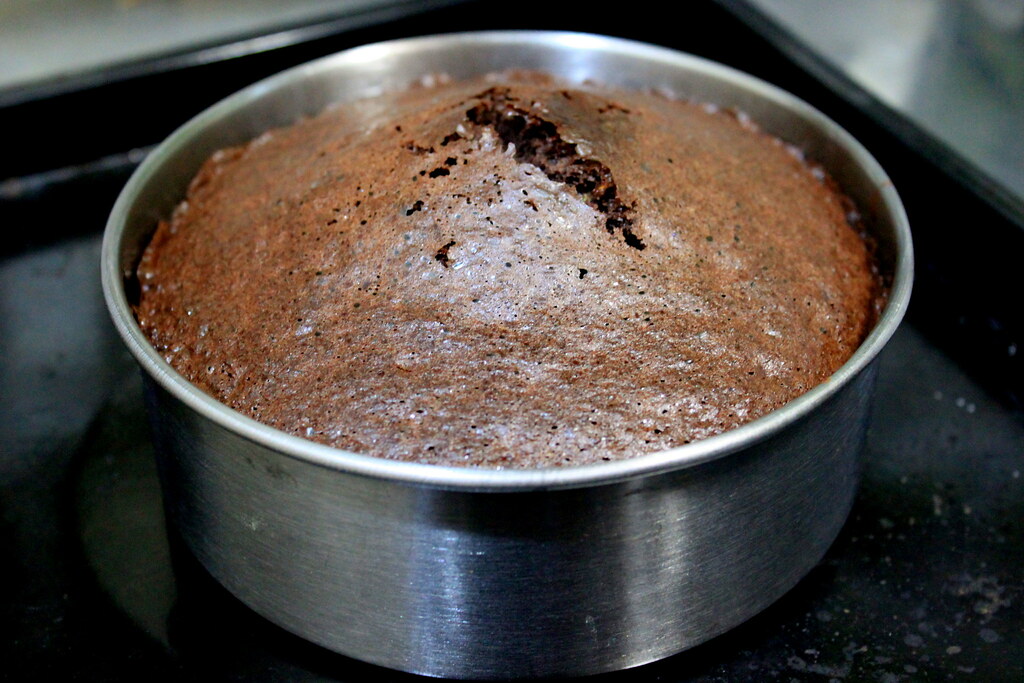
Pour the batter into a greased cake pan and bake in preheated oven at 170 C for 40 min.

Here is the cake after 35 min baking. The top was firm with a crack in the middle, although it didn`t crack when I used almond flour.
Cool it in the pan for 30 min or more depending on your room`s temperature and then unmould it onto a cooling rack.

Confession: I cooled the cake on a plate instead of a rack.
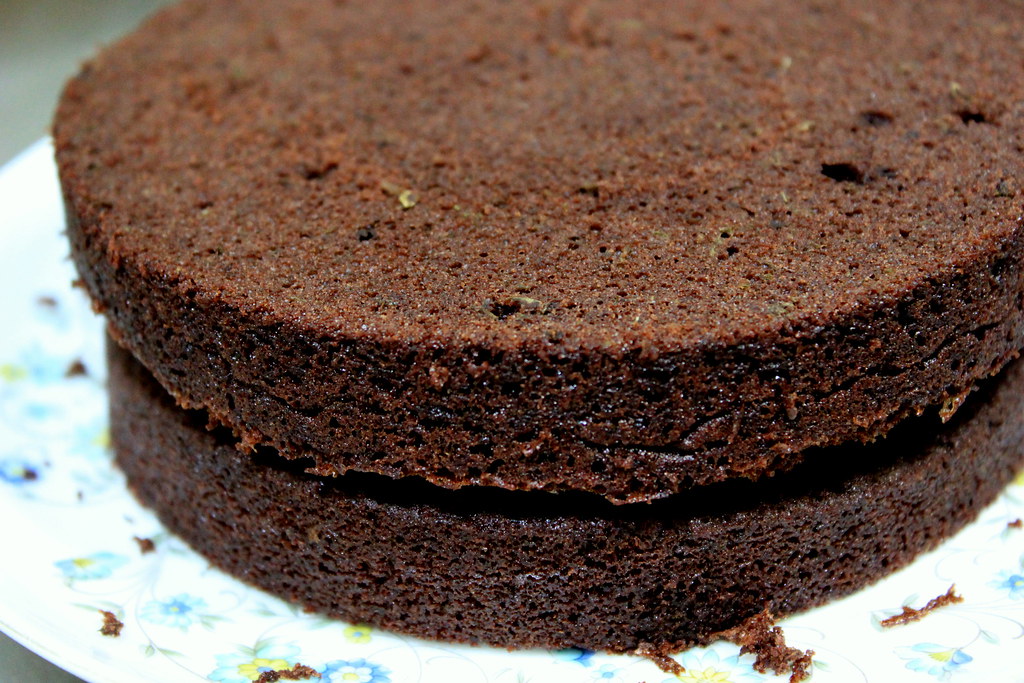
Remove any uneven surfaces, half the cake into 2 discs, and invert the cake to set the flattest surface-the bottom side should be the flattest one-facing up on top.

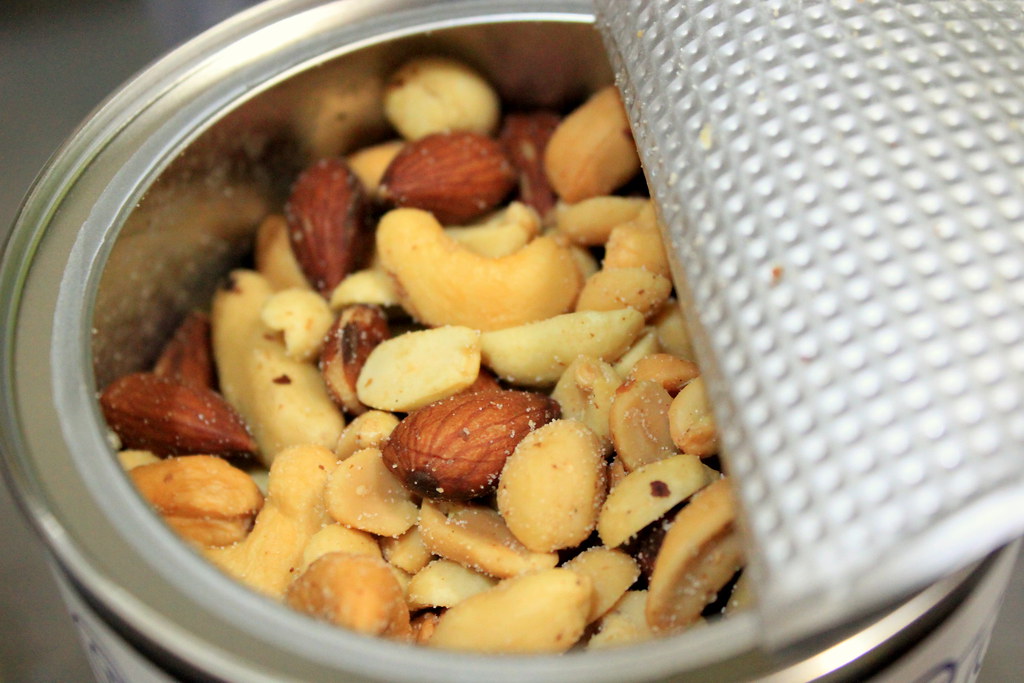
Now, for the icing, chop up mixed nuts and reserve some whole nuts for decoration. Set the nuts aside.
By the way, I only have salted nuts, so that`s what I used. But have you tried try sweet-salty icing on your cake?
 
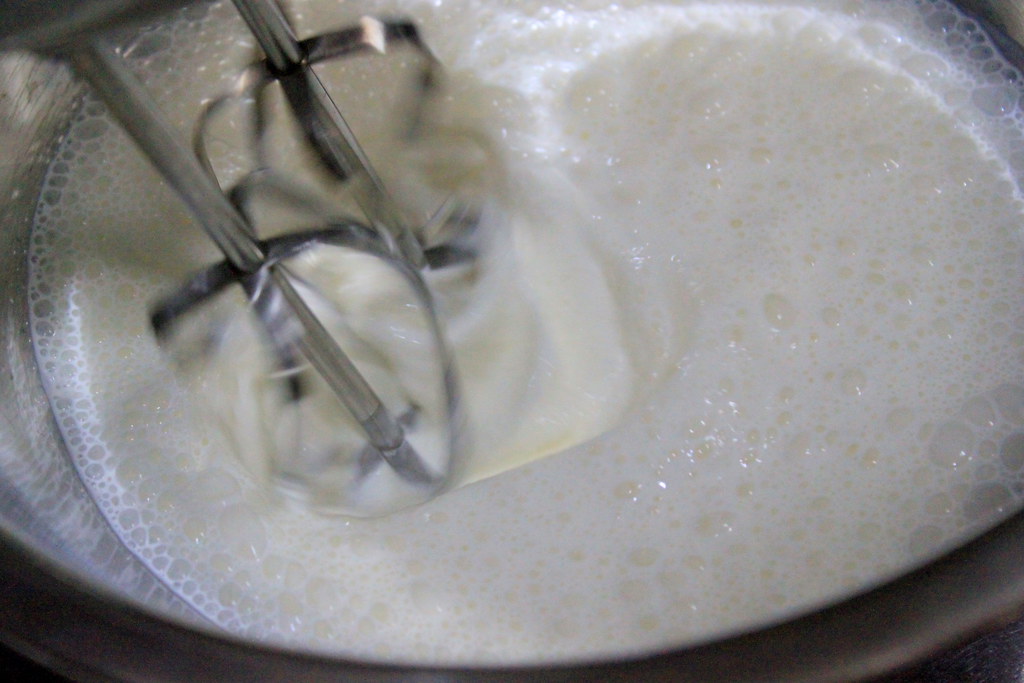
Whisk up 150 ml of heavy cream and add 2 tsp of sugar.

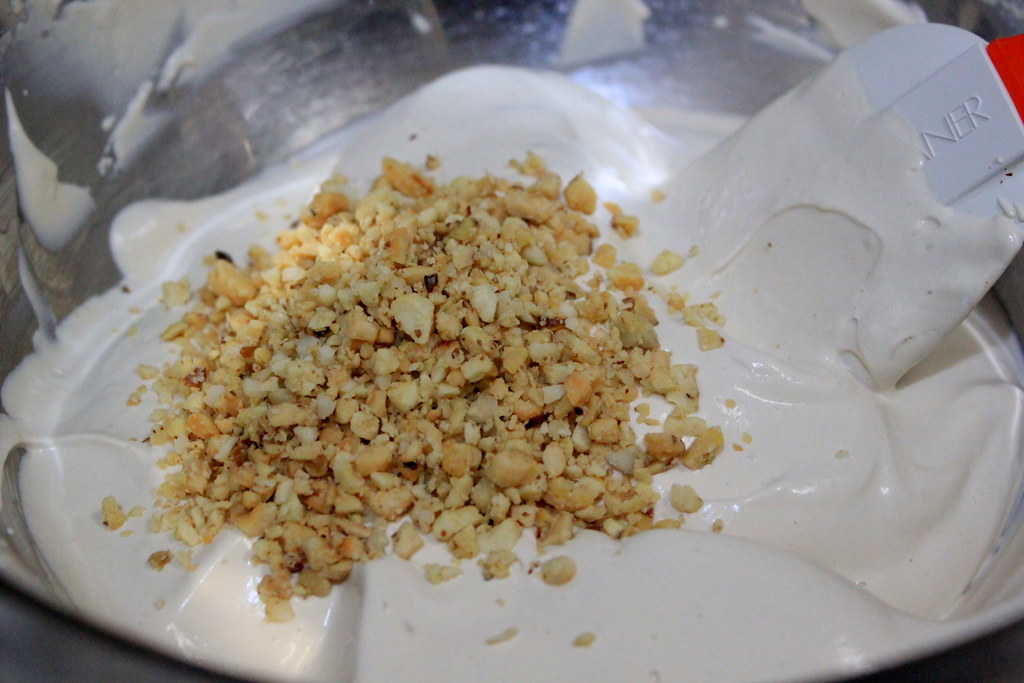
When the cream has stiffened enough, fold in 2/3 of the chopped nuts. 
The icing is ready!

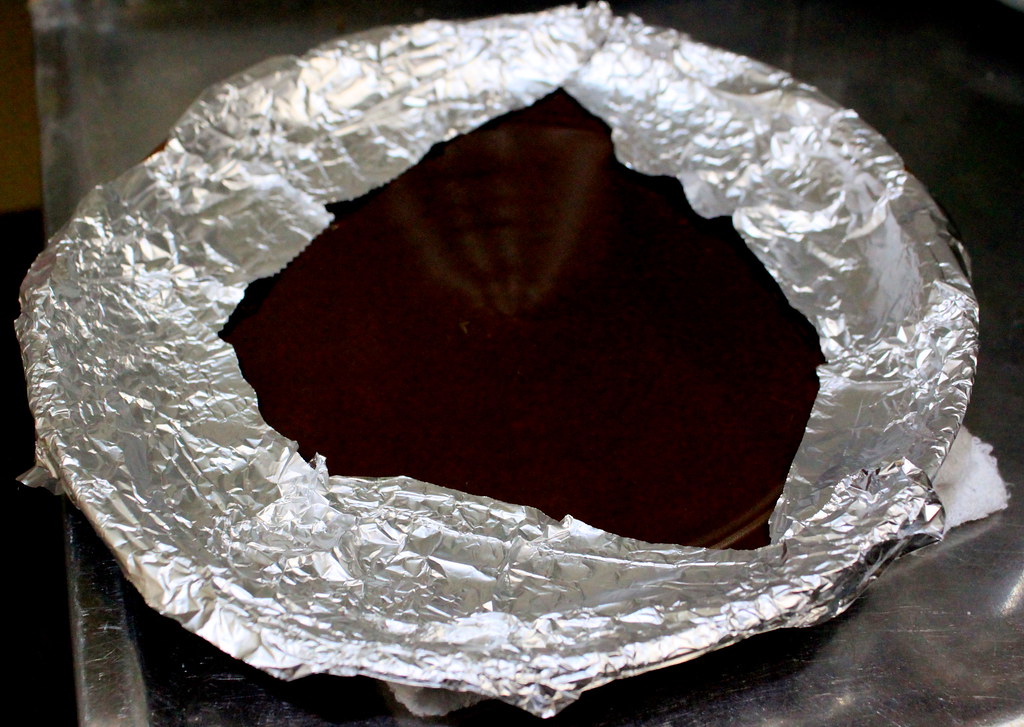
Get you cake plate and cover the rim with aluminium foil. This will keep your plate clean when you do the icing.

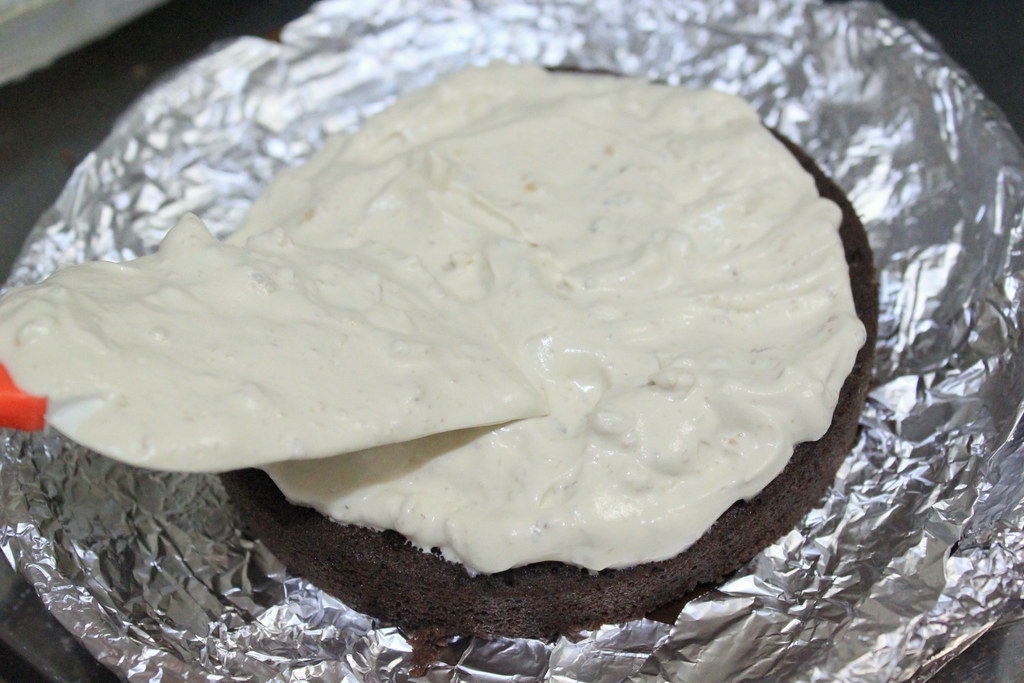
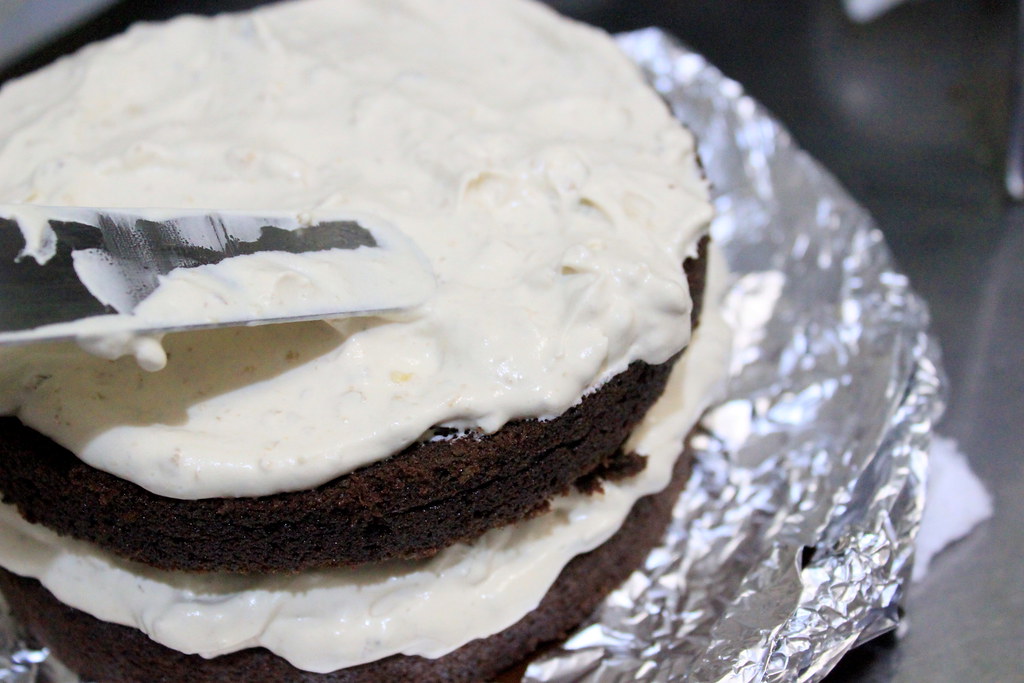
Place the first disc on the plate and spread the cream generously.

Set the other disc on top to make the second layer and ice the top.

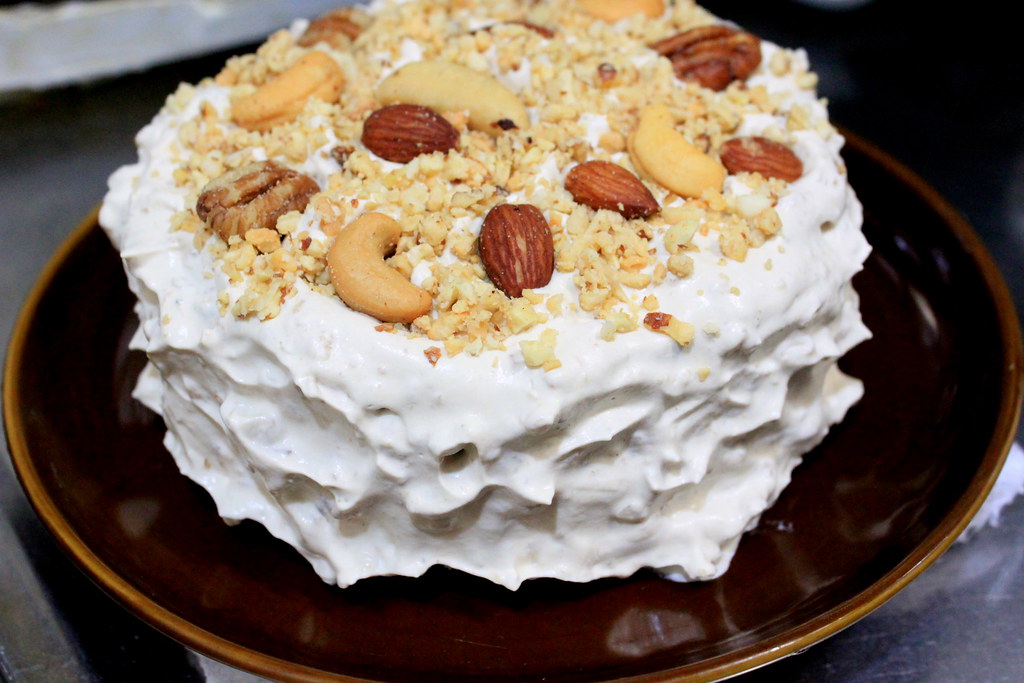
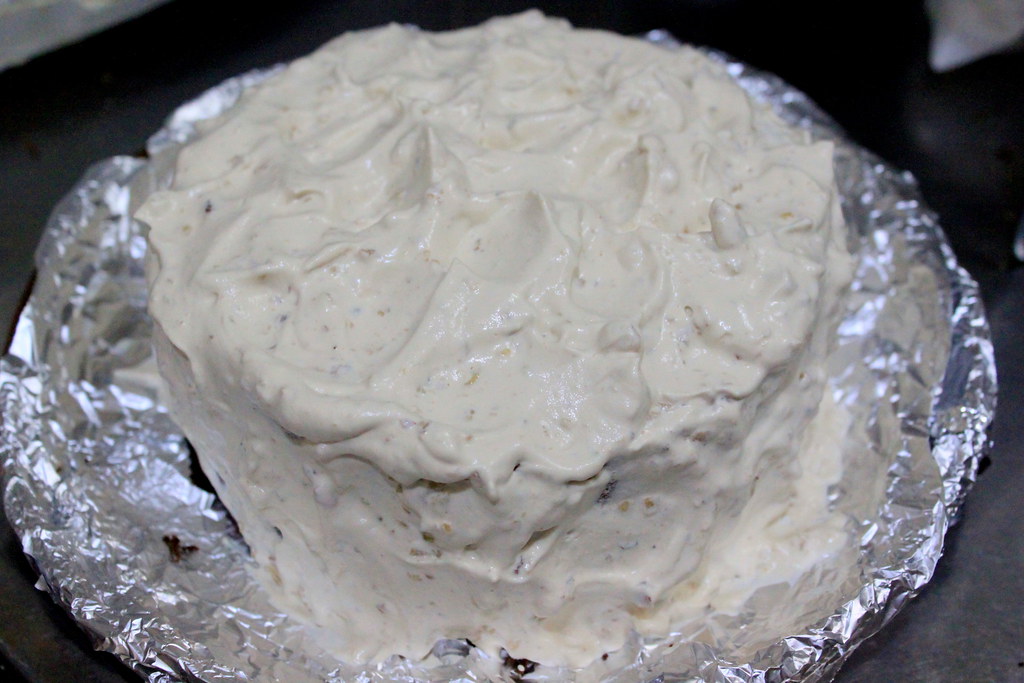
Spread the remaining cream to ice the whole cake.
I know, even a 10-year old kid can do better at this than me.

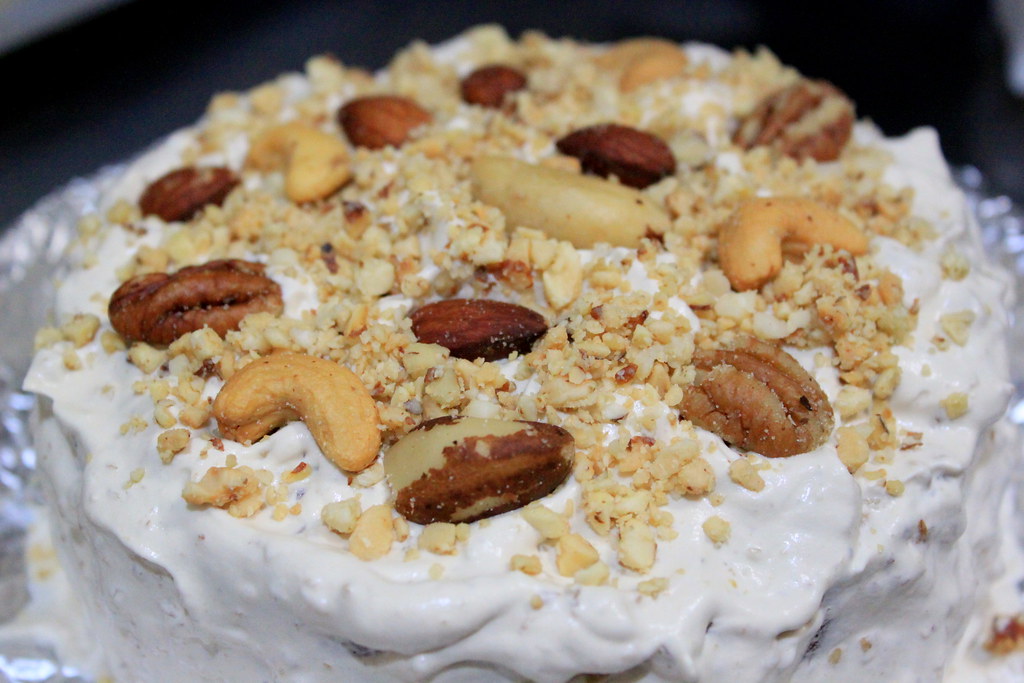
Sprinkle over the remaining chopped nuts and whole nuts.

And carefully remove the aluminium foil. Ta-da! Super clean icing-free rim!

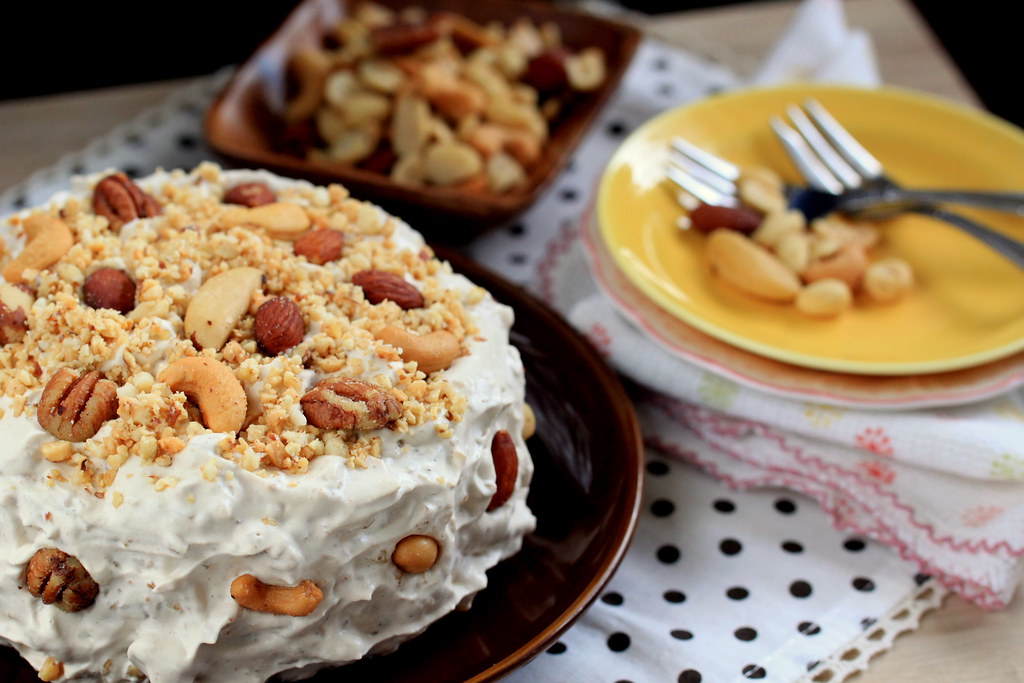
Add more whole nuts on the side and the cake is done!

Happy birthday, honey! Here`s for more and more sweetness and cakes in the coming years!

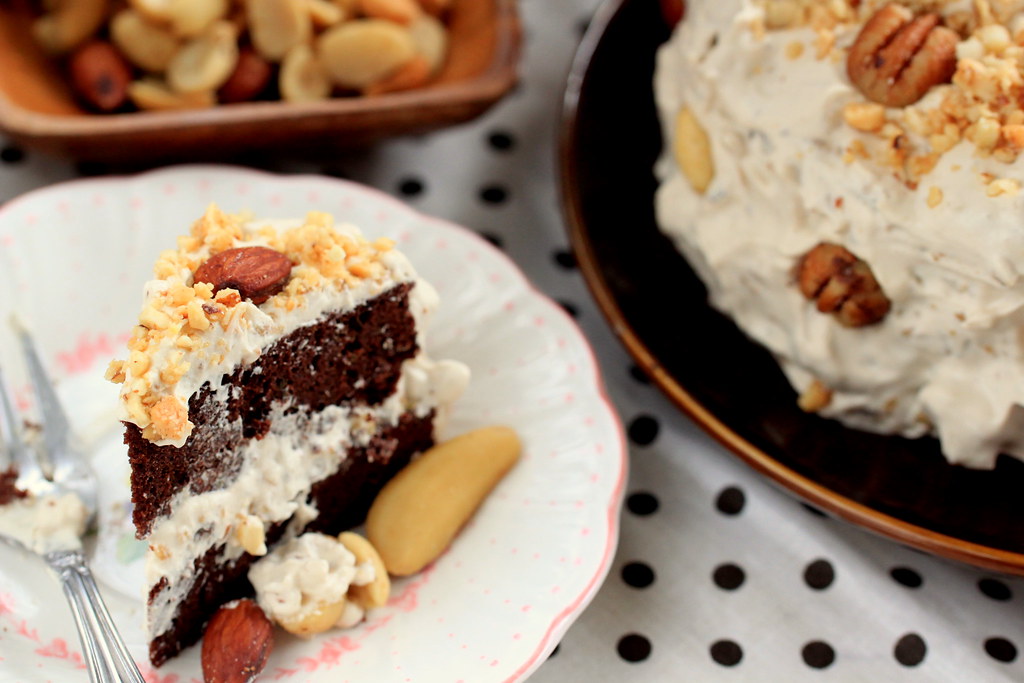
This cake might not be the best looking cake in my life-and let`s be honest, it`s not-, but we finished half of the cake the day I made it. That`s how much we loved it. The crunchy nuts gave a really nice contrast to the icing and the minty-chocolatey cake. And can I say it again? It`s chocolatey, it`s minty, and it`s heavenly.
Want a slice?
CHOCOLATE MINT CAKE WITH NUTTY ICING
Ingredients:
For the cake (cake pan size: 15 cm in diameter and 5 cm in height)
125 g sugar
40 g cocoa
1 tbs chopped dried mint leaves
3 whole eggs
30 g flour (substitute for 30 g almond flour for lighter consistency)
30 ml olive oil
Vanila oil

For the icing
150 ml heavy cream
1 tsp sugar (add more if using sugarless instant coffee)
100-150 g chopped/minced mixed nuts
Whole nuts for decoration

Method:
1. Mix sugar and cocoa in a mixing bowl.
2. Beat in whole eggs.
3. Beat in olive oil and vanila oil.
4. Fold in flour or almond flour.
5. Pour the batter into a greased cake pan and bake in preheated oven at 170 C for 35 min
6. After the cake is ready, cool it in the pan for 30 min and unmould onto a rack.
7. Half the cake into two discs and remove uneven surface with knife if necessary.

To ice
1. Whisk heavy cream and sugar at low speed and gradually increase the speed when the cream has started to get thicker.
2. Keep whisking until the cream has stiffened.
3. Fold in 2/3 of the chopped nuts and stir to combine.
4. Cover the rim of a plate with aluminium foil leaving the plate completely covered when the cake is placed on it.
5. Place one disc of the cake on the plate and spread the icing generously on its surface.
6. Stack the iced layer with the other disc and repeat the icing process.
7. Ice the side of the cake with the remaining cream.
8. Sprinkle over remaining chopped nuts and whole nuts on top and decorate the side with the whole nuts.

Wednesday, July 27, 2011

Chocolate banana muffins

Have you ever had your banana so overripe and blackened that no one in the house wouldn`t touch it? Well. I have. In fact, many times. And it felt as if I was the most horrible person on earth when I decided to threw them away as I used to consider them as "ugly and non-edible" food. Guilty!
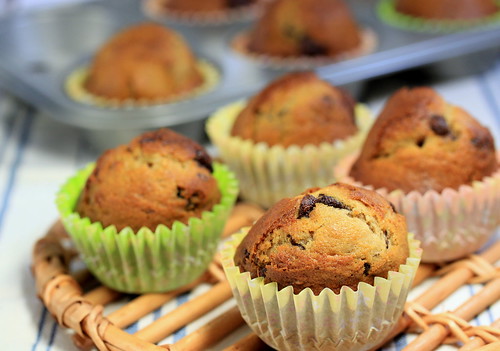
But it`s different now. In a good way. Thanks to Nigella, again, there are good recipes in her Nigella Kitchen book that transform these bad-looking banana into something more appetizing. One of the recipes was this chocolate banana muffins. I made some changes with the original recipe, which were less banana (as I only had one left),  less sugar, and less oil. Oh, and I added choc bar.

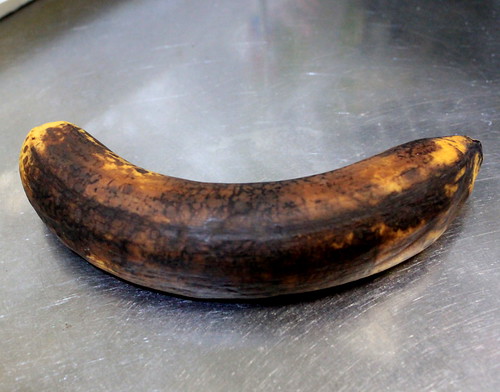
So, speaking of bad, how bad did my banana look like?
This bad. Sad, right? I feel sad just looking at it.

No worries, though, as we`re about to do some magic here. Ready with your magic wand whisk?
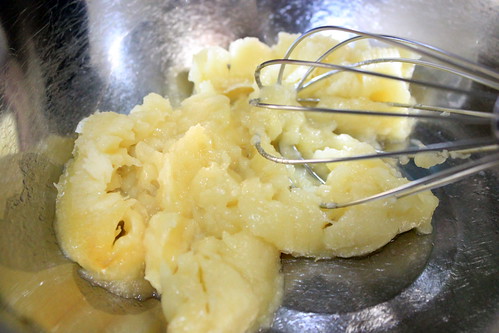
Peel off the skin, put the banana in a mixing bowl, and mash it up with a whisk. If your banana is ripe enough, or overripe like mine was, mashing it up would be very very easy, although  using a whisk will probably leave a bit of texture.

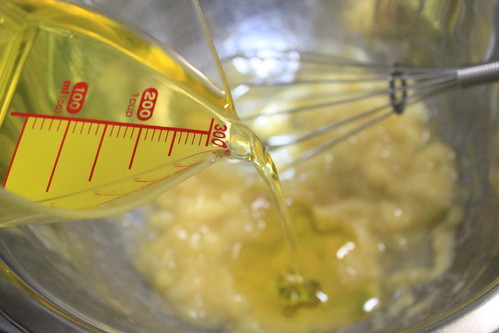
Whisk in vegetable oil (I used olive oil, regular one) and few drops of vanilla oil. And love potion too, if you have it.


Beat in eggs...

...brown sugar...

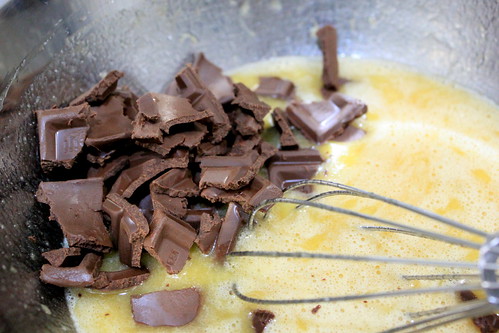
...then chocolate bars broken - or torn, as they were already melting out in my hot kitchen - into small chunks.

Note 1: The original recipe calls for cocoa powder mixed with flour to be added later on, but I wanted to use the chocolate bars that had been sitting for ages in my kitchen. 
Note 2: If you omit the chocolate, you`d better add more sugar because with the amount of sugar I used here (see Ingredients), the muffin itself  doesn`t taste sweet enough. 

Fold in sifted flour and baking soda.

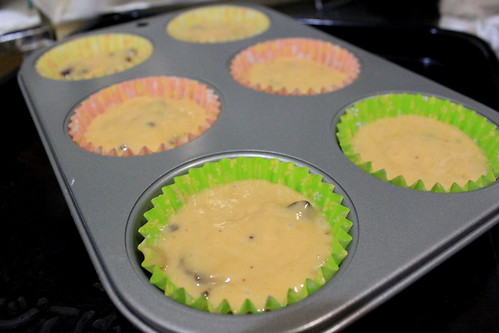
And spoon the mixture into muffin tin lined with parchment paper or muffin cups.
Bake for 15 mins at 200 C.


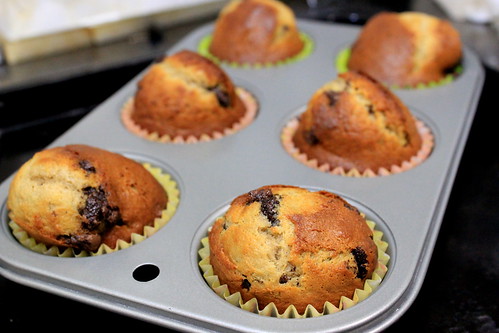
Here they are, puffing up delightfully! Not so ugly anymore, huh?
My muffins came out in irregular shapes of course. I can`t remember if I`ve ever made something neatly.


So let me show you again what the magic did. 
From this:

To this:

And you can totally smell the banana aroma coming out from these fluffy muffins filled with heavenly oozes of dark chocolate.


My husband is not big on some particular fruits and banana are one of them. He also tends to freak out whenever we had blackened banana in our house. Even so, he already ate three (three!) muffins while I am typing this. Wonderful day. 
So this is my Wednesday resolution: I will never, ever, throw away my banana, again.

Ingredients (adapted from Nigella Kitchen):
Makes for 12 muffins
1 overripe banana
100 ml olive oil
2 whole eggs
80 g brown sugar
Vanilla oil
80 g dark chocolate
200 g cake flour
1 tsp baking powder

Bake at 200 C for 15 min