Showing posts with label rice. Show all posts

Sunday, February 12, 2012

Anchovy fried rice

I`ve probably lost count on how many kinds of fried rice I`ve been making in my kitchen. It seems to me that the weekend`s lunch menu in our house is dominated with fried rice and I suppose that happens because lazy cooking is all I can think about when I wake up on weekends.
This fried rice is not only super quick to prepare, but also embarrassingly simple. Still, I decided to post it anyway. Who knows, maybe my future kids who will stay in their future dorms will read this (on their future tablets perhaps?), cook the fried rice, and forget their cup ramens for a while. Or who knows, you happen to have all the ingredients and are hungry?

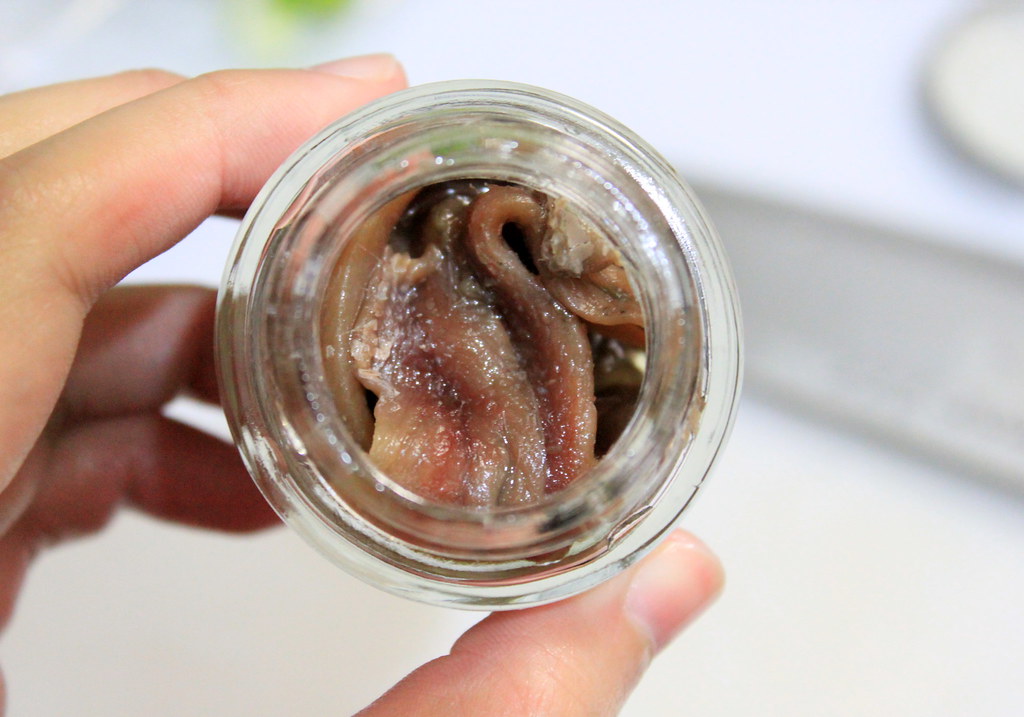
What I`d put in my fried rice mostly depends on what`s inside my fridge and this time I had leftover anchovies.

I could have laid the anchovies on my chopping board and chop them, but snipping them up in the jar gives me less mess to clean up later.
So, snip, or chop up the anchovies and set aside.

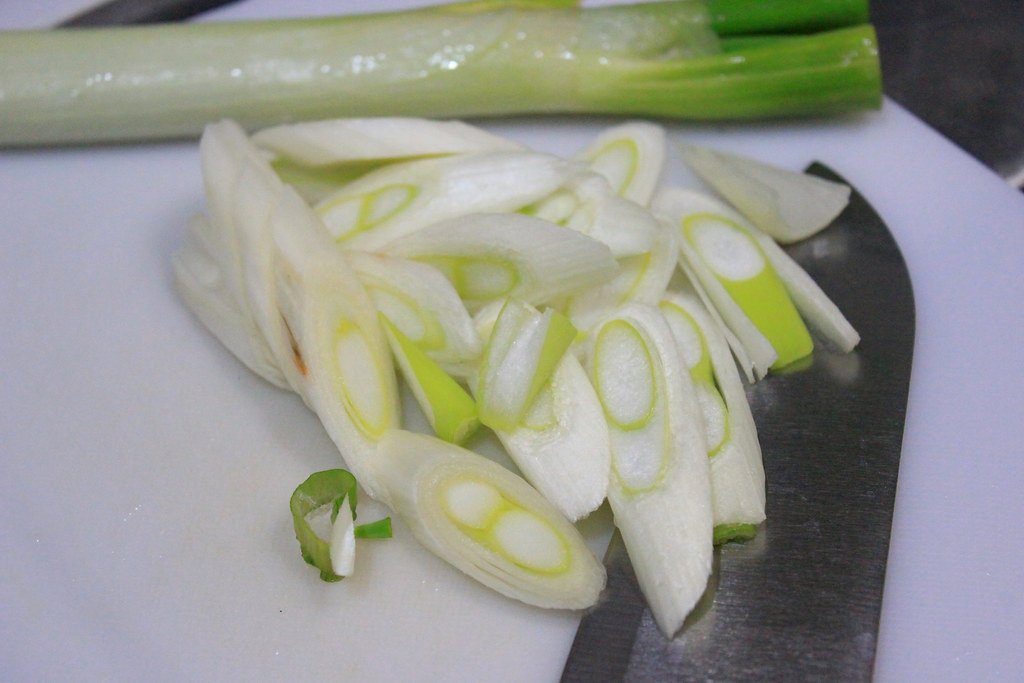
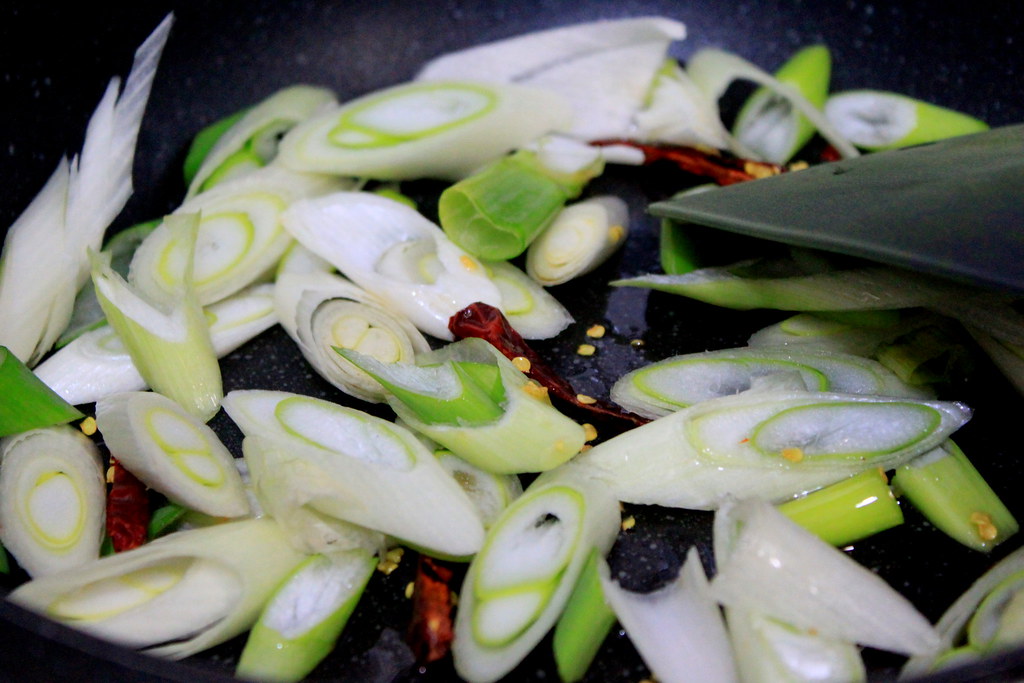
In a frying pan on medium heat with a bit of oil, stir-fry sliced spring onions, 1 Tbs of grated ginger, and chili. The ginger might sound awfully a lot, especially if you`re not a regular ginger eater, but I find that the ginger gives a nice mellow warmth to the fried rice.

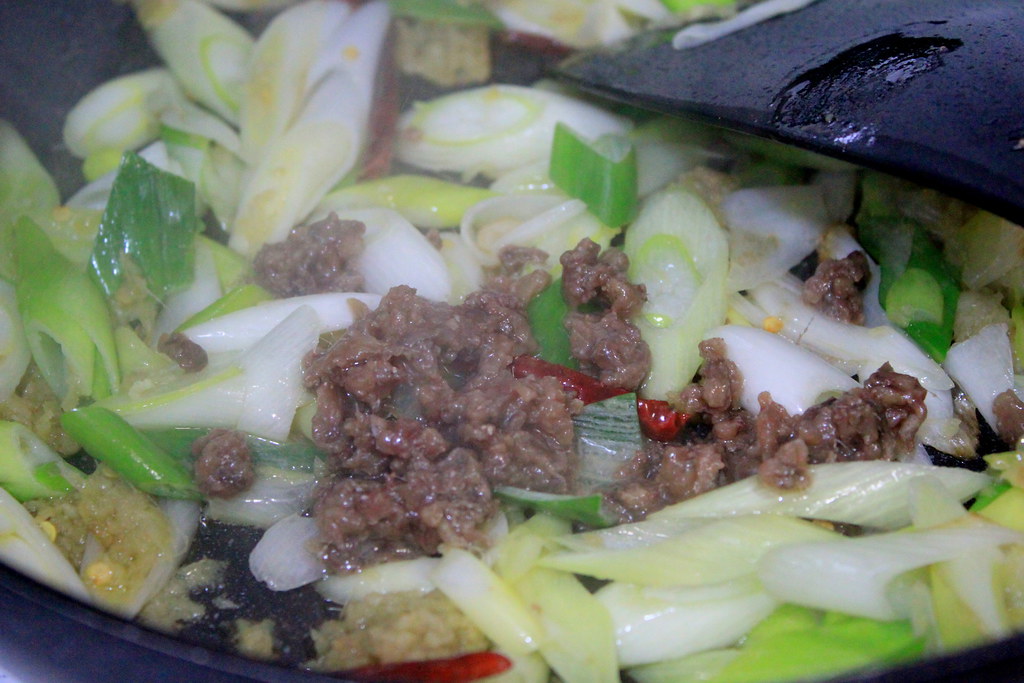
After the spring onions have wilted, stir in the chopped anchovies.
Smells heavenly now, doesn`t it?

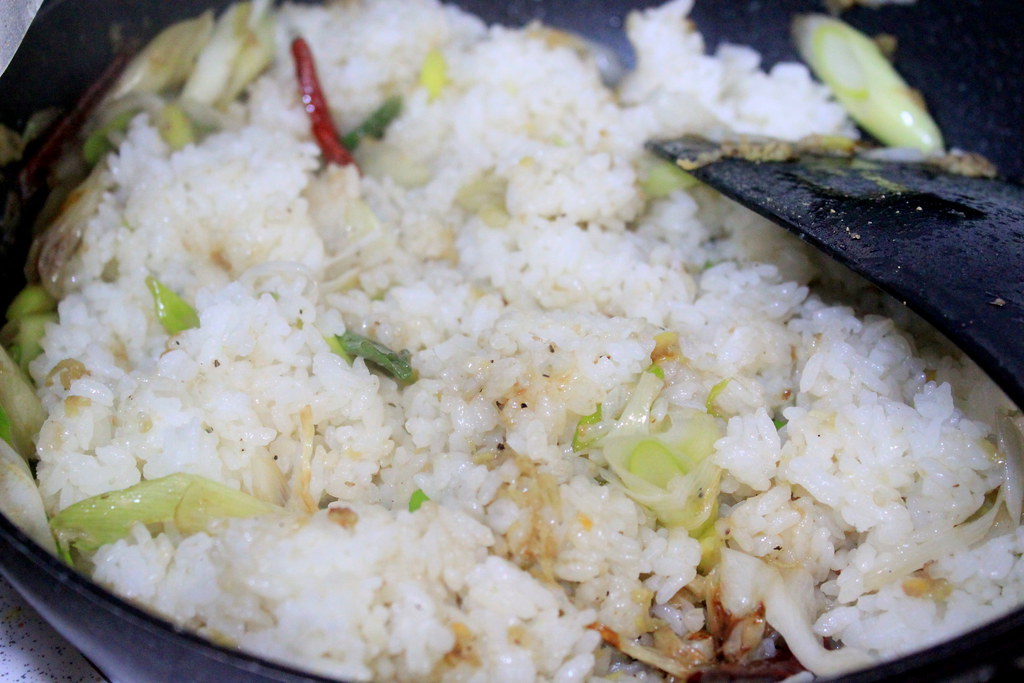
And now, stir in cooked rice and adjust the seasoning with pepper and salt, if necessary.
I didn`t add salt because to me the saltiness was good enough.

See? The fried rice is done within 20 minutes or probably even less. The anchovies-ginger combo really gives a very nice flavor to this fried rice. The look is definitely far from fancy, but with this, you can tell that your weekend has started.

Happy Sunday!

ANCHOVY FRIED RICE
Makes about 2 plates

Ingredients:
2 spring onions
1 Tbs grated ginger
2 dried chili (remove seeds for milder heat)
1 Tbs chopped anchovies
2 plates cooked rice
Pepper
Salt (optional)

Method:
1. Stir fry sliced spring onions, grated ginger, and chili with a bit of oil. Cook until spring onions has wilted.
2. Stir in chopped anchovies.
3. Stir in rice and adjust the seasoning.

Sunday, January 15, 2012

Miso fried rice and a resolution

I know I`ve been MIAing for a while and that because for the whole last week, my mind was fully occupied with job-related things. I wanted to say that that`s a good thing with being busy, but sadly, it was not. My current job contract is about to end and a while ago, I applied for a job for the errrth time and I finally got myself an interview. The irony was, I wanted that job so much and I really felt that I had a good shot, but the second I finished my interview, I knew I blew it away just like that. That day, it seemed clearer than ever to me that my greatest weakness is being interviewed. So, I just went home feeling uneasy and regretting the way I responded to the questions. It`s all about "I should have explained this and that" in my mind. And despite my fear of the result, I still had the excitement thinking of a tiny possibility for me to get it until a letter came two days later saying that I don`t get the job. Then, I crashed down, pretty badly. I always knew that I`m more a writer than a speaker, but I never thought that it would cost me this bad. And to make things gloomier, my paper got rejected too earlier that day. But I quickly resubmitted it to a different journal in the same day and I`m glad I did. So, one rejection to start my day and another rejection to welcome me home. Now how about that?
Anyway, I`m glad to say that I`ve finished with the sad part, so let me continue with the good part. Or at least I think it`s good for me. I thought it would take days for me to get over it, but to my surprise, I was already fine the next day and even better, I`m ready to move on. It occurred to me that now I knew the root of my problem, I have to work on  my communication/speaking skill for interviews, or in a broader term, my self-selling skill in job hunting. Otherwise, I will spend the rest of my time just whining about why I fail again, or worse, blaming the universe.So here I am, with new battery, which I hope will last very long, and new homework to do. Failing should make me better instead of merely feeling defeated. And please remind me about all this speech when I start whining again, alright?

OK, now I`m done with sharing about my life. I don`t mean to drag you into my gloominess, but I hope the lesson works not only for me, but for people out there too who are probably in the same situation.


Now, please come to my kitchen because I`m going to share my quick and easy meal, which happens to be a vegan recipe too.  I just hope that this fried rice doesn`t represent my story above because really, they don`t relate at all. In fact, this post has helped me getting back on my feet before the Monday comes.
Cooking time!

Start with chopping a spring onion.

 
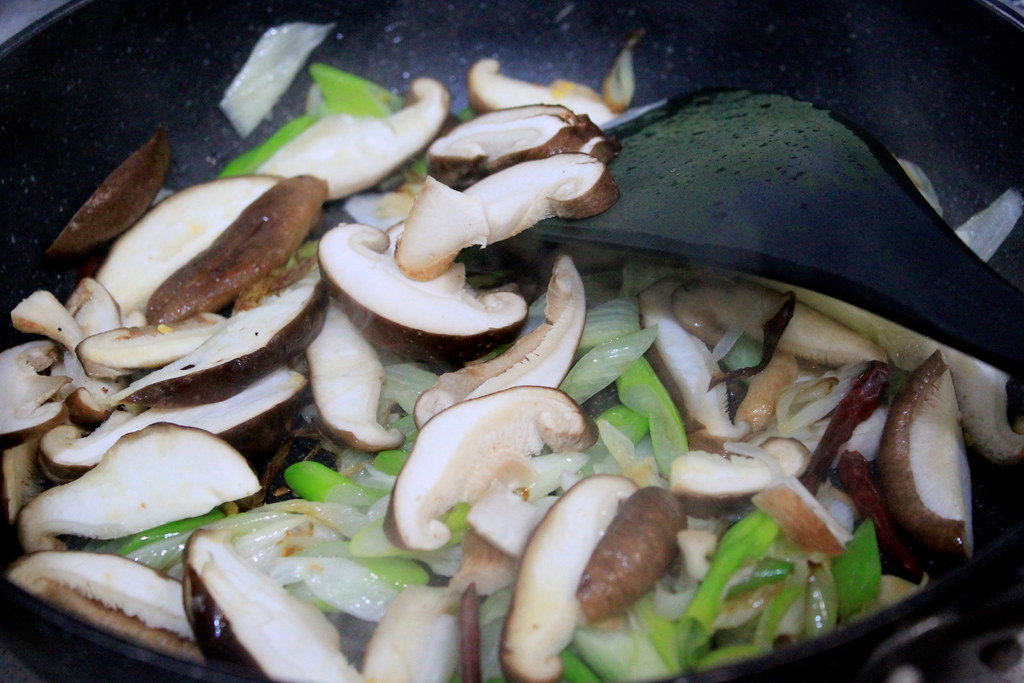
In a frying pan with a bit of oil, stir-fry the spring onion with chilli. 
You can remove the chilli seed before slice/chop it up for a milder heat. For me, I`ve never removed any chili seed in my life. Maybe having a baby would be my only reason to do that in the future.

Next, throw in sliced shiitake mushrooms. 

And toss in shimeji mushrooms.
Speaking of mushrooms, I remembered my recent conversation with my dearly cousin who lives in Netherland. She said that it`s difficult to copy my recipe because she rarely/never see the ingredients I use here at her place. I`m sure that she`s not alone in having this opinion because I too have some difficulties in finding some ingredients listed in recipes from outside Japan. But even so, I think the basic idea of sharing recipes, at least for me and especially for non-baking ones, is to inspire people to cook. And more importantly, with whatever we have or like. Other than that, don`t you think it`s fun to learn about new or foreign food we never see before?

Aaaand....back to the frying pan before I burn everything. 
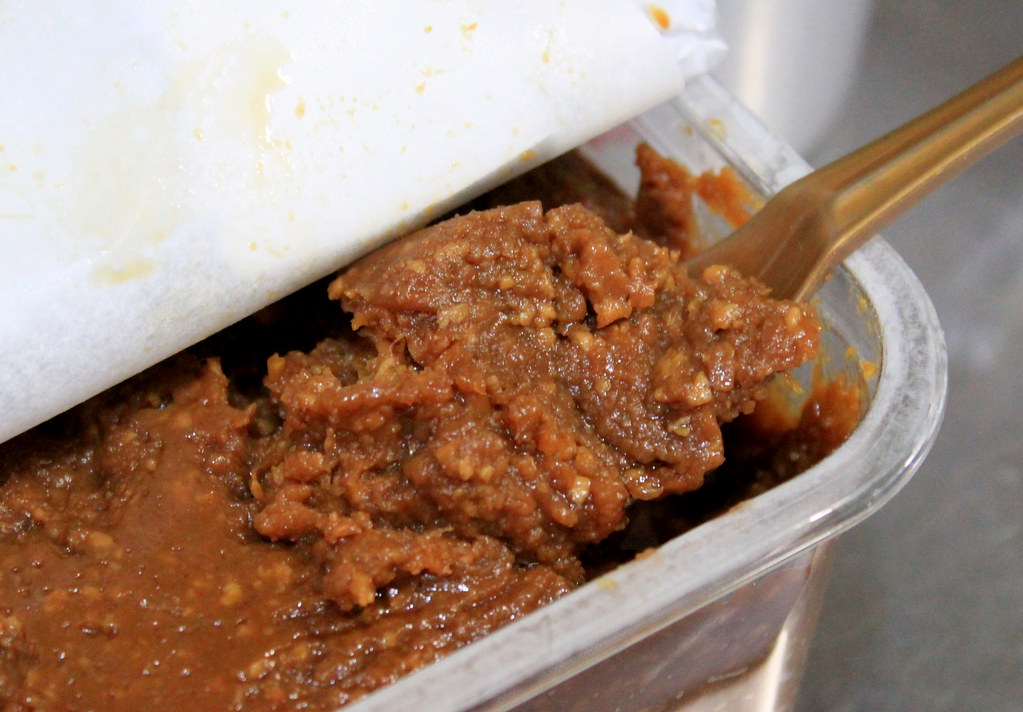
Add a tbs (or more, or less) of miso paste and stir up.

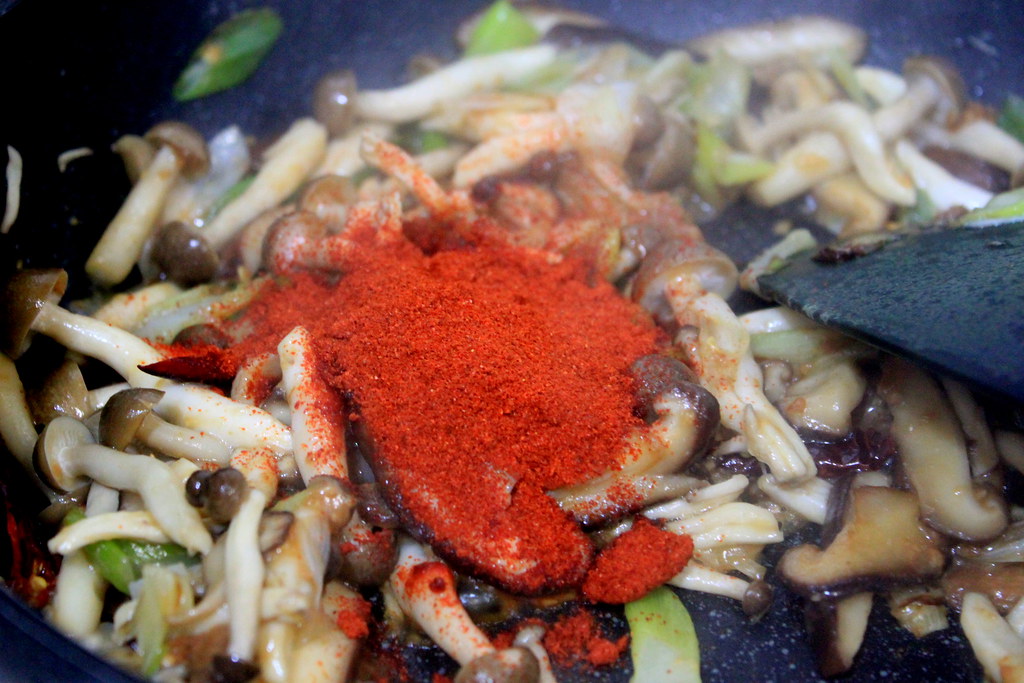
Then, to give it a red effect, add 1 tbs of red chili powder or flakes.

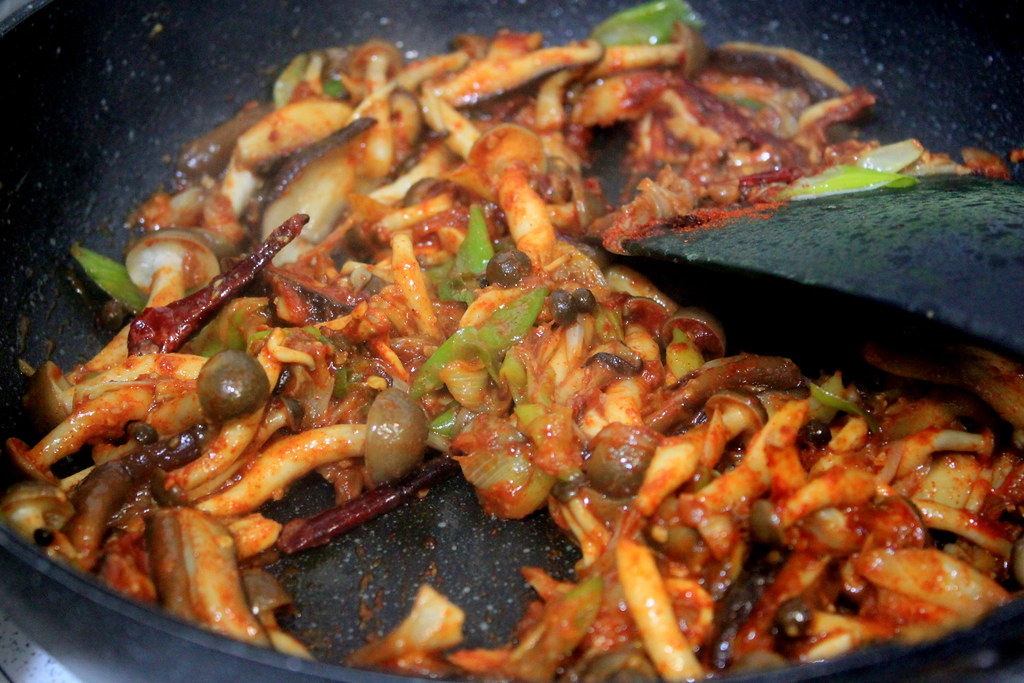
Season with salt (go easy with it because miso is already salty), ginger, and pepper. Stir until everything combined.

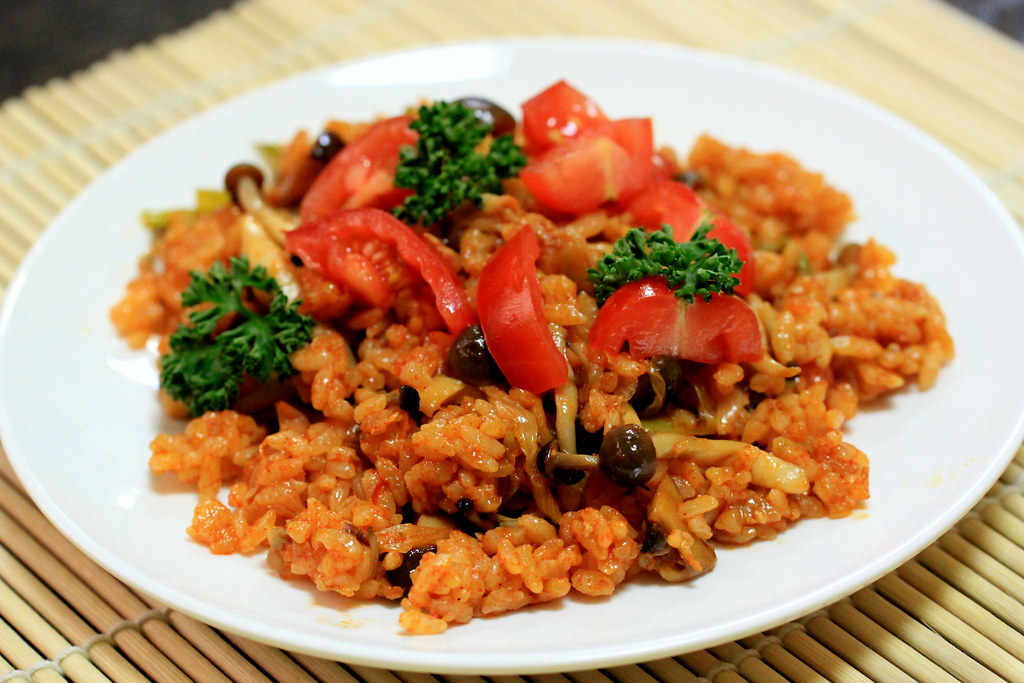
Dump in cooked rice and good luck with the stirring.

This fried rice has a pretty good resemblance with Indonesian fried rice. Just add a fried egg on top and shrimp rice crackers on the side and no one will sue you from calling it Indonesian fried rice. Although, one will quickly notice a difference because of the dominant miso flavor in the dish. And before I forget, this dish is not only quick and easy to prepare, but also comforting.  After all, what`s not comforting from miso and mushrooms?
MISO FRIED RICE
Makes about 2 plates

Ingredients:
1 spring onion
2-3 chili
Shiitake mushrooms
Shimeji mushrooms
1 tbs miso paste
1 tbs chili powder/flakes
Ginger
Salt
Pepper
2 plates cooked rice
Tomato (optional)
Parsley (optional)

Method:
1. Saute chopped spring onion and chili in a frying pan with a bit of olive oil.
2. Stir in  shiitake mushrooms and cook until it wilted.
3. Stir in shimeji mushrooms and cook until it wilted.
4. Add 1 tbs of miso paste and 1 tbs of chili powder/flakes.
5. Season with ginger, salt, and pepper and stir up.
6. Add 2 plates of cooked rice and stir until everything combined.
7. Optional: garnish with chopped tomato and parsley to serve.

Thursday, November 3, 2011

Miso risotto

Hi there! How was your Halloween party? Did you have heavily sugared celebrations? For us here, we don`t celebrate it. It just happens that there is no Halloween tradition where I grew up and live now, and to top it up, I suck at horrory stuffs. But I really enjoyed finding Halloween-themed cookies and candies out there, though!

Anyway, from my kitchen, I wasn`t sure if I should share my oddly named dish with you and you`re about to know why. When it comes to step-by-step pictures, I know people get tempted to quickly scroll down the mouse to see the final result. And if you do, I`m afraid to say that given my lacks of effort and talent in food styling (meet me, Ms. Excuses), the appearance of dish might kill your appetite. But I hope you won`t leave from there, because I think you need to know what`s exactly in it and also, I want you to try it.
It all started on one lazy Saturday noon when I found our rice cooker`s lid widely opened for God knows how long. Well, it actually only took me seconds to figure out how long it was and who did it because my husband, who everyday has his breakfast around 7AM after coming home from his newspaper delivering routine (yes, I`m shamelessly still asleep), was the last one who opened the rice cooker and of course, forgot to close it. With the heating in the open air for hours, the rice was almost all browned and dried when I saw it. I almost cried too!! 
It just so happened that I was planning on cooking fried rice, for our lunch that day, but with this dehydrated rice, I knew it wasn`t a good choice. That`s where I came up with the risotto idea. I just stick on to my thought that risotto has a texture somewhere between porridge and regular cooked rice. To be honest, although I occasionally enjoy risotto at Italian eateries, this was my first time making one, which I`m sure not in a proper or traditional way too.

For a starter, I used cooked rice instead of uncooked ones. And as you might guess from the title, I used: miso, Japanese fermented soy paste.

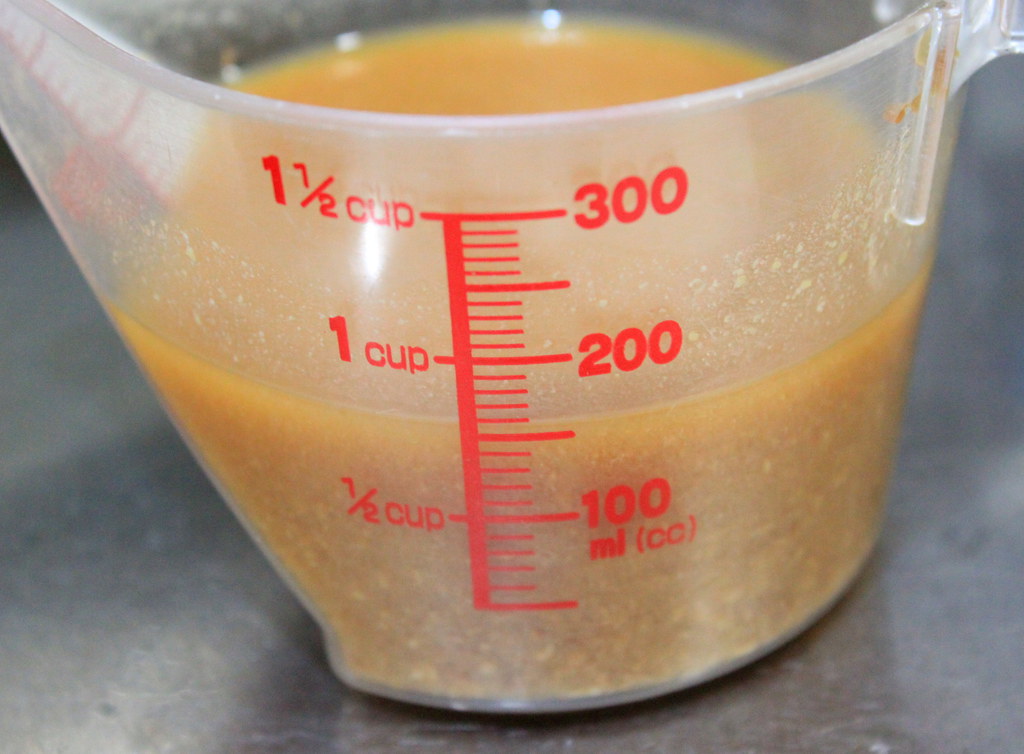
Start with preparing the miso seasoning.  This is just a rough measurement. For 2 plates of rice, I used 2 heaping tbs of miso paste and diluted it in 3/4 cup of water. I also added soy sauce and pepper to the sauce for more flavors. No salt here since miso and soy sauce made me happy already.

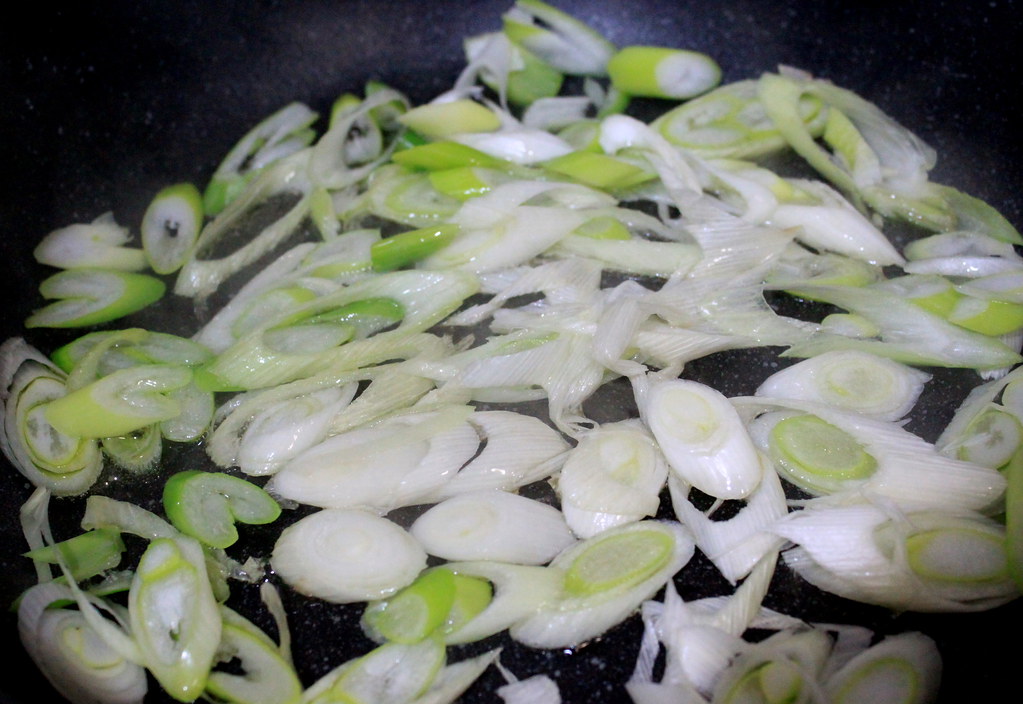
Slice spring onion and cook it on medium heat until it smells good and gets wilted

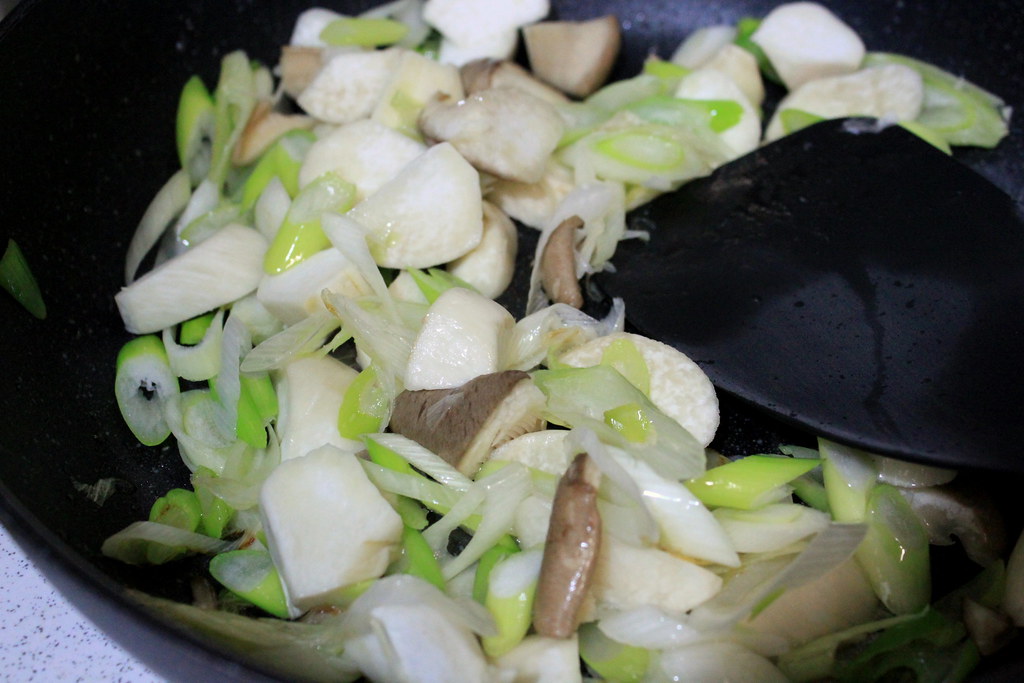
Toss in your favorite mushroom. I used eringi here. I know, I use it awfully a lot in my kitchen.

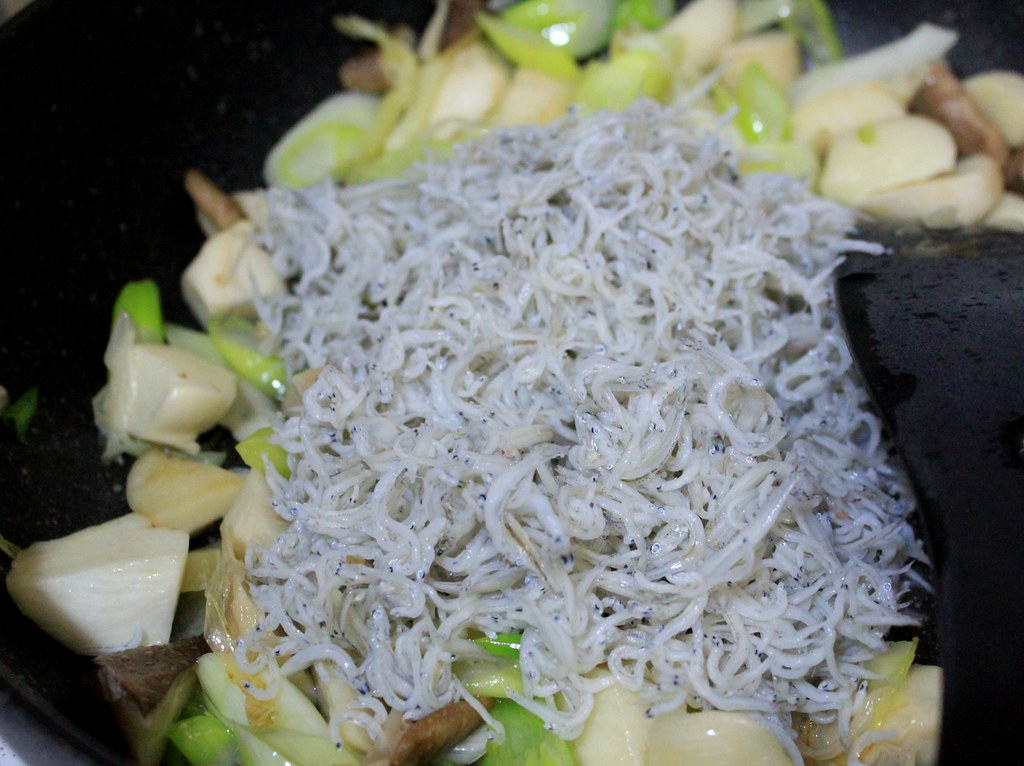
Now here comes the fish. If you can find this kind of fish at your place, by all means use it because the tiny fishes go wonderfully with miso. They are called shirasu in Japanese. In English, some people call it baby sardines and others call it baby anchovies. I actually have a post using shirasu for fried rice here. Anyway, toss in the shirasu or whatever you feel like having with your risotto.

Then, chopped tomato. Since I made miso soup with tomato, I keep using the combo as I love how the tomato gives a light touch of sweet tanginess to the salty miso.

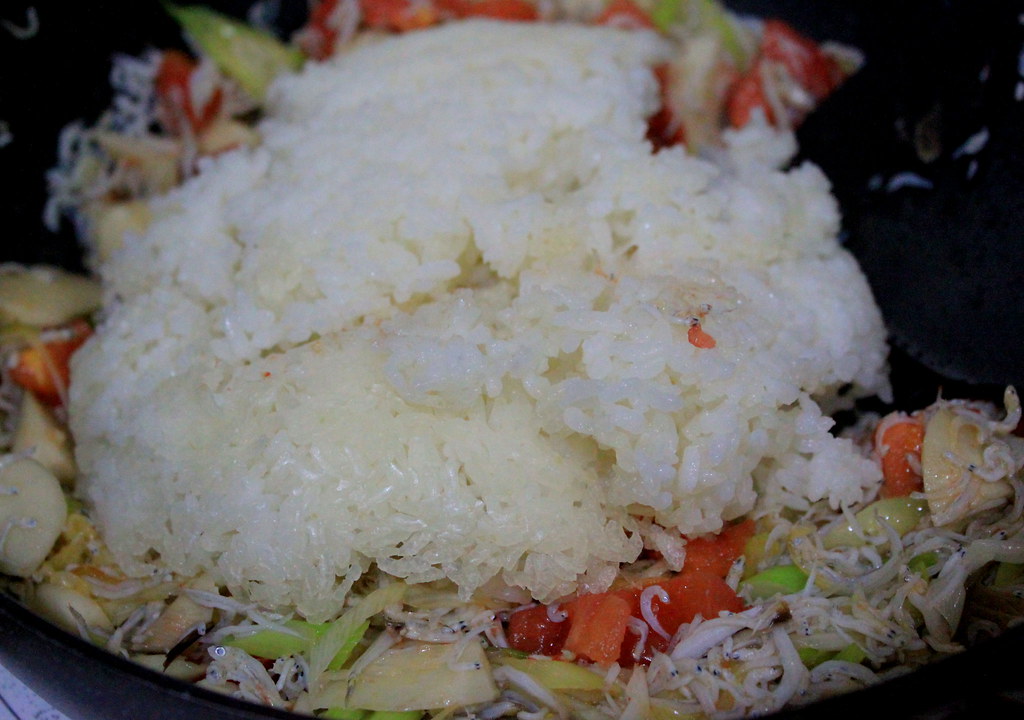
After giving some good stir, dump in the rice and stir again. Oh...poor rice....

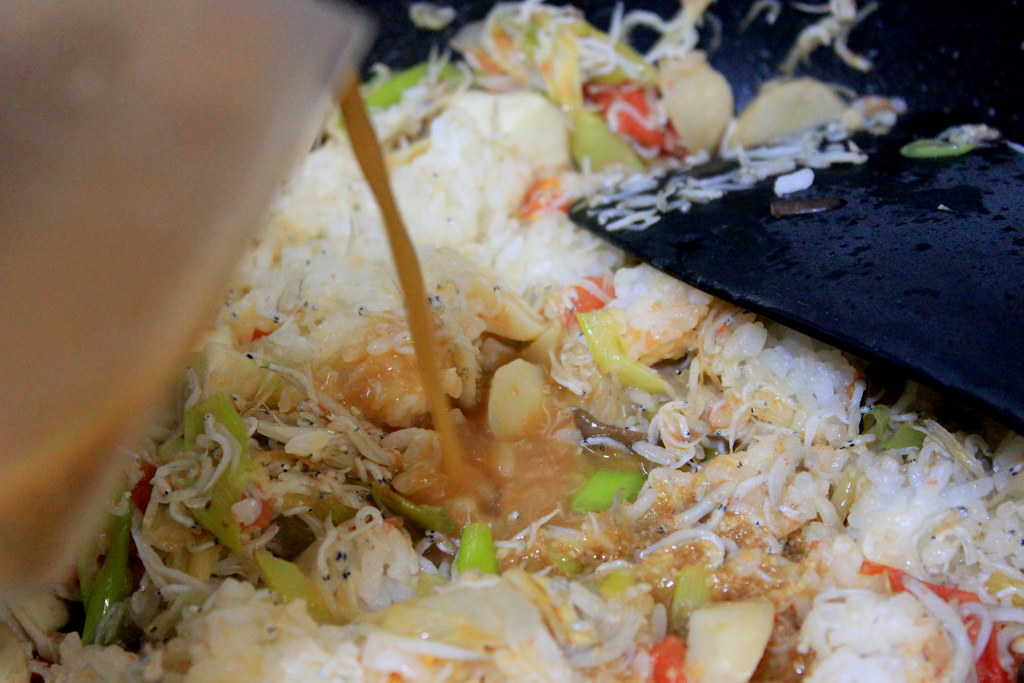
Get the miso sauce you prepared earlier and pour it in to the rice. This looks like a big mess that is far from appetizing, but please, bear with me.
Stir it well and if you think the rice still hasn`t reached the consistency of risotto, add more water. I did add an extra cup of water since the rice seemed too dry to me. By the way, although I haven`t tried it, I think you can try adding cream or milk instead of water to make the risotto creamier, like a real risotto. I just wanted something lighter when I made this, so I went with water.

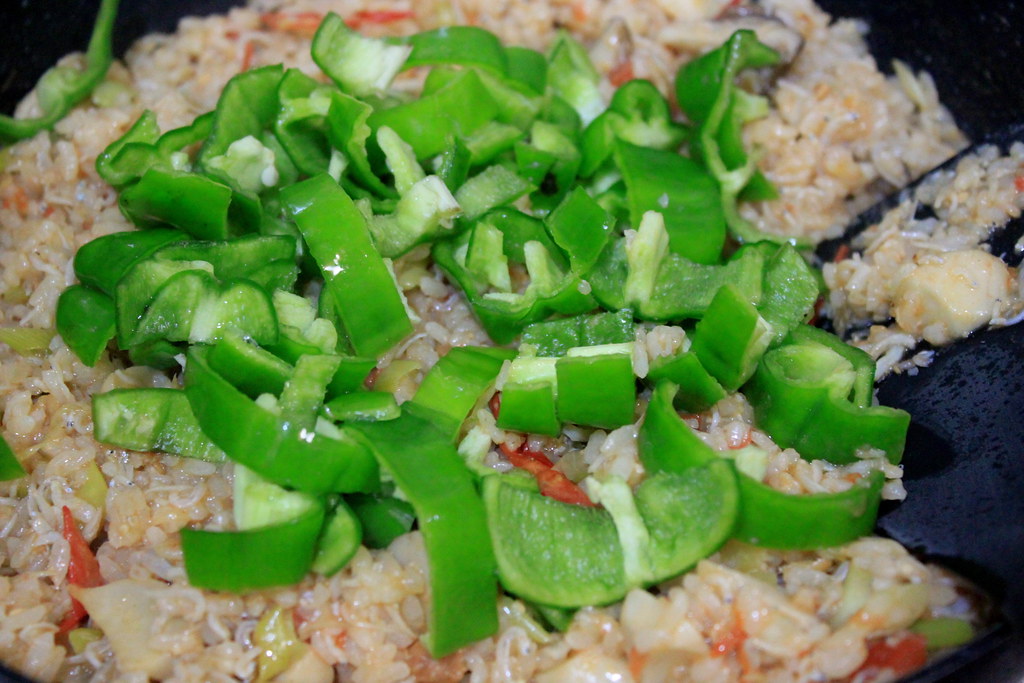
When your risotto seems done, adjust the seasoning and stir in sliced green paprika to give the crunchy edge to the whole mushiness.

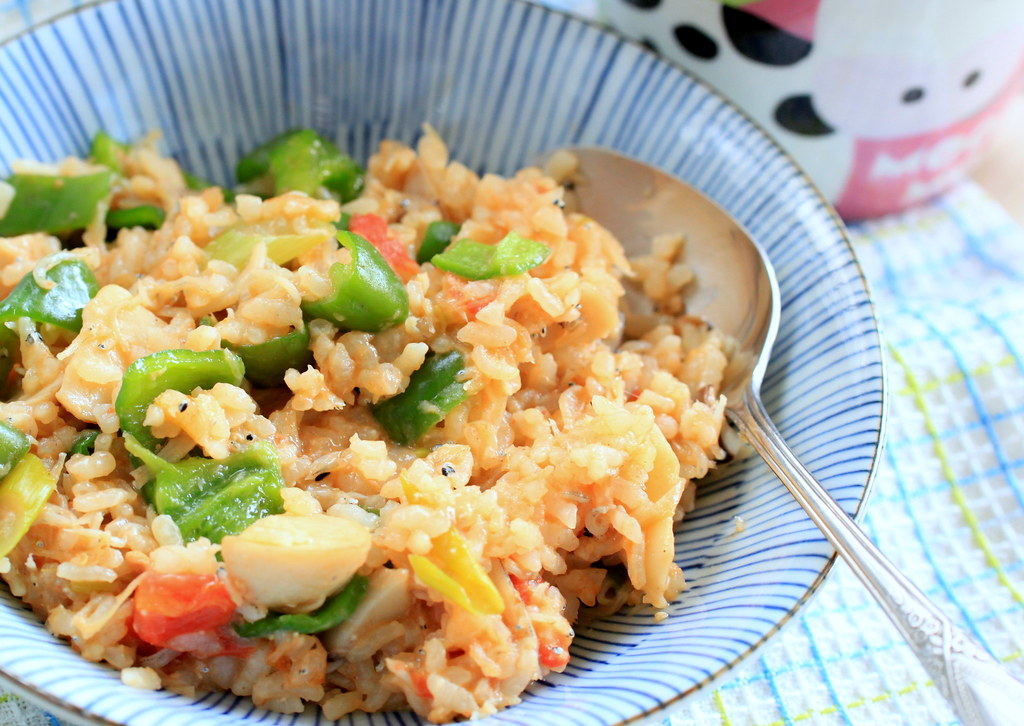
Olalaaaaa....here it is, our miso risotto. My risotto wasn`t watery enough compared to risotto I`ve had before, but I didn`t think of this at all once I spooned it in my mouth. Uuummppphhh.....yum! That`s all I can say. And if you love miso soup served with rice, there is a pretty good chance you`ll enjoy this one too.
By the way, can I call it "misotto" now?

MISO RISOTTO
Makes about 2 plates

Ingredients: 
1 spring onion
100 g mushrooms
100 g shirasu
1 medium-sized tomato
5 small green paprika
2 plates cooked/steamed rice
2 tbs miso
3/4 cup water to dissolve the miso*
2 Tbs soy sauce
Pepper
1 cup water to soften the rice during cooking*
Salt (only if necessary)
*Substitute water for heavy cream or milk to get a creamy consistency

Method:
1. Prepare the miso sauce by dissolving 2 tbs miso paste with 3/4 cup of water
2. Add soy sauce and a pinch of pepper to the miso sauce and set aside.
3. Cook sliced spring onions with a bit of oil in a pan over medium heat until fragrant and soft.
4. Toss in sliced mushroom, shirasu, and chopped tomato to the pan and stir well.
5. Throw in cooked rice and stir until the rice is evenly coated.
6. Pour in the miso sauce, stir, and adjust the consistency by adding more water to thin out. 
7. Adjust the seasoning and throw in sliced green paprika.
8. Ready to serve.

Saturday, September 10, 2011

Grilled shishamo with sambal

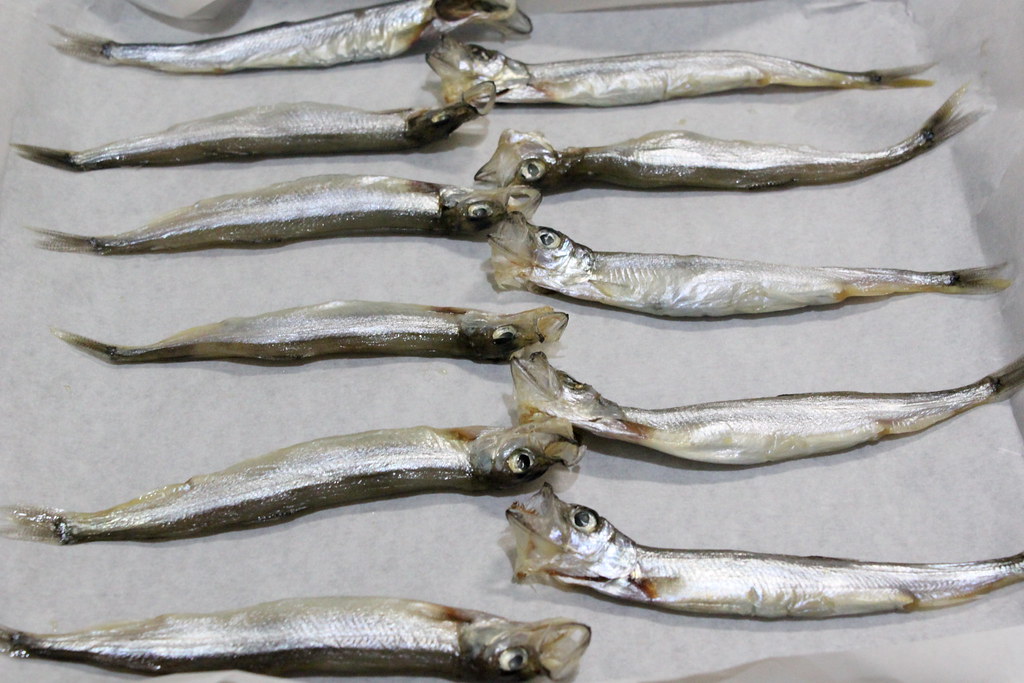
Just about a week ago, a fellow blogger Nami, whose fabulous blog "Just One Cookbook" always keeps me hungry and drooling over my PC screen, showed her shishamo wrap in one of her posts and that reminded me how I love those fish. Shishamo, or Japanese smelt, is very tasty, easy to deal with, and you can eat the whole thing, from head to tail. And since I was born with genes that makes me crave for spicy food all the time, I`m going to share with you my version of cooking shishamo. A spicy version, just like the other dishes I have here.

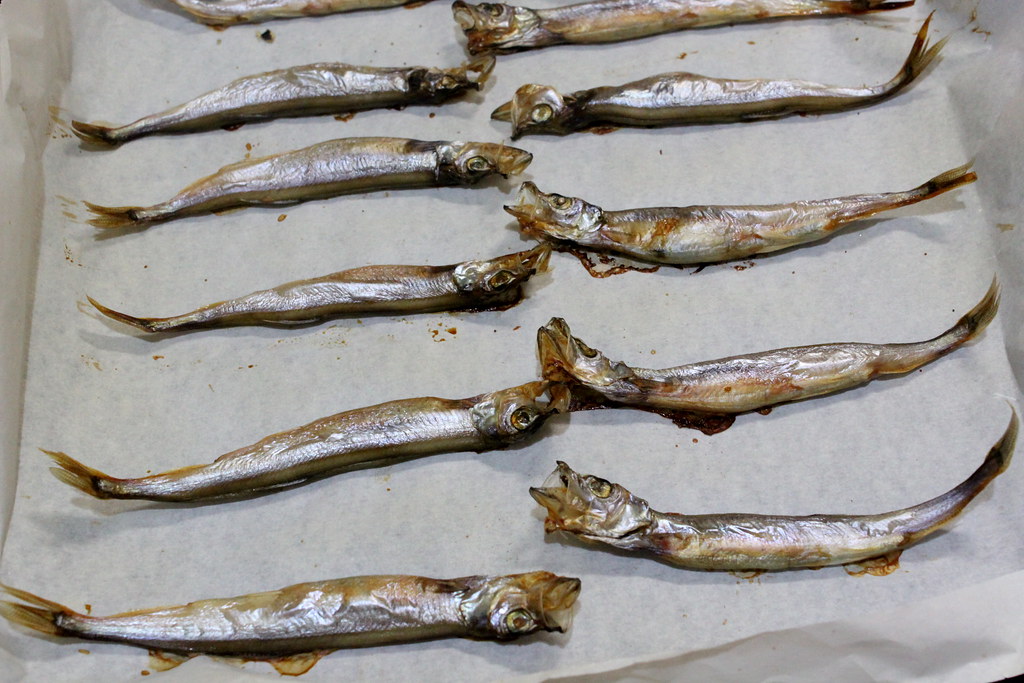
So this is a pack of shishamo with a sac of roe inside each of them I usually get from the store. Apparently, Nami rinses these fish before cooking them, but I do not. Ahem, I did not. Will rinse them next time.


If using oven, line them up onto a baking sheet lined with parchment paper and grill them for 20 mins. When I serve them without sambal or any condiments, I usually coat them with olive oil, garlic powder, pepper, and cayenne to get more flavors. And just a pinch of salt as the fish is already a little salty. But with sambal, I just grill them as is.


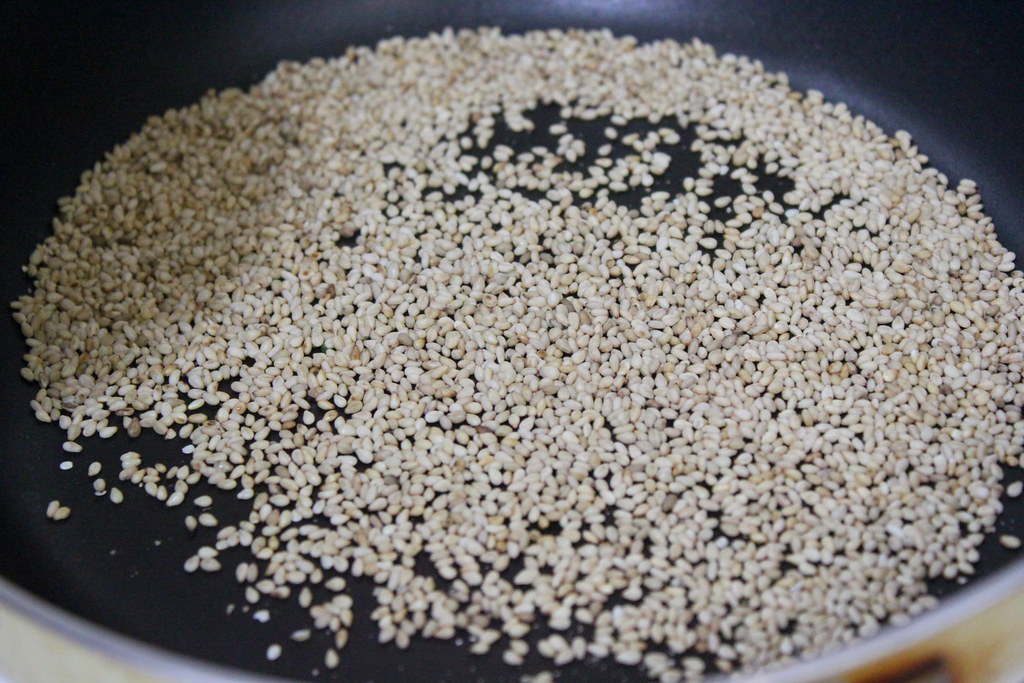
While the fish is in the oven, spread sesame seeds on a heated frying pan and toast them for like 5-10 mins until they lightly brown and you can smell the beautiful nutty scent. Set the toasted seeds aside when you`re done.


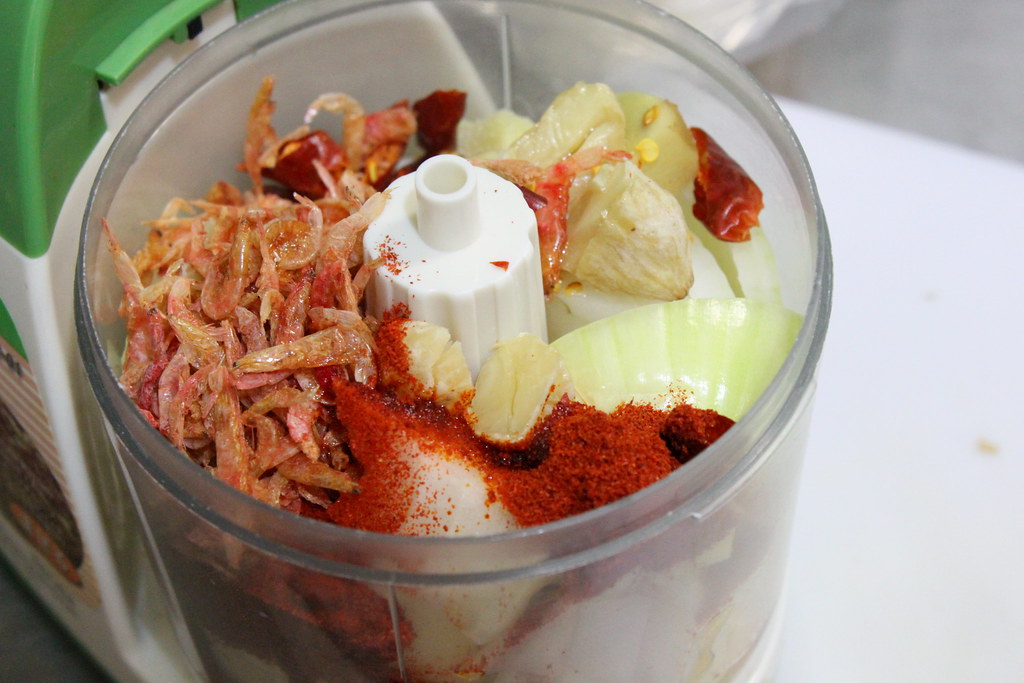
Next is sambal. There are various ways of making sambal involving raw or cooked ingredients, but this is how I usually make it. I actually have written about sambal last year, where I served with fried tempeh, with slightly different ingredients. This time I substituted shrimp paste for dried shrimp. I love, really love shrimp paste for its pungency, but today I wanted a milder version.
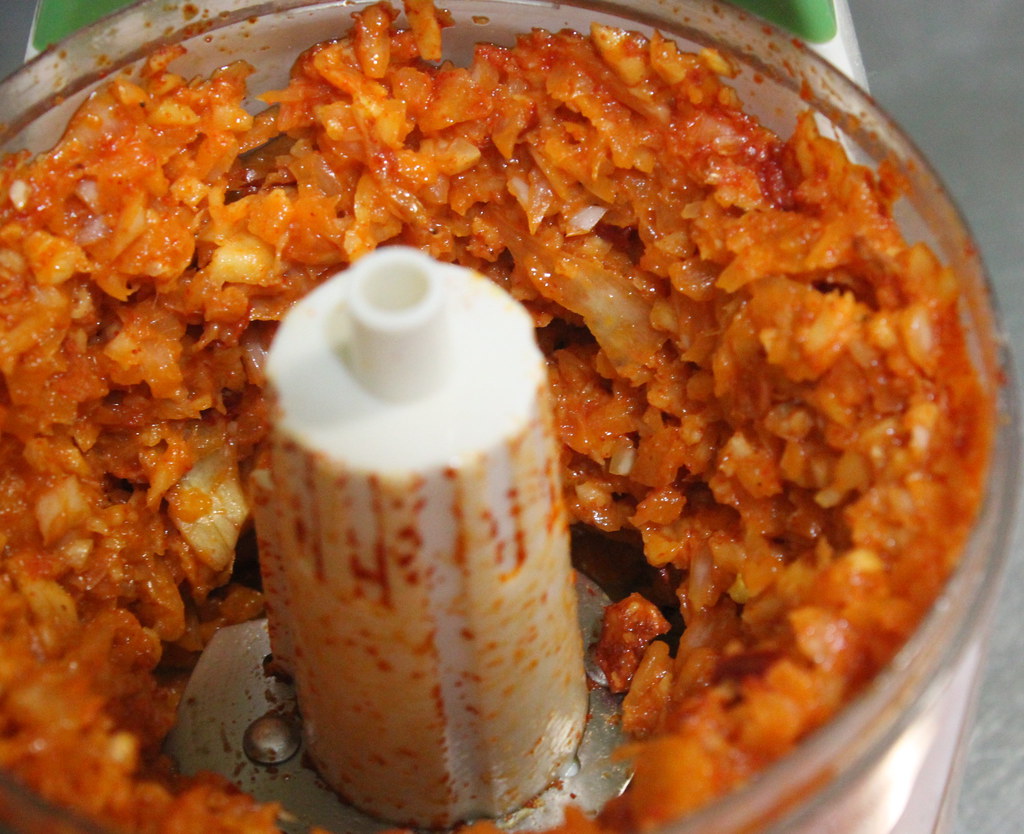
So, put chilies, onion, garlic, chili powder, candlenuts, and ginger in a food processor (or mortar, of course). If you`re lucky enough to have fresh chilies, by all means use them and you can omit the chili powder. As most of the time I can only get the dried ones, I have to add chili powder to make the paste redder like the regular sambal.


Grinding the sambal paste in a food processor might scream "unauthentic" to the air, but I`m perfectly happy with it. With the sambal. It still is a sambal for me, after all.


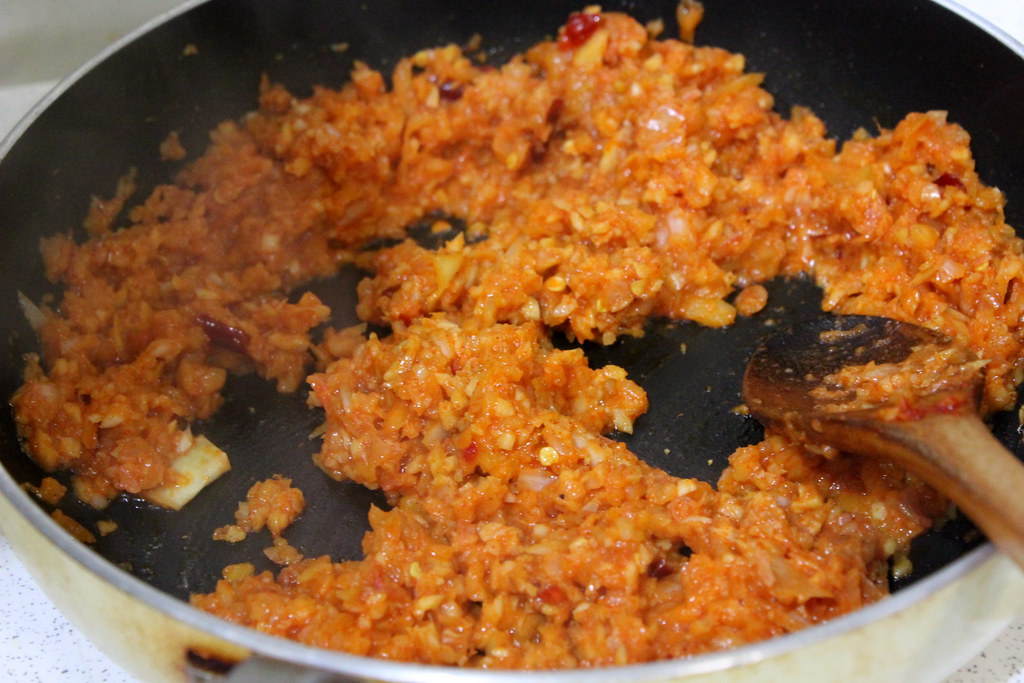
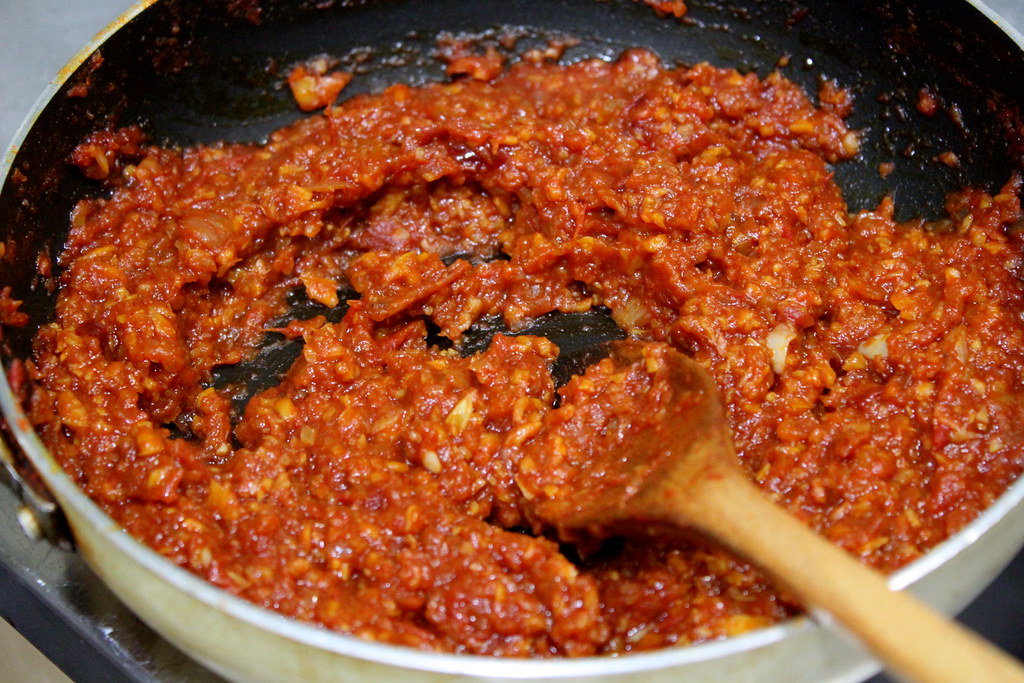
Saute the sambal paste with a bit of oil on medium heat. Since the paste didn`t look red enough for me, I added some more chili powder, which I didn`t show you here.


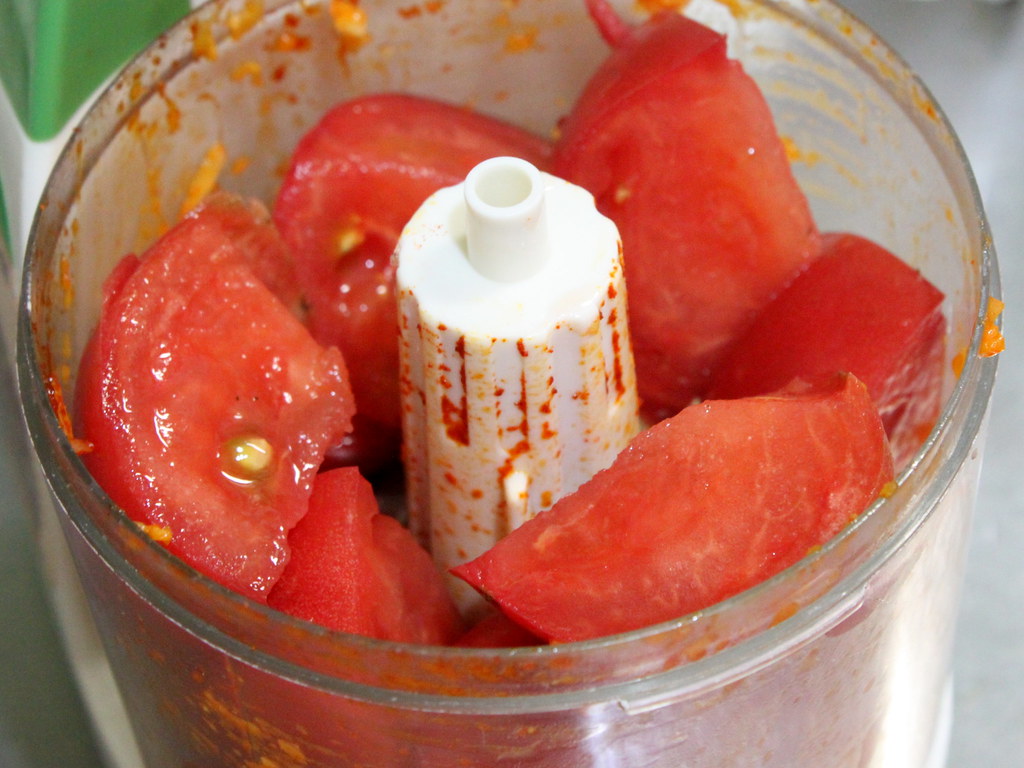
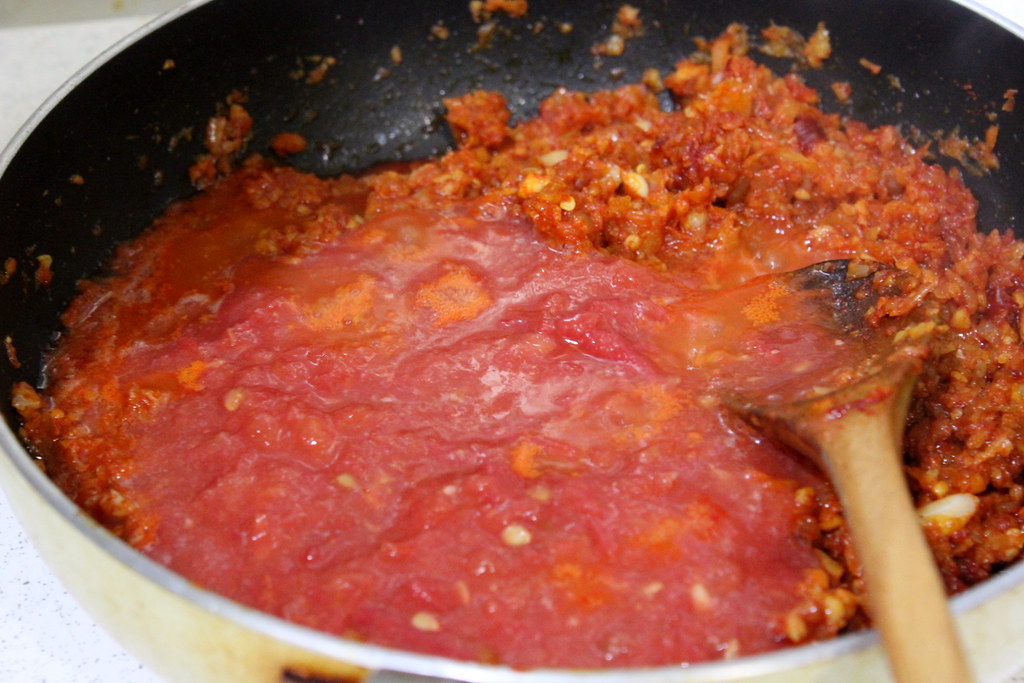
While sauteing, puree tomatoes and pour it to the sambal paste.


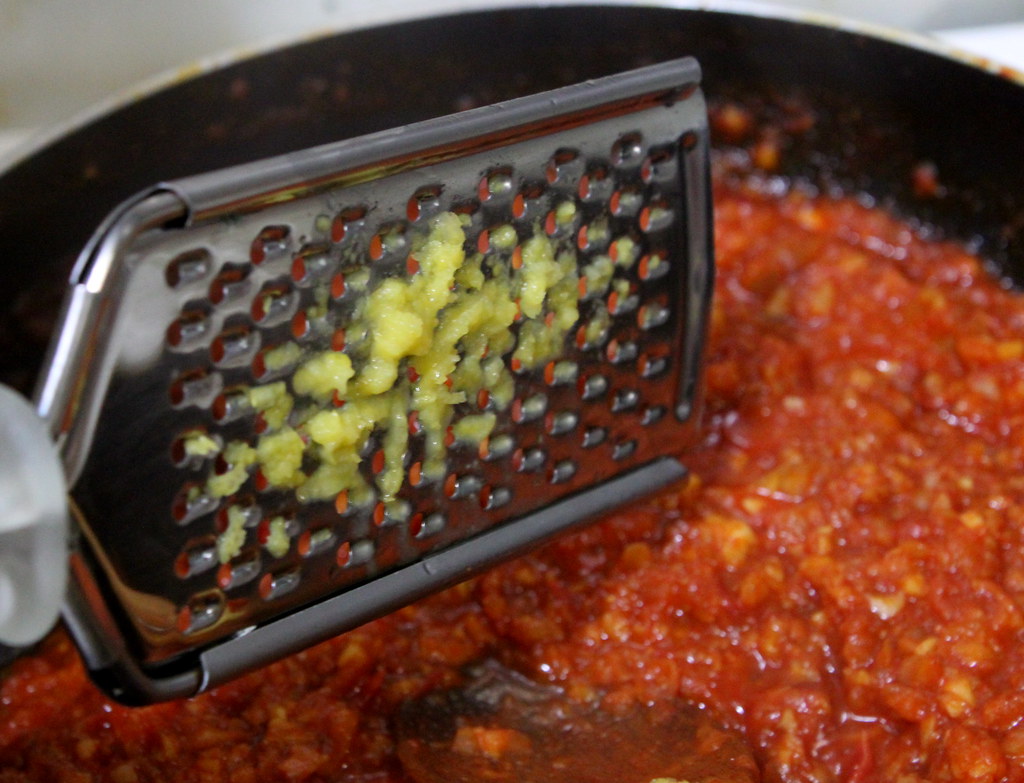
Last aromatic is lemon. Squeeze in the juice and grate in the zest.


Season with salt, soy sauce, brown sugar, and pepper and keep stirring it to prevent it from scorching and to reduce the water. I sometimes add fish sauce too when there are no shrimp paste or dried shrimp in the sambal. I don`t know if other Indonesian use soy sauce or fish sauce for making sambal, but to me sambal tastes more wonderful with these two condiments. 
Now this is the consistency I like when I make my sambal. Not too dry, but certainly not runny. You can use this sambal paste for spicy fried rice or red curry, although you need to add some other spices and coconut milk for the latter. 
When the sambal reaches the consistency you like, remove from heat. 


Remember the grilled shishamo? Please tell me that you aren`t forgetting them in the oven.


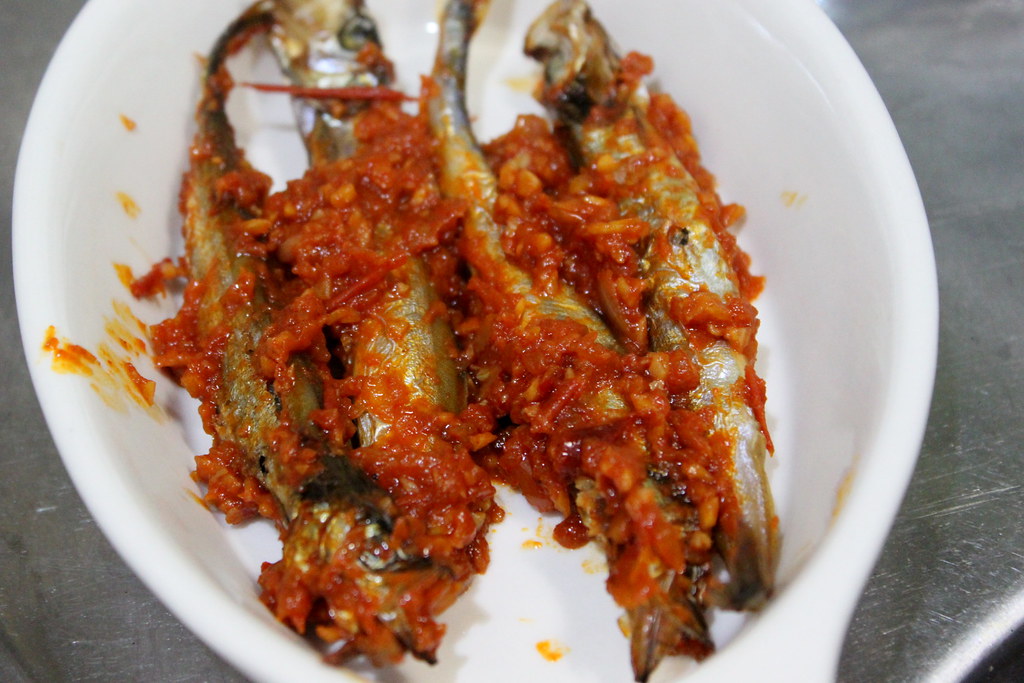
Toss them in the sambal to get them lightly (or heavily, your call) coated.


Stack the sambal-coated fish in a baking dish and pop it back to the oven for another 10 mins.


Or you can just serve this right away, which what I usually do when I`m super hungry.


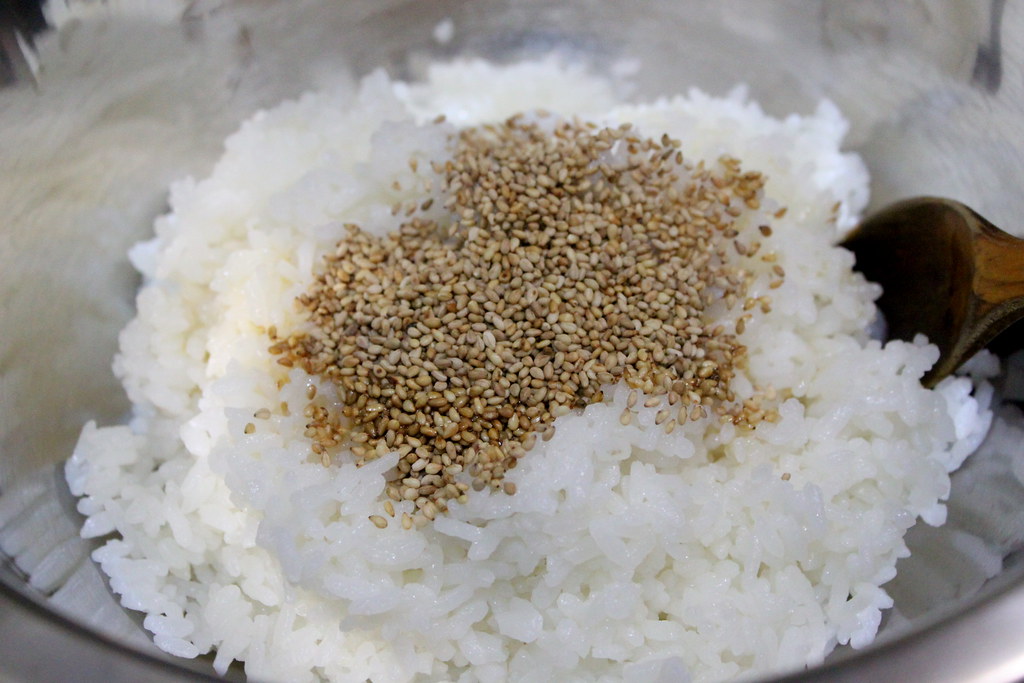
Now for the rice, you can certainly serve the regular steamed rice, but you might want to try out this version. Put hot steamed rice in a bowl, sprinkle in the toasted sesame seeds you made earlier, add sesame oil and stir until well combined.
For two plates of rice, I added 1 tbs sesame oil. Not much, really. I just want the rice to be scented, not to be oily.


Here is the fish back from the oven, red and gorgeous. Well, who`s hungry now? I am. I certainly am. And look how happy that little kid over there.


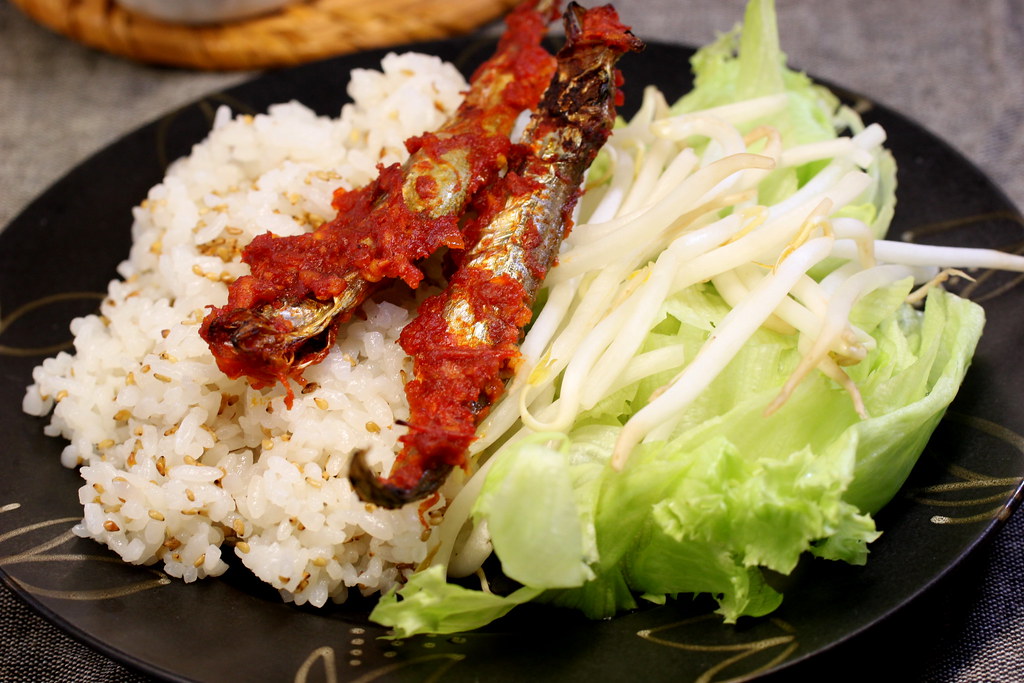
Scented rice, spicy fish, and of course, raw vegetables. Our Saturyday`s feast, everyone.


GRILLED SHISHAMO WITH SAMBAL
 
Ingredients:
Shishamo

For sambal paste
Makes about 1 cup
3 dried chili
2 tbs chili powder
1/2 cut  onion (but preferably shallots)
Thumb-sized ginger
3 candlenuts
1 Tbs dried shrimp (or shrimp paste for more pungency)
2 small-sized tomatoes (or 1 medium-sized one)
1/2 cut lemon juice and zest
Salt
1 Tbs soy sauce
Brown sugar
Pepper

Sesame-scented rice
2 plates steamed rice
2 Tbs sesame seed, toasted
1 Tbs sesame oil

Method:
For grilled shishamo
1. Arrange shishamo fish onto a baking sheet lined with parchment paper and grill them for 20 mins.
2. Set aside when grilling is done.

For sambal
1. Put chili, onion, garlic, chili powder, candlenuts, and ginger in a food processor or mortar and blitz or grind.
2. Saute the sambal paste with a bit of oil on medium heat.
3. Puree fresh tomatoes and stir in the sambal paste in the pan.
4. Squeeze in lemon juice and grate in the zest.
5. Season with salt, soy sauce, brown sugar, and pepper and keep stirring it to prevent it from scorching and to reduce the water.
6. When the sambal reaches the consistency you like, remove from heat. 

For serving
1. Toss the grilled shishamo in the sambal until evenly coated.
2. Arrange the sambal-coated fish in a baking dish.
3. Optional: Pop the fish back to the oven for another 10 mins.

For sesame-scented rice
1. Spread sesame seeds on a heated frying pan and toast them for like 5-10 mins until they lightly brown and you can smell the nutty scent.
2. Put hot steamed rice in a bowl, sprinkle in the toasted sesame seeds, add sesame oil and stir until well combined.

Tuesday, August 30, 2011

Masu no sushi, a specialty of Toyama

I don`t usually write about store-bought food, but this one is an exception. A huge one. Because I am truly in love with this sushi and I knew it from the very first bite. Last summer, I vividly remember how I was amazed by a pack of sushi my labmate brought from her grandma`s town, Toyama prefecture. It was "masu no sushi" or "masu sushi" and although I`ve honestly thought the fish was salmon, my friend who brought it told me it was trout. 
Having lived in Japan for 6.5 years now, you probably can imagine how my life here is surrounded with so many varieties of sushi. But eating sushi brought as a souvenir? Obviously last summer was my first time. And since the masu sushi has impressively wowed me with its presentation and delicacy, this year, I specifically (and politely, of course) asked her if she could bring me that sushi again from her hometown. And she said, no problem. She even asked me which grade I wanted. I didn`t even know they have grades! But I simply asked for the affordable one.
Anyway, she was finally back to the lab, with this delightful box. I was so ecstatic I felt like I had to hug her!
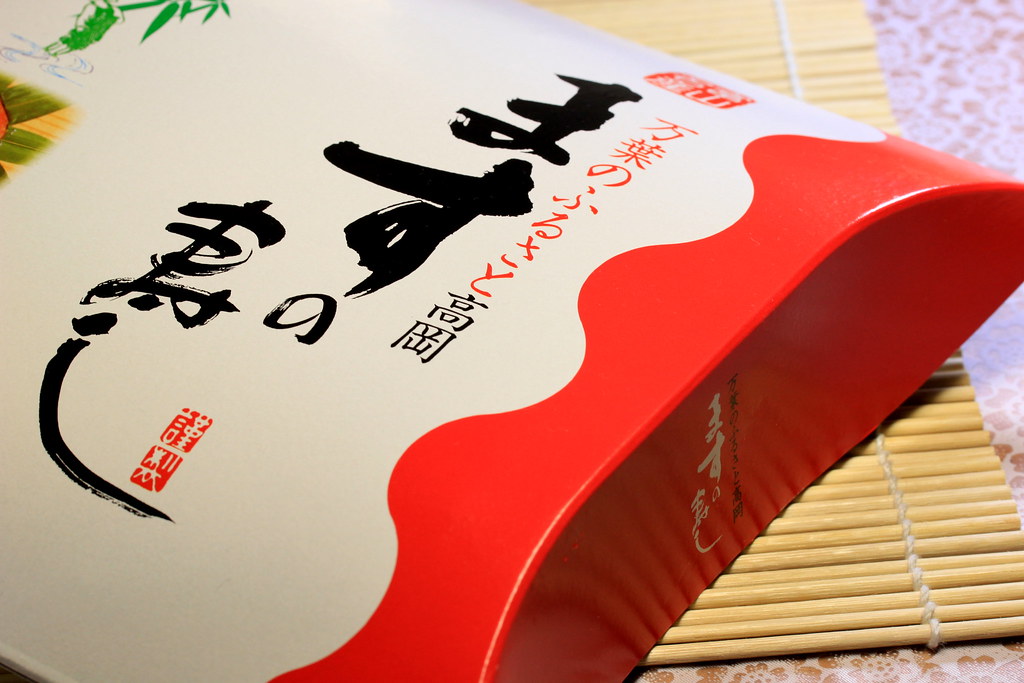
Have you ever seen sushi in a box like this? At a glance, I wouldn`t know it was sushi inside. 


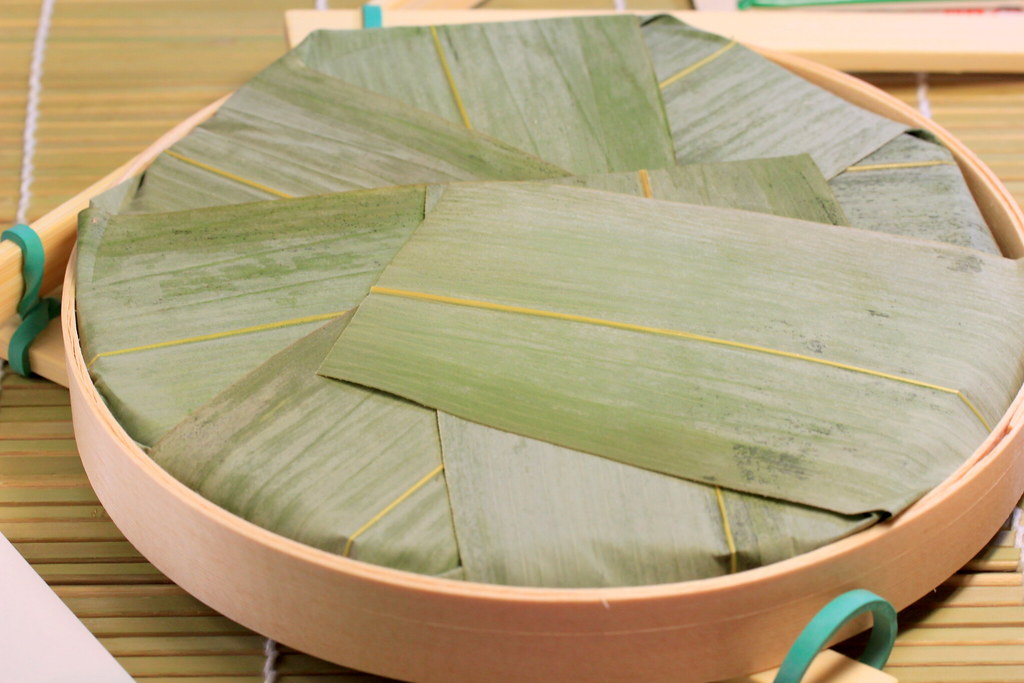
Inside the box, there is a round flat-bottomed wooden container with a lid tightly pressed over it. It`s like a miniature of hangiri, a wooden rice bowl used for preparing sushi rice.


And inside the box there comes the next wrapper, bamboo leaves. Oh, so exciting!


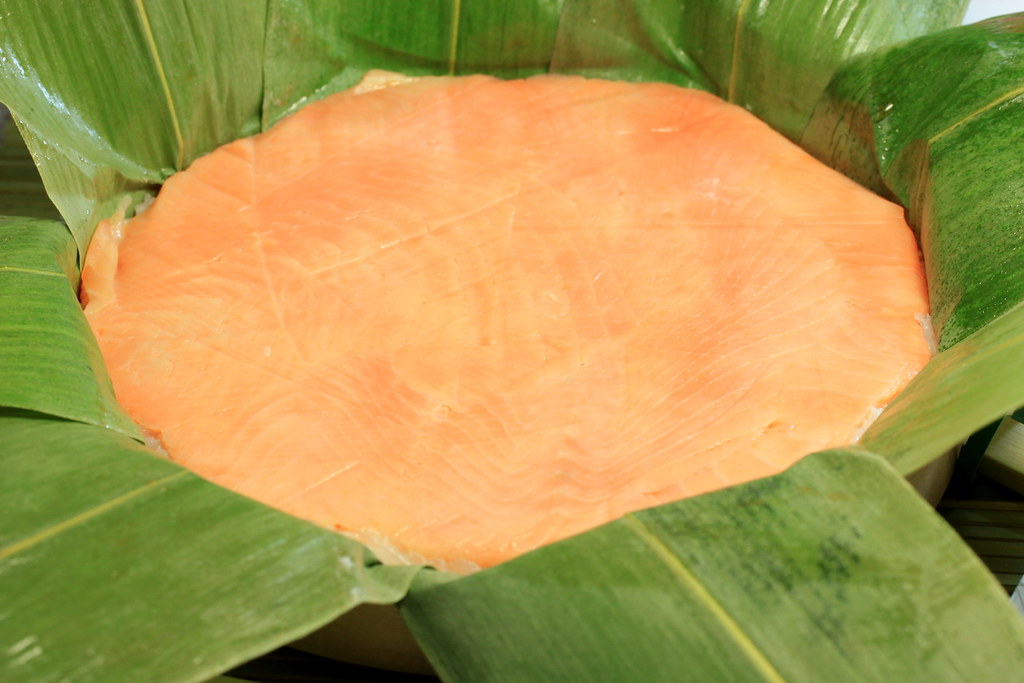
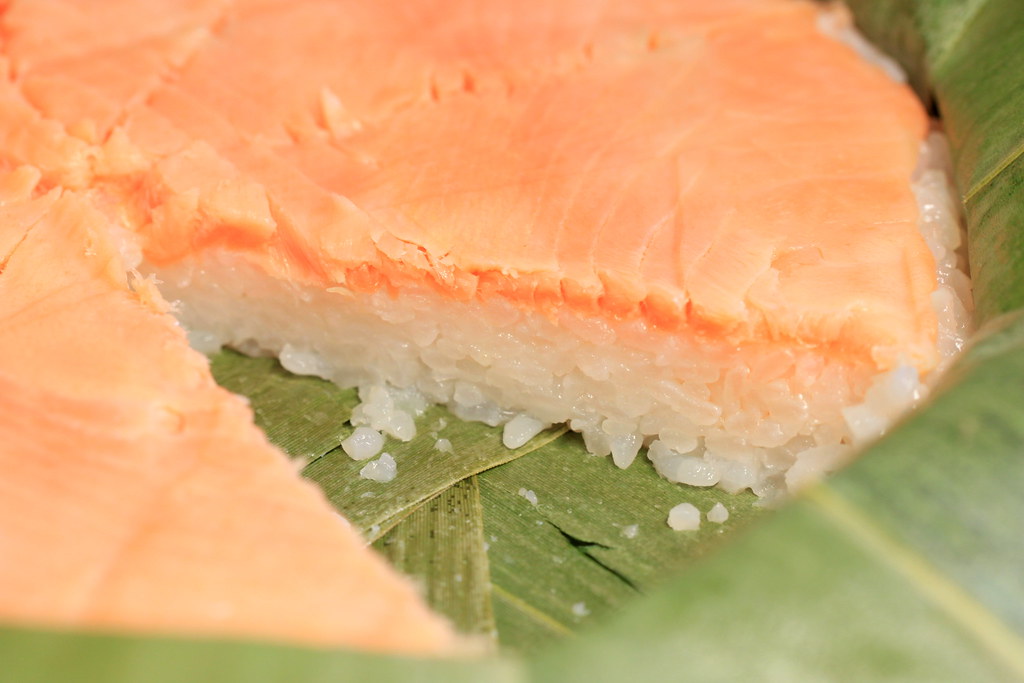
And beneath the leaves, there is a beautiful peachy orange color filling up the whole space. 


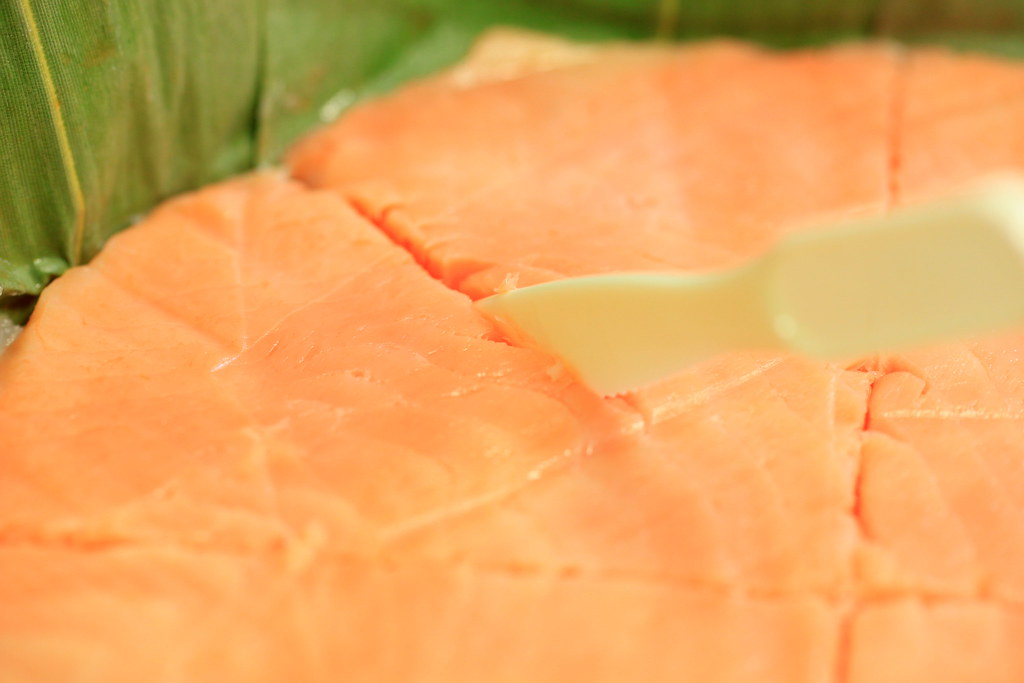
The package comes with a set of plastic cutter, chopsticks, and soy sauce. Perfect.
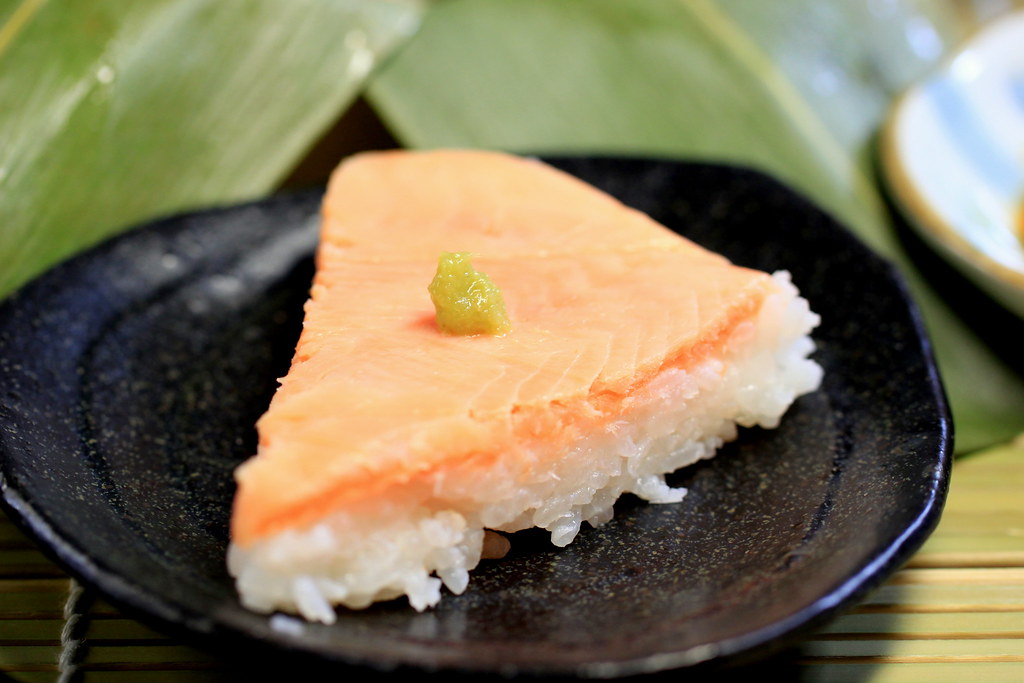
Look at this. A cake. Last year, I seriously thought it was a cake. Covered with fish.


So, a slice for me with wasabi on top. I mean, the first slice. Trust me, you won`t stop with one slice.
Unlike regular sushi where the rice is considerably fluffy, the rice in this masu sushi is really dense and sticky with stronger sweetness, hence the thought of cake, or probably sticky sweet rice cake. You might think that sweet rice with fish won`t do well, but believe me, this one works just wonderful.


And the second slice to come soon.


If you are a sushi lover and in Japan,  I beg you to try this masu sushi. You just have to. But if you are outside Japan, err...what can I say..enjoy the pictures? I`m sorry. Please don`t hate me.

Wednesday, August 24, 2011

Pan-fried senbei (Japanese rice crackers)

This is another post from me since the banana muffins about using up leftovers at home, and this time I`ve got rice. Since my husband and I are genetically gastronomically designed to be rice eaters, we constantly have leftover rice  at home, which we usually place on top of the freshly cooked batch in the rice cooker, wait for a while to heat it up, and eat it up altogether. The cycle repeats all the time, except for one day when I remembered watching a TV program about making senbei, or Japanese rice crackers, at home with a frying pan. During my first year in Japan, I got the impression that senbei is the national snack of Japan, if there`s such a thing. In fact, I think of senbei as  sort of Japanese potato chips due to its dominance in the non-Western snack corners in the stores.
Regular senbei sold at the stores are usually crunchy, hence the name "crackers" regardless the shapes or tastes. But these pan-fried version give a different texture of senbei with a crispy exterior and mochi-like glutinous interior. I personally don`t see it as cracker. Fried mashed rice, maybe? Oh, let`s just call it senbei, then.

Anyway, this is very easy to make. With simple ingredients too!
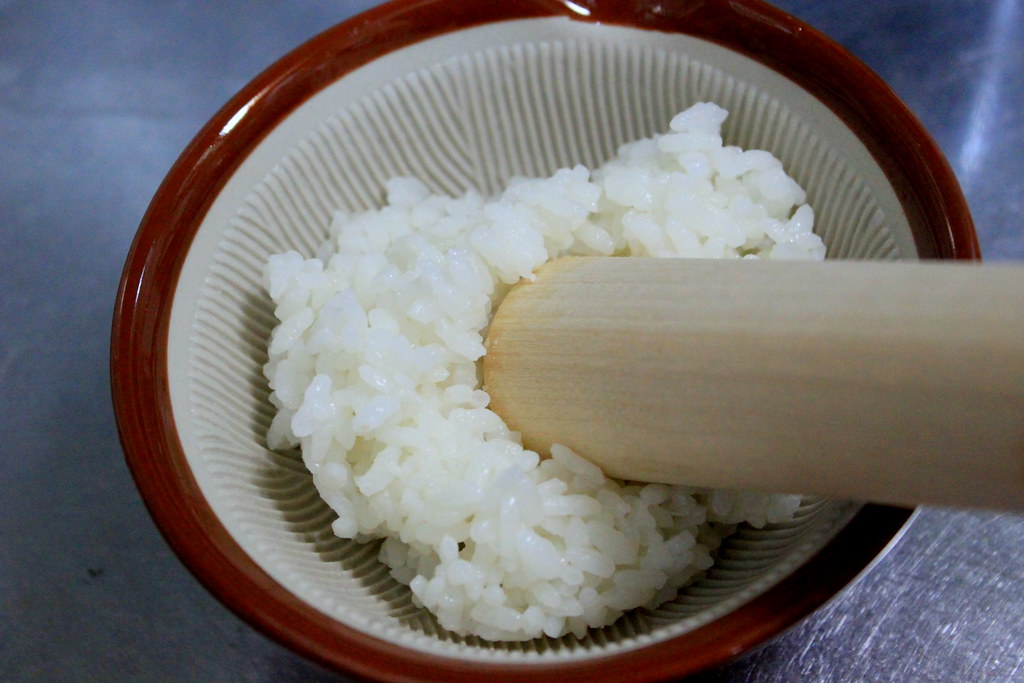
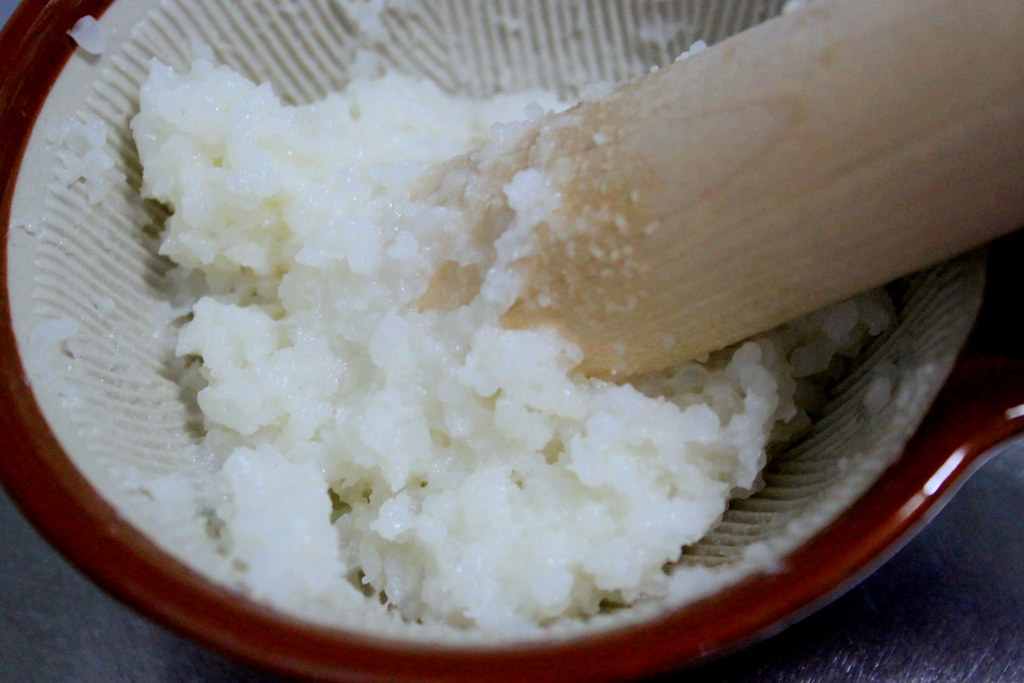
You just need cooked rice and grind it until you can`t see the individual grains and it turned into a very, very sticky dough. I`ve tried using steaming hot rice and cold one. Not fridge cold, though, just not hot. Both turned alright for making these senbei.
By the way, I only had like 3 (heaping) tbs of cooked rice when I made these senbei and that gave me 6  pieces of palm-sized senbei.


Before I continue, here is my verdict about the grinding/mashing. Although you can see in the pictures that I ground the rice using mortar and pestle, I recommend you to use a zip-lock storage bag instead. I don`t know if I did it wrong, but the ground rice stuck (like glued stuck!) to the pestle and the mortar and this really made the grinding harder. When I placed the rice in a bag, and mashed it with a pestle from outside the bag, my life turned so much easier. I wish I took the pictures when I did it with a plastic bag, but I`m sure you get the idea just fine.
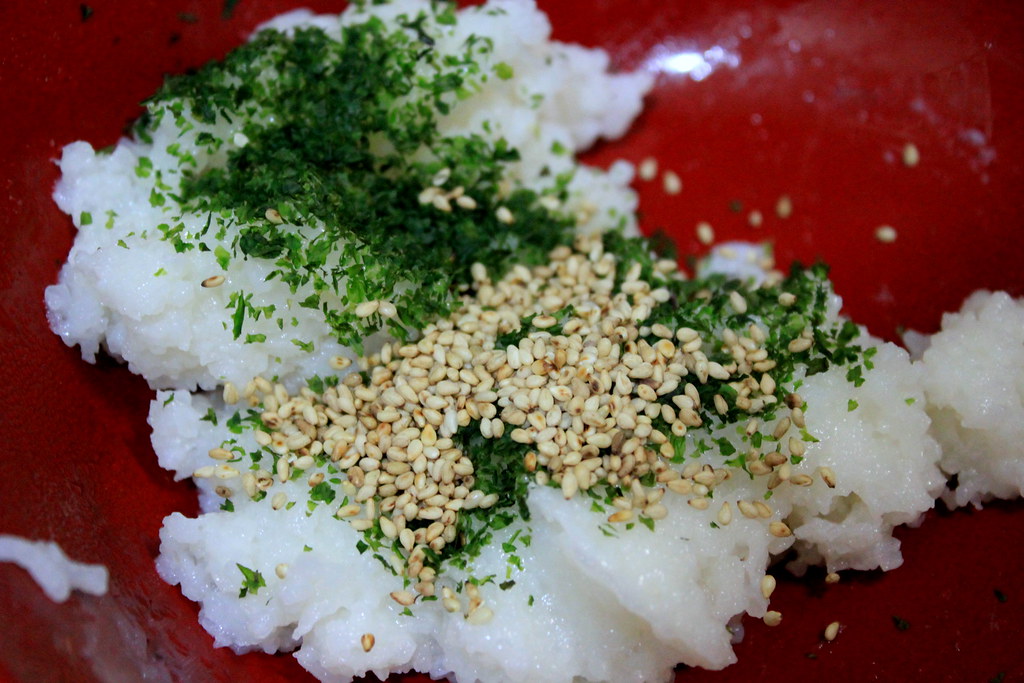
Alright, after the mashed rice is done, now throw in your favorite ingredients (cheese? meat? sugar?). and mix well. I used seaweed flakes and sesame seeds. My must-have pantry items.


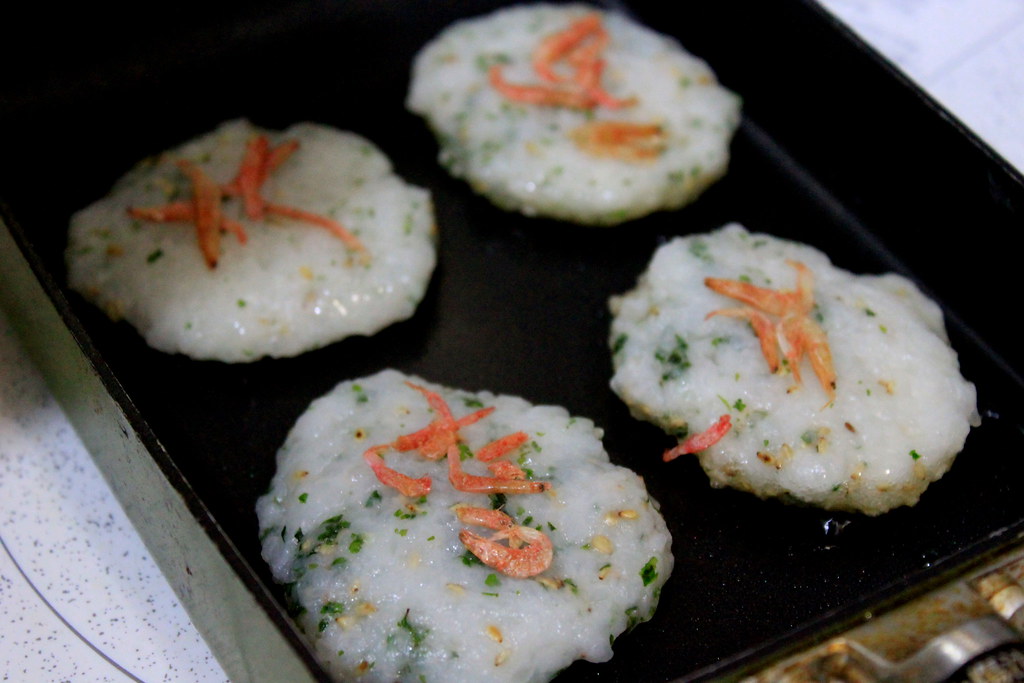
Wet both of your palms with water (I tried oil too, but I love water better) to prevent the dough from sticking, place a portion of the dough on your palm, and shape it into a thin disc. Now this is optional, top the senbei discs with dried shrimps for extra flavor.
Frying time! Put the senbei directly on a heated frying pan with a bit of oil. 


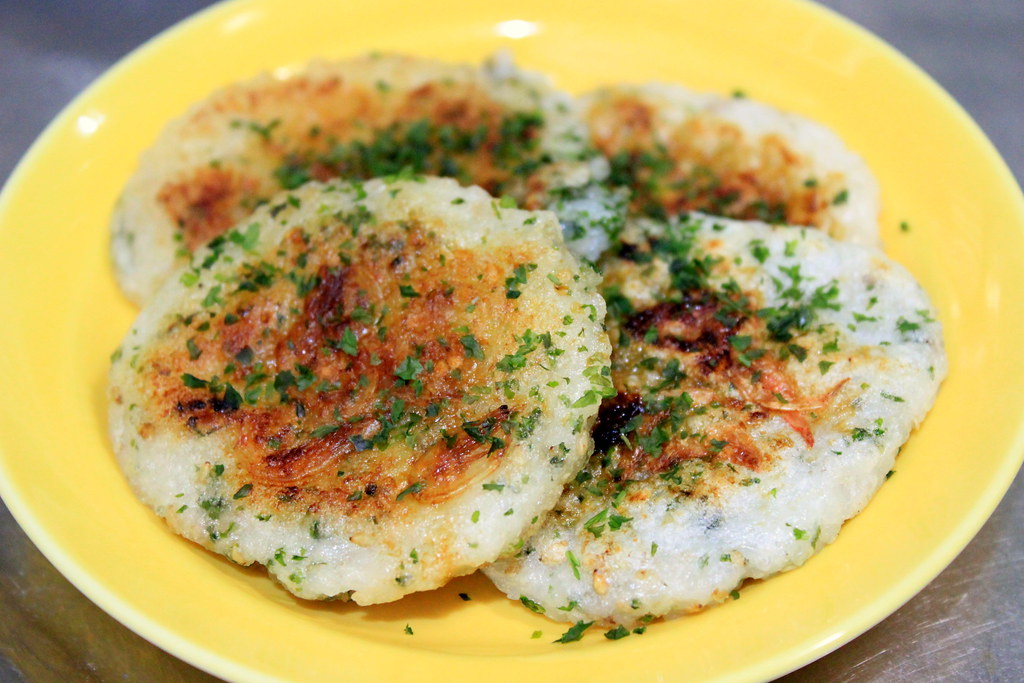
When the bottom browned, flip it over, and brush the browned surface with soy sauce and sesame oil. When the other side got browned too, flip it over again, brush with the sauce too, and you`re done!


If you want, sprinkle some more seaweed flakes on top.
Not bad for leftovers, huh. Other than nibbling on them right away, I also put these senbei in a bowl of hot kimchi nabe. Oh, loved it! Like crazily loved it! And if I have to add rice to any soup, it has to be these senbei, not the regular steamed rice.


Oh, there`s one thing you should know, especially if you`ve never had senbei before. This senbei will tend to stick on your teeth and the wise thing to do is to brush your teeth afterward. But, regardless how often I had senbei stuck in my teeth, I always ended up making them again. That`s how much addictive these guys are.
Enjoy!

Ingredients:
Steamed/cooked rice
Sesame seeds (better if toasted first)
Seaweed flakes
Dried shrimps
Soy sauce
Sesame oil