Showing posts with label beef. Show all posts

Tuesday, December 6, 2011

Spiced oxtail stew

I sometimes wonder if every time an Indonesian hears the word "oxtail",  this will be the first thing pops in his/her mind:


I honestly think it will. There are probably other dishes, such as grilled or fried oxtail, which I`ve never had, but from what I can remember, the oxtail has such an unbreakable bond with the soup as if the only reason why oxtail exists in the first place is because it needs to be cooked in soup. 
Having said that, for the last few weeks I couldn`t help thinking the possibility of cooking the oxtail in spice laden stewing liquid with the depth of brown sugar. I mean, what could possibly go wrong with that? And thank goodness it didn`t go wrong! When I finally gave it a try, it was so heavenly that I completely forgot about the soup and I know I had to share it with you. Don`t let the length of the ingredient list turn you off, because this stew is incredibly easy to make.  Especially if you have a pressure cooker like I use here. You just plunge everything in the pot, set your timer, and wait. 
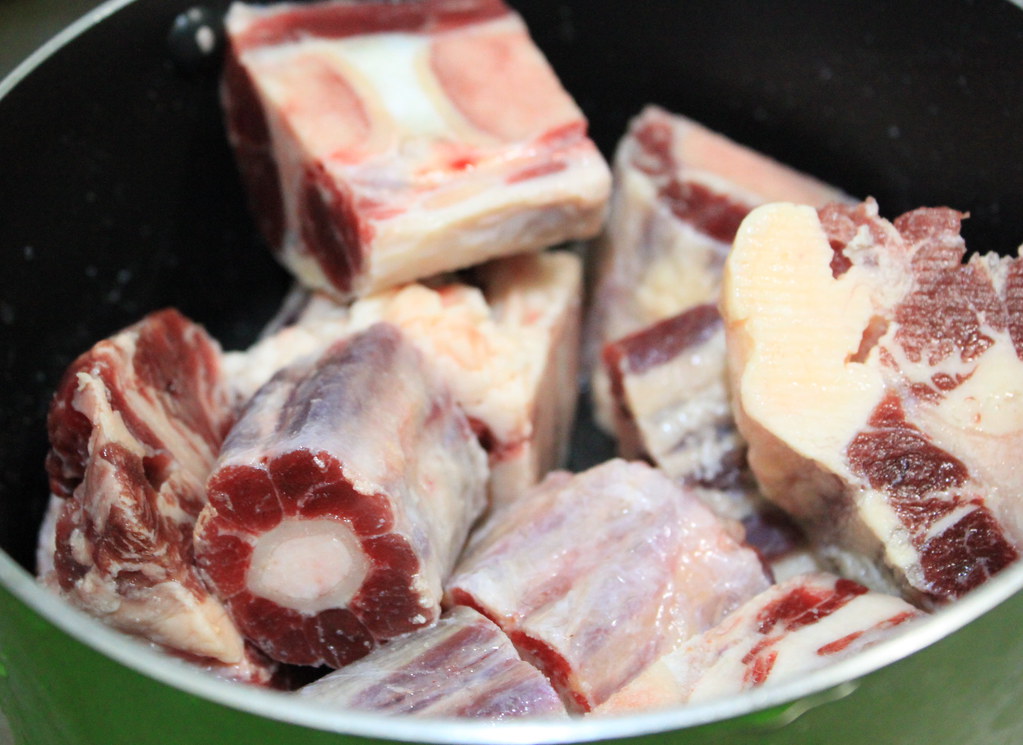
Look at these. Marvelous. Not a very healthy day, but keep your fruits and veggies near you for detoxing later.
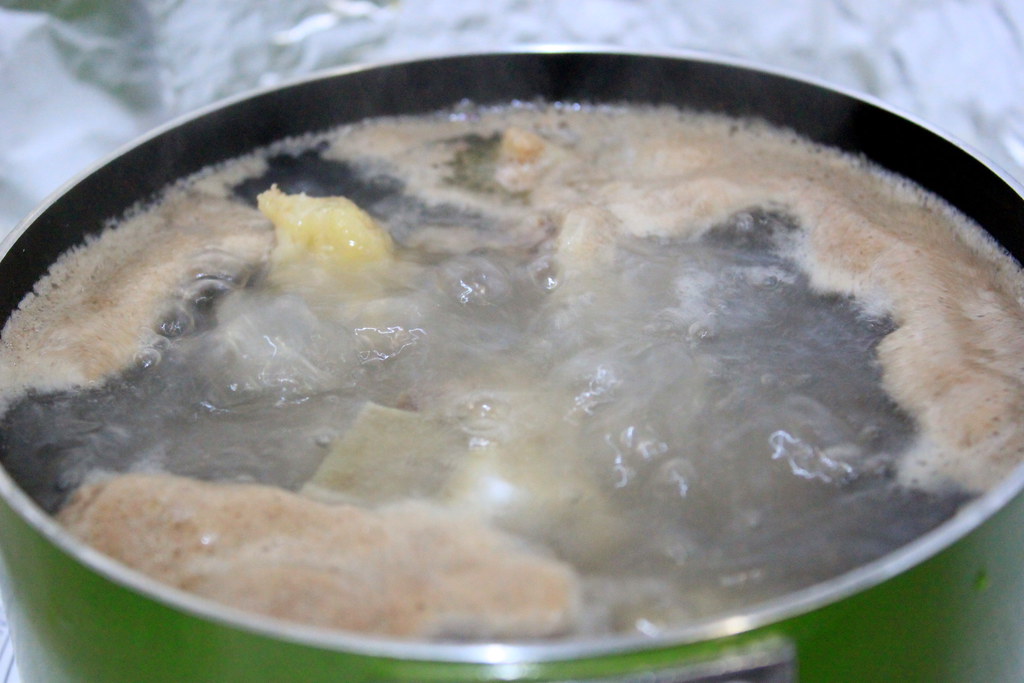
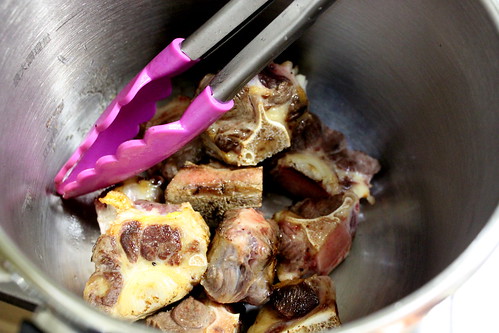
Parboil the oxtail for 15 mins to remove excess fat and some other impurities.
You can check out some tips on fat removal in the link I gave you above, but I have modified a parboiling tips from Hyosun of Eating and Living with her gorgeous Galbijjim. Thank you, Hyosun!

In my modified technique, after 15 mins parboiling it, I drained all the water, and rinsed with hot water. No, I didn`t worry about losing the "stock" because I believe the parboiled oxtail would still give a very good flavor to the dish. And it did.
After the oxtail is rinsed, set aside and get your pressure cooker. I really really hope you have one in your kitchen.
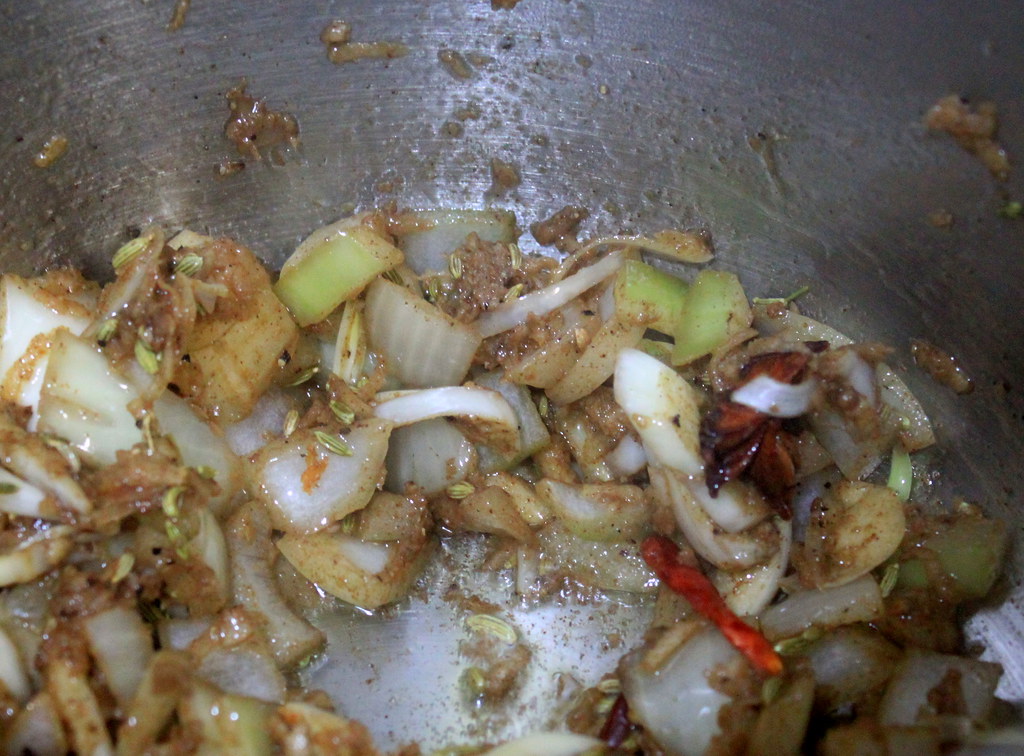
Heat a bit of oil in the pressure cooker and saute spices listed in the recipe at the end of this post.

Throw in the oxtail and lightly stir to coat with spices.

Pour in sauce made of soy sauce, brown sugar, lemon juice, and salt dissolved in water. I suggest you go easy with the salt at this stage, because you can still adjust the saltiness later. In fact, I usually omit the salt here and add it only when the cooking is done and I`m happy with stew consistency.
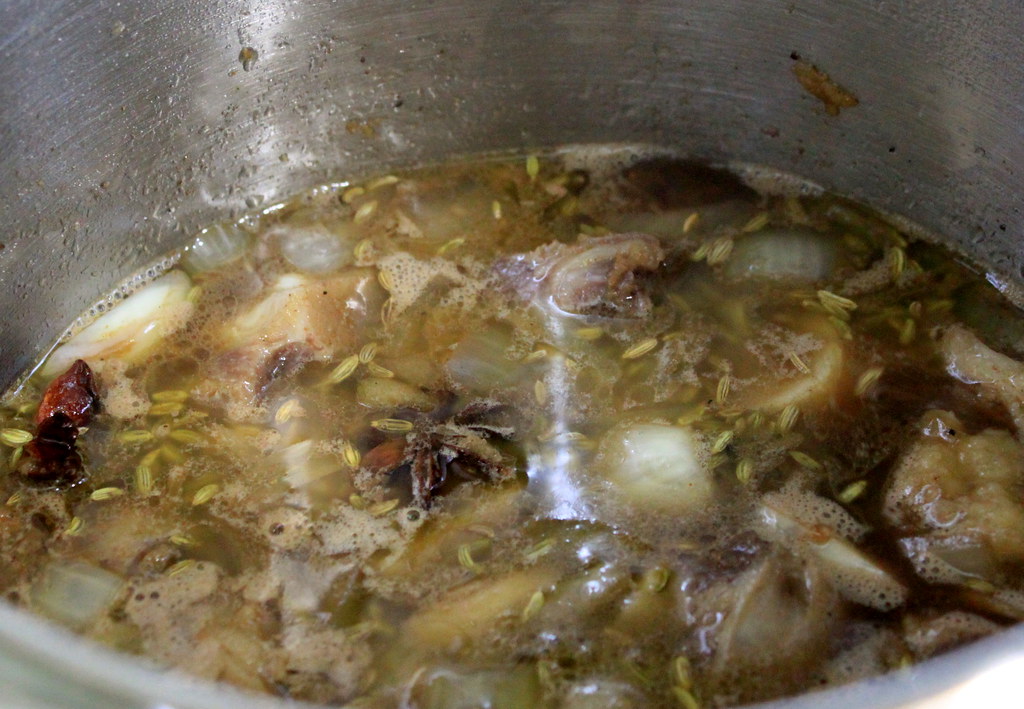
When I cook with my pressure cooker, I usually add water at least enough to cover the meat (or whatever I cook) because I think too little water won`t create enough steam and thus producing not enough pressure to tenderize the ingredients in a short time. 
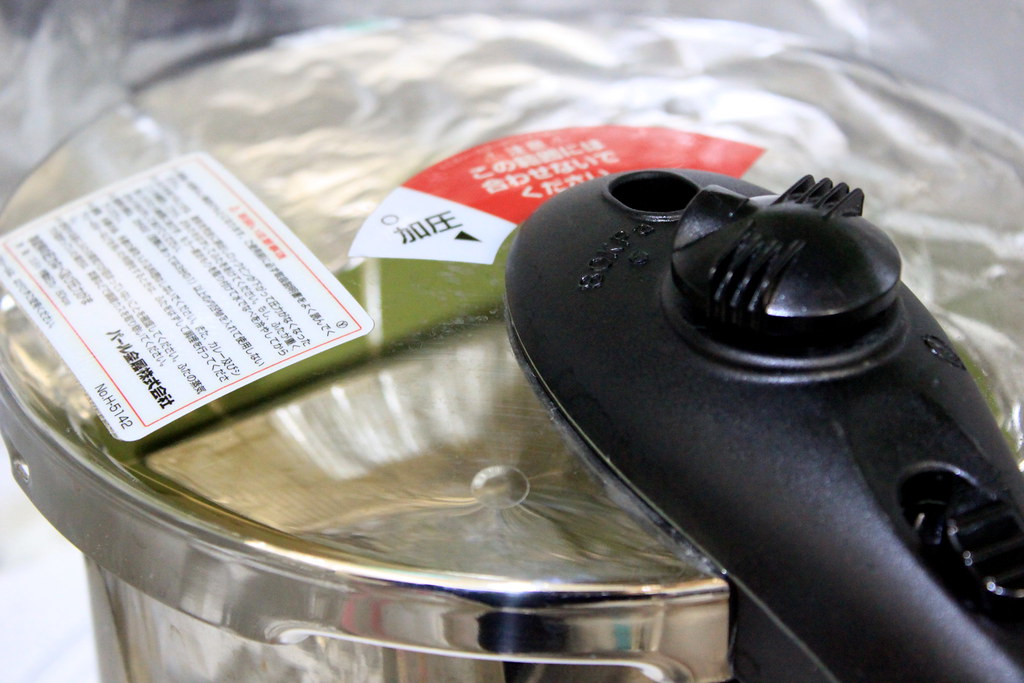
It probably depends on your cooker`s type, but here`s how mine usually works. Set the lid on, lock it, crank the heat up, wait until the safety pin popped up, and turn down the heat to low to cook. And for the sake of your safety, please consult with your manual. For cooking time, I cooked this one for 40 mins and because the meat hadn`t tenderized enough for me, I recooked it for another 20 mins. 
After the meat has tenderized, adjust the consistency of the soup by thinning it out with water or thicken it up by reducing the water on high heat with occasional stirring for another 5-10 mins with the lid open. When the consistency is right, adjust the taste with salt or sugar.
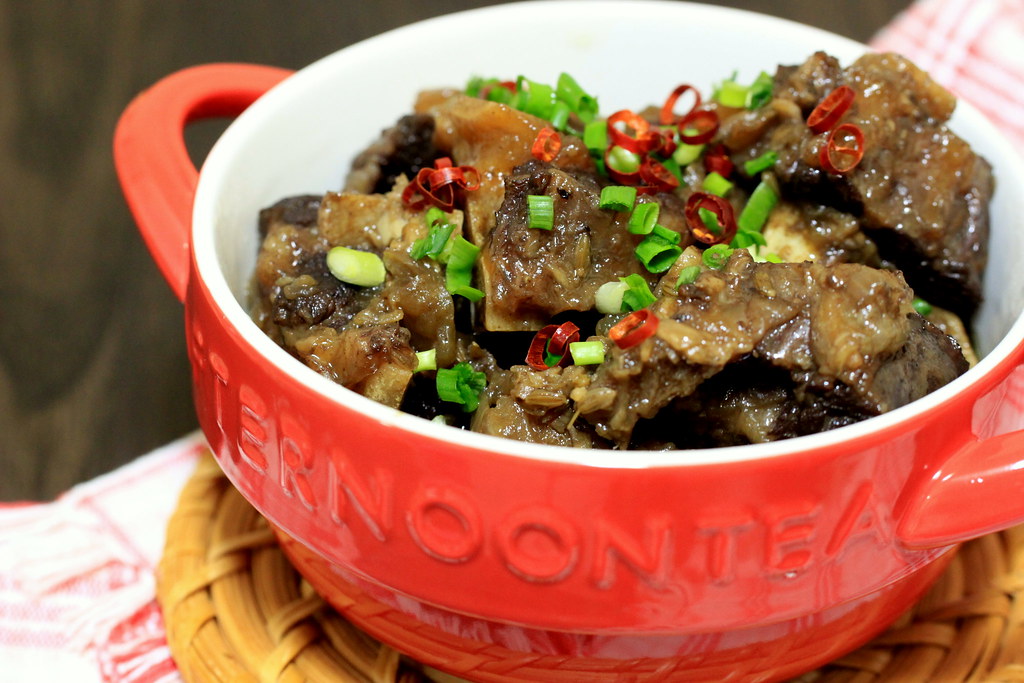
 
Now that you`ve seen that 80% of the cooking process is actually the waiting without even opening the lid, don`t you think this dish is easy? You just need to be patient. Although I`m not sure the patience will stay there when the stew is done and served right in front of you with steaming hot rice, because I promise you will finish it in much shorter time than the cooking.
SPICED OXTAIL STEW
Serves 2-3 persons

Ingredients:
500 g oxtail

# Ingredient A:
1/2 cut onion
8 cloves garlic
4 dried chili
1 tbs grated ginger
3 star anise
Fennel seeds
Cinnamon
Cloves
Cardamom
Coriander
Black pepper
White pepper
# Ingredient B:
1/2 cut lemon (juiced)
2-3 tbs brown sugar
3 tbs soy sauce
2 cups water
Salt

Method:
1. Parboil oxtail in boiling water for 15 mins, drain, rinse with hot water. This will help remove the excess fat and impurities. Set aside.
2. Heat a bit of oil in a pressure cooker and saute Ingredient A until fragrant.
3. Dump in the parboiled oxtail and pour in Ingredient B. Add more water if necessary and make sure the oxtails are immersed in water.
4. Lock the lid and cook it for 40 mins, wait until it`s safe to open the lid (please consult with your cooker`s manual), and check if the meat is tender enough.If it`s not, cook it for another 20 mins or more.
5. Adjust the taste with salt and sugar and the consistency by adding more water to thin it out or cooking it longer with the lid open to thicken it up.
6. Serve with hot steamed rice.

Sunday, May 15, 2011

Soto sapi (turmeric beef soup)

I can`t believe this is happening. I haven`t blogged (and shared any food with you) for 2 weeks straight? No, this is unforgivable. I have a presentation to do tomorrow (to make my Monday perfect of course), but this post just can`t wait. In fact, I`ve been delaying to write about it since last month and I don`t even know why!
So, this soup is an Indonesian style beef soup with a quite strong accent of turmeric. As much as I wanted to call it "spicy beef soup", I think calling it yellow soup can somehow describe it better, as it literally is yellow and NOT spicy. Really, this soup is not spicy at all, unless you add sambal to it, which what Indonesian usually does. 
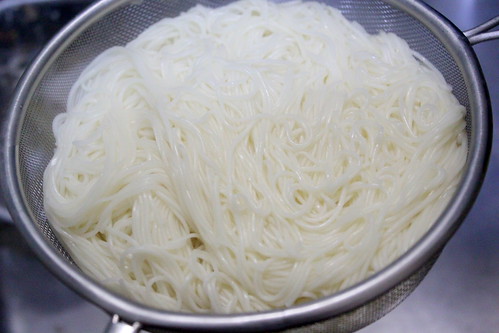
You can serve this with rice or vermicelli. I used Japanese vermicelli called "soumen". Like other noodle, soumen is usually bland. But,  the soumen I always buy have sesame oil and dashi in it and they make great extra flavors.

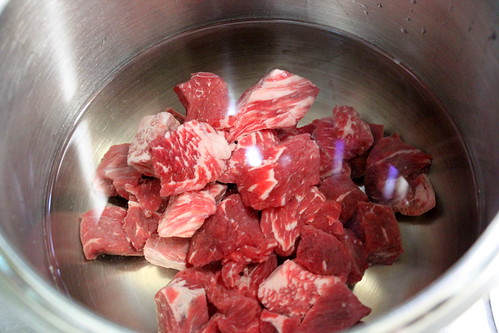
Alright, back to the soto. Cube the beef and boil. In a pressure cooker, please. But if you don`t have it, just regular pot will do fine, although it will take much longer time (and patience) to make the beef tender. That`s okay too, you can watch TV or do some blogging while waiting anyway.


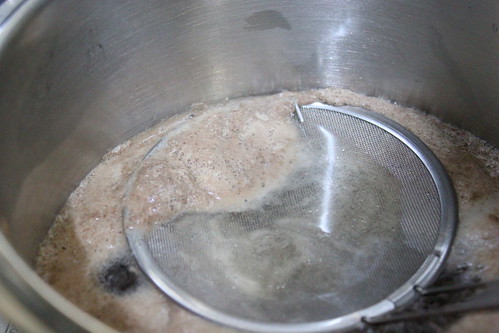
Pressure cooker or regular pot, make sure to skim off the scam to make a cleaner soup. It`s almost impossible to get rid the scam completely with a (1 dollar) skimmer, though.
If you use a regular pot, keep boiling on a medium heat until you get the beef texture right. If it`s  tender enough for you, turn off the heat, and set it aside.


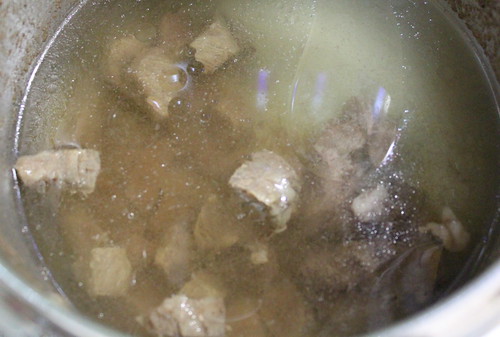
If you are using a pressure cooker like I did, close the lid after the skimming. With the lid on and locked, I cooked it for 30 or 40 minutes. The beef turned out beautifully tender despite the stiff square look.Set it aside and let`s continue with the spice.

Here`s what I used: garlic, onion, ginger, lemon grass, and turmeric powder...


..also salam leaves (Asian bay leaves) and kaffir lime leaves. Keep stirring the spice and you`ll notice how the turmeric will give a distinct fragrance to the spice mixture aside from the gorgeous yellowness.


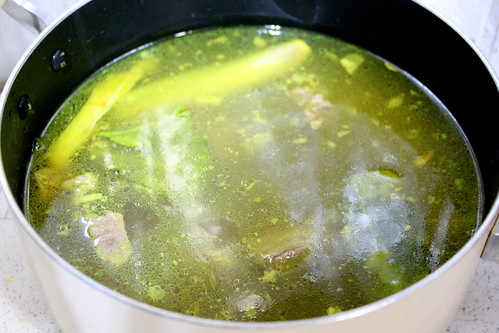
Pour in the beef stock you made to the spice. Or you can do the other way of course, if it`s more practical for you. In that case, rinse the pan once the spice was in with the soup to make sure you don`t leave any good stuff there.
Stir the soup with spice in and adjust the taste with salt and pepper. Sugar? Well, a pinch of it won`t hurt. When it tastes alright, drink it. 
Or not. Set it aside, please. We need some self control here.


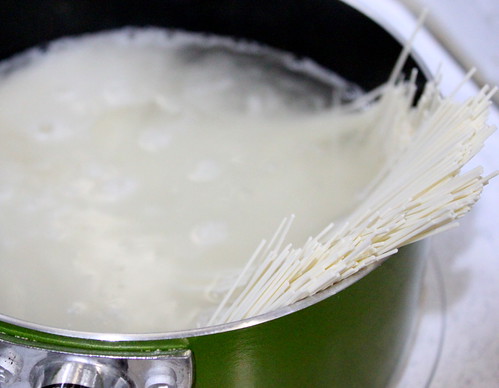
If you are serving the soto with rice, then you can skip this step. But if you choose vermicelli, boil them according to the instruction on the pack. Mine only needs 2 minutes in boiling water. 


Beautiful. Rinse it with cold water to stop the cooking process.
If you serve the vermicelly right away, then you won`t have any problem. But if you will eat it later,  place the soumen in a bowl of (cold) water to avoid clumping.


Place the soumen in an individual bowl.


Add washed raw bean sprouts.


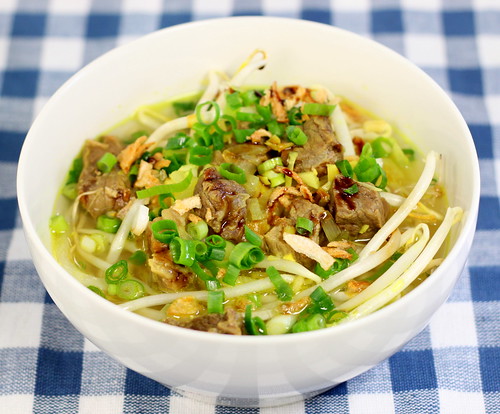
And pour over the beef soup. How much? As much as you like, dear. You deserve it.


Garnish with some greenie (spring onion, parsley, celery, etc) and fried onion, spritz in lemon juice (or kalamansi for the originality), and drizzle kecap manis over. If you`re more into the spicy version, get sambal too. I recommend a non-sweet sambal as the kecap manis is already sweet.
And if you want some more festivity (and calories), add boiled eggs too.


And by the way, you can also use chicken instead of beef with the same spice to make this soto. Just boil the chicken, remove the bones (if any), and shred before serving it.
Have a nice Sunday!

Ingredients:
Beef stock
Beef, cubed
Water

Spice paste
Garlic
Onion
Ginger
Lemongrass
Salam leaves
Kaffir lime leaves
Turmeric

Salt and pepper

Vermicelli or soumen, boiled
Bean sprouts
Spring onion
Lemon juice
Kecap manis

Friday, February 18, 2011

Oxtail soup

Have I told you that I-heart-beef? Well, I do. And that includes this oxtail soup. Yes, the tail. Despite how small and meatless it looks on the cow, it really makes a great soup.
So this is the deal about cooking the tails. If you want a cleaner soup (with less fat), there are 2 methods you can do:
1. Boil them, cool the soup, and keep in fridge for overnight to let the fat excess forms a hard fat layer on the surface. This will enable you to skim the fat off easily from the soup.
2. This one also comes from Holy at Beyond Kimchee. Boil the tails for a while and discard the water. Then, you can pour in new batch of water, boil the tails again, and continue cooking.
Either way, add the spices after you`re done with cleaning the soup.

I, however, want to make the whole process to be speedier. I never did either of those cleaning up process. Maybe next time I`d use Holy`s method.
If you choose method no 1, or just like what I did (aka. no fat-removal), you can start the cooking process from here. Brown them to get the caramelized bits.
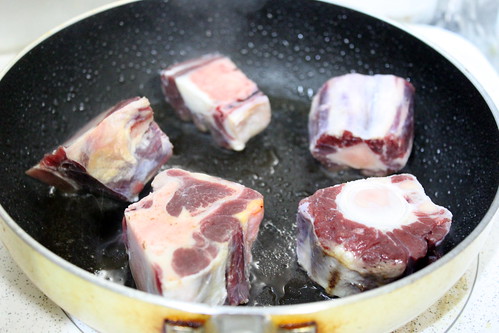
I`ve heard people grill the tails to avoid frying, but I choose to pan-grill them without oil. Quicker.


Let the meaty surface gets caramelized.


And put them in a pressure cooker.


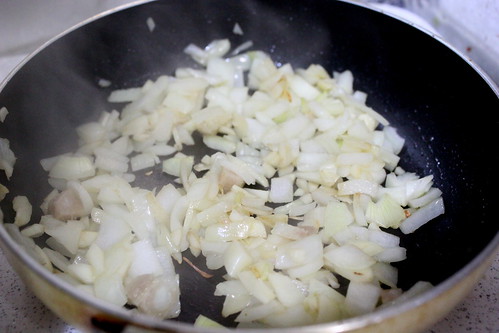
Next, saute onion, garlic, and ginger to bring out the fragrance. I love my soup to have a bit of gingery kick, but you can skip it of course.


Put the sauteed spices in the pressure cooker with the tails. Then, pour in water just enough to cook them through. Not too much, though. You can always thin out the soup later after "pressing" them.
Close the cooker`s lid and cook it for 30 mins with the heat on. Or don`t listen to me. Referring to your manual is the right thing to do.


After it`s done cooking and the pressure has been completely released out, open the lid. Check if the meat has fallen off the bones or if it can be easily pulled out with a fork. Cook it some more if you need to. There`s no such thing as overcooking the tails. They`ll just get better and better.

(Pretend you can see a picture of cooked tail in a pot)

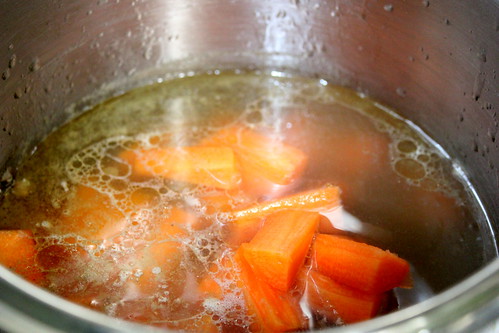
Veggie time. Throw in carrots. Please don`t say you hate them. They`re one of the most wonderful things in the world.


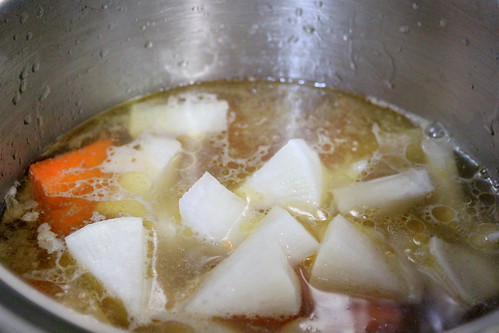
I usually add potatoes, but this time I went for radish instead. Less carb was the reason. Ahem.


And one last important ingredient for the umami. Tomatoes. You`ll be happier with them in the soup.
Close the cooker`s lid and cook it again for another 5-10 mins. When the carrot and radish got tender enough, season the soup with nutmeg, salt, and pepper. No need sugar this time because the carrot and radish are good enough to balance the savoriness.Thin it out with water if you need to.


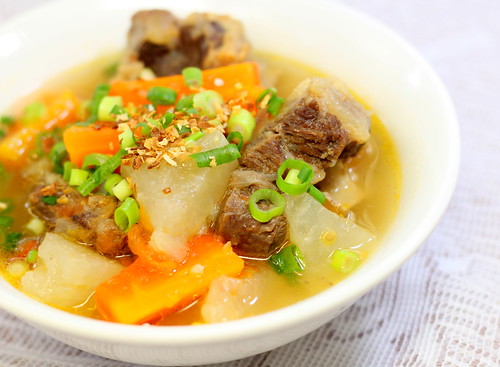
Get a bowl and ladle the soup in. Oh, you must, really really must try this soup. Devour it using spoon, fork, and your hand(s). Definitely not the most elegant table manner because oxtail soup is wild!


Ingredients:
Garlic
Onion
Ginger
Tomato

Oxtail pieces
Carrot
Raddish (daikon)
Water
Salt and pepper
Nutmeg
Cloves

Friday, February 11, 2011

Lasagna or not?

One thing I know for sure: This is not an authentic one. I hadn`t cooked for days and today I finally made something in the kitchen. Something meaty. On weekday. Ooops...(whispering voice) I broke the rule....
It was lasagna, for my beloved Garfield. To make the whole process sounds simpler, there are 3 things to prepare: bolognese sauce, cheese sauce, and lasagna noodles. In this post I only show you how to make the bolognese sauce (my version) and to assemble the lasagna. I`ve previously posted about cheese sauce here.

The bolognese sauce first. It`s basically meat-based sauce, but you`ll see how I made it a bit different.
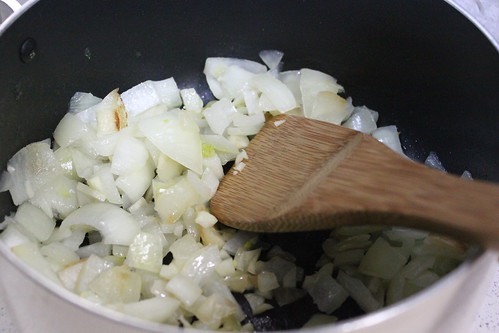
Saute the onion and garlic as usual. Oh..how I missed this goodness!


Toss in minced beef. Did I feel guilty? Yes. And no. No?


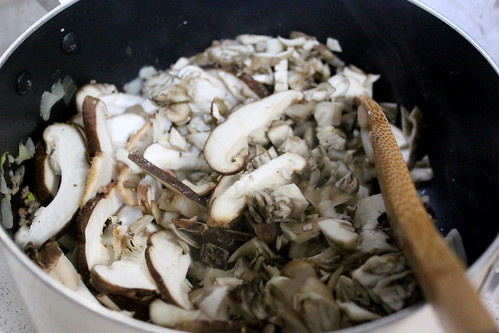
Because I got these. Shiitake and maitake mushroom. Not a nutritionist here, but they sure make my beef issue sounds lighter. So, stir in the mushroom when the beef turned color.


Now here comes my question.
Why do canned tomato or tomato ketchup come in such intense red color? I`ve pureed tomato so many times yet all I get is rather light orange color.I suppose simmering lots of tomatoes until they loose most their water content might give the concentrated color. But I don`t know, never tried it myself. So, since I haven`t solved the question, I made my own "tomato sauce". I pureed some fresh tomatoes and red bell pepper to make it redder. I also added lemon juice and a pinch of sugar to give some sweet tang. Not exactly like the canned one, but at the moment I`m happier with my DIY tomato sauce.


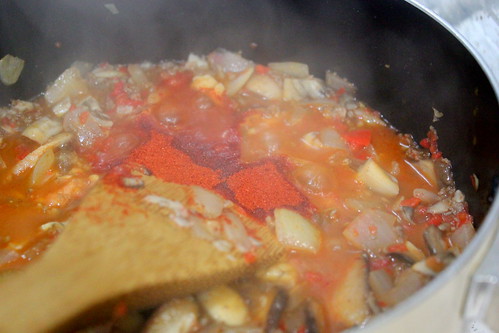
Yes, I`m on my right mind when I added gochugaru (chili powder) to the sauce. The sauce color wasn`t red enough and gochugaru is just perfect to do the job. My gochugaru is not spicy at all, another plus here.


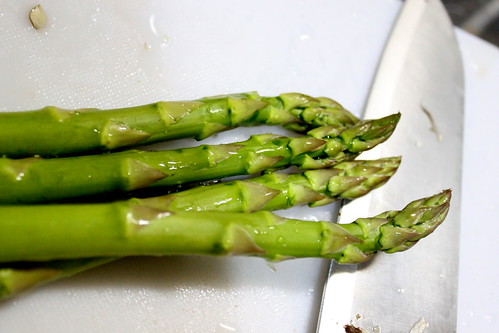
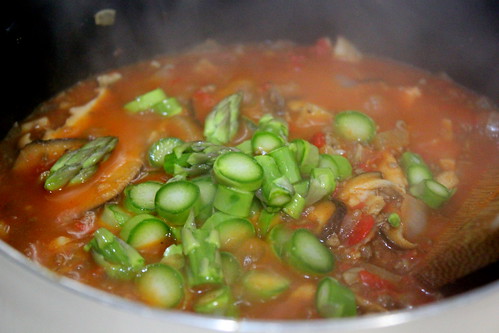
I was still dealing with my meaty guilty feeling when I thought mushrooms weren`t good enough. So asparagus come to the rescue. It`s fibrous and green.


Chop it up and stir in. I felt triple better now. Now is time to season it with basil, oregano, salt, and pepper.


Confession: I completely forgot both basil and oregano. I only put salt and pepper. Can you believe it? The only ingredients that make this food looks Italian are just pasta and tomato. And the weird thing is, I was happy with how it tasted that I didn`t realize that those two were missing!
Anyway, now you knew where the post title came from.


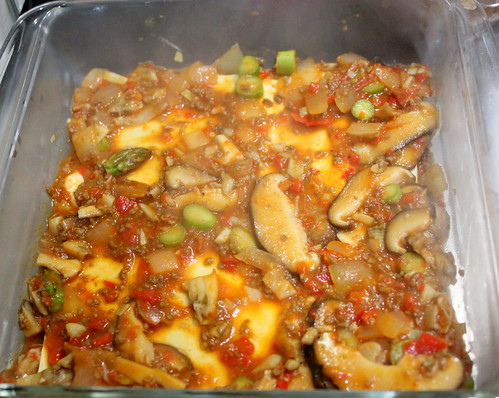
Assembling time. Get a casserole dish, laddle in some bolognese and cheese sauce, and spread them out to the whole bottom surface. This layer will be the non-stick agent for your lasagna noodle.


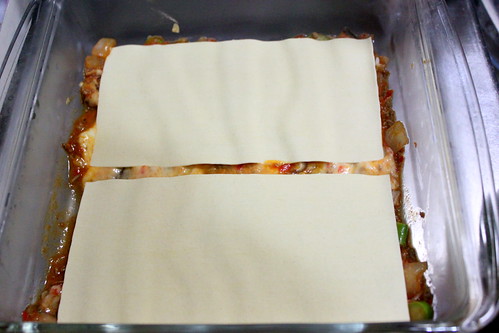
Now the pasta. My lasagna noodles don`t need to be pre-cooked because it says on the pack that they absorb the liquid very well. Read the pack first, please.


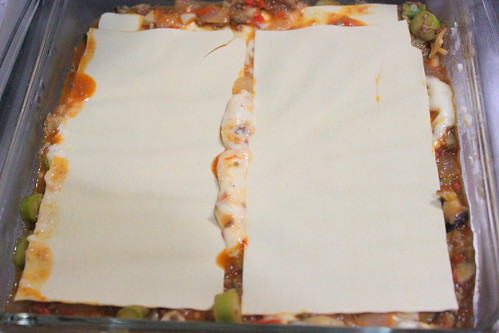
Assemble the noodle over the sauce.


Laddle in some bolognese sauce again.....


...then the cheese sauce...no need to be neat here..


...and place the noodles again.
Alright, a little math would greatly help in assembling this lasagna so that you don`t end up having left over of this and running out that. Check first how the lasagna noodles will fit into your dish and how many layers you can (or want to) make with them. After deciding the layers, you can roughly estimate how much sauce to spread in every layer. To avoid thinking too much (math isn`t my thing), I usually make 3-5 layers, no more. And for the first time in my cooking life, I finished the noodle and the sauce perfectly for the last layer. A happy coincidence.


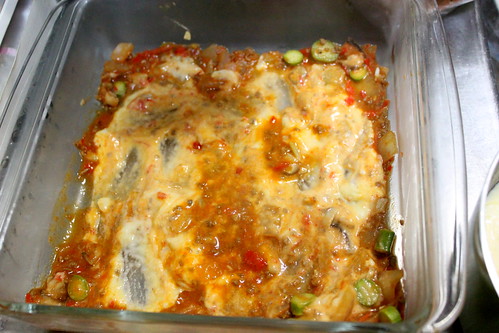
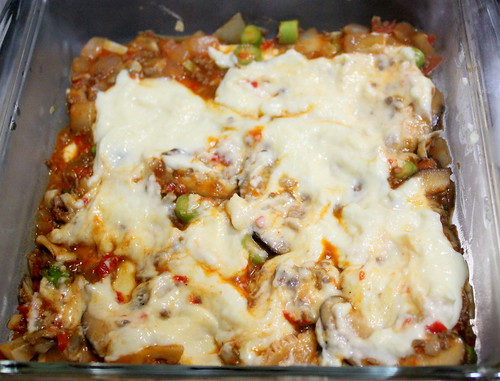
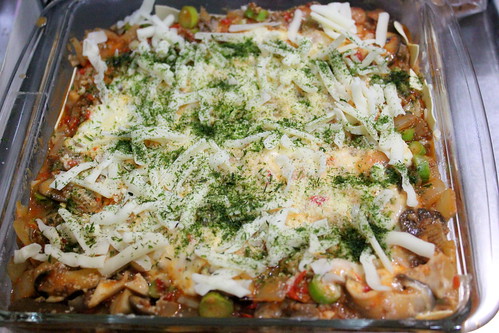
So, after finish layering (the top is the sauce, not the noodle), spread some more cheese (mozarella or natural cheese will do great) and pop it in the oven for 15 min baking.
That green thing is seaweed. I`m crazy about seaweed flakes. Baking them will bring out the fragrance and it goes really well with the melting cheese.
Some tips here: cover the dish with aluminium foil when start baking, then after 10 mins, open the foil and continue baking to let the cheese get crusty.


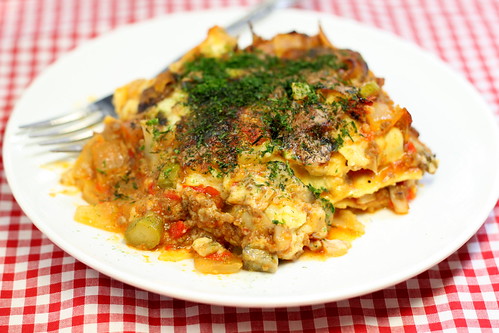
Garfield smiled and smiled looking at a dish of smoking hot lasagna.


We shared eating from this plate. Burp. Sorry.


Ingredients:
For 20x20x6-cm casserole dish

Bolognese sauce
Onion, 1 large, chopped
Garlic, 5 cloves, chopped
Beef, 250 g, minced
Shiitake mushroom, 150 g, thinly sliced
Maitake mushroom, 100 g, chopped
Tomato, 2-4 large, pureed
Red bell pepper, 1, pureed
Lemon juice, 3 tbs
Water, 1 cup
Basil
Oregano
Sugar, a pinch
Salt and pepper to taste

Cheese sauce

Butter/margarine, 3 tbs
Flour, 3 tbs
Milk, 2 cups
Whole egg, 1, beaten
Cheese, 200 g

10 sheets of lasagna noodles
 

Saturday, December 25, 2010

Beef ricebowl with poached egg

A week! It`s been only a week, but I felt like ages since my last post. I have tons of (extremely lame) reasons for delaying my cooking-snapping and editing pictures-posting routine. Now here I am, ready for my posting marathon.
Oh, before I continue, let me wish you Merry Christmas!! I hope you and your beloved ones enjoy, or enjoyed the celebration and the food!

As for me here, it`s getting colder and colder and the snow just keeps falling since last night. After feeding him store-bought food for days, I knew it`s time to make it up to him today. So, off we went to the store this afternoon despite the snow and the temptation to stay under my warm blanket. And as today is Saturday, beef is on the menu.
Look at this baby. Don`t you want to have a steak sizzling on your plate?
I do. I really do. And he certainly does. I could hear him drooling. But if I do make steak, he`ll finish the whole meat in seconds. And I`m not going to let it happen.


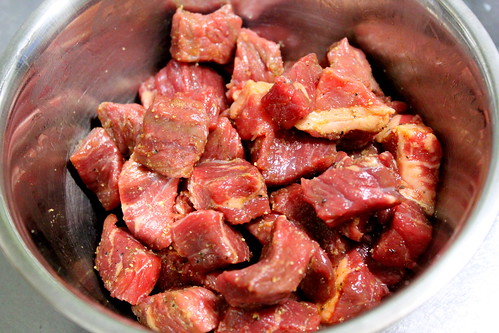
So I diced it up instead. I wanted to caramelize these cubes, so I just used a little sesame oil and dry seasoning for the flavors: black peppers, salt, garlic powder, cayenne powder, and ginger powder.You can certainly use your favorite ingredients for flavoring, but I think it`s better to use dry ingredients to avoid adding water content during cooking the beef.


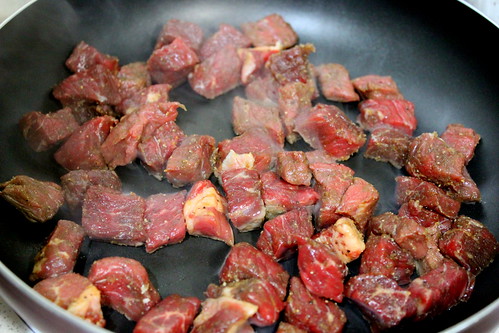
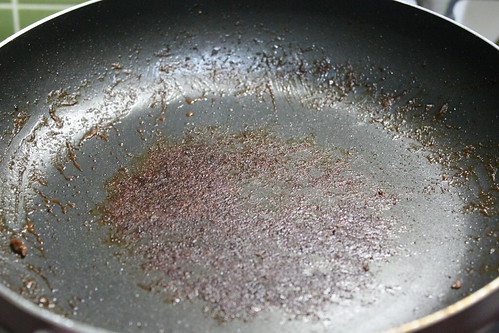
Now, set your non-stick frying pan on high heat until it gets smoking hot. It has to be really hot, otherwise the beef won`t get caramelized. No oil, please. So, when it`s hot already, dump in the cubes, try to separate each cubes so they don`t stick each other. I clearly put too many cubes here and that wasn`t good because the heat is trapped between the meats and it will turn into steam, which is not a good thing for caramelization. But, what can I say, I`m too lazy to cook them in batches, so I just turned the heat up to the highest and let them cook that way.


After the beef is done to your liking (always well done for me), set the beef aside on a plate. Now look at the grease left from the beef. It`s something between yucky and yummy. It`s up to you whether you want to clean it up, or use it. I did the latter one.


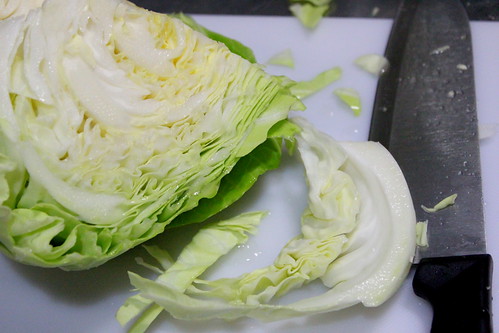
Meat without vegetable(s) is no good. It`s like messing up with the good balance of yin and yang (choose your own version of which is which here). So I went for cabbage. Wash and chop. Chop chop chop.


And toss them in the frying pan with or without the grease from the beef. Stir fry the cabbage until it gets wilted and looks a bit greener.


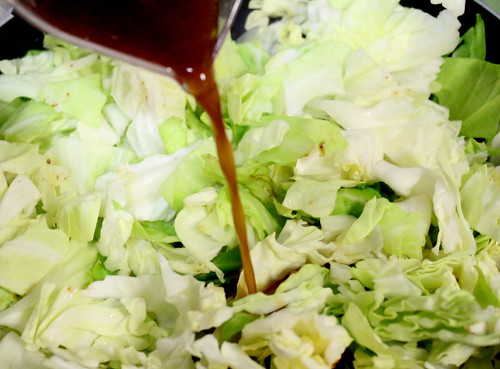
Get a cup and mix water, salt, pepper, soy sauce, oyster sauce, sesame oil, and ginger powder in it. Pour the sauce into the cabbage, stir well, adjust the taste, and set aside when it`s done.


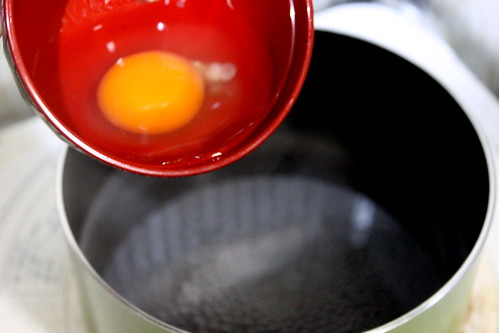
Another item for the dish. Poached egg. Oh yeah, I (am learning to) poach eggs now.You can find sooo many many many ways to poach eggs in the internet, but here`s how I do it.
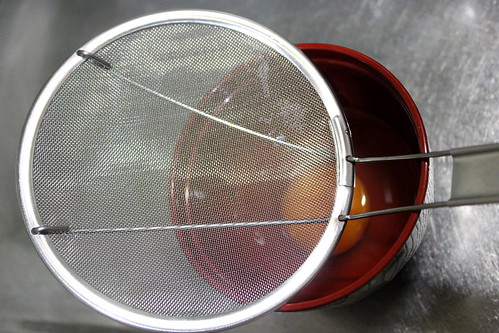
Simmer water in a pot. While it simmers, crack an egg and place it in a small cup or bowl. You can get a laddle with holes (I`m pretty sure it has a name), or a skimmer like what I used.


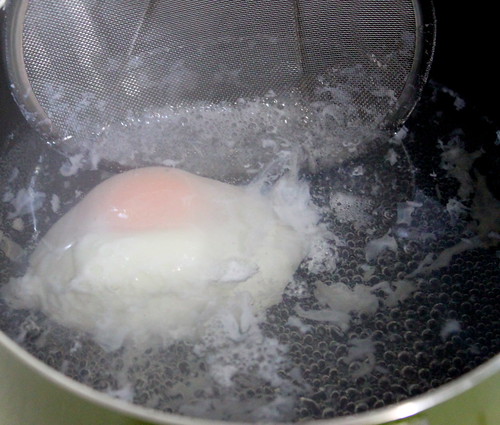
Then, slowly and gently pour the egg into the simmering water.


The egg white will instantly spread out and curdle at this point. With your skimmer, quickly bring the white toward the yolk so that the yolk is tightly wrapped around by firm white. Try to shape the egg into a round shape if you can. My skimmer is too big so it`s difficult to make a nice round poached egg. Or probably I just suck at this thing. I choose to blame my skimmer, though.Or him for going in and out the kitchen.


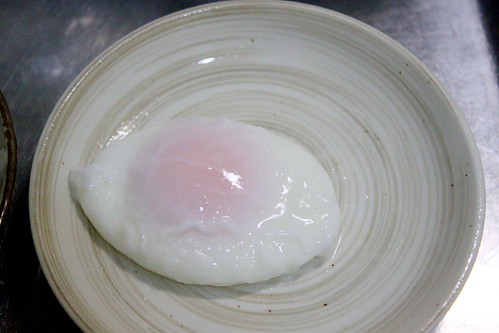
And here`s what I`ve got. An elliptic-shaped poached egg with a pointy edge. But egg is an ellipse, right? Oh, I need more and more practice to make it looks better.


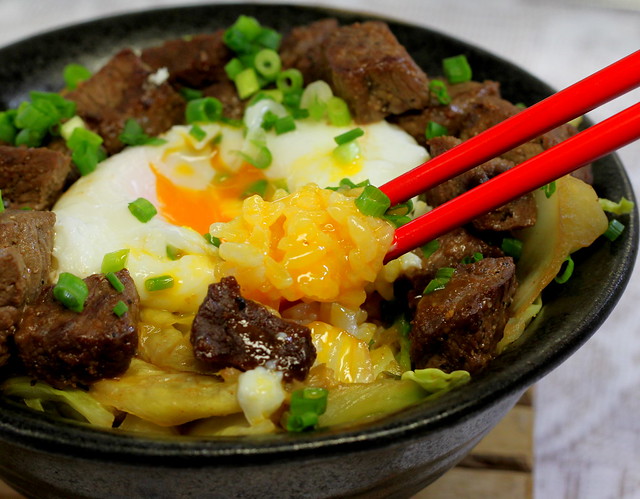
Well well, time to arrange the items into a dish.
Get steamed rice in a bowl, top it with stir-fried cabbage, place the poached egg on the center, arrange the beef cubes around it, and sprinkle green onions to bring out the beauty.


The egg? Despite the look,  it was just delicious. The white was firm and the yolk was beautifully runny. And orange. I just love its orangeness.


Happy holiday!!

Ingredients:
Beef steak (if I may call it as steak)
Beef, cubed
Black pepper
Salt
Garlic powder
Ginger powder
Cayenne powder
Sesame oil

Stir-fried cabbage
Cabagge, chopped
Soy sauce
Oyster sauce
Sesame oil
Garlic powder
Salt and pepper

Poached egg
Whole egg