Showing posts with label cookies. Show all posts

Saturday, March 17, 2012

Cheese cookies

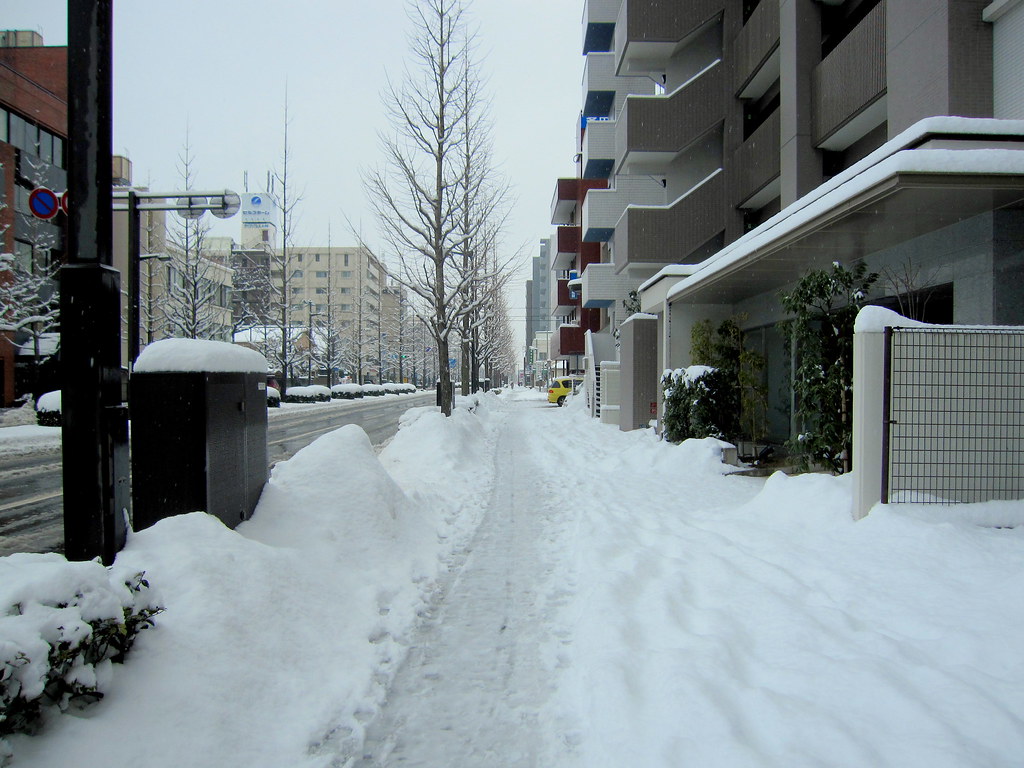
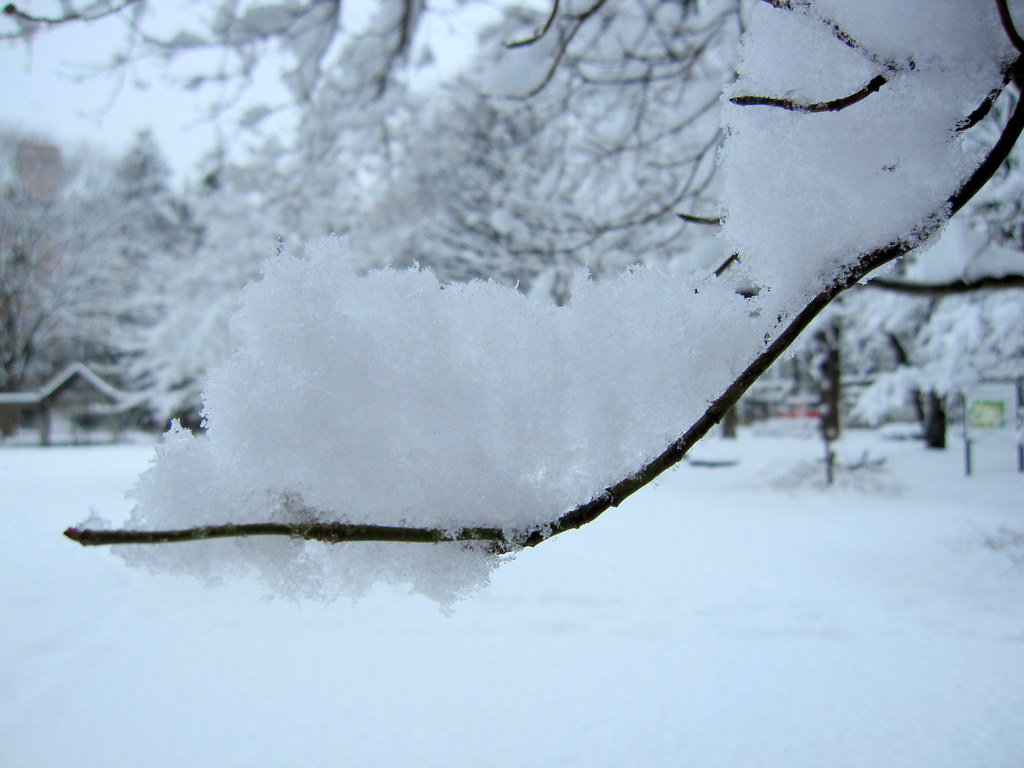
What a cold cloudy Saturday evening we`re having here! I remember telling you all in my previous post how I was ready to welcome the spring, but what really happened for these past two weeks was snow still occasionally came to cover everything in white. Like these. 
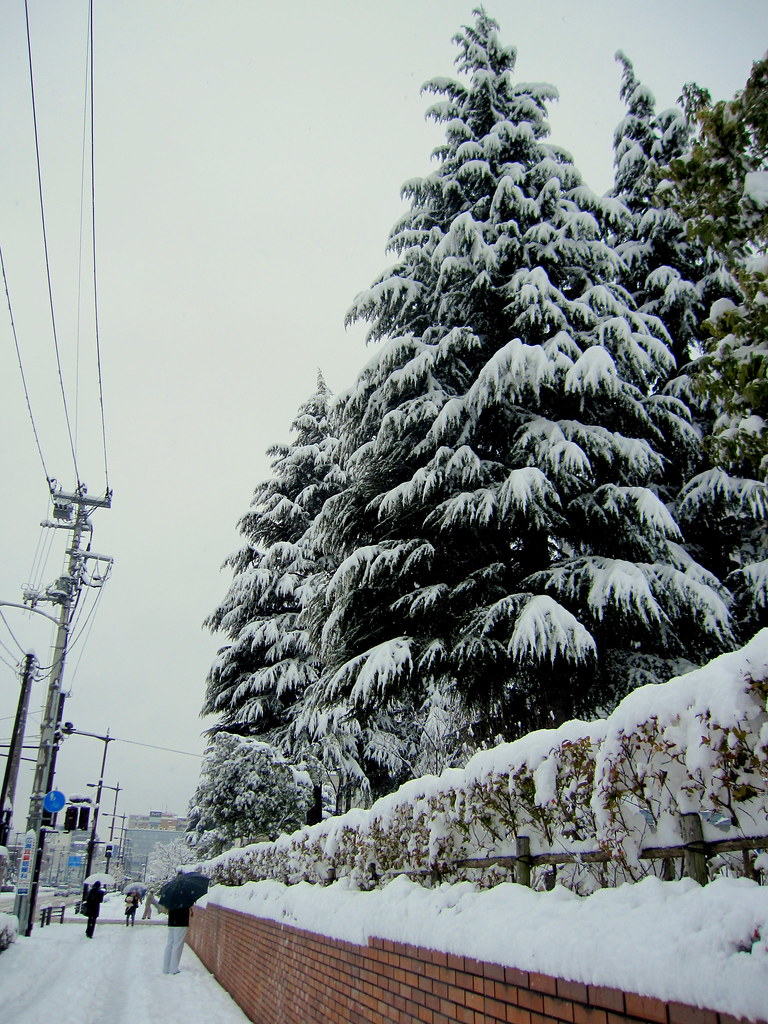

Regardless of that chilly whiteness, I know the spring and sunshine will come to us eventually (they have to!), and in the mean time, let`s check out how I made my easy-peasy cheese cookies. The recipe is actually a modification from an English chocolate biscuit recipe in Nigella Christmas, which is a very good crispy cookie recipe that I keep making again and again. As I ended up having too much sweetness, I thought I wanted something savory this time. I actually have posted a cheese cookie recipe before, but this time I made it eggless, simpler, with much less salt content, but still with amazing result. 
Now, savory cookie lovers, are you ready?
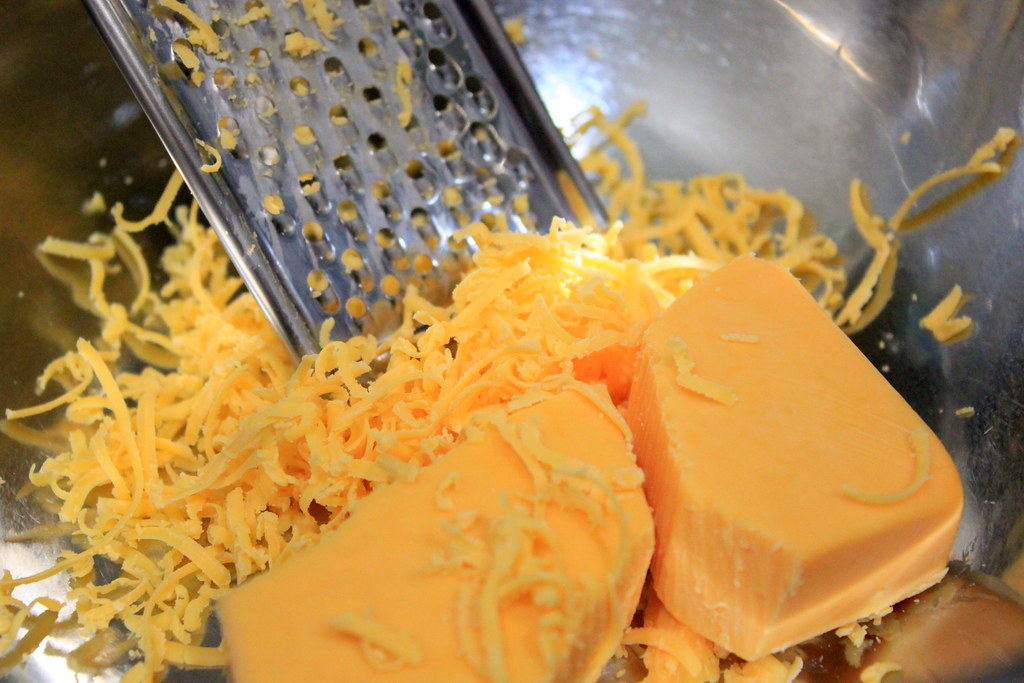
Grate cheddar cheese and set it aside. I llllove red cheddar. Just look at that color!

Due to my super low kitchen temperature, I usually soften my butter in the microwave. If you too use microwave, heat and check it every few seconds. Just be careful not to overheat it because you don`t want completely melted butter here. I do sometimes have my butter a bit melted at the base, but I just go on and the cookies turn out fine.
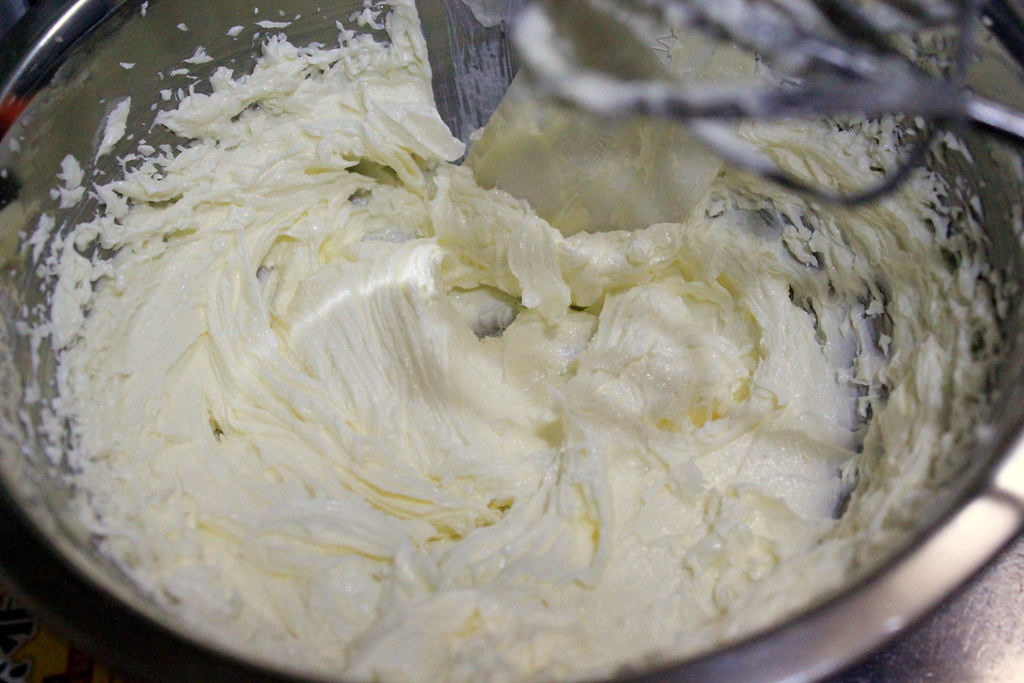
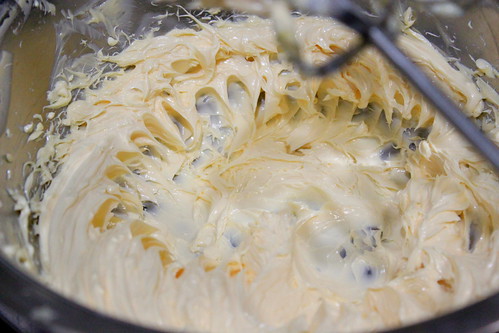
So, soften your butter and cream it in a mixing bowl until it has turned pale and much creamier.

Fold in the grated cheese now.

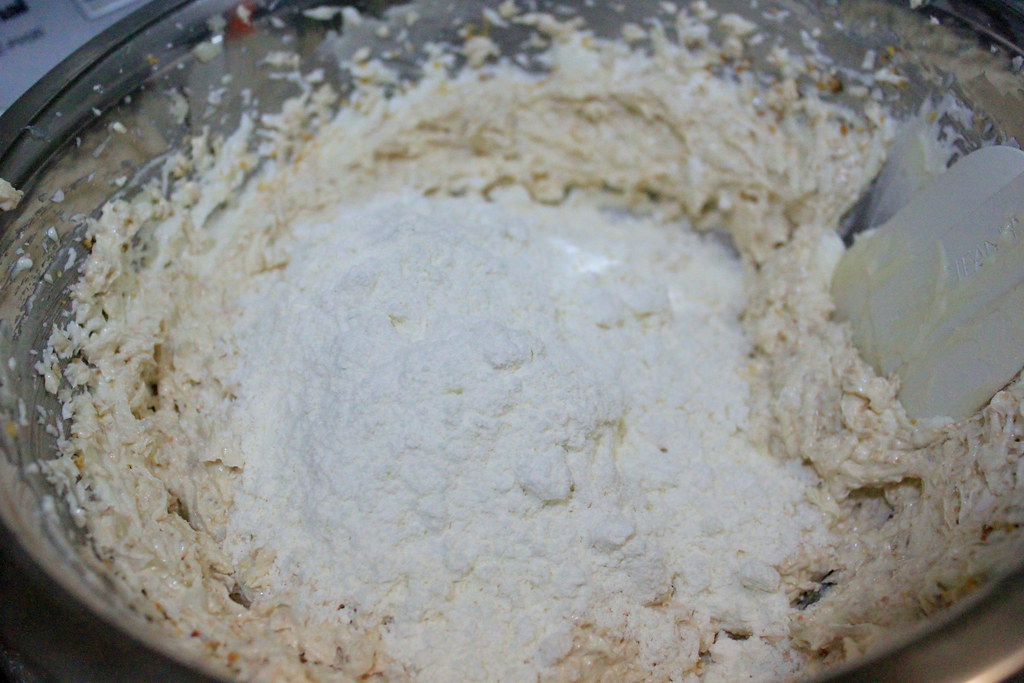
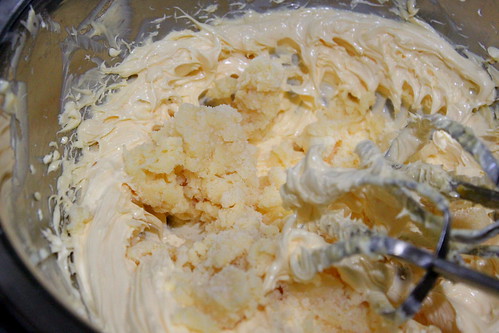
Sift in flour and baking powder until the mixture has turned into dough consistency.
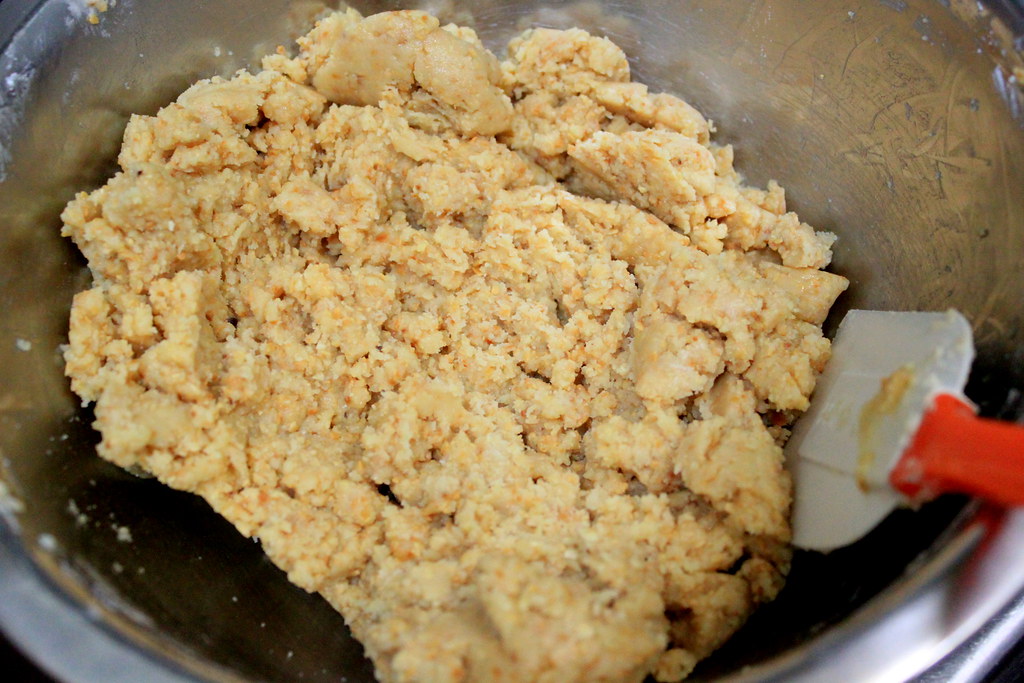
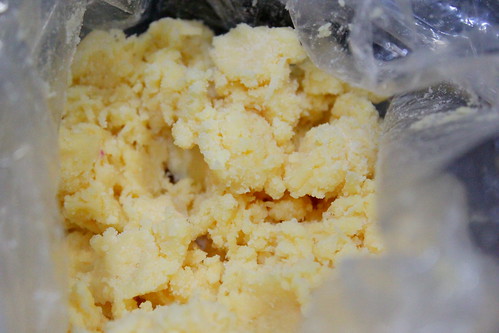
My dough here looks very crumbly, but I learned that it will turn into a nice dough when I use my hand for the final mixing. I guess the heat from my hand helps resoften and melt the butter and thus combine with the flour.
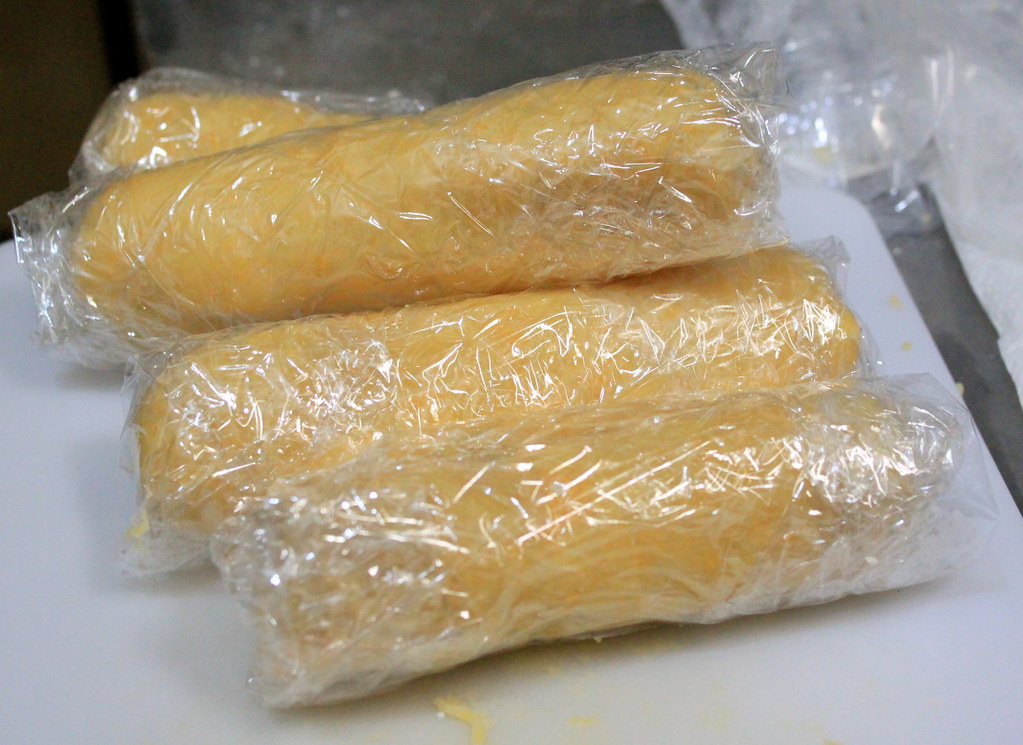
Shape the dough into logs with equal sizes, wrap with a cling wrap, and keep them in refrigerator for at least an hour.
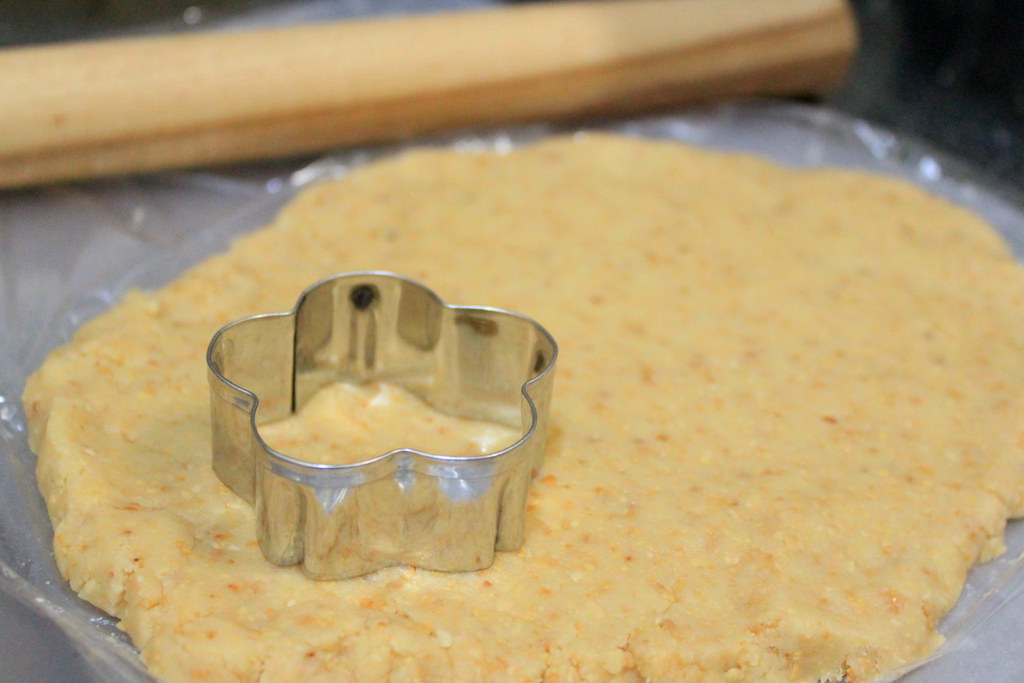
My kitchen counter and fridge don`t have large space, so I always make the logs short. Mine in the picture were about 4-cm in diameter and 10-cm long. If you`re in a hurry, though, you can just roll out the dough on the counter and cut it up with a cookie cutter like making sugar cookies. But for those of you who have the same space problem like me and don`t mind with simple coin shape, I think you`ll find this log-cool-cut method very helpful.
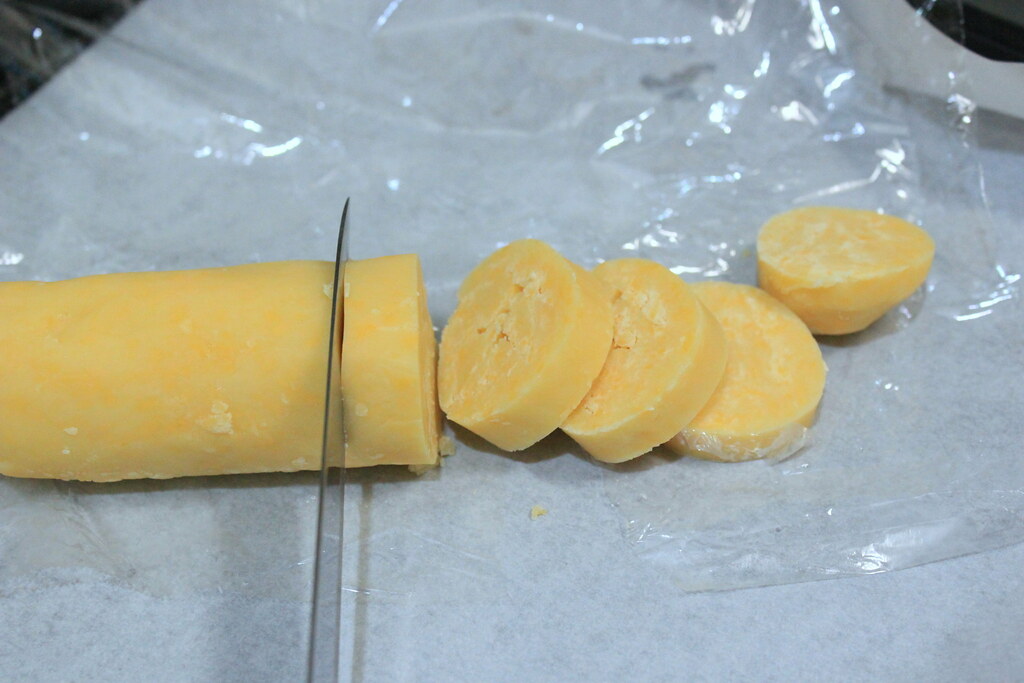
After an hour or so in the fridge, cut the dough into fat coins. Mine were about 2-cm thick here.
Cutting up a cold dough always makes me feel really good! By the way, you can keep the dough in the freezer for a longer storage time and bake later when you want. I usually make 4 logs, bake 2 logs, and keep the other 2 logs in the freezer.

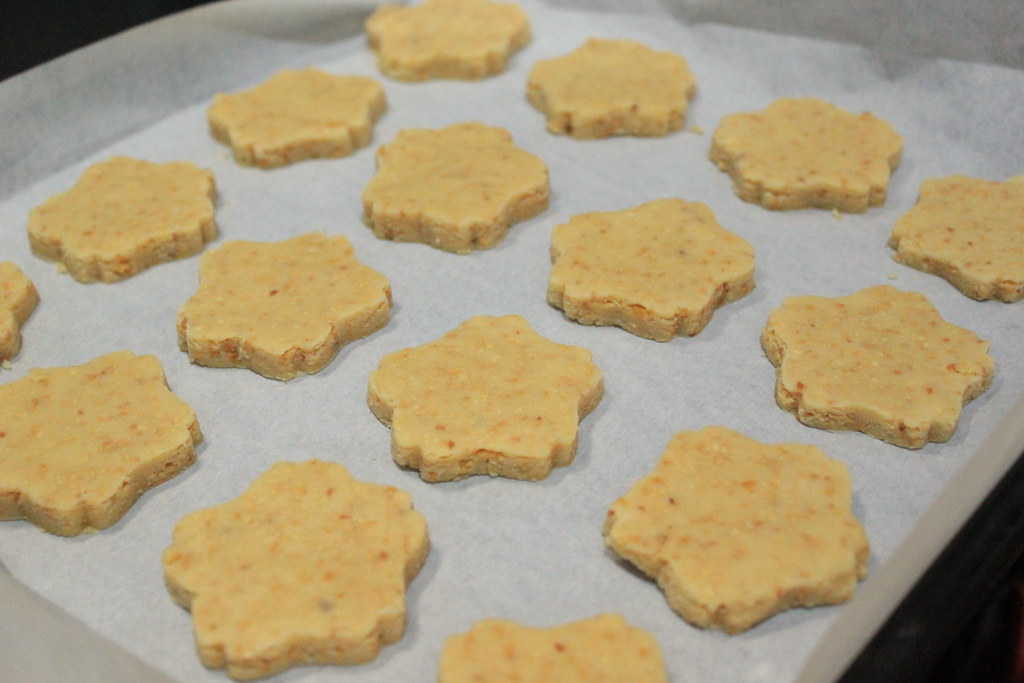
Arrange the coins onto a baking sheet lined with parchment paper and bake them in a preheated oven at 170 C for 20 mins.
Your kitchen and home will smell really great during the baking!

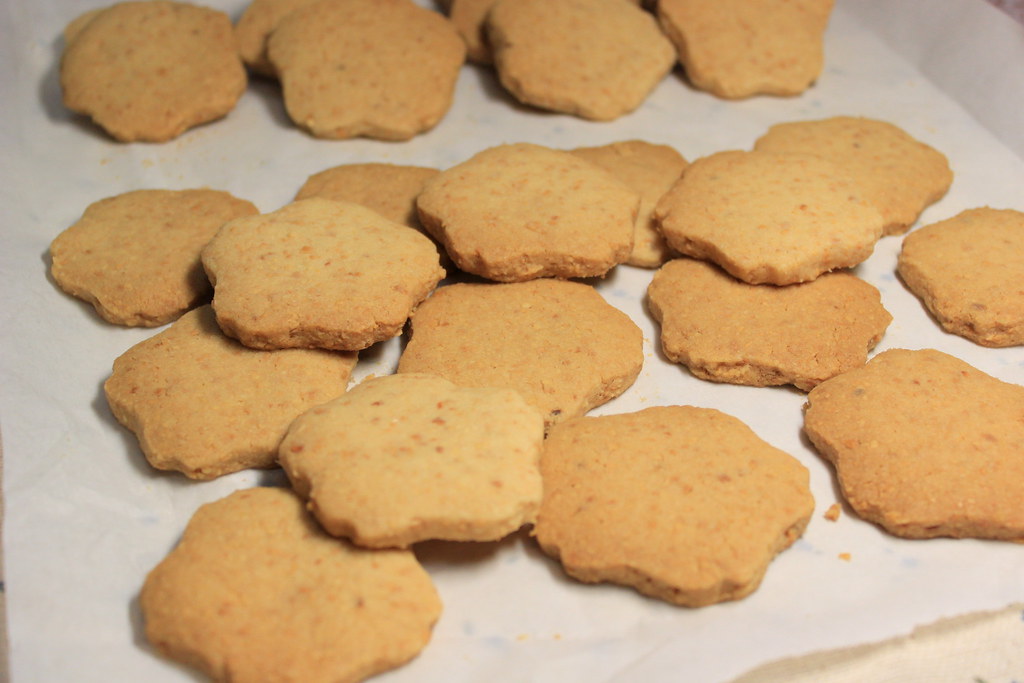
These cookies will melt in your mouth and you will have difficulty to stop after having one.
Oh I`m having a serious drooling problem and I guess I just have to make these again now. 

Happy weekend!

CHEESE COOKIES
Makes about 3 dozens

Ingredients:
200 g unsalted butter, softened
80 g cheddar cheese
240 g flour
1 tsp baking powder

Method:
1. Grate the cheddar cheese and set aside.
2. Cream softened butter in a bowl until it has turned paler.
3. Fold in grated cheese, sifted flour, and baking powder.
4. Shape the dough into logs (about 4-cm in diameter). 
5. Wrap the logs with cling wrap and keep in refrigerator for at least 1 hour or until the dough is firm enough.
6. Open the wrap and cut up the dough into fat coins (about 2-cm thick).
7. Arrange the coins on a baking sheet lined with parchment paper.
8. Bake at 170 C for 20 mins.
Note: For a smaller baking batch, you can keep the leftover dough logs in freezer and bake them anytime you want to. 

Sunday, August 21, 2011

Polvorones (almond cookies)

I had been meaning to make these cookies since months ago after I came across Pioneer Woman`s post on  Mexican wedding cookies called Polvorones. The cookies and the ingredients just reminded me of a widely known cookie in Indonesia called Putri Salju or Snow White. Yes, that princess. I guess the icing sugar sort of represents the snow flakes, but I`m clueless on how the princess idea came in. Anyway, I was 97% sure that the Snow White cookies were somehow an adaptation of Polvorones and I was really excited to try it out.  I finally made them today, although I ended up slightly modifying a recipe from Seasaltwithfood.

Let`s start with the preparation.
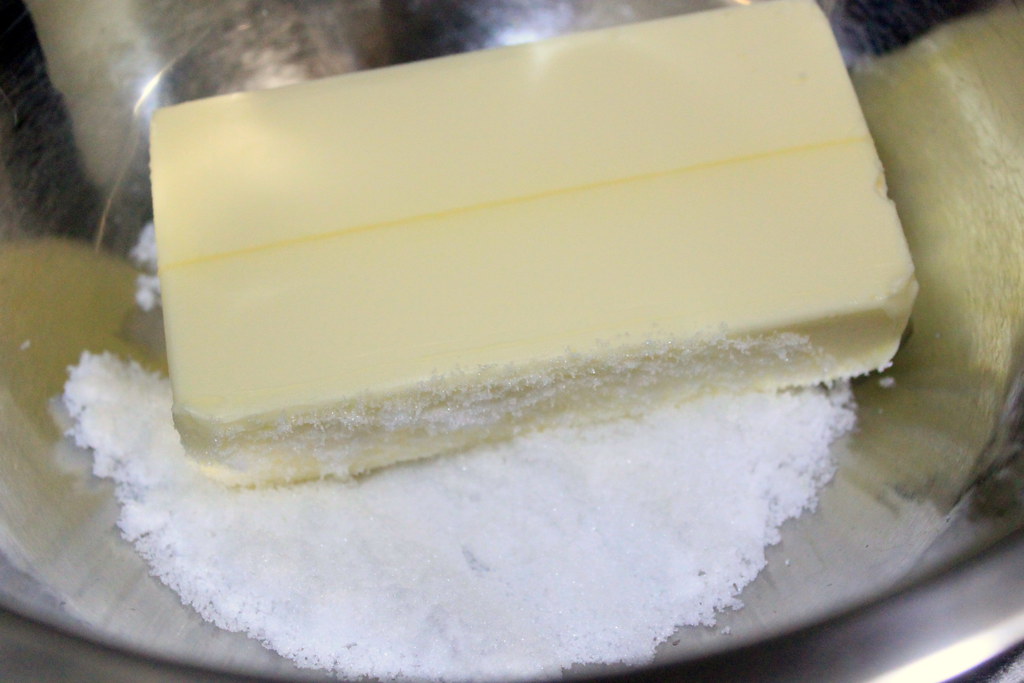
Soften unsalted butter at room temperature. 


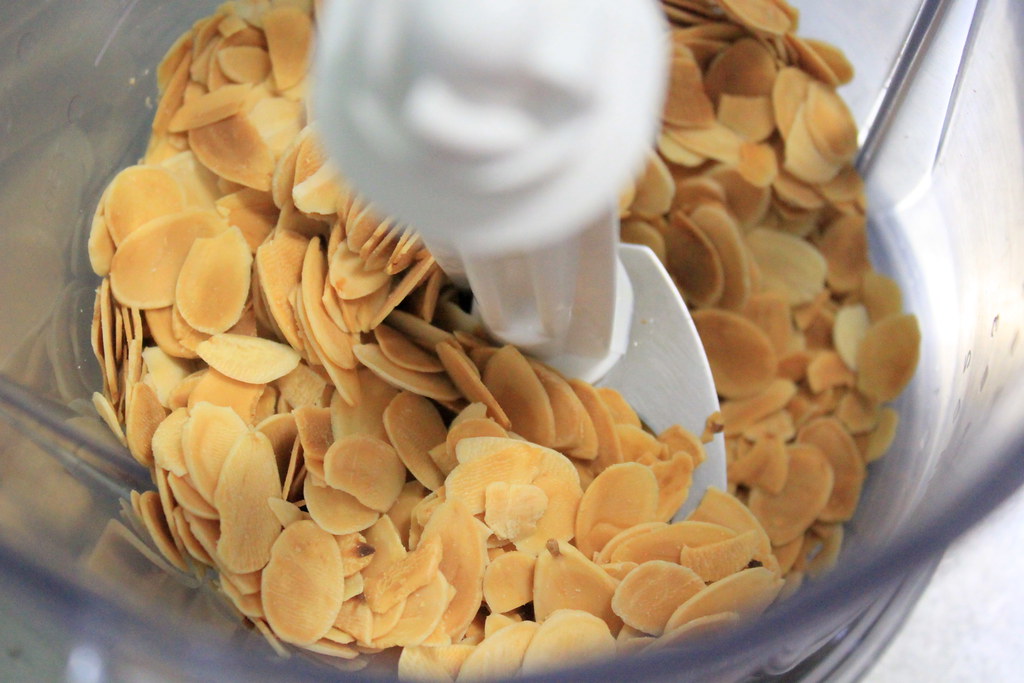
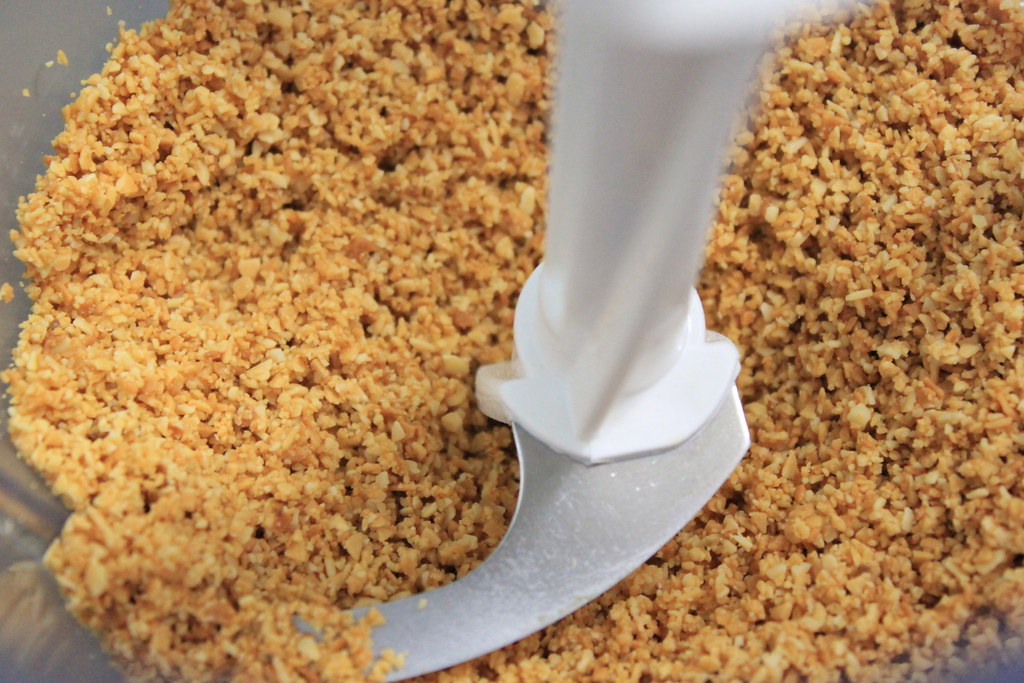
If you have almond flour or ground almond, lucky you because you can skip this step. But if you don`t, toast raw almond in oven at 150 C for 15 mins, stir occasionally during toasting, let it cool, and grind it.


Same like almonds, toast flour at 150 C for 20 mins, stir occasionally during toasting, and let it cool. 

Almonds and flour are done, so we can start cooking now.
Cream the softened butter and sugar.


Whisk in ground almond.


Slowly fold in the toasted flour until it turns into dough. 


Like this. 


All recipes I found describing the dough to have a very crumbly consistency. At the beginning, my dough was actually rather moist than crumbly making me thinking that I might need to add some flour. But I kept continuing the work and after a few minutes, the dough did turn drier and very crumbly. It was indeed so crumbly that it was quite tricky to roll out the dough. But I know you`ll manage it, because I did.
Place a portion of the dough on the counter or working board, press it tightly with your hands, and  roll it out very gently with a rolling pin to make a 1-cm thick dough. Just a little push with the rolling pin will easily crack open the dough. So, go easy with the rolling. If, though, the dough cracks open, pull it back together with your hand and reroll it. 


Bake them in preheated oven at 150 C for 20 minutes.


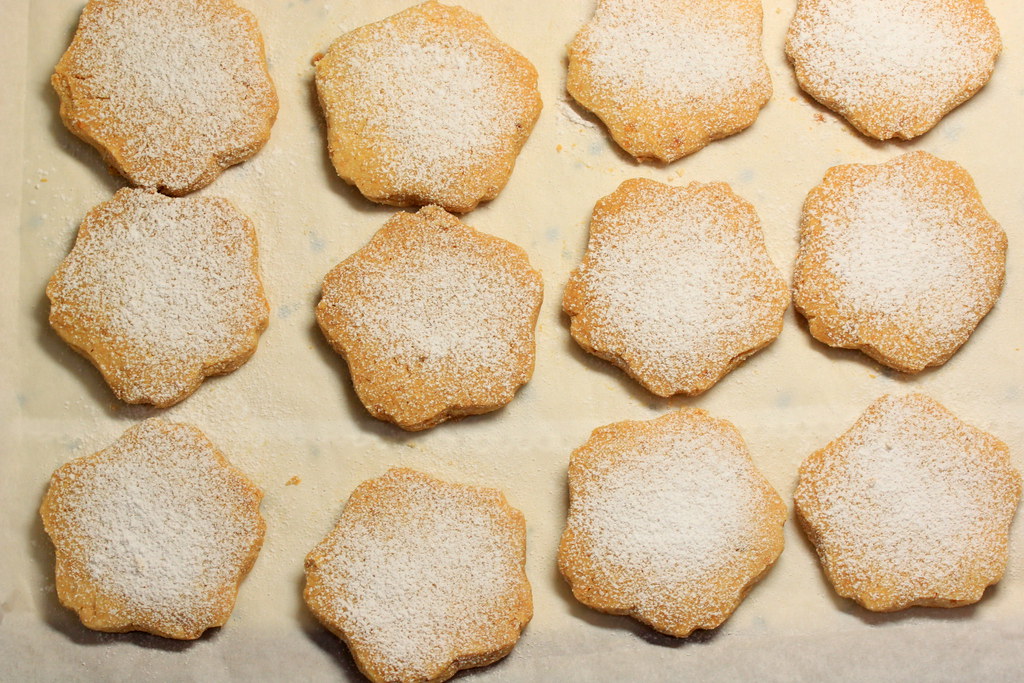
Welcome to my wedding, sweeties!


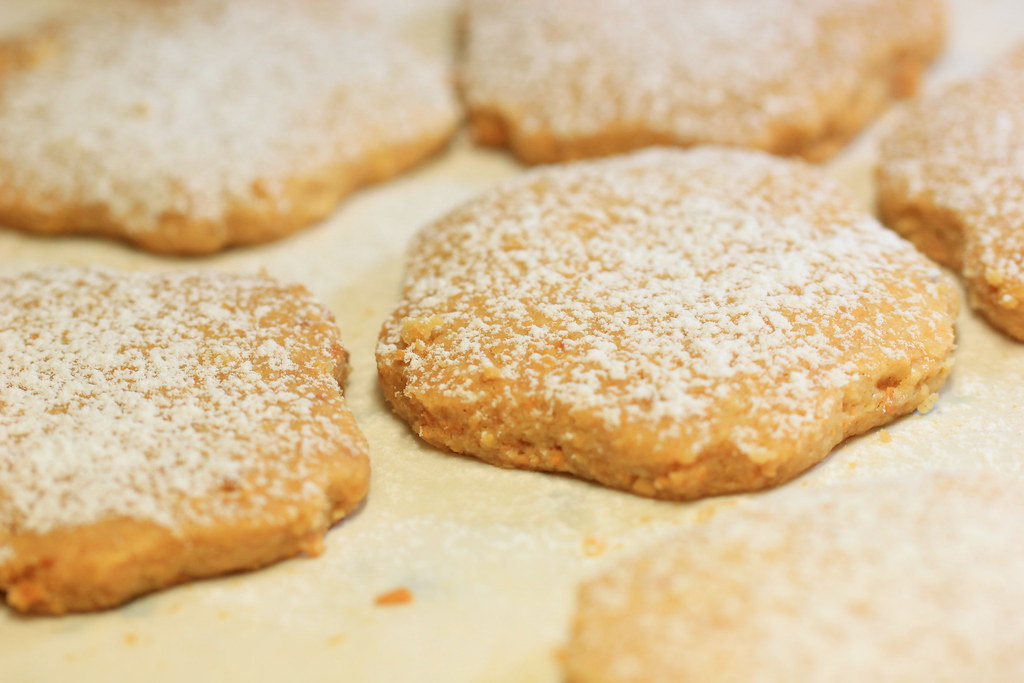
But I think a light dusting with icing sugar will make them look even more gorgeous. 
Note: The cookies are already sweet themselves, but the addition of the icing sugar really makes a difference here. If you don`t mind with the extra calories, go for it, but I hope you do it in moderation.


And I have to hide these away from my Winnie the Pooh because he loves to grab the cookie jar late at night. 


So, what about the Polvorones and the Snow White stuff? I honestly think that they`re the same cookies. The buttery  texture with the good crunch and nuttiness of the almond are just heavenly. And the sugar dusting makes it a perfect sweet marriage indeed.

Happy Sunday!

P.S. My waist line!!

Ingredients:
Adapted from Seasaltwithfood
Makes about 35 cookies (5-cm in diameter, 1-cm thick)
200 g unsalted butter
100 g sugar
130 g ground almond
220 g flour
1 tsp vanilla oil
Icing sugar for dusting

Bake at 150 C for 20 mins

Tuesday, June 21, 2011

Garlic-seaweed-cheese cookies

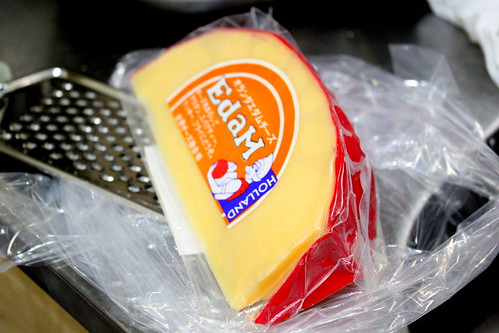
This is actually an improvised version of cheese cookies I`ve made before as I made several changes with the recipe. This time I finally got to use this gorgeous Edam cheese (although I think still not the matured one). I found it at a supermarket that I accidentally found when I was wandering around the city. Oh, I always love finding new (food) stores! 


And this time I also used garlic. As if I still don`t get enough of it everyday. Probably I should rename my blog. A box of garlic. Garlicky kitchen.My love affair with garlic.


Sorry. I`m back.

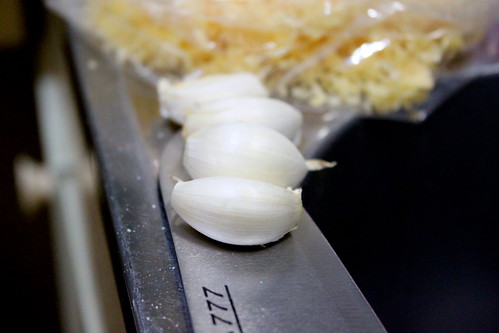
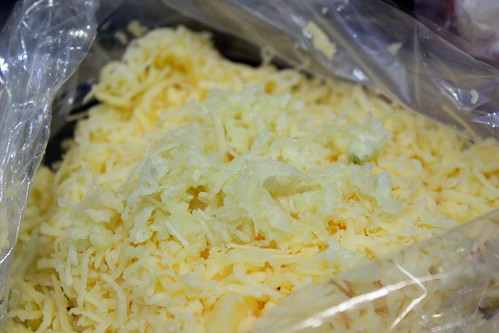
Grate the cheese and the garlic...


...and mix well. They`ll form a damp lumpy mass because of the water released from the grated garlic.


In a bowl, add butter and egg yolks. 
Now this, I think, is important. If this is your first trial, I suggest you to start with unsalted butter because that way you can control the saltiness easier.
Whenever I used regular salted butter (or margarine), the cookies ended up too salty. And to make thing worse, I sometimes added SALT to the dough because the dough always, always tasted undersalted. And that actually happened also in these cookies I`m showing you now. 
Confession: My cookies are never perfect. That`s the truth.

Now I need to move on with the next step.
I added some extra egg yolks here. 


Beat them up until well blended using a mixer (or your Kitchen Aid..*envy*).


Fold in the cheese and garlic mixture.


Then the flour.
Another note here, I reduced the amount of the flour so now the ratio of butter:flour:cheese is 1 : 1 : 1.


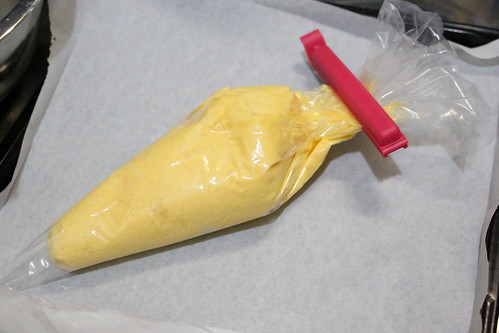
Piping time. I always clip the upper part of the pastry bag to avoid the messiness during the piping. It works all the time for me, who is super duper clumsy.
You can use your favorite nozzle too. I was really excited to know how this whole garlic and changes of ingredient ratio would turn out, I couldn`t care less about giving them pretty looks.
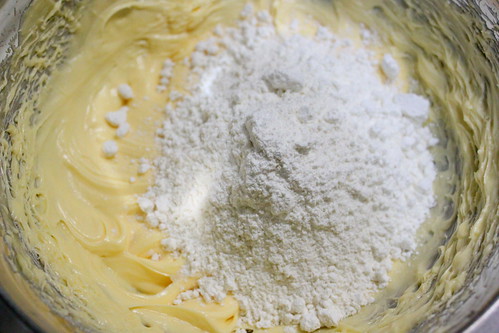
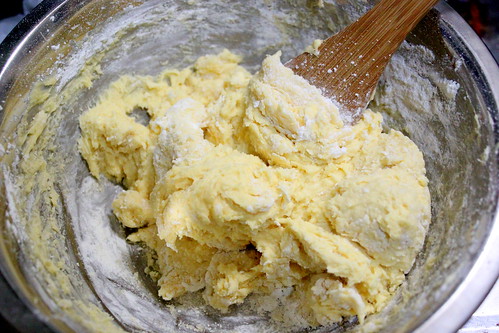

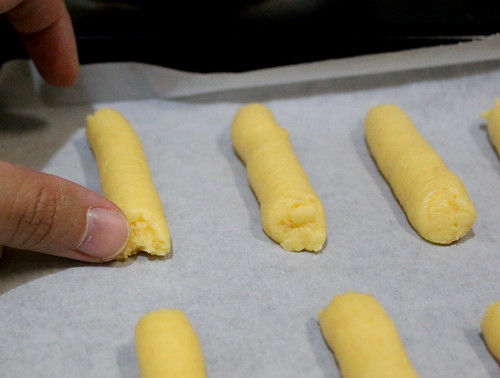
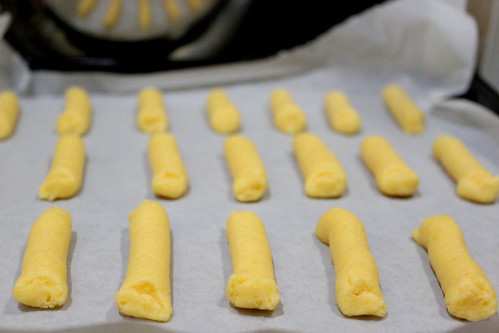
I made them in finger-sized log shape. Very simple, and quick too. One thing you need to do if you go with this shape, though, make sure you make both ends of the log blunted. You can simply give a couple of gentle taps with your finger to any protruding thin sharp ends.  Otherwise, the ends will either get overbrowned or worse, burnt already while the remaining log part are perfectly in golden color.


No, I`m not saying they have to look neat. This is me talking and my cookies always look far from neat. Did I tell you that my cookies are never perfect? And to be fair, not only cookies. Well, I know you knew it well already.


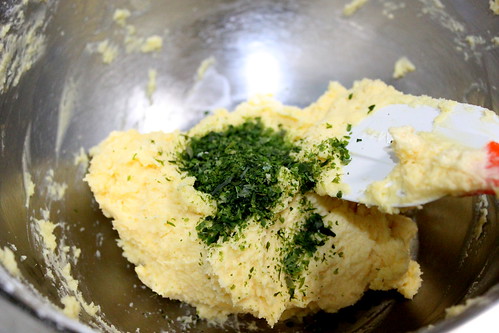
Same with my previous cheese cookies, this time too I was curious how the garlic and cheese would work with seaweed. So I saved a small batch of the dough and folded in a tbs of seaweed. If you are new with the idea of combining cheese and seaweed, just make a small batch of it and go figure if you like it.


And...bake`em, baby. The butter will quickly melt out of the dough creating lots and lots of oil bubbles. I actually thought that this would be another disaster in my kitchen, but the bubbles were quickly gone once I took the tray out from the oven.


Can you imagine how my kitchen smelled when I was baking these?? It was insanely good!


Alright, the cookies are done and now is time for my verdict.
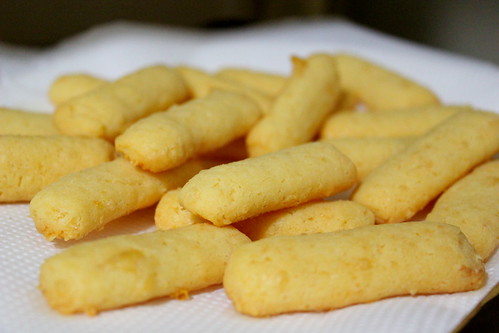
With the modified recipe (more butter, less flour), the cookies came out in a better texture, which is mostly crunchy, definitely not crumbly, yet still leaving some fluffiness. The aroma coming out from the baked cheese, garlic, and seaweed gave the huge drool factor. So, texture is good, smell is great.
The downside is, though, the taste. The saltiness seemed to overpower the cheese richness itself and that was a real shame. Although the cookies smell crazily cheesy, I could barely taste anything but salt there. Sad!


So, pretty please, use unsalted butter. Especially for your first trial. And although if your dough tastes like you need to add salt, try bake some first. From my experience, the cookies will come out saltier than the dough is.  The only reason I could think of is the reduced water content during the baking probably makes the salt more concentrated. 

With that trick, I really really hope your cookies will come out zillion times better than mine!

Ingredients:
150 g edam cheese
4 cloves garlic
150 g butter (preferably unsalted one)
3 egg yolks
150 g flour
1-2 tbs seaweed flakes (aonori)
Bake at 180 C for 20-25 mins (until golden brown)

Thursday, February 3, 2011

Double chocolate cookies

So I got myself another cookbook, which was actually a generous gift from him. Thank you, sweetie!
It`s Nigella Lawson`s newest book, Nigella Kitchen. I mean, who doesn`t love Nigella? First time I watched her TV show here in Japan (rare!) not knowing what her name was, I was just like, hey, this cooking show is good! One thing captured my mind was her whatsocalled mezzaluna, a half-moon shaped double handed knife (I finally knew the name from the book). Until now I`ve never seen anyone using that! But then years passed by and I have completely forgotten about the show (and her). Of course I have. Cooking wasn`t my thing back then. Or at least, I didn`t realize how I always enjoy watching food being cooked aside from eating itself.
And just last year, a friend of mine (big thanks, Ry!) who just looked at my food pictures mentioning about Nigella and I said, "Who??". So I quickly googled her and sure enough, it`s the gorgeous lady with her half-moon knife. I watched her videos on Youtube over and over again. Warm, cozy, and soothing are the impressions I got from the videos.
Anyway, I picked up something to make from the book, and it`s Chocolate chip cookies. Yes, from all of the oh-yummy!-I-want-this! recipes there, I chose that one. I sometimes don`t understand my self.


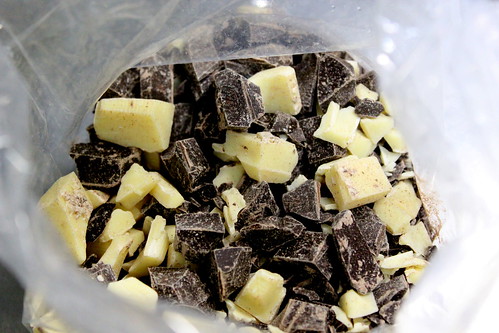
I know the name says choc chips, but I bought choc bars, which are cheaper yet with extra work on chopping them up. If you have choc chips, please, by all means, use them. You`ll be happier.
I was planning to use same amount of dark and white choc, but then he had been "stealing" the white bar every day until I noticed only half of it remained.I don`t know, husband..kids..they`re just the same I guess.


Chopping up the bar is quite a work. Watching a chef doing this very easily completely misled me. Place the choc chunks in a bag, shake it to mix them, and set aside.


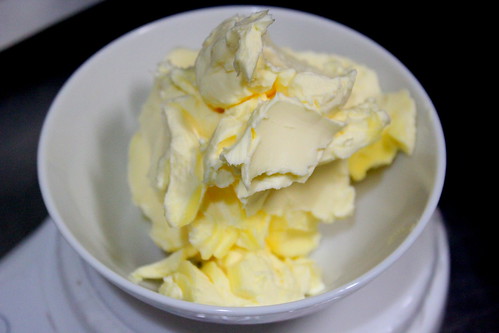
Her recipe calls for melted unsalted butter, but I used margarine. Place it in a microwaveable container and heat up in microwave at 800 V for 1 min.


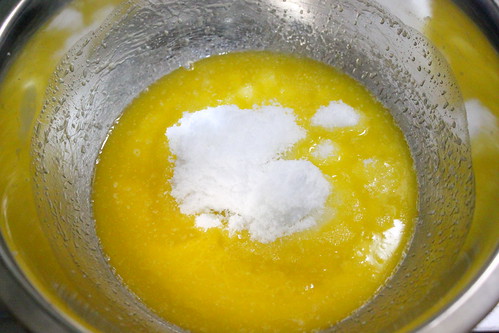
Transfer the melted butter to a mixing bowl and let it cool a bit.


Throw in sugar and whisk up. I only used caster sugar. Her recipe calls for brown sugar and caster sugar, but I`m running out of brown sugar. Pffff....I keep using different ingredients here...


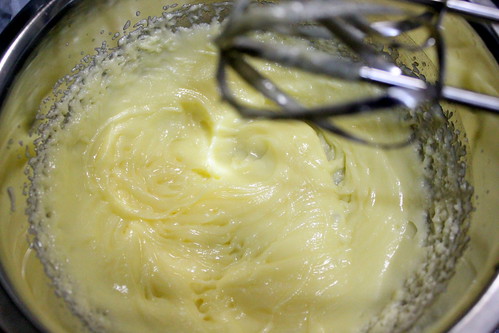
Here`s how it looks like after 5 minutes or so.


Add some vanilla essence and beat in one egg yolk and one whole egg. She suggested using fridge-cold eggs. I haven`t researched the reason yet, but I followed it anyway.


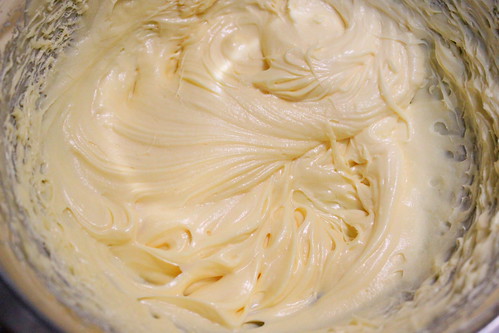
Whisk up until the batter turns creamy.


Mix in flour blended with baking powder in batches.
By the way, you can start preheat your oven at 170 C now. 


Oh...heavy..heavy....I said it loudly hoping he would come helping, but nothing happened.


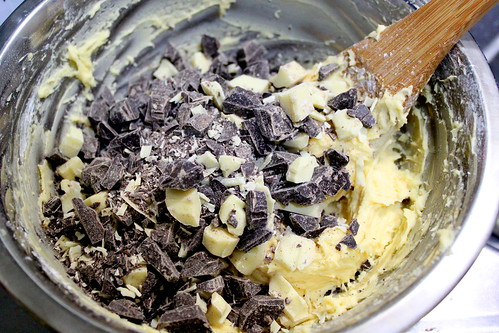
Fold in the choc chips chunks.


 Heavy...heavy..I said it louder, still nothing happened. Then I saw him wearing headphones.
Oh, maybe next time.

 
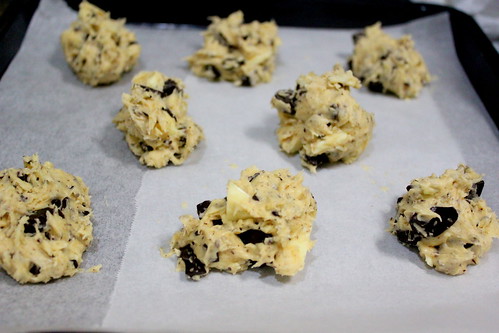
Line a baking tray with parchment paper. You can butter it of course, but I didn`t and there was no problem with it at all. Now, if you have an ice cream scoop, use it. I don`t have it, so I use my soup ladle. Did it work? Well, sort of. Only sometimes I needed to use my finger or spoon to help taking the dough out of the ladle.

Alright. Ready for baking now. Don`t they look like ice cream??


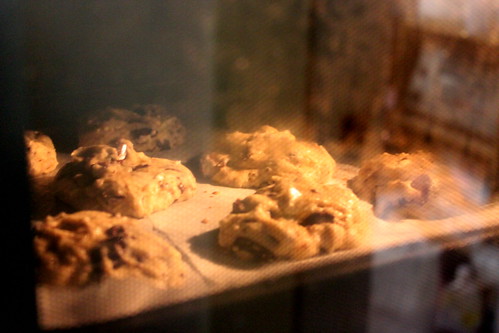
I kept checking if the "ice cream" melted. It did, but not as much as what I expected. Maybe more butter next time will do the trick.


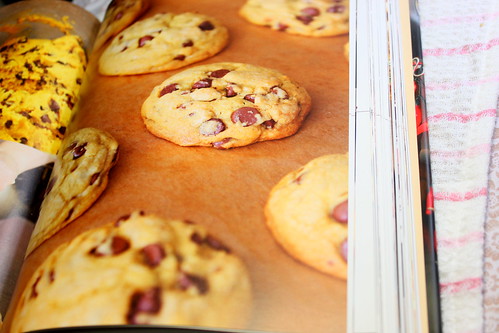
So this, is how I expected how the cookies look like. Pretty, right?


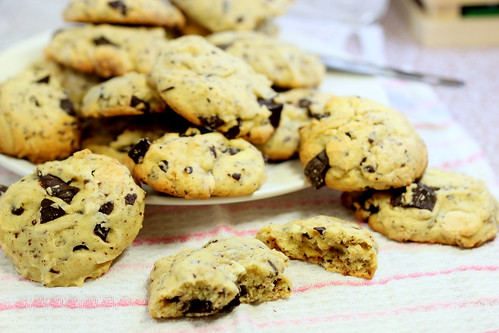
And this, is my double chocolate cookies. They look way paler than the ones shown in her book.  Probably because of the no-brown-all-white sugar I used. And less pretty too, lol. Nevertheless, these cookies came out chewy and a bit bready inside with crisp edge.


The white choc bits inside totally rock! Next time I`d keep the choc bars in a locked place. Lesson learned.


Ingredients*:
300 g chocolate bars, chopped
150 g margarine (or butter), melted
200 g sugar (or use in 1.25:1 ratio if using brown and caster sugar)
1 whole egg, fridge cold
1 egg yolk, fridge cold
vanilla essence
1 tsp of baking powder (original recipe using 1/2 tsp of baking soda)
300 g flour

Bake in preheated oven at 170 C for 17 minutes
*I slightly modified the original recipe