Showing posts with label bread. Show all posts

Sunday, February 19, 2012

Chocolate bread pudding

As promised, I`m back to share this bread pudding using the stale cream biscuits I made before. I actually made it on Valentine`s night where I got home at night wondering what I could prepare for a simple celebration. I didn`t prepare any certain menu ahead because initially we didn`t plan to have any celebration. Regardless, I still wanted to bake something chocolatey and sweet for the night and I spotted the stale biscuits sitting sadly in the room. Then I realized I also had the other ingredients, so I quickly grabbed my mixing bowl and whisk. 

Arrange stale bread in a baking dish or cake tin and set aside.
I tore the biscuits to make smaller pieces and placed the crust down as I think they will absorb the liquid better that way.
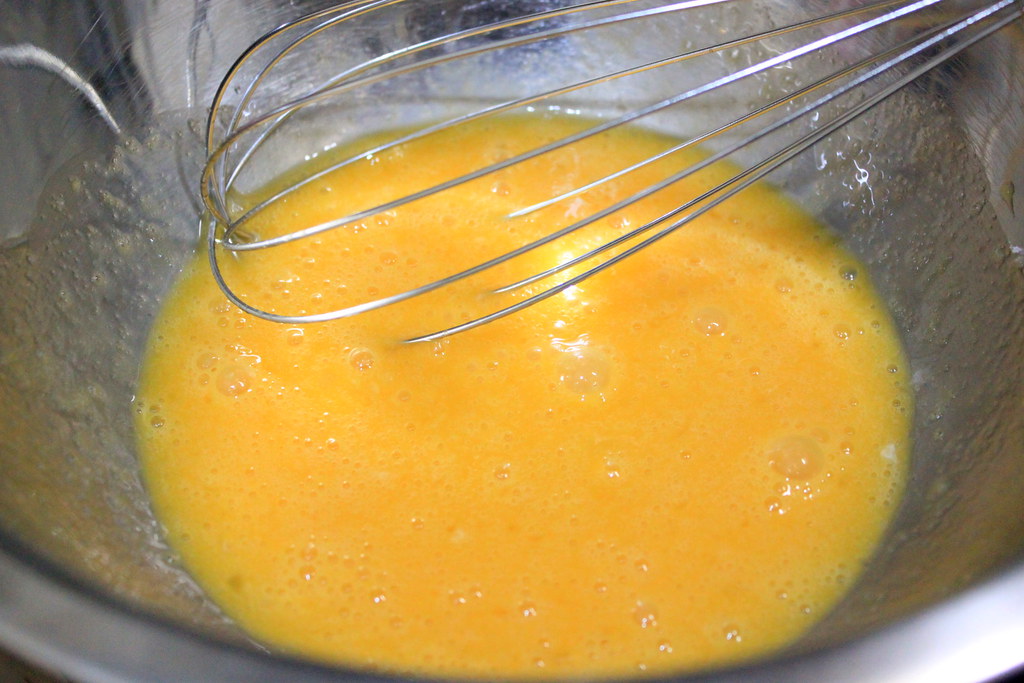
In a mixing bowl, beat eggs and sugar. 
I really love it when I can simply use my whisk, not the electric mixer, to make this kind of simple treat.
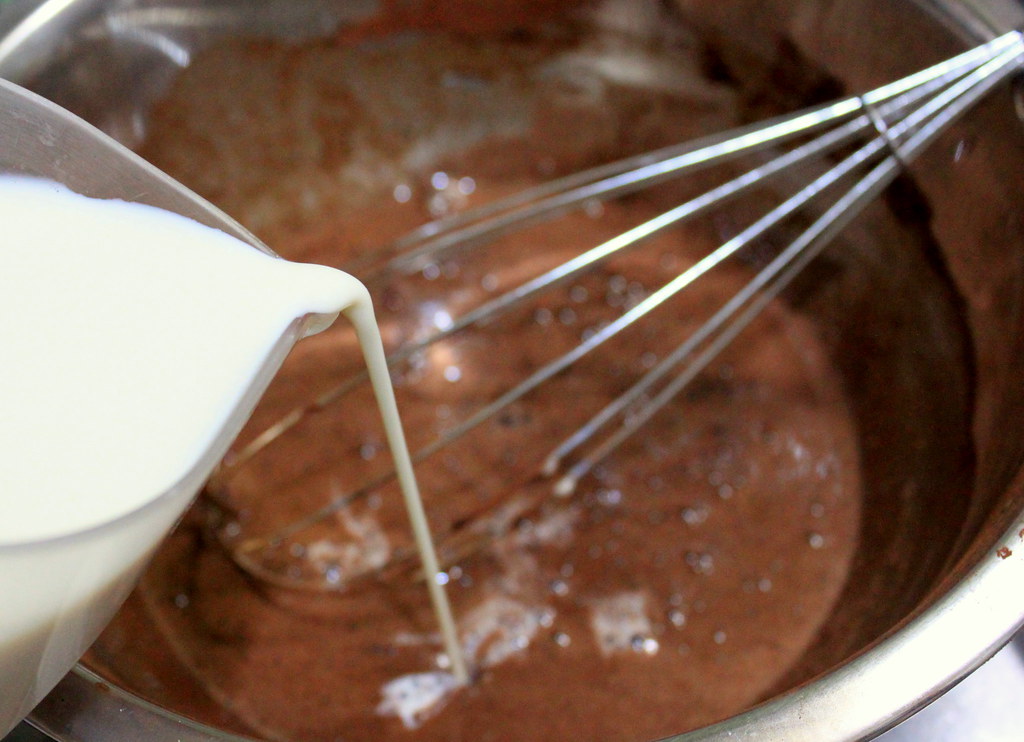
 
Stir in milk...

...and cocoa powder...whisk..whisk..
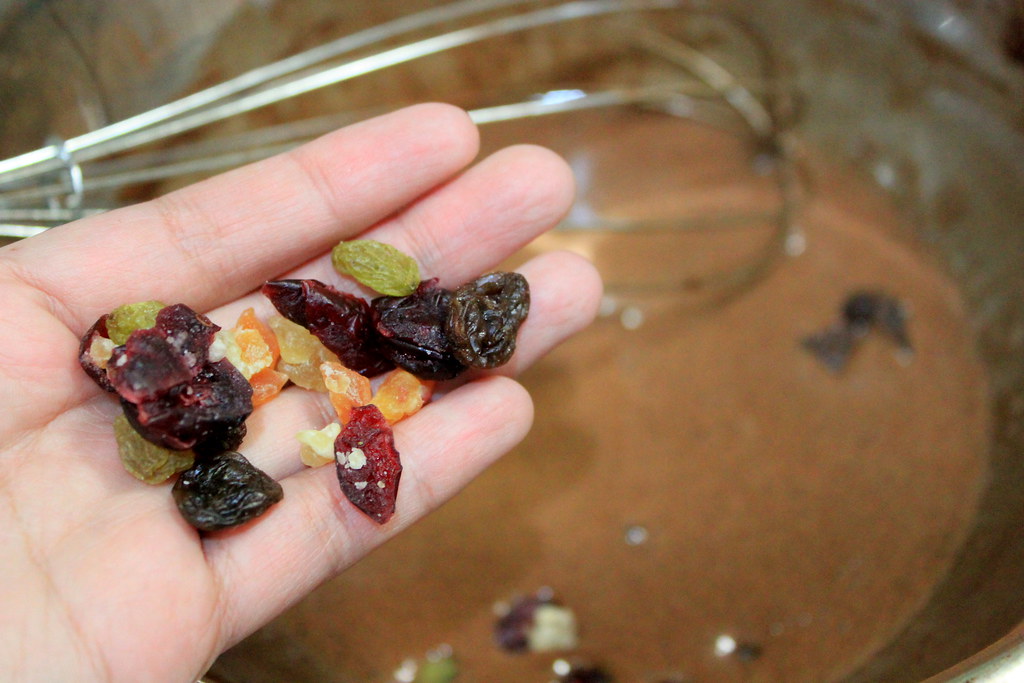
...and these beautiful little jewels. 
If you want to use more dried fruits, maybe you should reduce the amount of sugar in the batter to prevent the pudding from being overly sweet.
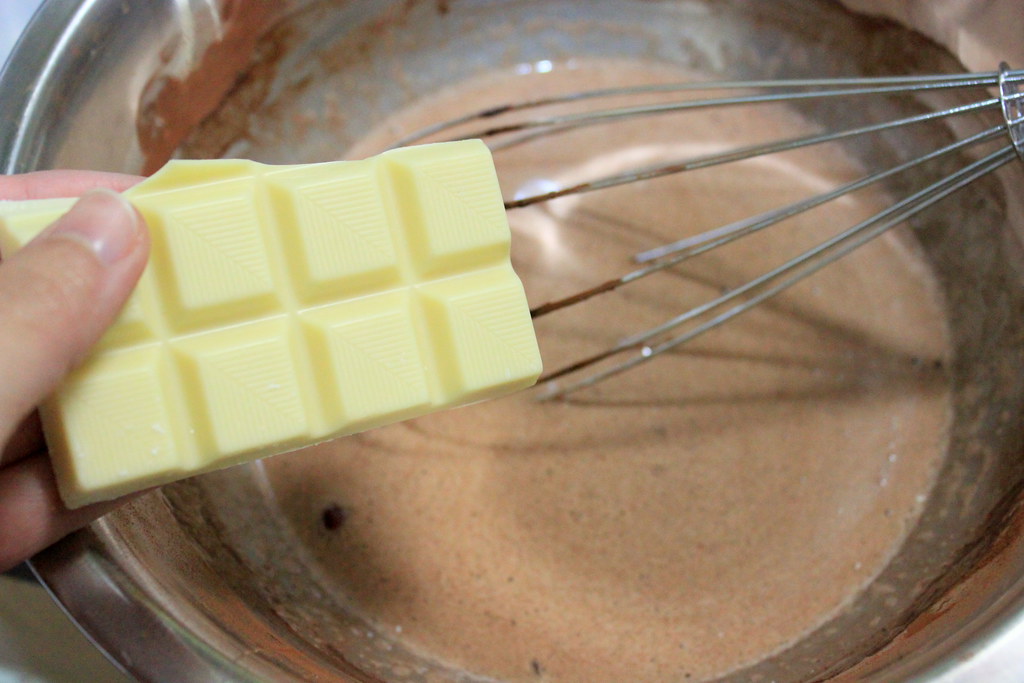
The final item containing sugar and fat and happiness is white chocolate. 
I was too lazy to chop up the chocolate, so I just broke the bar into chunks and stirred them in. And not only that. I also tried to grate the chocolate in, hence the white tiny chunks sticking on my ladle below. I thought I would love it, but it turned out the big chunks worked best for me.
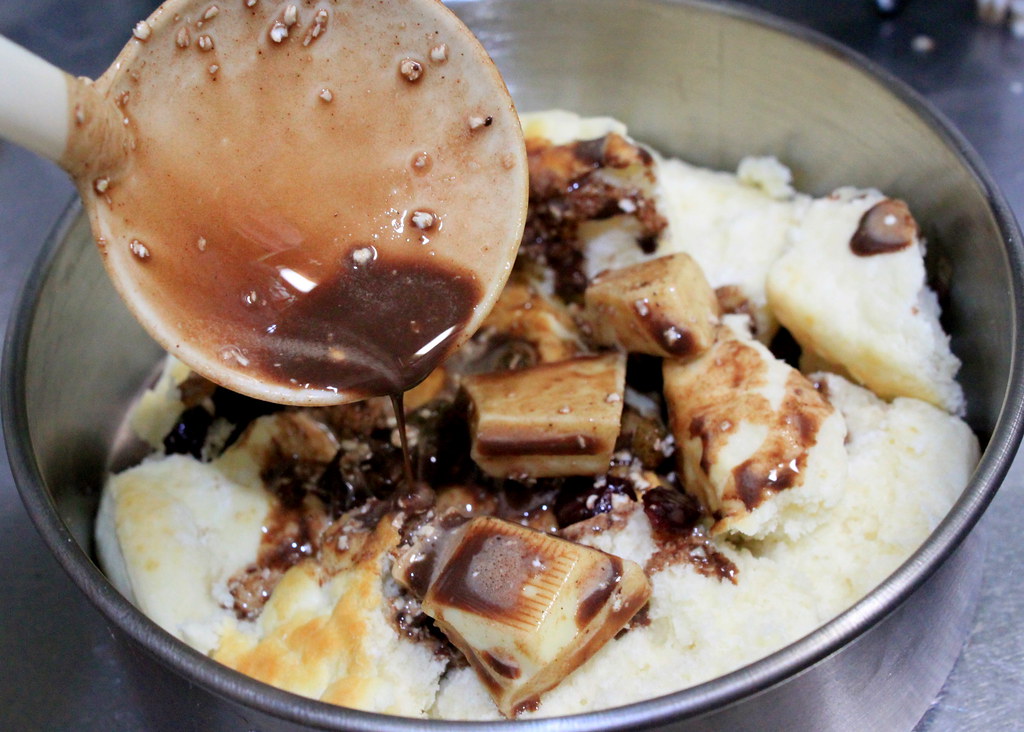
Alright, now gradually pour the batter into the tin and let the bread absorb it.
I don`t make bread pudding often, but pouring in all the batter then bake it right away is what I usually do. Now I came to think that it might be better if:  I throw all the bread into the batter in the mixing bowl, stir everything, and wait for a while until the bread has fully absorbed the liquid before finally baking it.
I really think that this method works better and you should try it.
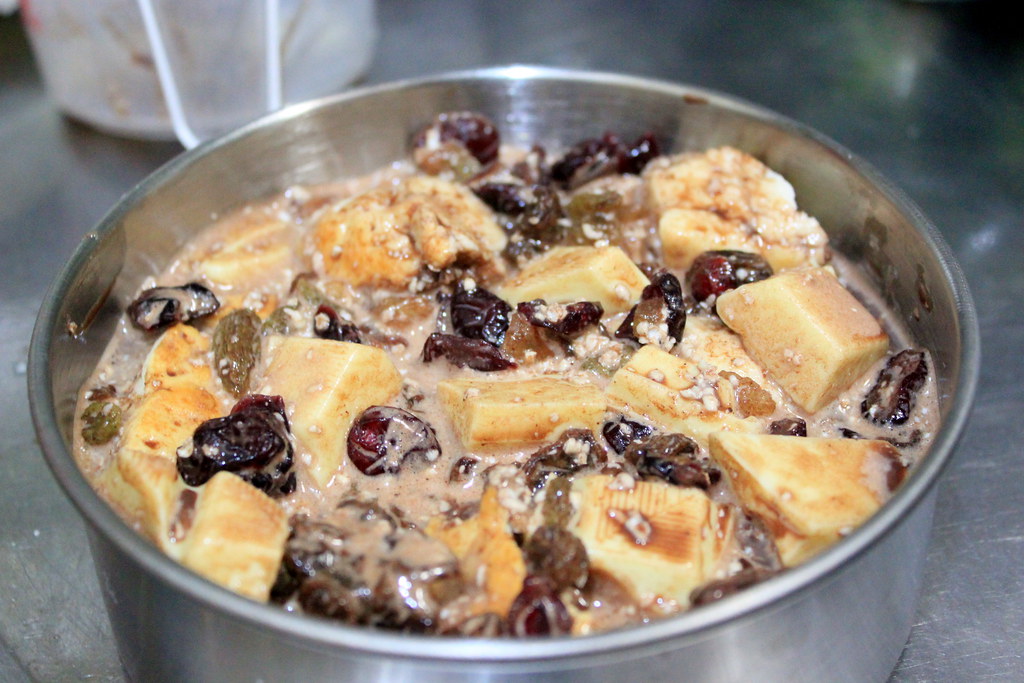
So, this is when all the batter has been poured in. Some of the dried fruits and white chocolate chunks will float on top, but that`s okay.
Sprinkle cinnamon over (or you can stir it in when making the batter) and bake it in preheated oven at 180 for 30 mins or until the top is browned and there`s no liquid remained underneath.

The look is not pretty at all and my ability in food-styling probably made it worse. But, there is a very big but here, this pudding has everything you need when you crave for something warm and sweet on a chilly night. Just hear this: The softened bread is filled with the chocolatey pudding and dried fruits with a lovely sweet milky crust of white chocolate on top. Now what`s not to like there??
CHOCOLATE BREAD PUDDING
Makes for 15-cm diameter and 5-cm deep cake tin

Ingredients:
Stale bread enough to fill half of the tin (see recipe for cream biscuits here)
2 eggs
3 Tbs sugar
150 ml milk
2 Tbs cocoa powder
1 1/2 cups dried fruits
White chocolate
Cinnamon

Method:
1. Arrange stale bread in a baking dish or tin and set aside.
2. Beat eggs and sugar in a mixing bowl.
3. Stir in cocoa powder, milk, and dried fruits.
4. Chop white chocolate into small chunks and stir in.
5. Gradually pour the chocolate batter into the baking tin and let the bread absorb the batter.
6. Sprinkle over cinnamon and bake in preheated oven at 180 C for 30 mins or until the top is browned and no liquid remained underneath.

Friday, February 17, 2012

Cream biscuit with strawberry orange jam

Friday night is finally here and now I can sit down sharing with you about my recent experiment. And speaking of experiment, sometimes I think it`s funny when I realize that I work in a lab where I measure chemicals and stuff, mix them altogether, heat or freeze them, make notes, take pictures, and so on. Then, at home, I practically do the same things, only with edible ingredients and these additional steps. Tasting, and eating the results. I guess I spend my time in two laboratories with two different projects and purposes.

So, back to my kitchen experiment. As I told you before about how I`m into baking these days, I found a biscuit recipe in Betty Crocker`s The Big Red Cookbook in which whipping cream is used to replace butter or shortening. Great! I always prefer to bake everything without butter whenever possible, so I was very excited to give the recipe a try. Not that I`m a butter hater person-believe me, you can kidnap me only with a jar of butter cookies-, but if I  have the option not to use it, I`ll  be happier. 
I`ve once made biscuit using butter before, but the biscuits turned out to be heavy and didn`t rise as high as what I`ve expected. I`m sure my baking skill is the only thing to blame for, but I knew I had to try making them again and I`m so glad I did!

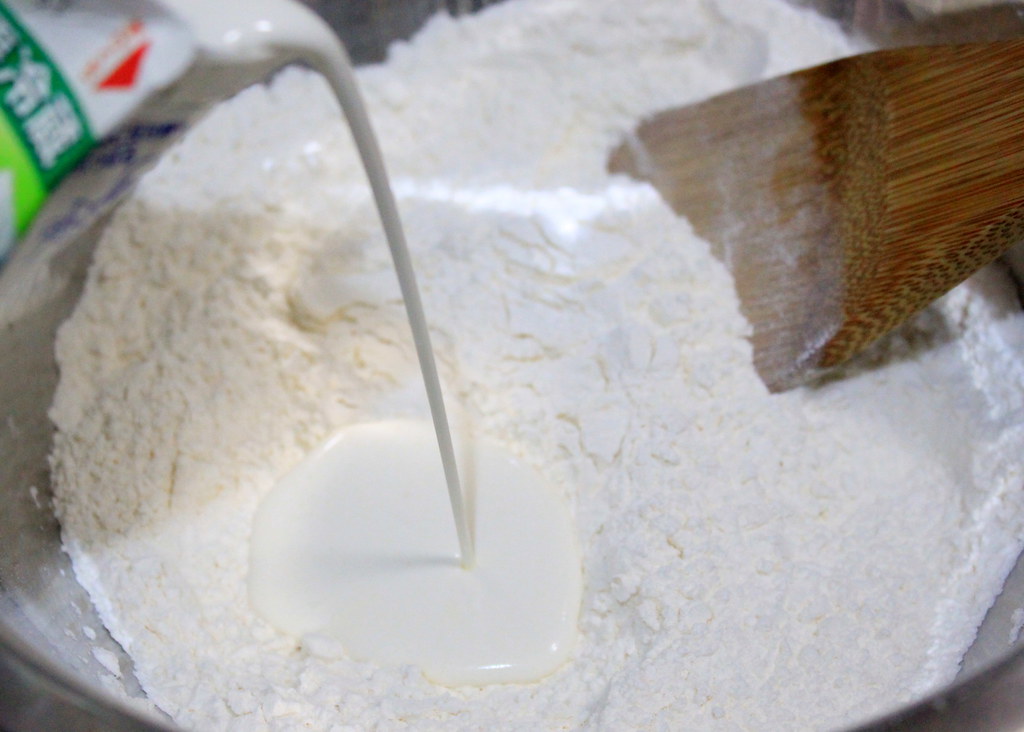
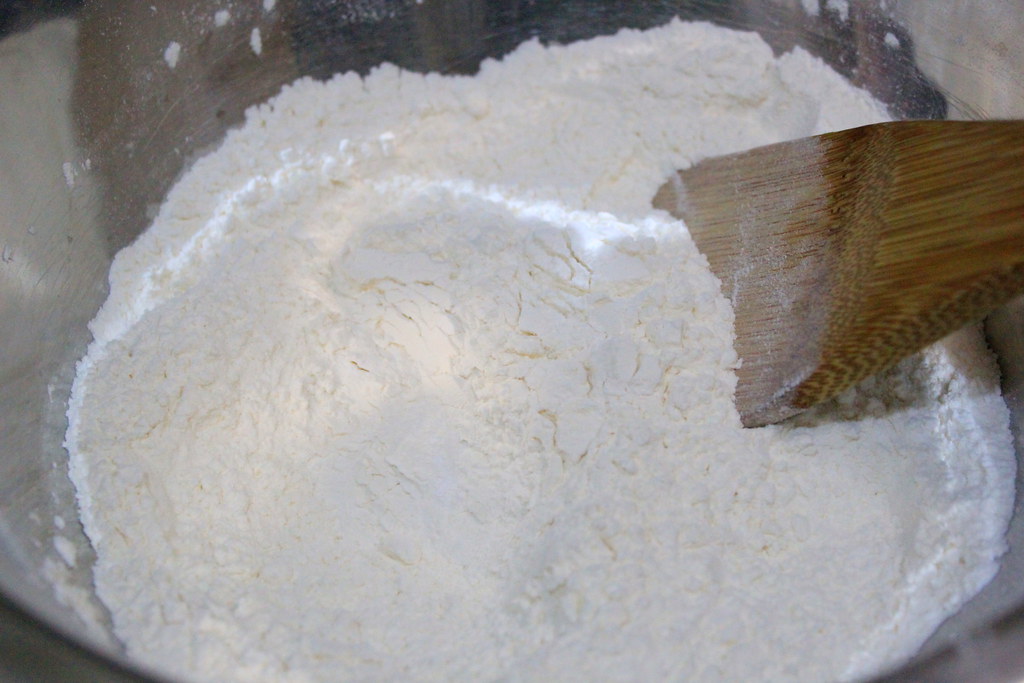
Mix together flour, baking powder, and salt in a bowl.

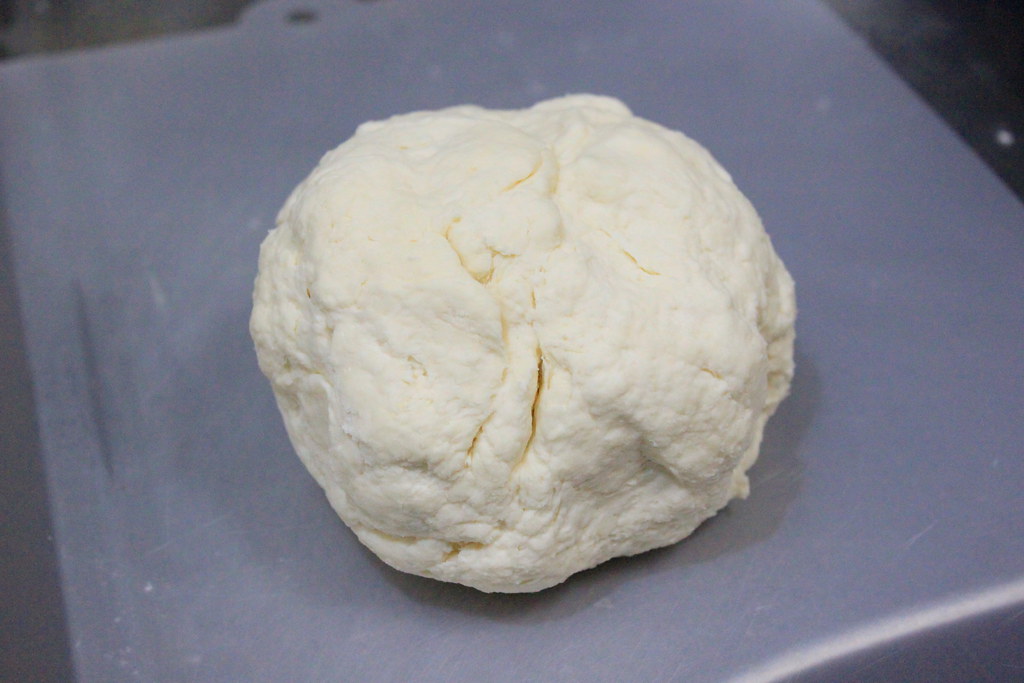
Stir in whipping cream until you can form the dough into a ball.

Like this one. To me it looks like a cauliflower.
You can adjust the amount of the cream to get the right consistency. If you`ve added the whole amount of cream I listed below but your dough is still dry and too crumbly, add 1-2 Tbs more cream. If your dough is too sticky, add a bit more flour.

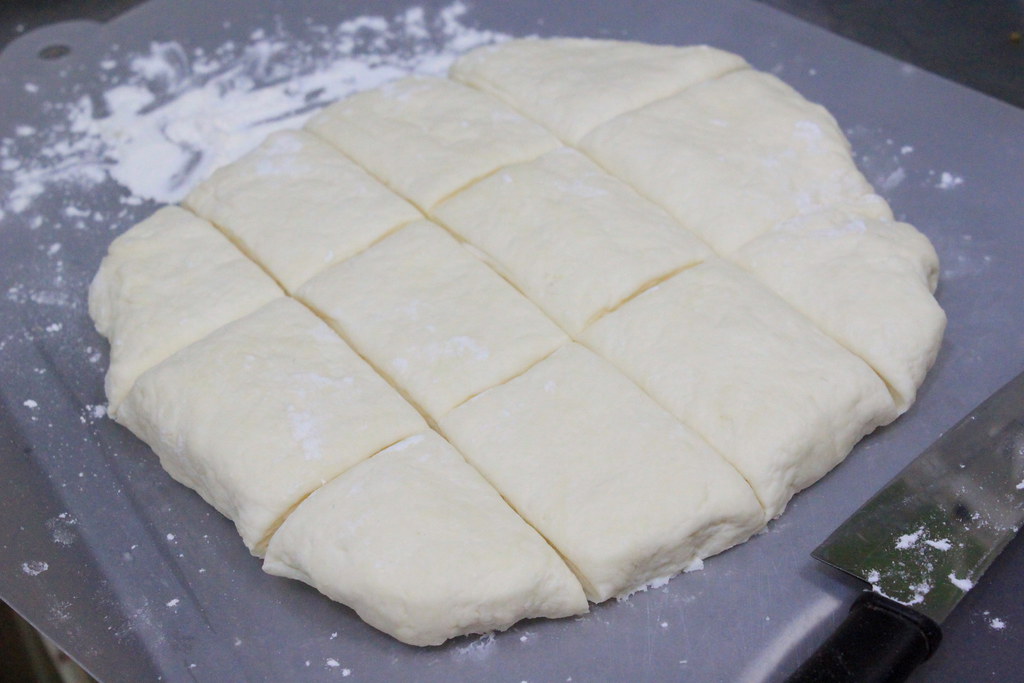
Knead the dough for a few times on a floured surface and roll out until 1-cm thick.
The next proper thing to do is cutting it out with a biscuit cutter or a cup. I don`t have the cutter or cups with suitable size either, so I just cut it using my knife unevenly. Unintentionally, of course. My apologies to the biscuit inventor.

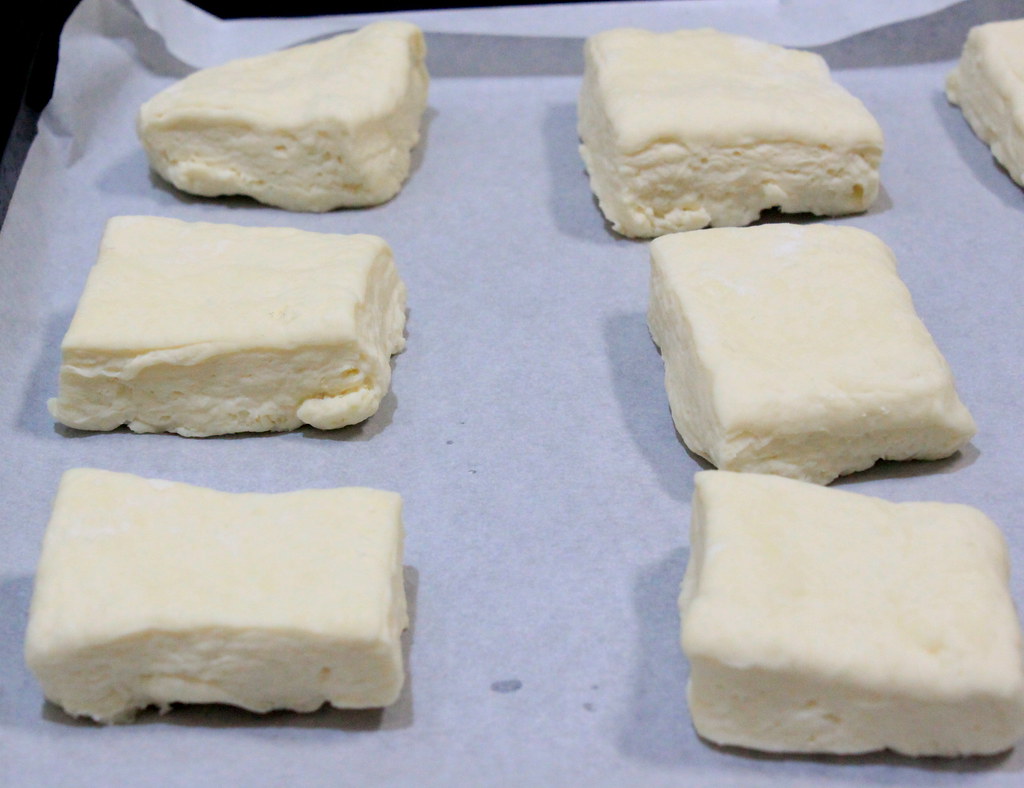
Have you ever seen biscuits that look like tofu??

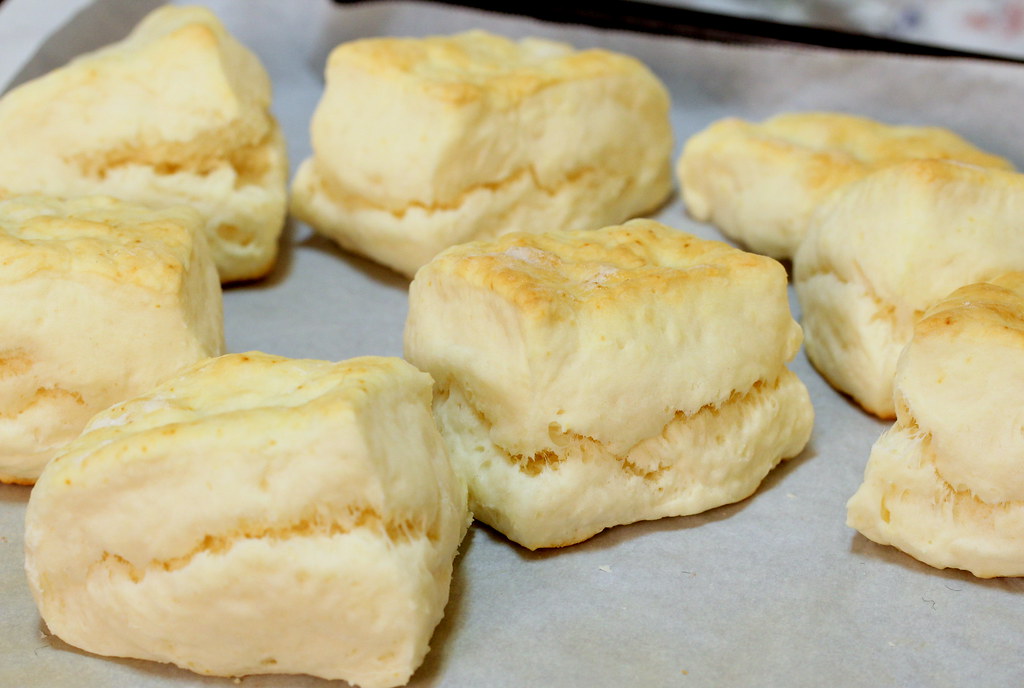
Bake them at 210 C for 15 mins or until the top has turned browned.
Seriously, I thought the biscuits has turned into tofu puffs in my oven. Anyway, tofu puffs or biscuits, just look how wonderfully they rise up!

After they`re out from the oven, they will shrink down a bit and you`ll notice the cracking side in each of them.

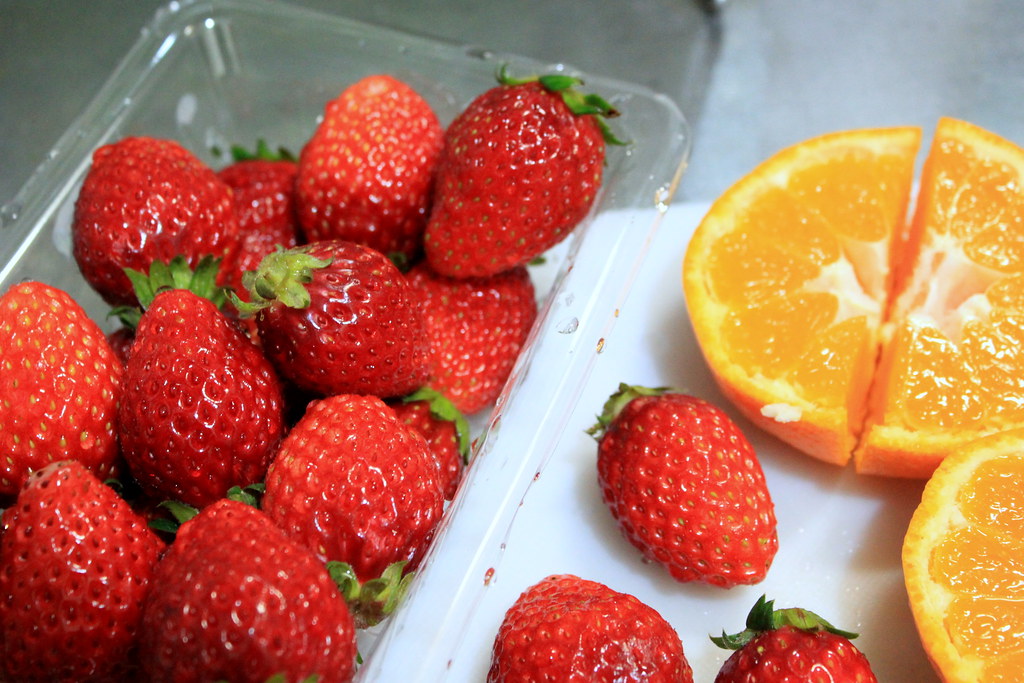
You can serve them with whatever you like, but I happened to have some strawberries and oranges, so I decided to make my own jam. I don`t have any special recipe for making fruit jam, but in case you`ve never made any, it`s no rocket science and here`s how to make it. 

Start with: washing the fruits. Of course.
If you use the same fruits like I did, cut up the strawberries into small chunks and juice the oranges.You can puree everything if you like, but I prefer to have some texture in my jam.

Heat the strawberries, orange juice-I added the pulp in too-, sugar, and a pinch of salt on medium heat.
Confession: that white powder you are now looking at is all SALT. Salt, everyone. It was a very salty accident. I had to discard the juice, rinse the strawberries with water, and pour in another fresh batch of orange juice. 
So, make sure that you`re adding more SUGAR than salt, unless salty jam is what you want.

I didn`t add water at all, but the orange juice and the water coming out from the strawberries is enough to turn the mixture into a thick liquid. 
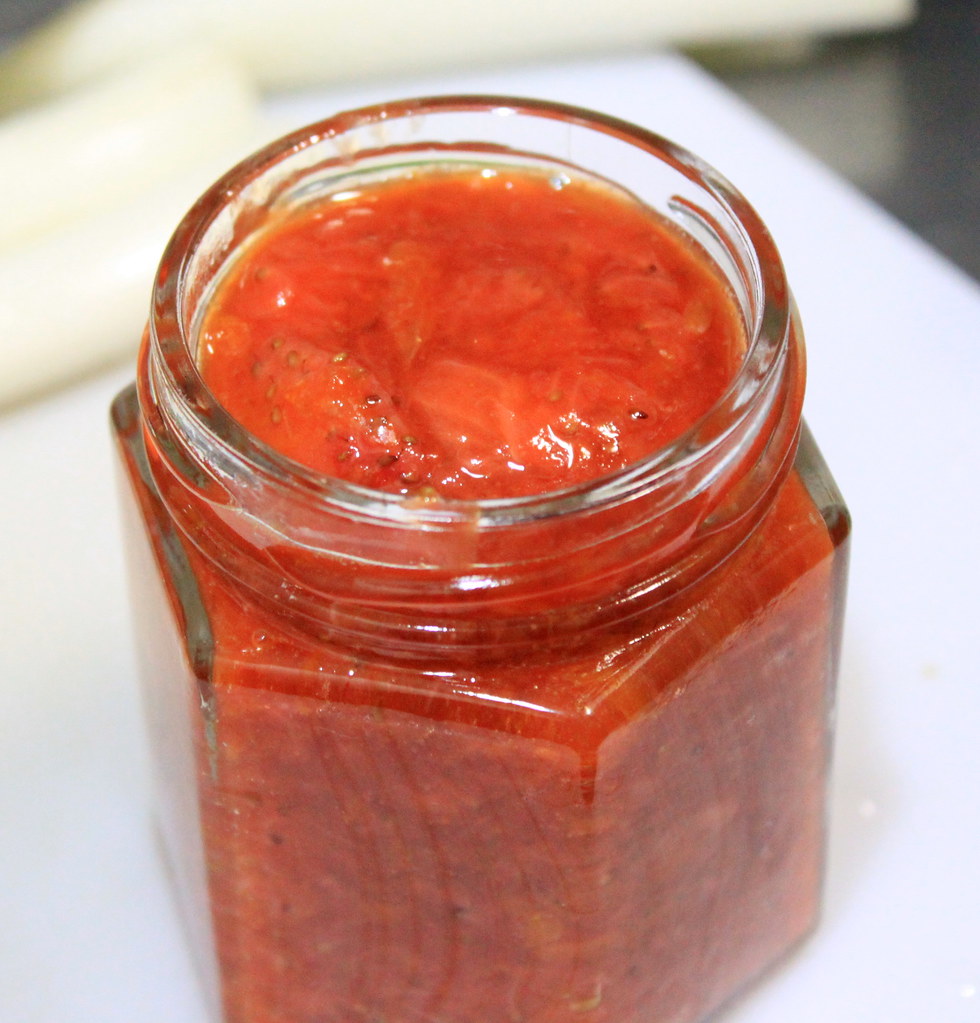
Keep stirring and cook until the jam has thickened or until it has reached your preferred consistency.

Pour the jam into a jar, seal, and store it in fridge.

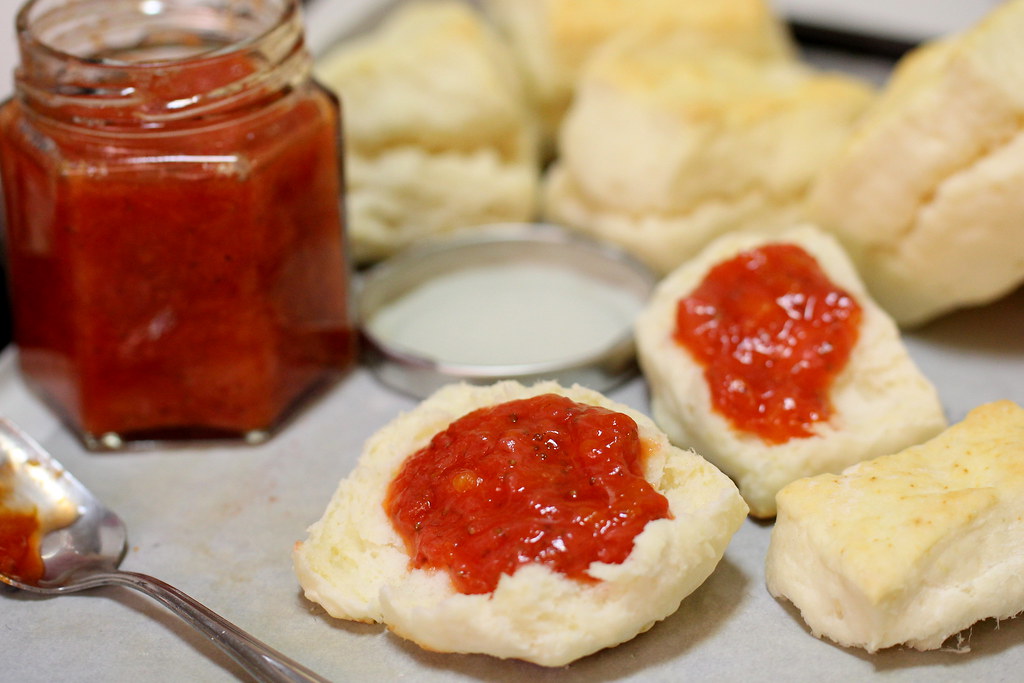
Spread the jam on the biscuits and you`ll find how wonderfully they marry together. The biscuits are so light and puffy and the sweet tangy strawberry jam makes everything joyful! Homemade bread and homemade jam under 1 hour. Can you believe it? I should call them weekend achievement. 

I`ll be coming back, hopefully soon, with a post on how I used up the stale biscuits! 

CREAM BISCUITS
Makes about 12 buns

Ingredients:
240 g bread flour
2 1/2 tsp baking powder
1/2 tsp salt
200 ml whipping cream (heavy cream)

Method:
1. Mix together flour, baking powder, and salt in a bowl.
2. Stir in whipping cream until you can form the dough into a ball. 
3. Knead the dough for a few times on a floured surface and roll out until 1-cm thick. 
4. Cut out the dough with a biscuit cutter or cup. 
5. Bake at 210 C for 15 mins or until the top has turned browned.

STRAWBERRY ORANGE JAM
Makes about 1 1/2 cup

Ingredients:
10 strawberries
2 medium-sized oranges to produce about 1 cup of juice
2 Tbs sugar
A pinch of salt

Method:
1. Cut up the strawberries into small chunks and juice the oranges
2.  Heat the strawberries, orange juice (and the pulp too), sugar, and a pinch of salt on medium heat. 
3.  Keep stirring and cook until the jam has thickened.
4. Pour the jam into a jar, seal, and store it in fridge.

Monday, January 2, 2012

Pan-fried buns for a start in 2012

Happy New Year 2012, everyone! How was your New Year`s day there??
It`s already Jan 2 evening at our place, which also means the last day of my holiday. I have really enjoyed my time in the kitchen and in fact, I baked and cooked so much that he begged me to stop cooking for a while. It really sounded bizarre considering how often I usually ask him to buy store-bought food during our regular weekdays, or even sometimes on weekends. This holiday, however, I had (and am having) a sudden unstoppable obsession in bread making. Bread dough was one of my kitchen nightmares that I used to avoid the best I can. I remembered last year where I burst into tears when both my hands got trapped in a very sticky monstrous bread dough. The results were disasters too! I did stop trying making any kind of bread until I bought an old cooking magazine featuring pan-fried buns (Orange Page 2010, Vol 1). The buns look very similar with the regular steamed buns, only these ones got beautiful crusty side on the base.


My attempt in making the buns using the magazine`s recipe just worked and I hope by sharing this post I can encourage those who haven`t tried making steamed buns. This is going to be a very long post, but please don`t be put off by that because doing it is actually much less complicated than explaining it.


Alright, ready to scroll down your mouse?
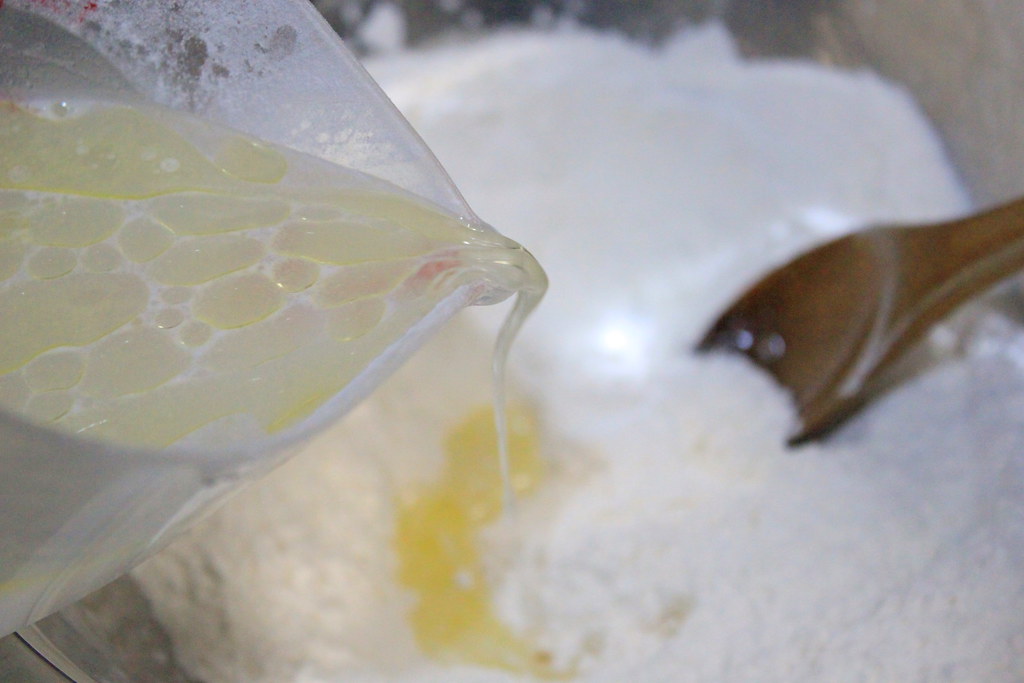
Mix flour, baking powder, sugar, and salt in a bowl and stir in lukewarm water mixed with olive oil. 
From what I`ve experienced, I found that using a wooden spoon to mix the ingredients works best for me. A kneader is good too. But definitely not by hand. Not for me. Not at this stage.

After the mixture turns into a dough, knead it by hands, and shape into a ball and let rest for 30 mins or 1 hour. I was worried looking at how ugly it was, but it turned out to be alright later.

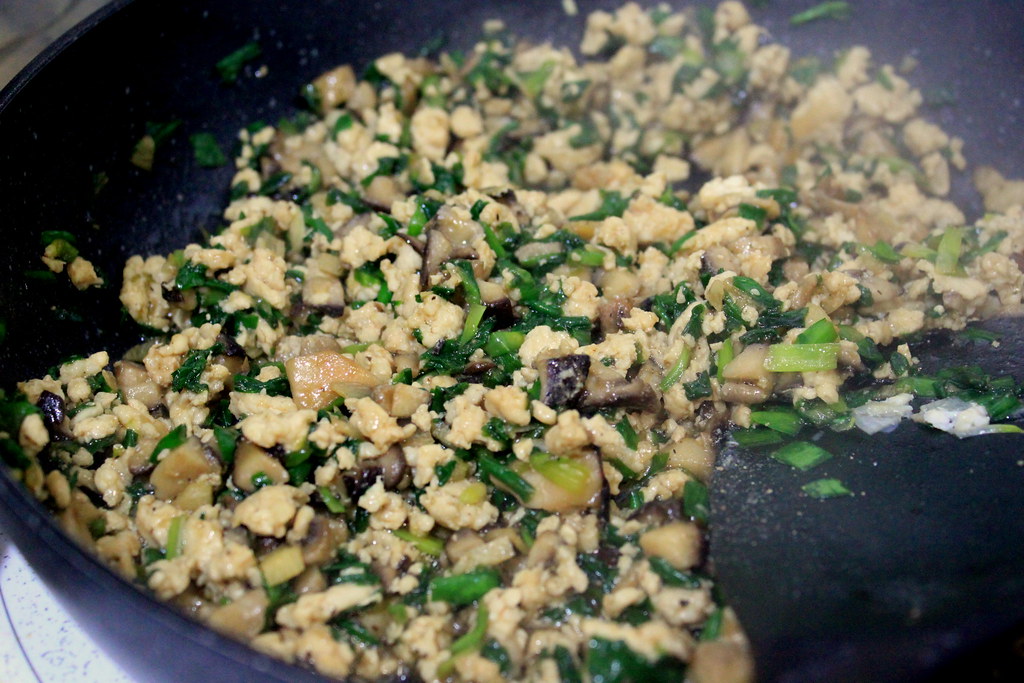
In the mean time, prepare the filling. You can use your favorite filling, but here I used chicken and mushrooms filling.

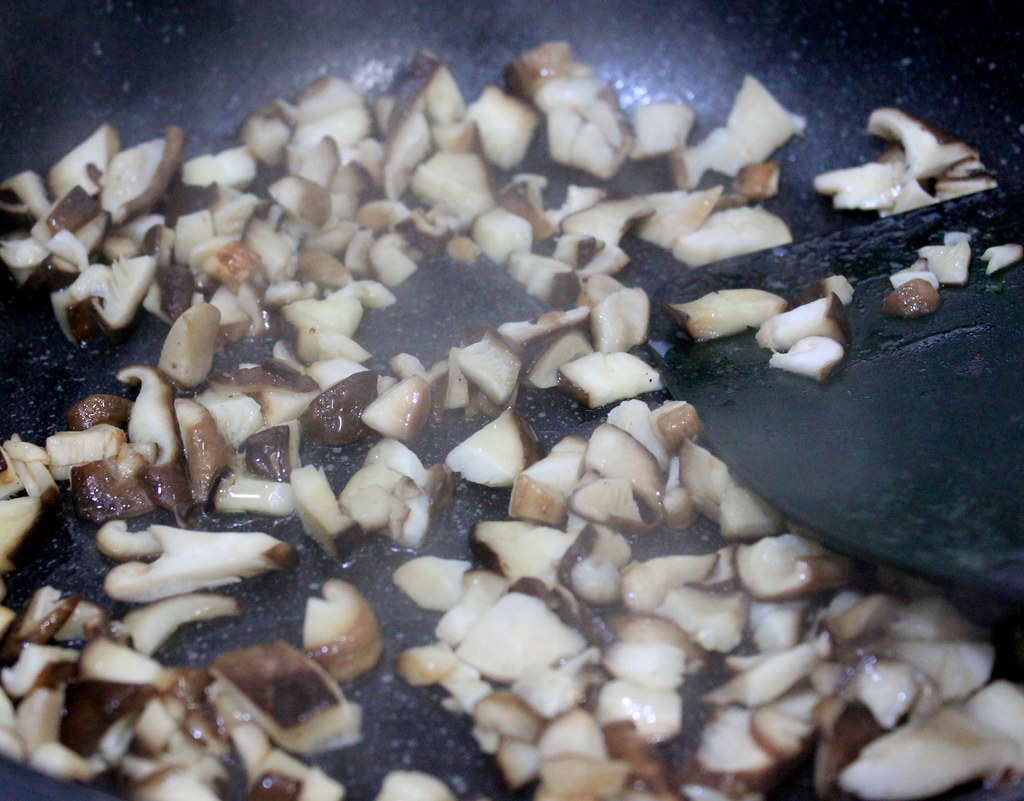
Saute chopped shiitake mushrooms and garlic (the garlic picture isn`t here, sorry!) with olive oil until they have wilted and released the nutty scent.

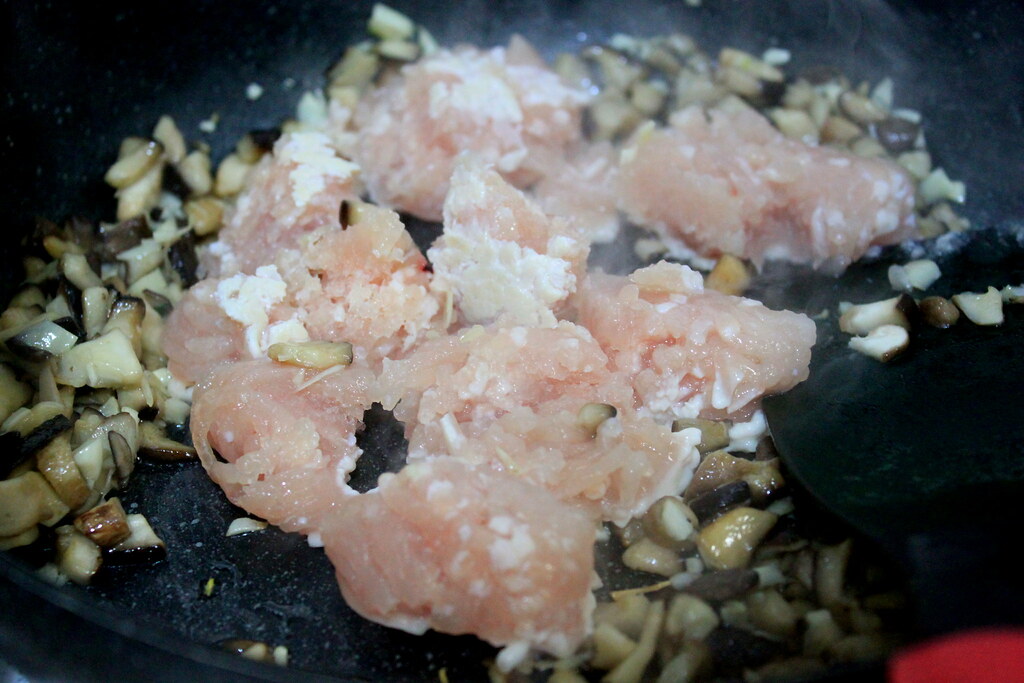
Stir in minced chicken and let cook through.

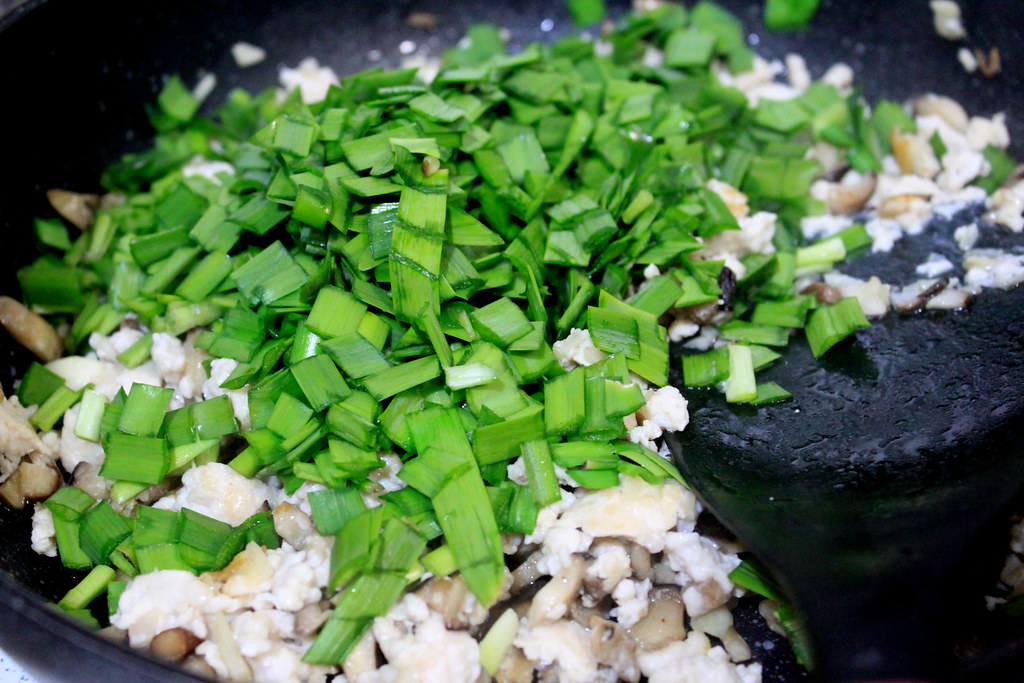
Throw in chopped garlic chives.
This is a very garlicky chickeny filling.

Add soy sauce, vinegar, sesame oil, salt, and pepper. It`s better to oversalt the filling a little bit as it will go together with the plain buns.
After the filling is ready, set aside to let it cool.
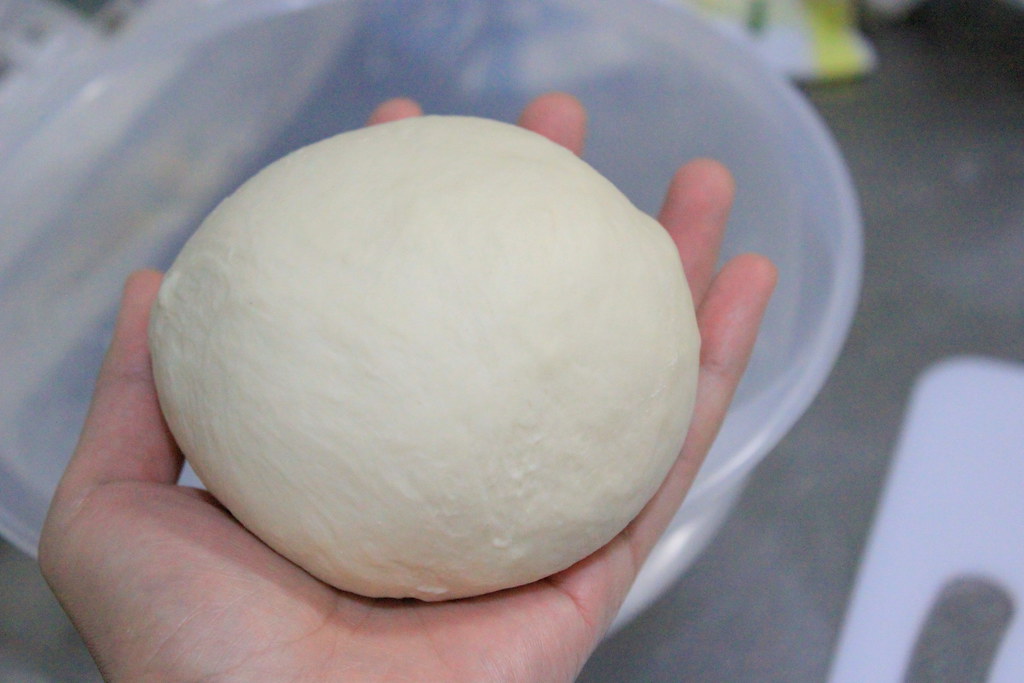
Now here`s the dough ball that has been leavened. I flattened it pushing the air out and kneaded by hand for a couple more times. Look how smooth it is now!

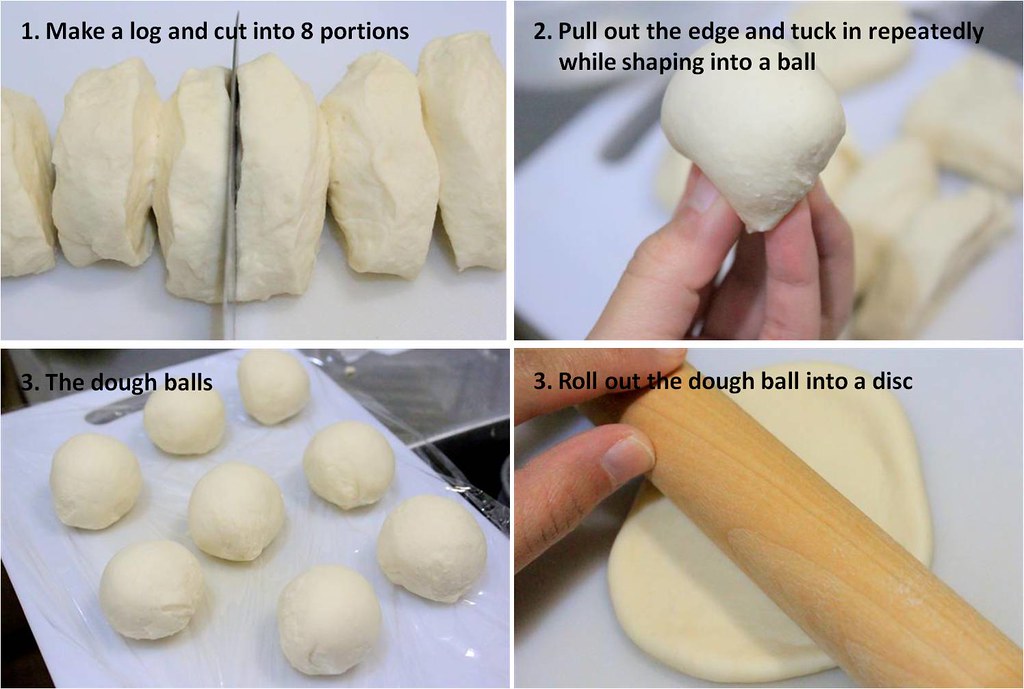
Next is dough portioning.

1. Shape the dough into a log and cut crosswise into halves and cut the halves into another halves to get 4 equal portions. Then, half each cut and this will result in 8 equal portions. 
By equal, of course, I mean, humanely possible equal.
2. For the finishing knead, pull out the edge of each portion dough and tuck it in repeatedly while shaping into a ball shown in Picture 3 above.
4. With a rolling pin, roll out each ball into a disc. 
My dough was a little springy that the flattened disc kept springing back making the disc rather thick. But I just continued to the filling anyway.

Next is the filling.

1. Place the disc onto your palm and flatten it once more.
From what I`ve learned, it`s better to flatten the edges and leave the center a little thick. 
2. Place the filling onto the disc.
Try small first and when you get used to the wrapping, add more filling.  
3. Pleat the edge and seal them altogether. 
As you can see in the picture, I didn`t pleat it. I just sealed the edge and I was satisfied enough if the filling could be wrapped neatly. 
4. Twist the edge for final sealing while shaping into a round bun.
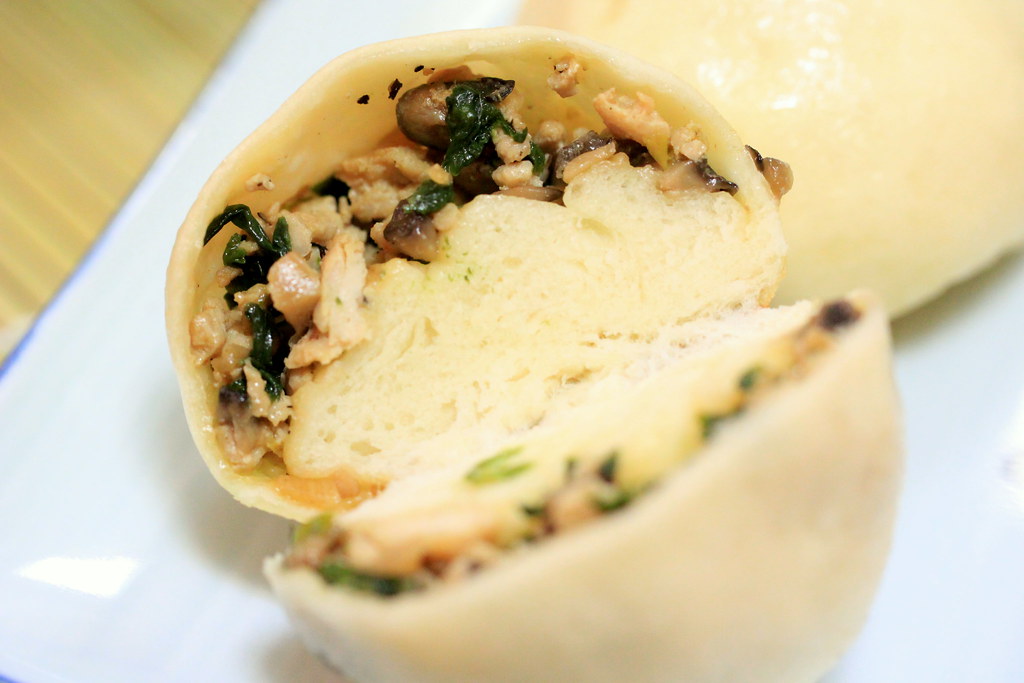
Go easy with the twisting. Once the bun is safely sealed, you`re good. I overdid the sealing and the center got stretched out too far making the surface too thin and the base too thick.

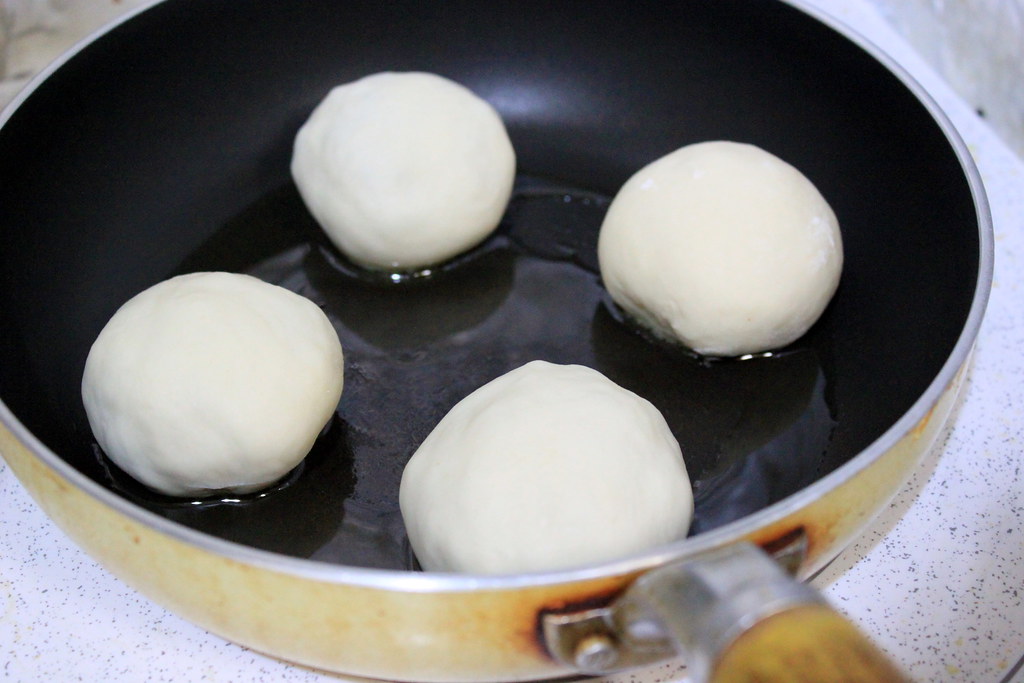
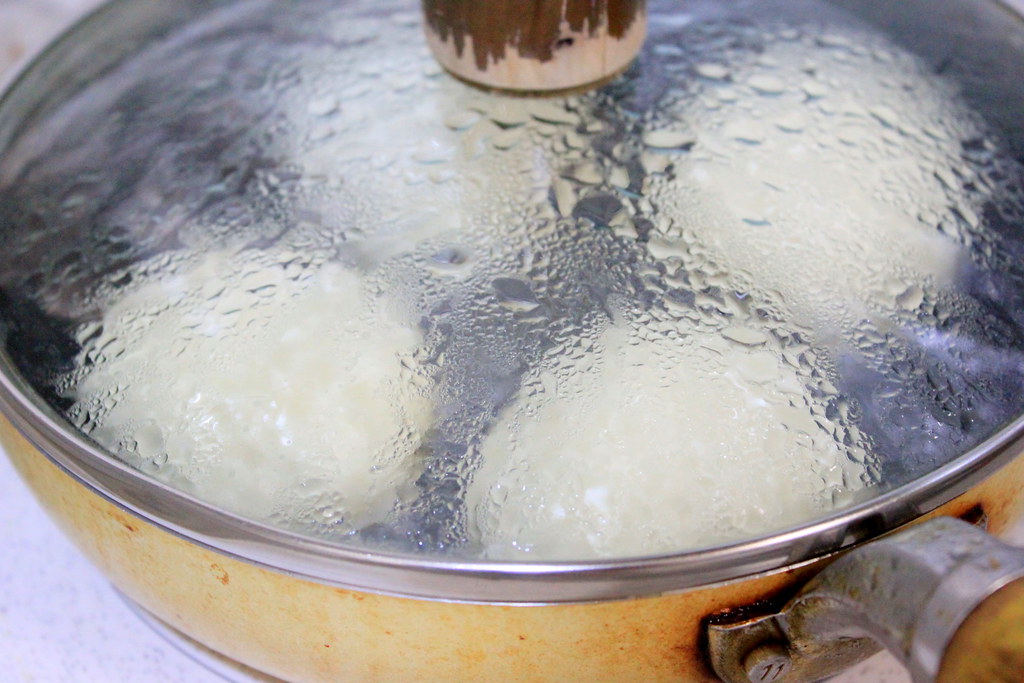
Heat a bit of oil on a frying pan over medium heat and place the filled buns. They will puff up, so space them apart.

After 1 minute frying the base, quickly, but carefully pour in 1/3 to 1/2 cup of water. 
There will be a serious oil splatter at the beginning, but if you add enough water, which covers like 1/4 or 1/3 of the bun, the splatter will be quickly gone and the water will simmer instead.

After adding the water, quickly cover the pan with a lid and let the water and steam cook the bun for 7-8 minutes.

After the buns have nicely puffed up, open the lid, crank up the heat, and let the water evaporate. Add sesame oil and swirl around to coat the bun base for final frying for another minute.
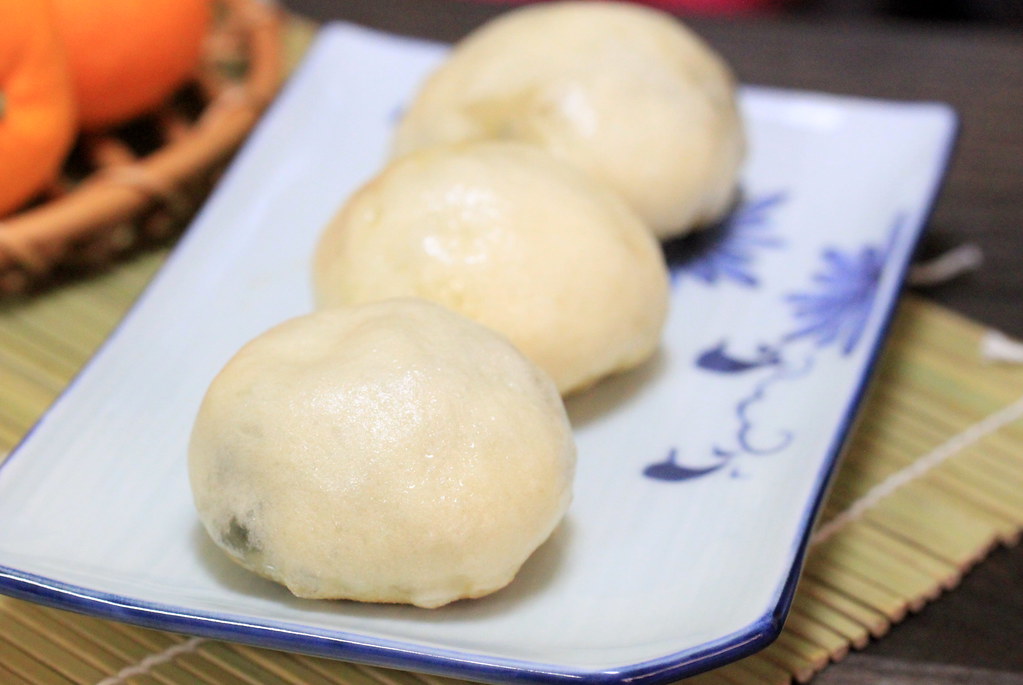
Done! 

Ready to devour?

Here, let me cut it open for you so you can see the inside. This is why I suggest you not to overdo the sealing. This must be the most weird-looking bun I`ve ever had.

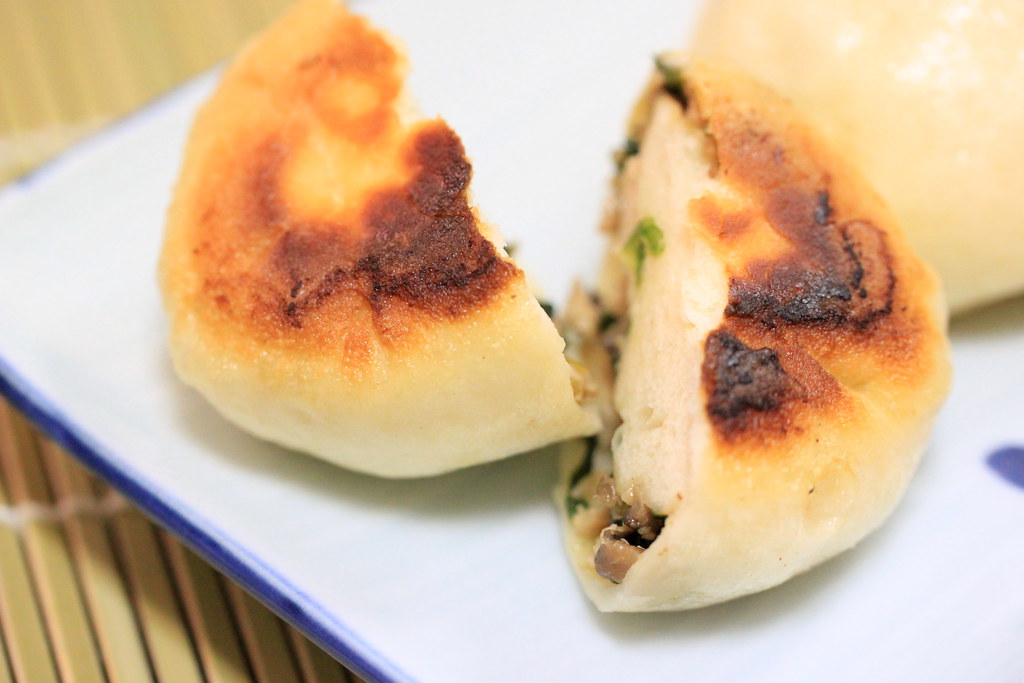
I also made the regular steamed buns with the same dough. Tastewise, I love them both. Love, love, love. Cooking-processwise, the steaming method was simpler and quicker as I could cook more buns at once in my steamer and I didn`t need to do anything except waiting. Texturewise, the fried ones have wonderful textures with the irresistible heavenly crusts.

These crusts. Do I need to say more?
PAN-FRIED BUNS
Adapted from Orange Page 2010, Vol 1
Makes 8 buns

Ingredients:
For filling
5 cloves of garlic
150 g minced chicken
100 g shiitake mushrooms
Garlic chives
2 tbs soy sauce
1 tbs sesame oil
Salt 
Pepper

For buns
200 g bread flour
1 tsp baking powder
1/2  tsp sugar
1 tsp salt
1 tbs olive oil
100 ml lukewarm water

Methods:
For the filling
1. Saute chopped shiitake mushrooms and garlic with olive oil until they has shrinked and released the nutty scent.
2. Stir in minced chicken and let cook through.
3. Throw in chopped garlic chives.
4. Add soy sauce, vinegar, sesame oil, salt, and pepper. 
5. Let it cool down. 

For the buns
1. Mix flour, baking powder, sugar, and salt in a bowl and stir in lukewarm water mixed with olive oil. 
2. After the mixture turns into a dough, knead it by hands, and shape into a ball and let rest for 30 mins or 1 hour. 
3. Flatten the leavened dough to push the air out and knead by hands for a couple more times.
4. Shape the dough into a log and cut crosswise into halves and cut the halves into another halves to get 4 equal portions. Then, half each cut and this will result in 8 equal portions. 
5. For the finishing knead, pull out the edge of each portion dough and tuck it in repeatedly while shaping into a ball 
6. With a rolling pin, roll out each ball into a disc. 

For filling and frying
1. Place the disc onto your palm and flatten it once more.
2. Place the filling onto the disc.
3. Pleat the edge and seal them altogether. 
4. Twist the edge for final sealing while shaping into a round bun. 
5. Heat a bit of oil on a frying pan over medium heat and place the buns. They will puff up, so space them apart.
6. After 1 minute frying the base, quickly, but carefully pour in 1/3 to 1/2 cup of water. 
7. Quickly cover the pan with a lid and let the water and steam cook the bun for 7-8 minutes. 
8. After the buns have nicely puffed up, open the lid, crank up the heat, and let the water evaporate. Add sesame oil and swirl around to coat the bun base for final frying for another minute.

Sunday, October 10, 2010

Shrimp sandwich

We were really hungry yet sleepy last night. It was 11:30 pm and raining outside. I asked him, "Grocery store?", and he said, "Okay". The 24-h grocery store across our apartment is a real life saver, I tell you. There are countless times when we think of the store as our bigger fridge placed 10-m away from our room. Anyway, I`ve been wanting to make a shrimp sandwich, supposedly for our "let`s have a picnic near the river someday" plan. It turned out that someday is last night, at our bedroom, not the river.
So, we got home with the ingredients I needed. He started nibbling the potato chips we bought until I scolded him, "Stop eating! Wait until the sandwich is done!".  
I love you, sweetie.

Now, here is how our sandwiches are made.

Start by preparing mushroom and shrimp.
Lightly wash shiitake mushroom, cut the stem (don`t throw it away!), and slice them up.


Deshell and devein the shrimp. Tell you what, I just started to devein my shrimp only recently and it was a real shocking experience when I first time saw what`s inside the "vein". It`s not vein, though, it`s the intestine.  Go figure yourself if you haven`t done so. You will never ever ever cook your shrimp without deveining them first again, unless you`re a brave person.


So I got hungrier and dizzier with the shrimp cleaning process, but I finished it.
See honey? This shows how much I love you. You do remember the Zara sweater we saw last week, right? 


Now, drizzle some olive oil or heat some butter (low saturated fat for me, please) on your pan and dump in the mushroom first. I love the nutty and meaty smell of shiitake mushroom when they are sauteed. Keep sauteing until the mushrooms shrinks, then set them aside.


Use the same oil and pan and throw in the shrimp. I still don`t know how to tackle this, but I always find the shrimps releasing water during sauteing even though I have wiped off the water after washing shrimp. So what I do is, I just let them get steamed a bit with the water coming out, let it evaporates, and increase the heat to caramelize the shrimp.

After the shrimp is done, turn down the heat a bit, and put back the mushroom to the pan. 
Then, add your favorite sauce and seasoning. Mine was soy sauce, pepper, and salt. I was too sleepy to go crazy. Keep stirring up until shrimp and mushroom are evenly coated with the sauce. Be careful, though, the soy sauce thickens fast, thus it gets burned fast too.

Now the bread. I had my bread toasted for this sandwich. But if you just want regular bread, go for it. You can go stack up your sandwich.
I actually thought of mixing tomato ketchup, mayonnaise, cayenne pepper, and black pepper for the sauce, but I just found last night that I only have a tiny drop of mayonnaise left. So I just squeezed it out from the tube directly to the sandwich.
From the bottom is: bread-lettuce-sliced tomato-sauce-shrimp and mushroom-sauce-lettuce-bread

We had an energy boost and went to bed feeling full. Don`t do this, I warn you.


Ingredients:
Bread
Shiitake mushroom, sliced
Shrimp, deshelled and deveined
Lettuce
Tomato
Soy sauce
Salt and pepper

Baking (if you want toast and you don`t have toaster):
Remove bread crust before baking
180 C for 15 minutes