Showing posts with label mushrooms. Show all posts

Monday, January 2, 2012

Pan-fried buns for a start in 2012

Happy New Year 2012, everyone! How was your New Year`s day there??
It`s already Jan 2 evening at our place, which also means the last day of my holiday. I have really enjoyed my time in the kitchen and in fact, I baked and cooked so much that he begged me to stop cooking for a while. It really sounded bizarre considering how often I usually ask him to buy store-bought food during our regular weekdays, or even sometimes on weekends. This holiday, however, I had (and am having) a sudden unstoppable obsession in bread making. Bread dough was one of my kitchen nightmares that I used to avoid the best I can. I remembered last year where I burst into tears when both my hands got trapped in a very sticky monstrous bread dough. The results were disasters too! I did stop trying making any kind of bread until I bought an old cooking magazine featuring pan-fried buns (Orange Page 2010, Vol 1). The buns look very similar with the regular steamed buns, only these ones got beautiful crusty side on the base.


My attempt in making the buns using the magazine`s recipe just worked and I hope by sharing this post I can encourage those who haven`t tried making steamed buns. This is going to be a very long post, but please don`t be put off by that because doing it is actually much less complicated than explaining it.


Alright, ready to scroll down your mouse?
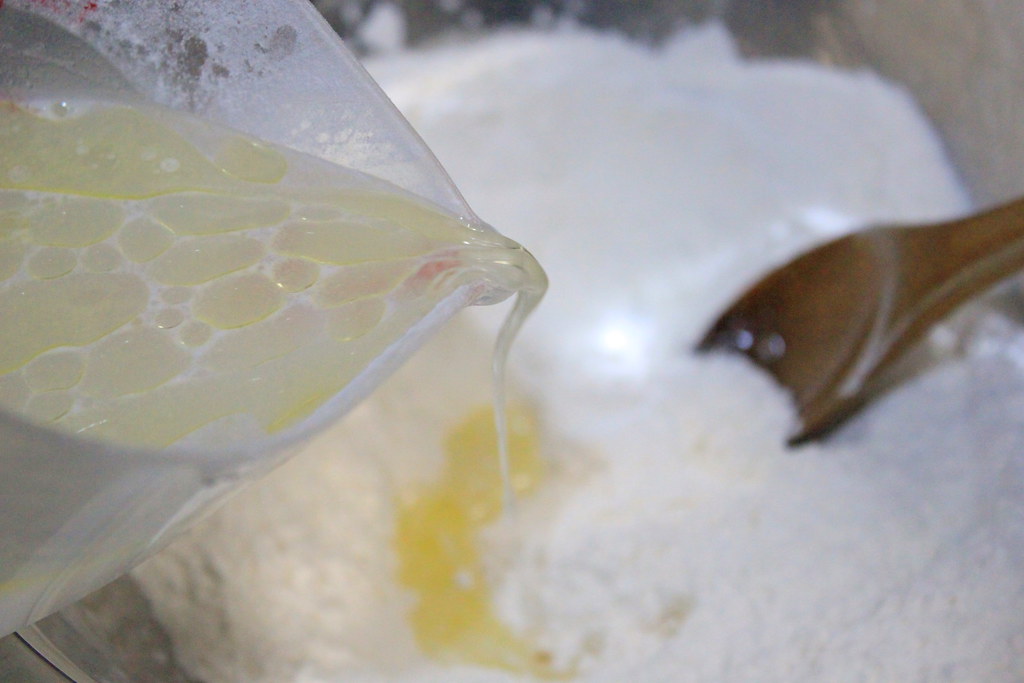
Mix flour, baking powder, sugar, and salt in a bowl and stir in lukewarm water mixed with olive oil. 
From what I`ve experienced, I found that using a wooden spoon to mix the ingredients works best for me. A kneader is good too. But definitely not by hand. Not for me. Not at this stage.

After the mixture turns into a dough, knead it by hands, and shape into a ball and let rest for 30 mins or 1 hour. I was worried looking at how ugly it was, but it turned out to be alright later.

In the mean time, prepare the filling. You can use your favorite filling, but here I used chicken and mushrooms filling.
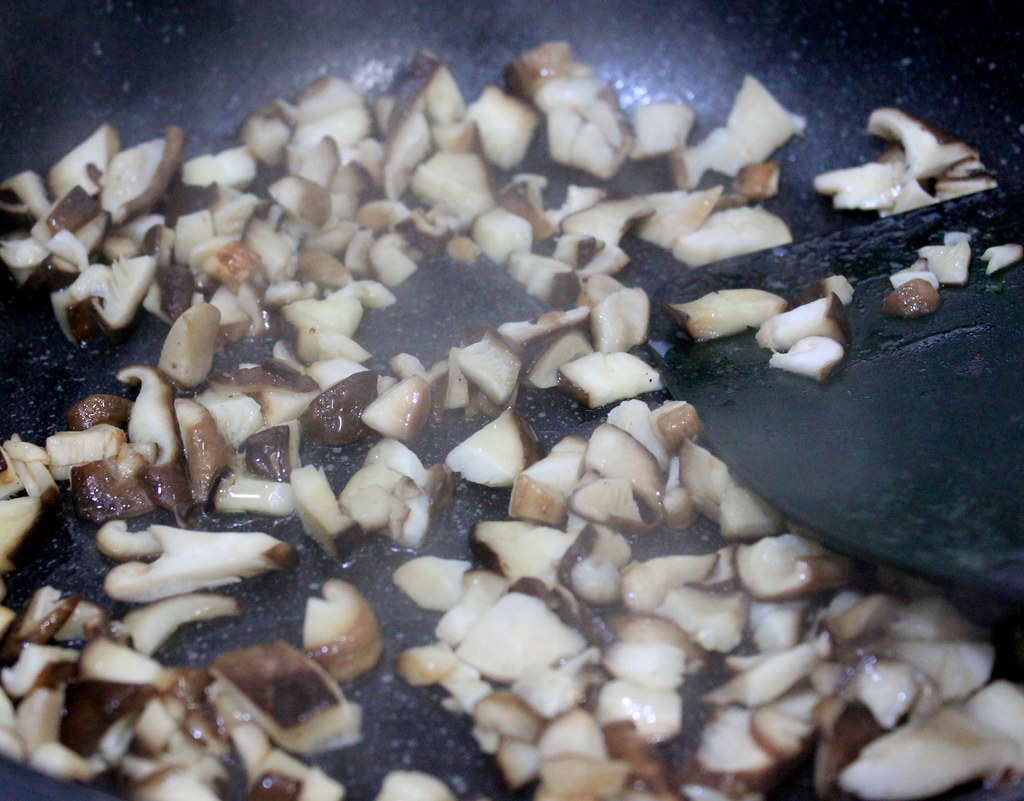
Saute chopped shiitake mushrooms and garlic (the garlic picture isn`t here, sorry!) with olive oil until they have wilted and released the nutty scent.
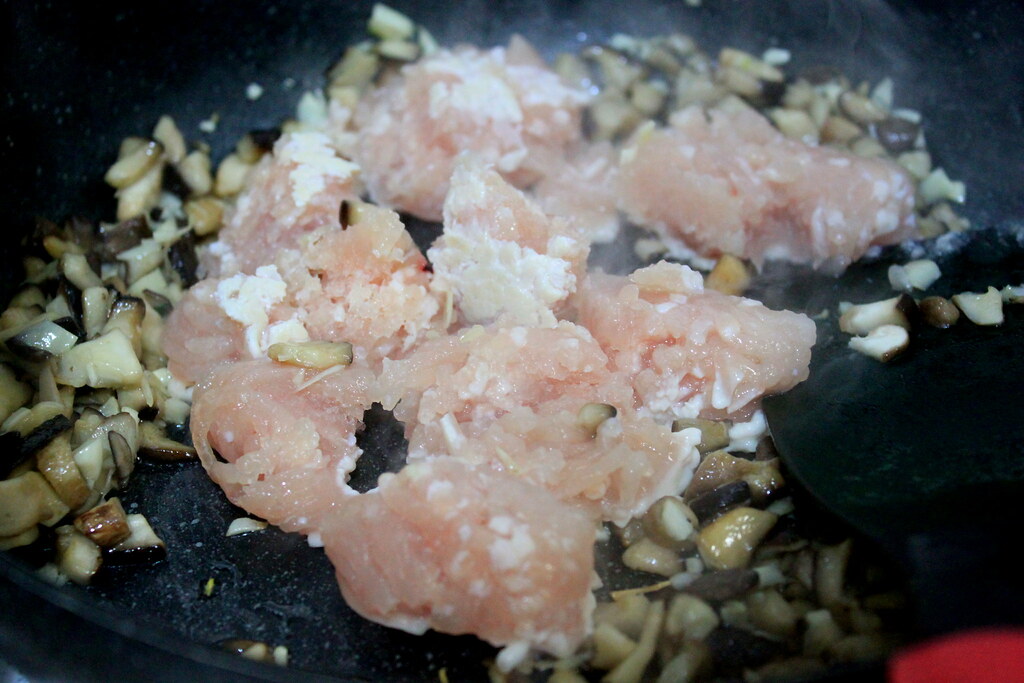
Stir in minced chicken and let cook through.
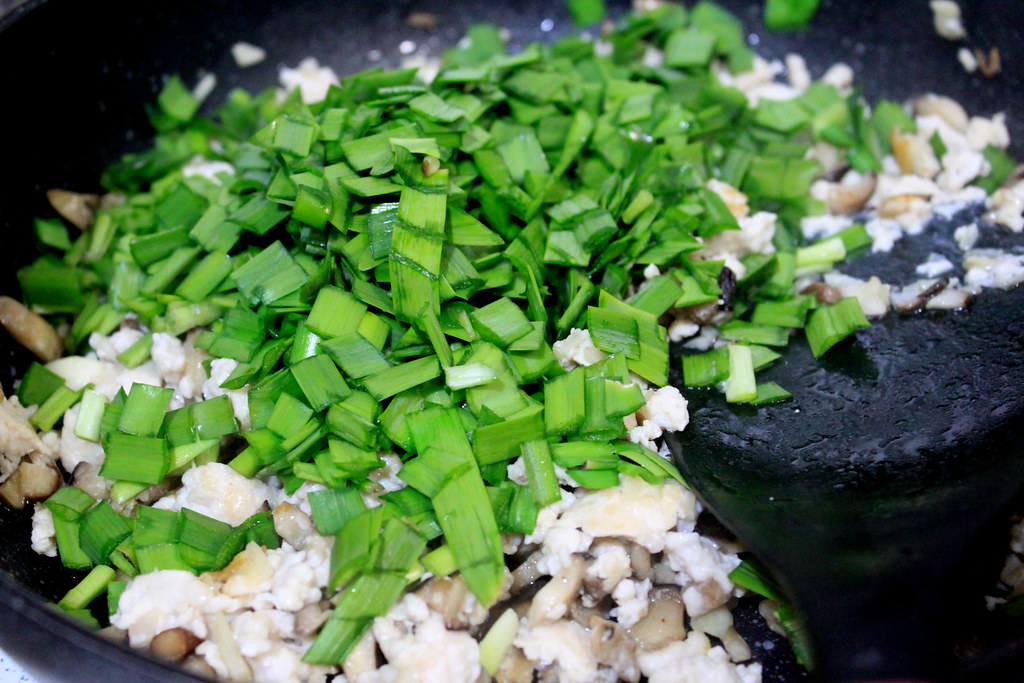
Throw in chopped garlic chives.
This is a very garlicky chickeny filling.
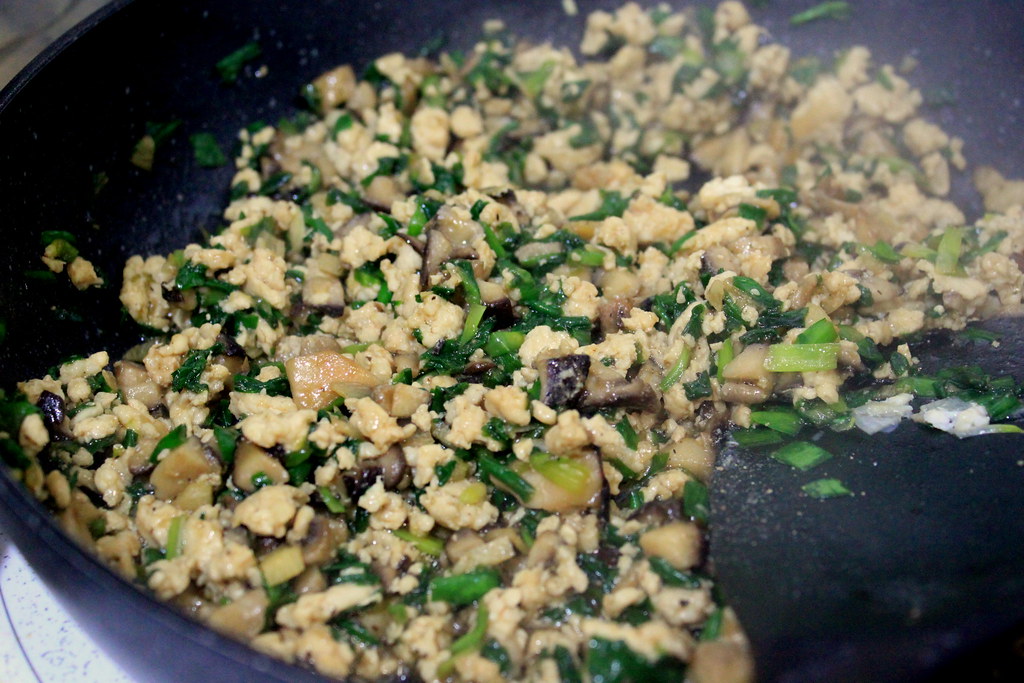
Add soy sauce, vinegar, sesame oil, salt, and pepper. It`s better to oversalt the filling a little bit as it will go together with the plain buns.
After the filling is ready, set aside to let it cool.
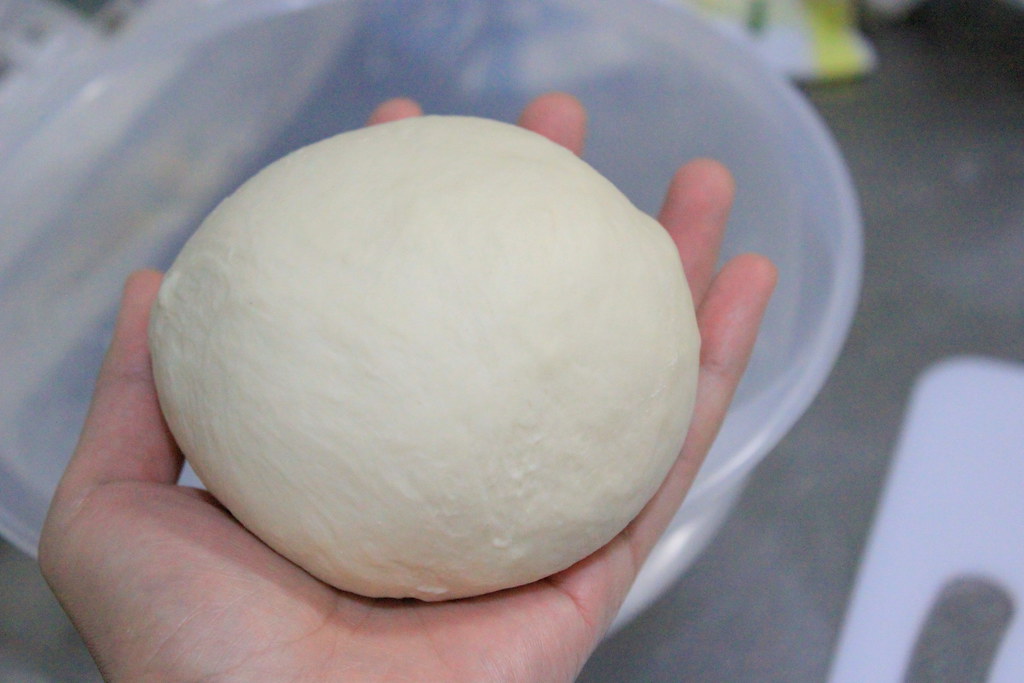
Now here`s the dough ball that has been leavened. I flattened it pushing the air out and kneaded by hand for a couple more times. Look how smooth it is now!

Next is dough portioning.
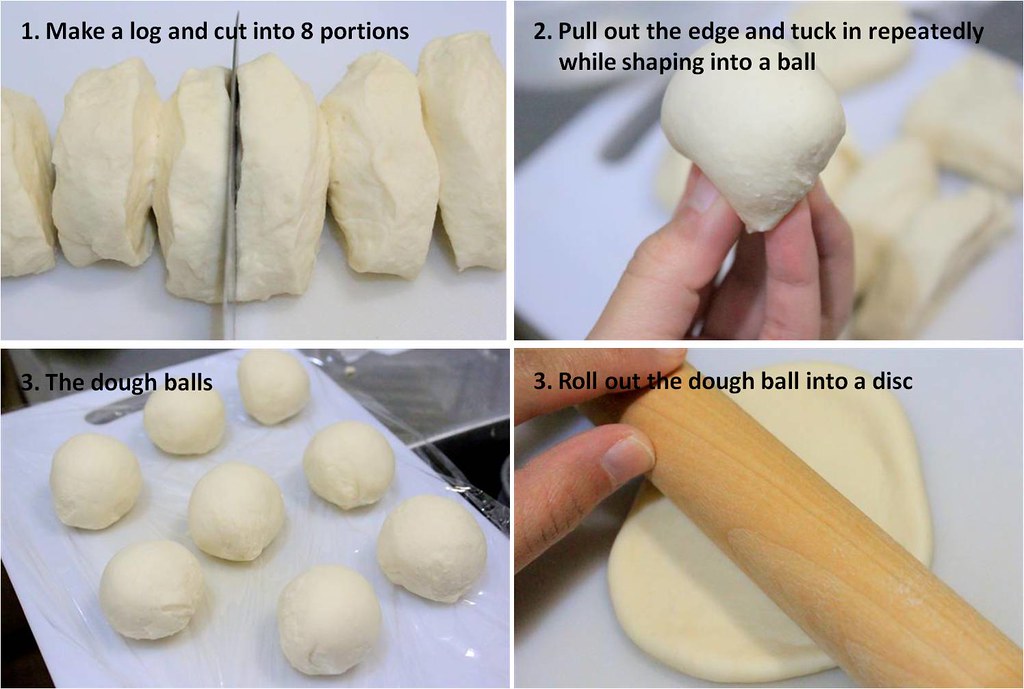
1. Shape the dough into a log and cut crosswise into halves and cut the halves into another halves to get 4 equal portions. Then, half each cut and this will result in 8 equal portions. 
By equal, of course, I mean, humanely possible equal.
2. For the finishing knead, pull out the edge of each portion dough and tuck it in repeatedly while shaping into a ball shown in Picture 3 above.
4. With a rolling pin, roll out each ball into a disc. 
My dough was a little springy that the flattened disc kept springing back making the disc rather thick. But I just continued to the filling anyway.

Next is the filling.

1. Place the disc onto your palm and flatten it once more.
From what I`ve learned, it`s better to flatten the edges and leave the center a little thick. 
2. Place the filling onto the disc.
Try small first and when you get used to the wrapping, add more filling.  
3. Pleat the edge and seal them altogether. 
As you can see in the picture, I didn`t pleat it. I just sealed the edge and I was satisfied enough if the filling could be wrapped neatly. 
4. Twist the edge for final sealing while shaping into a round bun.
Go easy with the twisting. Once the bun is safely sealed, you`re good. I overdid the sealing and the center got stretched out too far making the surface too thin and the base too thick.
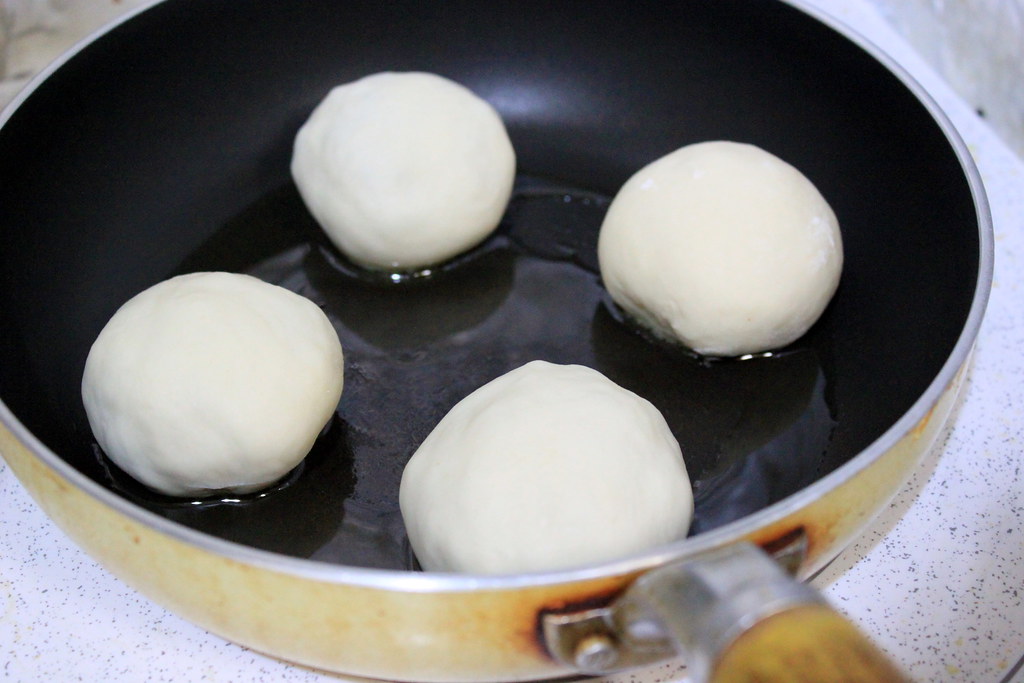
Heat a bit of oil on a frying pan over medium heat and place the filled buns. They will puff up, so space them apart.

After 1 minute frying the base, quickly, but carefully pour in 1/3 to 1/2 cup of water. 
There will be a serious oil splatter at the beginning, but if you add enough water, which covers like 1/4 or 1/3 of the bun, the splatter will be quickly gone and the water will simmer instead.
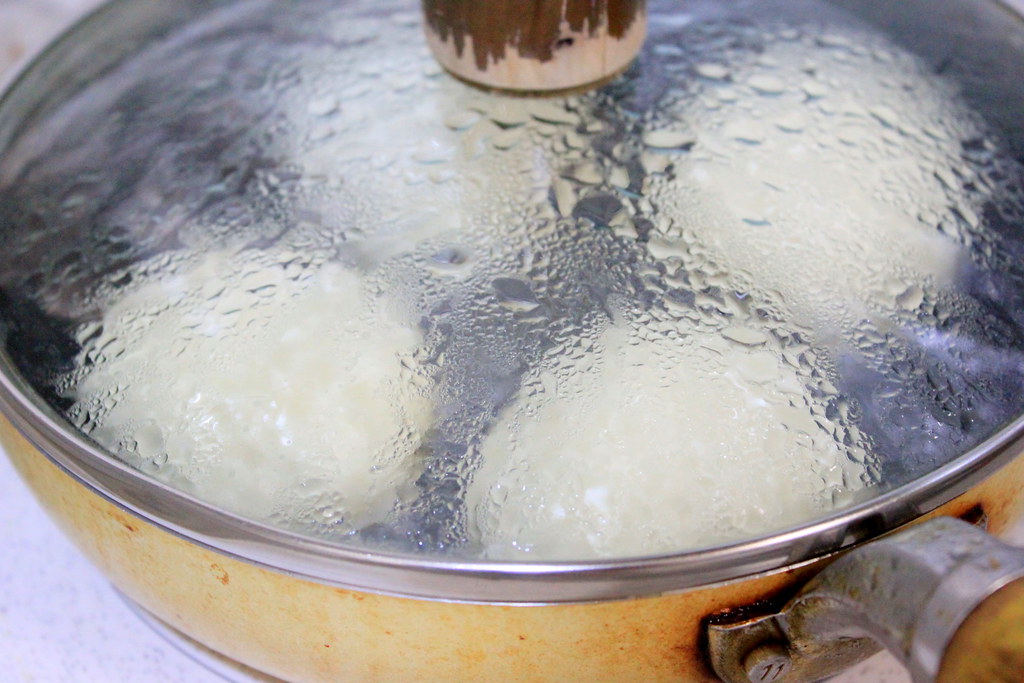
After adding the water, quickly cover the pan with a lid and let the water and steam cook the bun for 7-8 minutes.

After the buns have nicely puffed up, open the lid, crank up the heat, and let the water evaporate. Add sesame oil and swirl around to coat the bun base for final frying for another minute.
Done! 
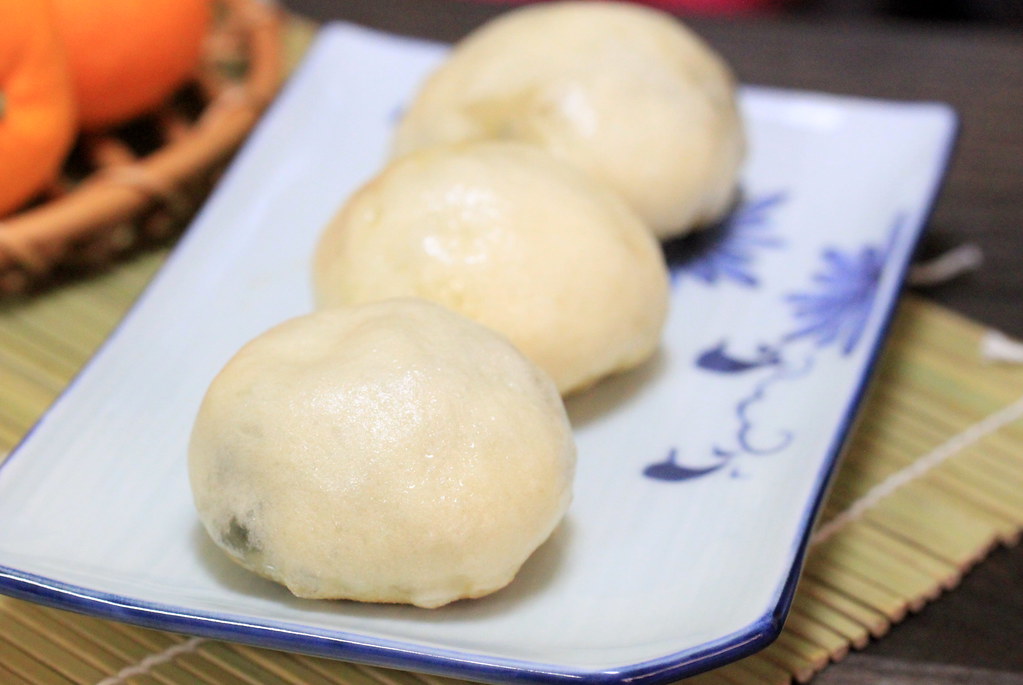
Ready to devour?
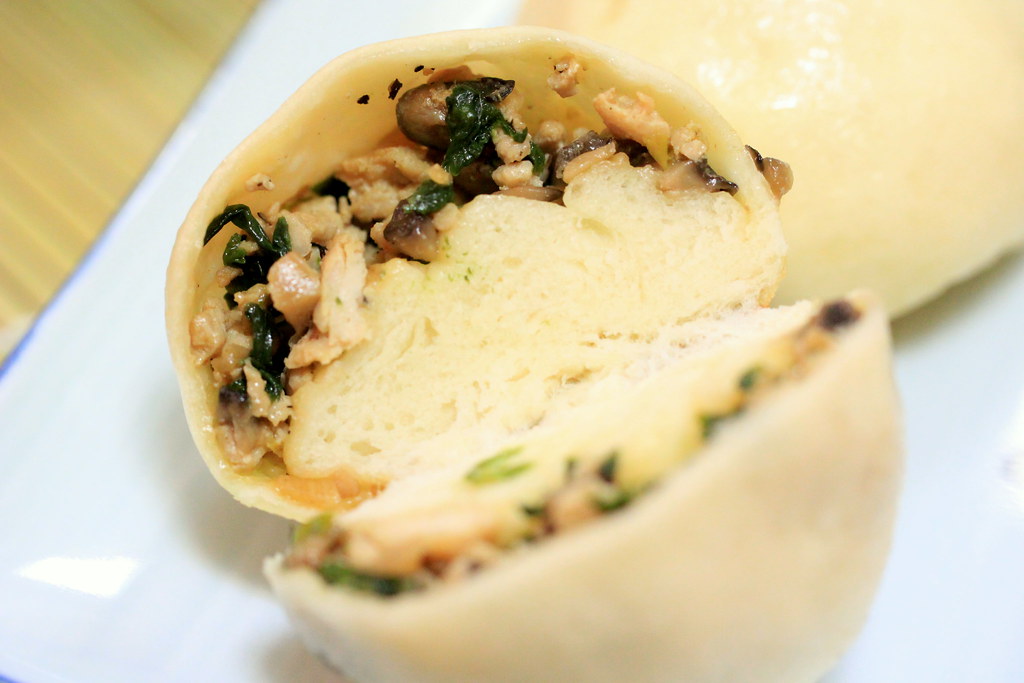
Here, let me cut it open for you so you can see the inside. This is why I suggest you not to overdo the sealing. This must be the most weird-looking bun I`ve ever had.

I also made the regular steamed buns with the same dough. Tastewise, I love them both. Love, love, love. Cooking-processwise, the steaming method was simpler and quicker as I could cook more buns at once in my steamer and I didn`t need to do anything except waiting. Texturewise, the fried ones have wonderful textures with the irresistible heavenly crusts.
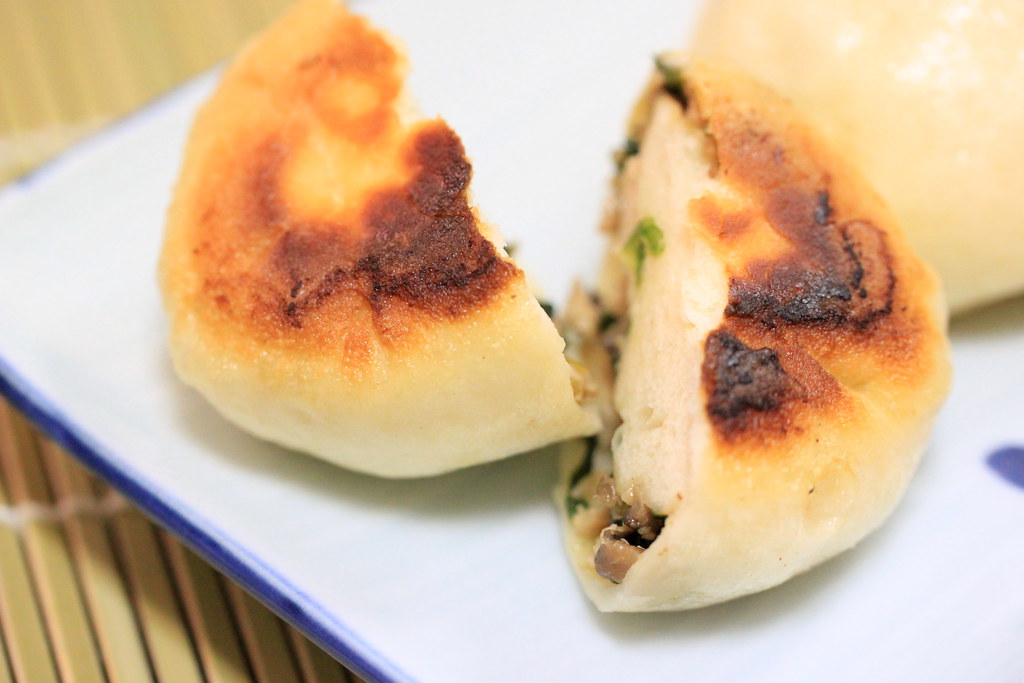
These crusts. Do I need to say more?
PAN-FRIED BUNS
Adapted from Orange Page 2010, Vol 1
Makes 8 buns

Ingredients:
For filling
5 cloves of garlic
150 g minced chicken
100 g shiitake mushrooms
Garlic chives
2 tbs soy sauce
1 tbs sesame oil
Salt 
Pepper

For buns
200 g bread flour
1 tsp baking powder
1/2  tsp sugar
1 tsp salt
1 tbs olive oil
100 ml lukewarm water

Methods:
For the filling
1. Saute chopped shiitake mushrooms and garlic with olive oil until they has shrinked and released the nutty scent.
2. Stir in minced chicken and let cook through.
3. Throw in chopped garlic chives.
4. Add soy sauce, vinegar, sesame oil, salt, and pepper. 
5. Let it cool down. 

For the buns
1. Mix flour, baking powder, sugar, and salt in a bowl and stir in lukewarm water mixed with olive oil. 
2. After the mixture turns into a dough, knead it by hands, and shape into a ball and let rest for 30 mins or 1 hour. 
3. Flatten the leavened dough to push the air out and knead by hands for a couple more times.
4. Shape the dough into a log and cut crosswise into halves and cut the halves into another halves to get 4 equal portions. Then, half each cut and this will result in 8 equal portions. 
5. For the finishing knead, pull out the edge of each portion dough and tuck it in repeatedly while shaping into a ball 
6. With a rolling pin, roll out each ball into a disc. 

For filling and frying
1. Place the disc onto your palm and flatten it once more.
2. Place the filling onto the disc.
3. Pleat the edge and seal them altogether. 
4. Twist the edge for final sealing while shaping into a round bun. 
5. Heat a bit of oil on a frying pan over medium heat and place the buns. They will puff up, so space them apart.
6. After 1 minute frying the base, quickly, but carefully pour in 1/3 to 1/2 cup of water. 
7. Quickly cover the pan with a lid and let the water and steam cook the bun for 7-8 minutes. 
8. After the buns have nicely puffed up, open the lid, crank up the heat, and let the water evaporate. Add sesame oil and swirl around to coat the bun base for final frying for another minute.

Thursday, November 3, 2011

Miso risotto

Hi there! How was your Halloween party? Did you have heavily sugared celebrations? For us here, we don`t celebrate it. It just happens that there is no Halloween tradition where I grew up and live now, and to top it up, I suck at horrory stuffs. But I really enjoyed finding Halloween-themed cookies and candies out there, though!

Anyway, from my kitchen, I wasn`t sure if I should share my oddly named dish with you and you`re about to know why. When it comes to step-by-step pictures, I know people get tempted to quickly scroll down the mouse to see the final result. And if you do, I`m afraid to say that given my lacks of effort and talent in food styling (meet me, Ms. Excuses), the appearance of dish might kill your appetite. But I hope you won`t leave from there, because I think you need to know what`s exactly in it and also, I want you to try it.
It all started on one lazy Saturday noon when I found our rice cooker`s lid widely opened for God knows how long. Well, it actually only took me seconds to figure out how long it was and who did it because my husband, who everyday has his breakfast around 7AM after coming home from his newspaper delivering routine (yes, I`m shamelessly still asleep), was the last one who opened the rice cooker and of course, forgot to close it. With the heating in the open air for hours, the rice was almost all browned and dried when I saw it. I almost cried too!! 
It just so happened that I was planning on cooking fried rice, for our lunch that day, but with this dehydrated rice, I knew it wasn`t a good choice. That`s where I came up with the risotto idea. I just stick on to my thought that risotto has a texture somewhere between porridge and regular cooked rice. To be honest, although I occasionally enjoy risotto at Italian eateries, this was my first time making one, which I`m sure not in a proper or traditional way too.

For a starter, I used cooked rice instead of uncooked ones. And as you might guess from the title, I used: miso, Japanese fermented soy paste.

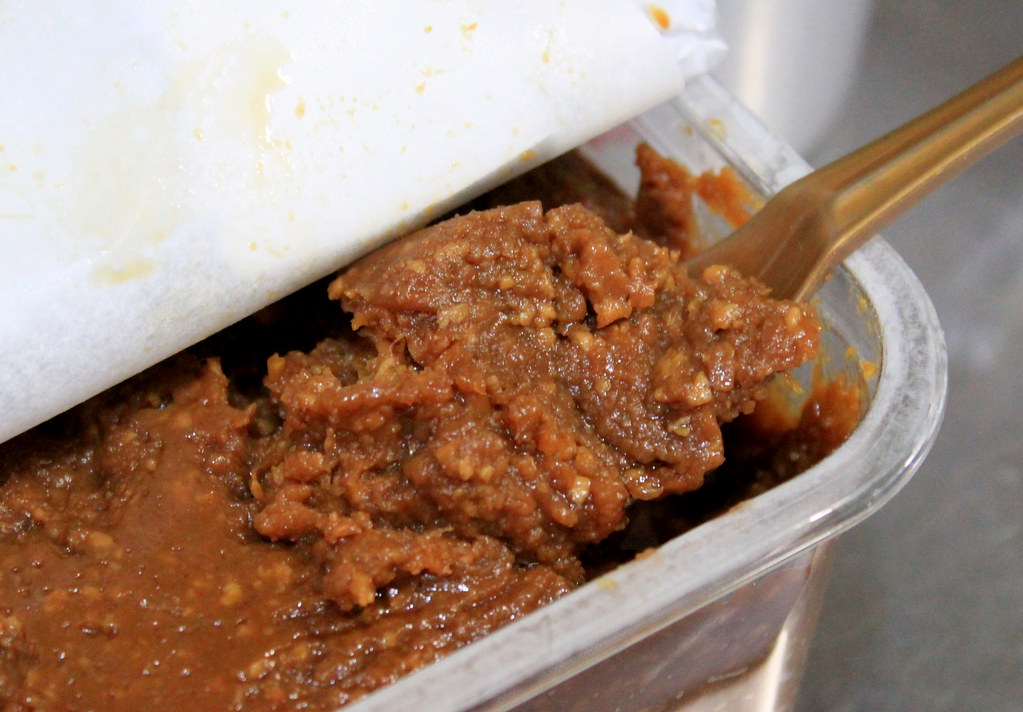
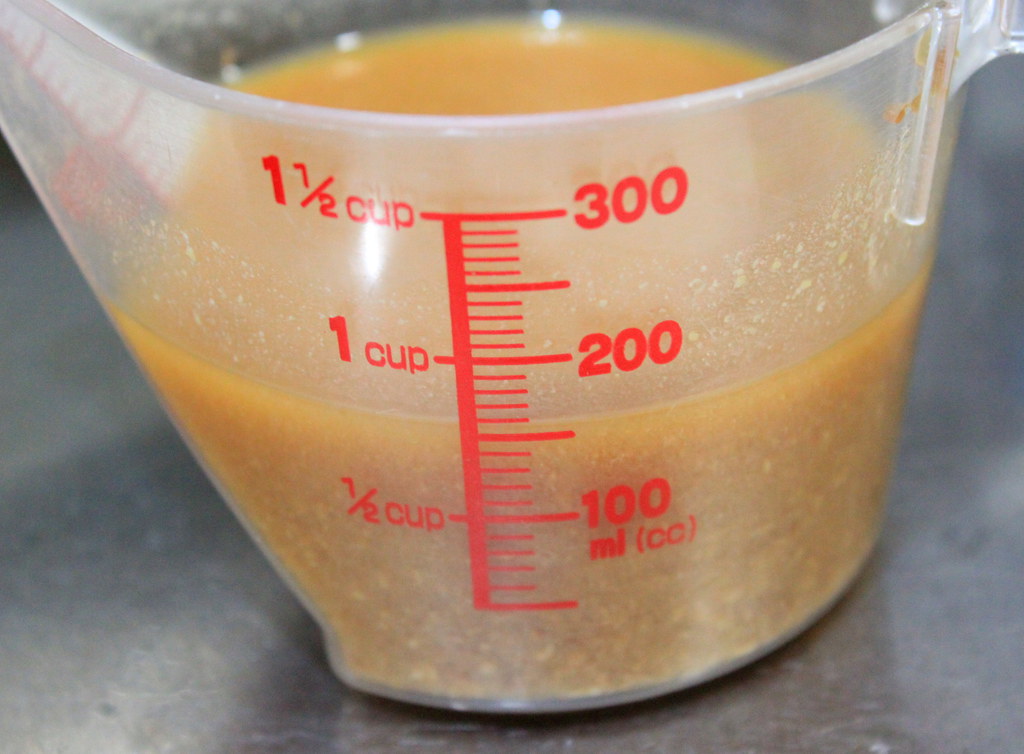
Start with preparing the miso seasoning.  This is just a rough measurement. For 2 plates of rice, I used 2 heaping tbs of miso paste and diluted it in 3/4 cup of water. I also added soy sauce and pepper to the sauce for more flavors. No salt here since miso and soy sauce made me happy already.

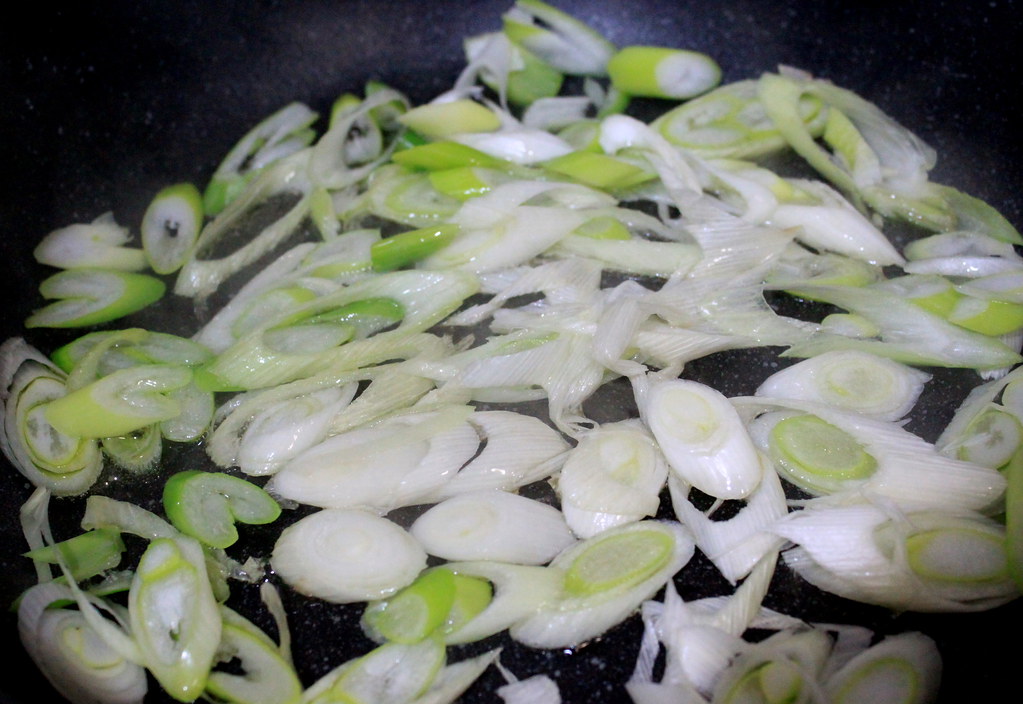
Slice spring onion and cook it on medium heat until it smells good and gets wilted

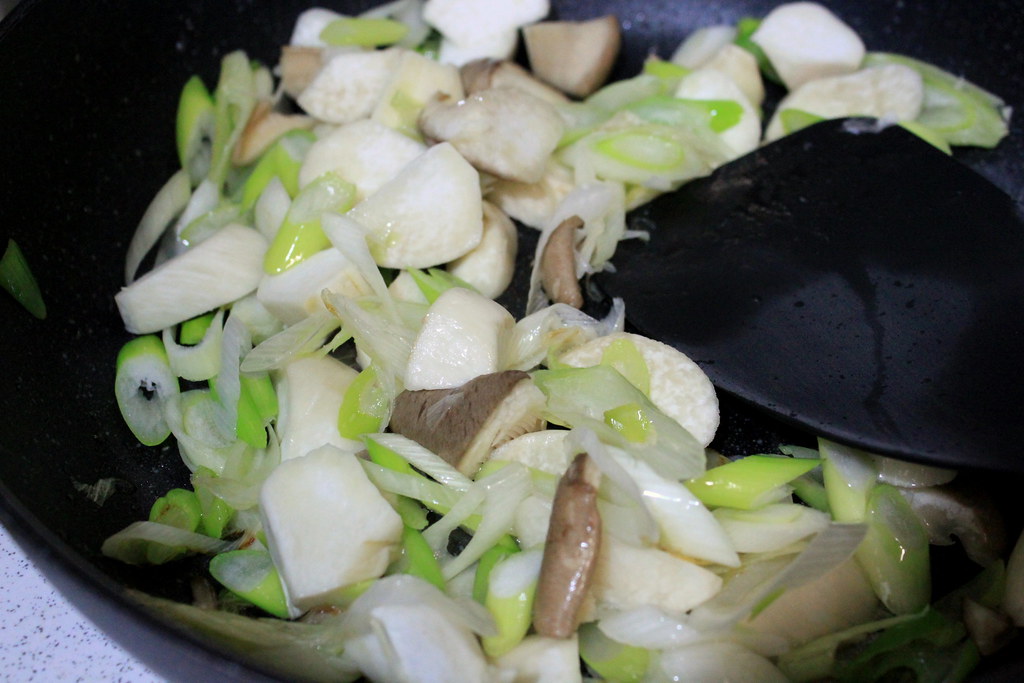
Toss in your favorite mushroom. I used eringi here. I know, I use it awfully a lot in my kitchen.

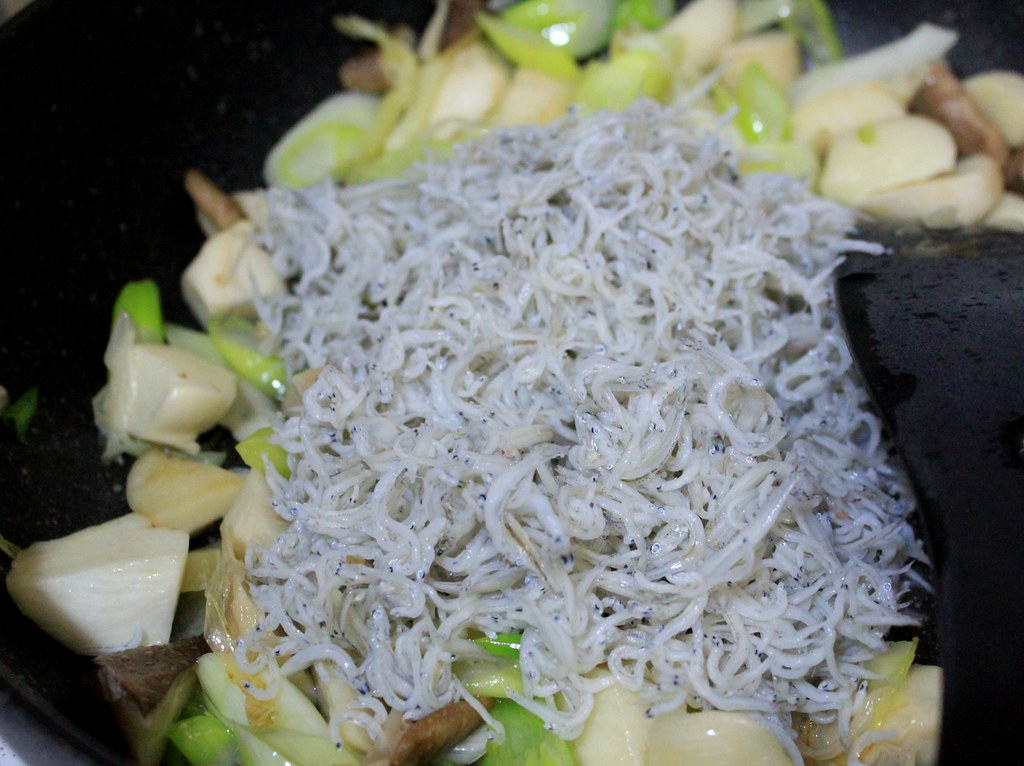
Now here comes the fish. If you can find this kind of fish at your place, by all means use it because the tiny fishes go wonderfully with miso. They are called shirasu in Japanese. In English, some people call it baby sardines and others call it baby anchovies. I actually have a post using shirasu for fried rice here. Anyway, toss in the shirasu or whatever you feel like having with your risotto.

Then, chopped tomato. Since I made miso soup with tomato, I keep using the combo as I love how the tomato gives a light touch of sweet tanginess to the salty miso.

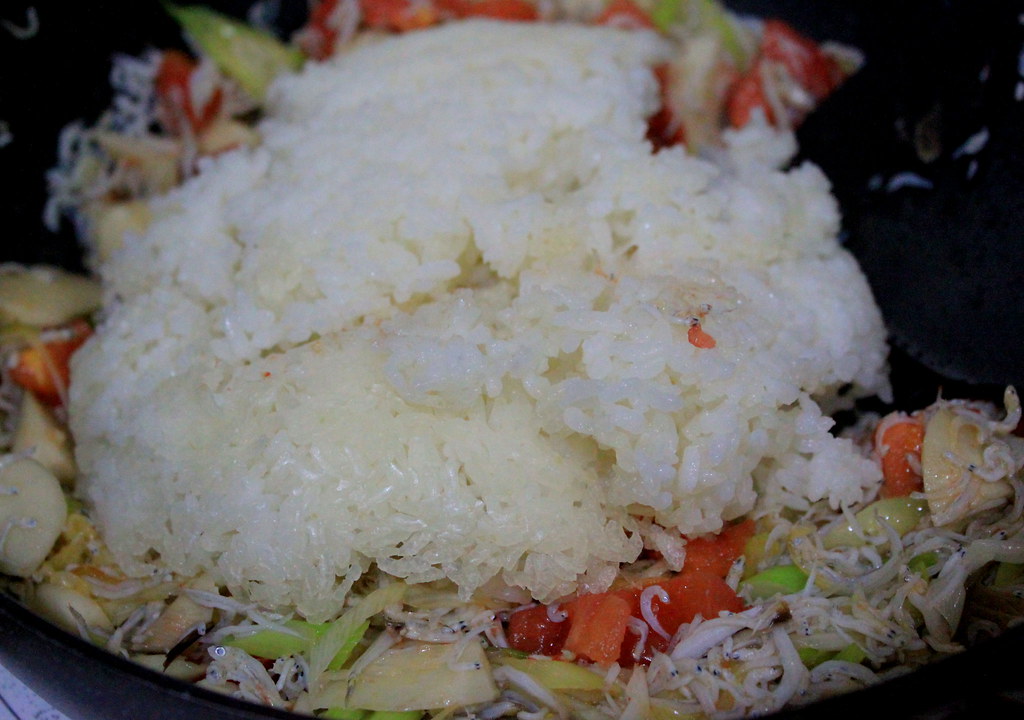
After giving some good stir, dump in the rice and stir again. Oh...poor rice....

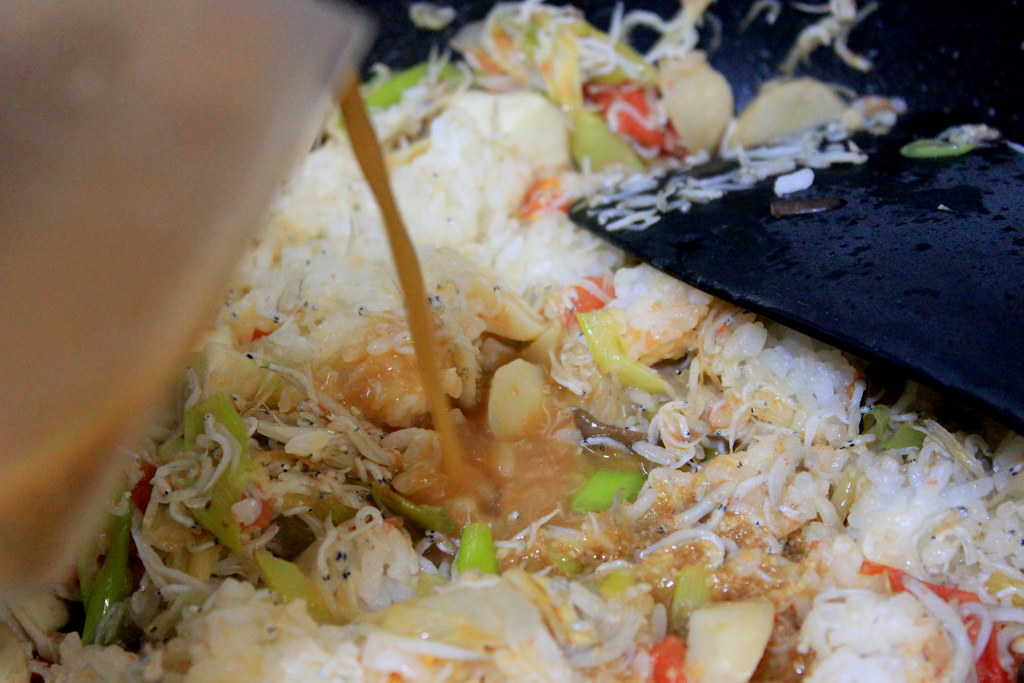
Get the miso sauce you prepared earlier and pour it in to the rice. This looks like a big mess that is far from appetizing, but please, bear with me.
Stir it well and if you think the rice still hasn`t reached the consistency of risotto, add more water. I did add an extra cup of water since the rice seemed too dry to me. By the way, although I haven`t tried it, I think you can try adding cream or milk instead of water to make the risotto creamier, like a real risotto. I just wanted something lighter when I made this, so I went with water.

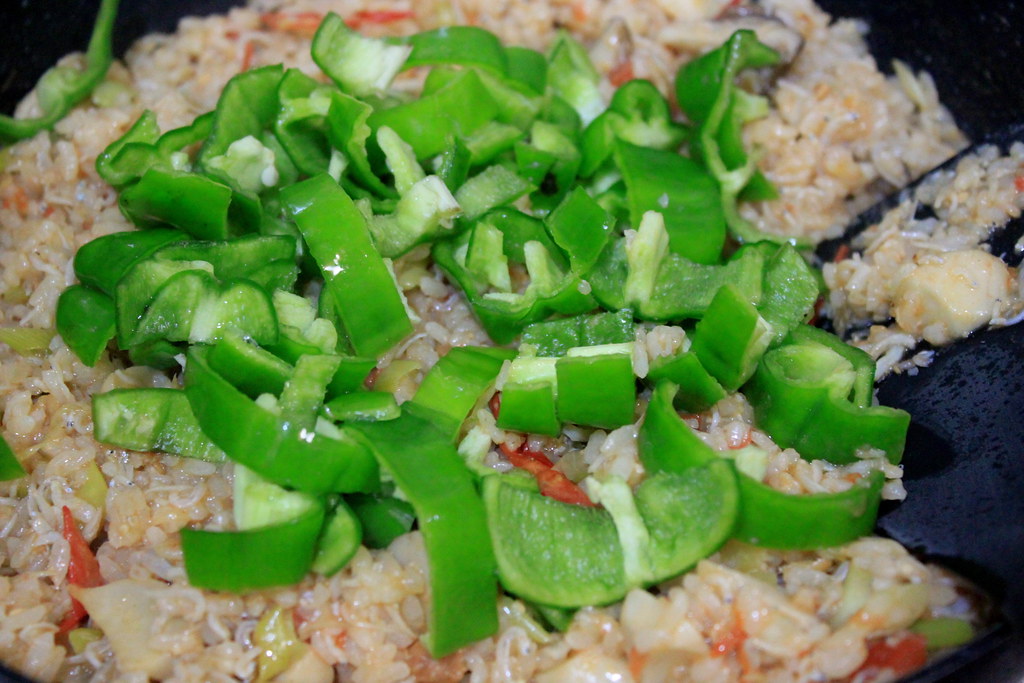
When your risotto seems done, adjust the seasoning and stir in sliced green paprika to give the crunchy edge to the whole mushiness.

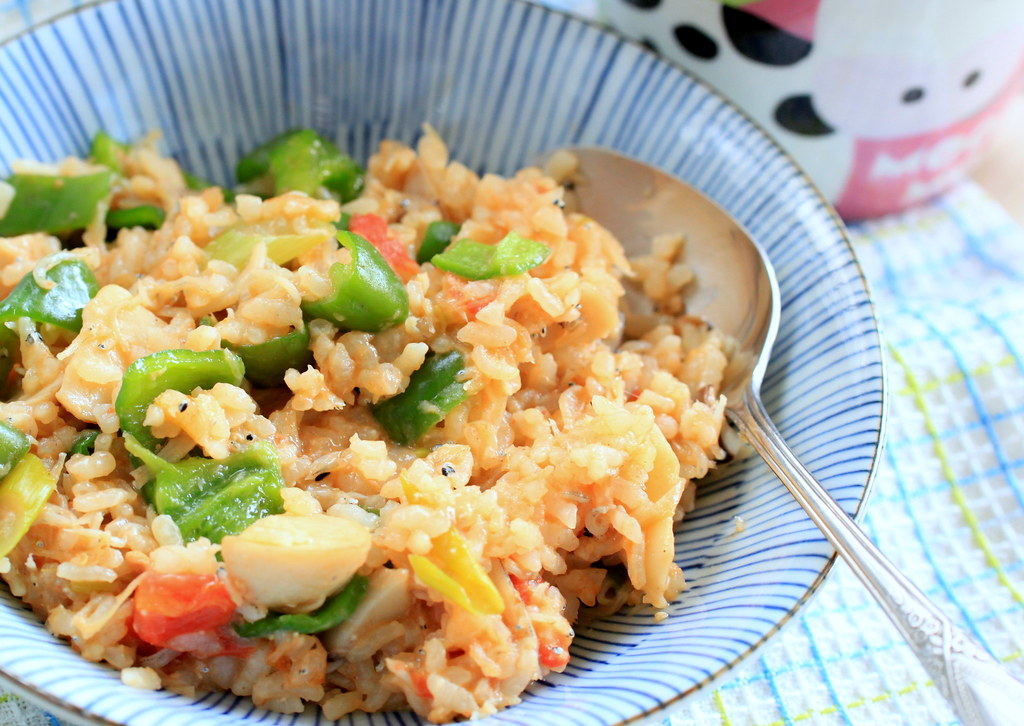
Olalaaaaa....here it is, our miso risotto. My risotto wasn`t watery enough compared to risotto I`ve had before, but I didn`t think of this at all once I spooned it in my mouth. Uuummppphhh.....yum! That`s all I can say. And if you love miso soup served with rice, there is a pretty good chance you`ll enjoy this one too.
By the way, can I call it "misotto" now?

MISO RISOTTO
Makes about 2 plates

Ingredients: 
1 spring onion
100 g mushrooms
100 g shirasu
1 medium-sized tomato
5 small green paprika
2 plates cooked/steamed rice
2 tbs miso
3/4 cup water to dissolve the miso*
2 Tbs soy sauce
Pepper
1 cup water to soften the rice during cooking*
Salt (only if necessary)
*Substitute water for heavy cream or milk to get a creamy consistency

Method:
1. Prepare the miso sauce by dissolving 2 tbs miso paste with 3/4 cup of water
2. Add soy sauce and a pinch of pepper to the miso sauce and set aside.
3. Cook sliced spring onions with a bit of oil in a pan over medium heat until fragrant and soft.
4. Toss in sliced mushroom, shirasu, and chopped tomato to the pan and stir well.
5. Throw in cooked rice and stir until the rice is evenly coated.
6. Pour in the miso sauce, stir, and adjust the consistency by adding more water to thin out. 
7. Adjust the seasoning and throw in sliced green paprika.
8. Ready to serve.

Tuesday, October 11, 2011

Mushroom pot pie

Oh finally, finally I`ve finished my presentation today and now is time get back to my "more fun" world.
Before I share the food, let me share about this one first. Or these ones. A blogger friend of mine Sissi from  With A Glass, who is a very dedicated food blogger and talented cook (I truly admire her productivity!) recently passed on the Versatile Blogger award to me, and as if that`s not making me flattered enough, she passed on another award, the Liebster blogger award. Must be my lucky day! Thank you, Sissi! As the award requires the one who accepts it to share a list of 7 random things, here is my list!
1. I`m more a writer than a speaker.
Sadly to say, that doesn`t necessarily mean I`m good at writing.
2. My precious collection is books. 
3. List no 2 explains for my poor eyesight.
4. No heels, flats only.
Well, I tried, but my feet kept telling me that heels are not for them.
5. I`ve never eaten scones in my life. Embarrassing, I know.
6. Doing jogging is my annual New Year`s resolution.
7. "Inception" puzzled me big time.

Now you know more bits about me, and to continue the award tradition, I`d love to pass the Versatile Blogger award on to these food bloggers who are such fabulous cooks, photographers, and bento stylists. I`m 200% sure that all bloggers in my list have (repeatedly) accepted such awards, but I hope they don`t mind accepting another award from me. If you haven`t visited their blogs, oh you should now!
3. Jenn at Bentobird
4. Nami at Just One Cookbook
5. CG at Cooking Gallery
6. Lauren at Lauren`s Latest
7. Lindsey at The Tiny Skillet

I`m really embarrassed to say that I`m still working on my list for bloggers to whom I`d like to pass on the Liebster award, but I hope to come up with it on my next post. So, until that happens, let`s cook now!

I had been wanting to make this pot pie since 2 years ago when I watched Nigella`s video on chicken pot pie. I hope you don`t get sick of hearing me referring to Nigella`s recipes, but  other than I`m a fan of her, it was actually my first time knowing how to make a chicken pot pie and she absolutely makes the process look incredibly easy. Anyway, based on that, I made my version of no meat, all mushrooms pot pie and I l-o-v-e-d it. Not really proud of the cheating step using storebought pie sheets, but still, I loved it.

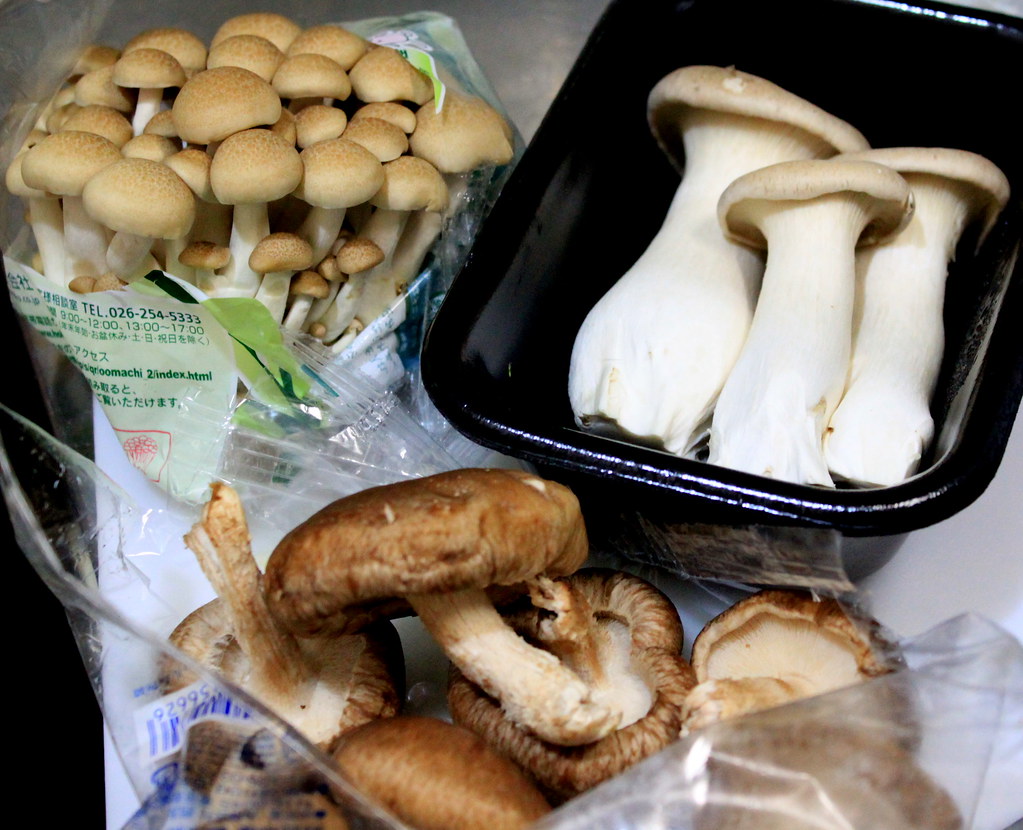
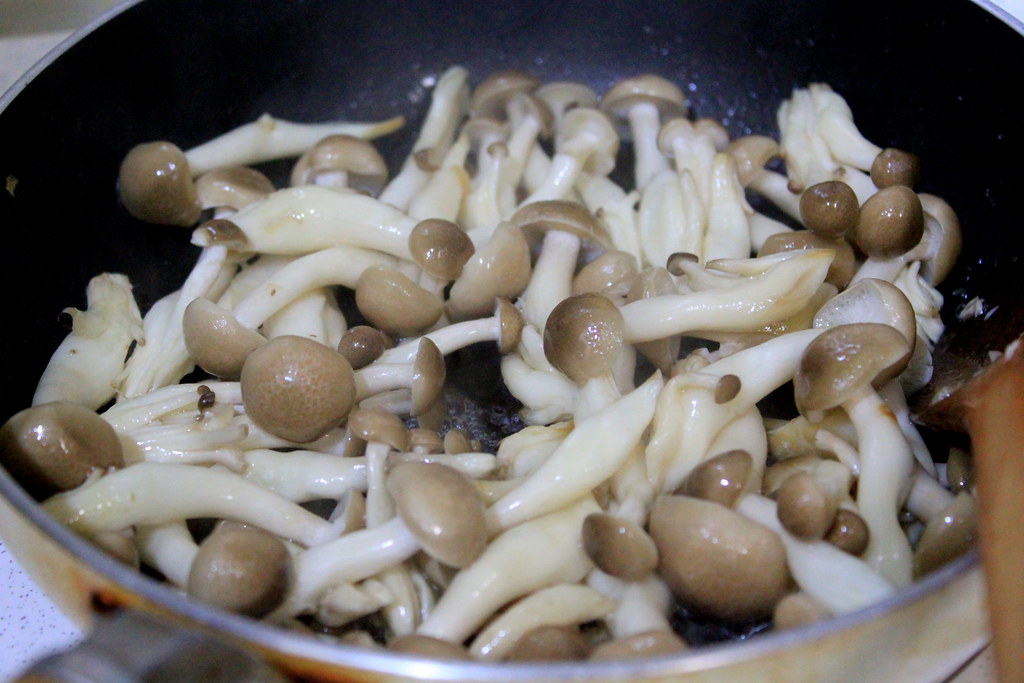
Okay, so these are the mushrooms I used for the pie filling. They are shimeji (upper left), eringi (upper right), and shiitake (center bottom). Slice or chop them up and set aside. Do not mix them up, since we`re going to cook them separately.

Heat oil on a pan and saute chopped/minced garlic.

Now we`re going to saute the mushrooms, but we need to do that one mushroom type at a time.
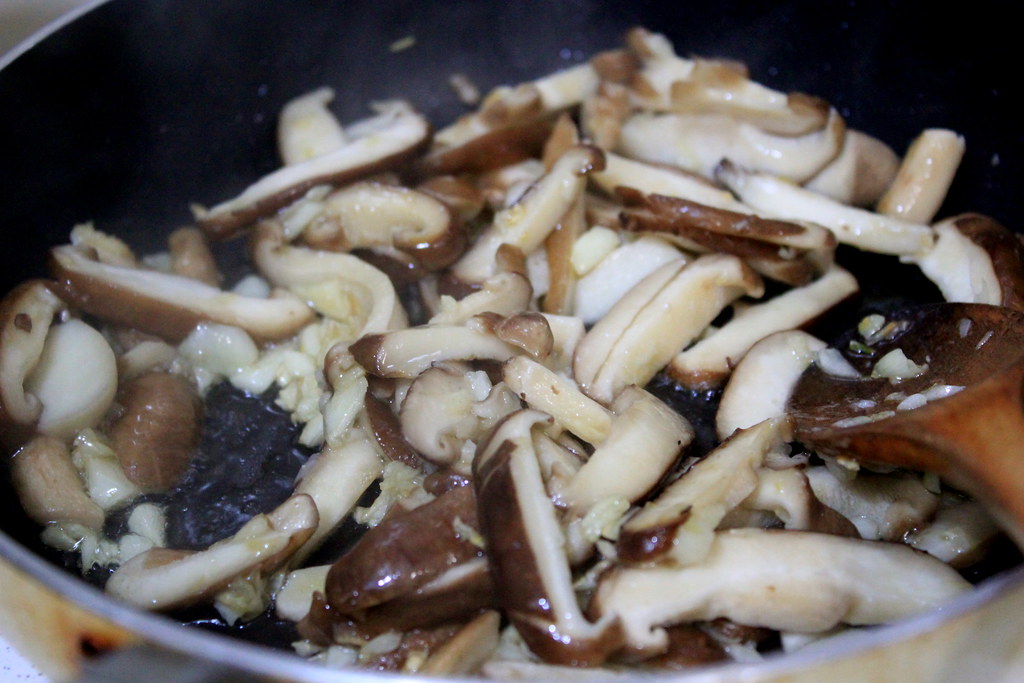
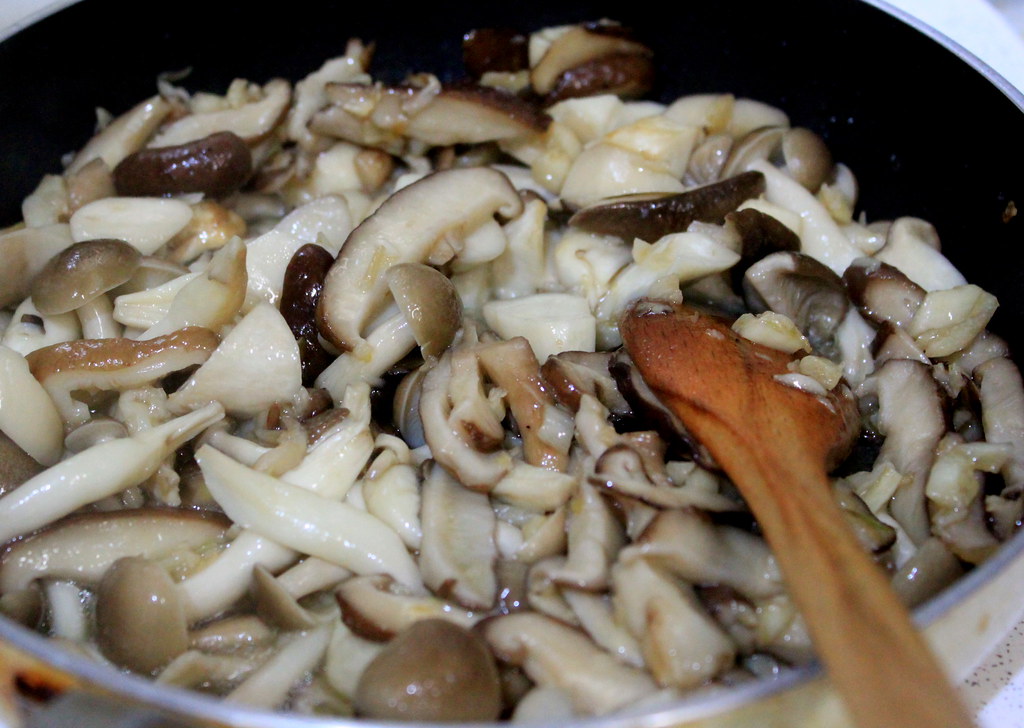
Start with shiitake mushroom first. Throw them in to the sauteed garlic and cook them until they shrink and wilted. Ideally, I want them to get browned rather than steamed. When I put too much of them in the pan, I add a little more oil to help the browning. And that usually works for me.
When the shiitake mushroom looks done, place the mushroom and the garlic, everything on a plate and set aside.


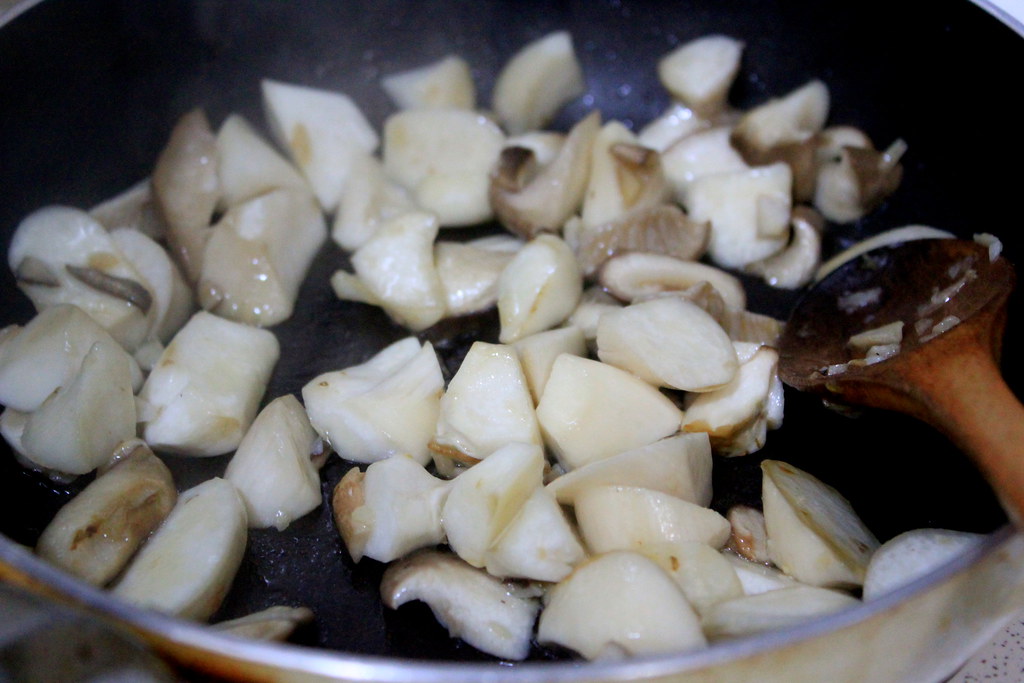
Continue with the eringi mushroom. The pan should be still oily enough, but you can add the oil if you need to. Same like the shiitake, sautee until they get browned and set them aside.

Last mushroom, the shimeji. Now, the reason I cook shimeji the last is because this mushroom has way more water content than shiitake and eringi do. After one minute sauteing or so, you`ll see how much water released from the wilted mushroom and this water would hamper the browning process. I suppose cranking up the heat and adding more oil will do the trick, but I`m good with them get cooked through.

Put back the browned shiitake and eringi mushrooms to the pan together with the "watery" shimeji.

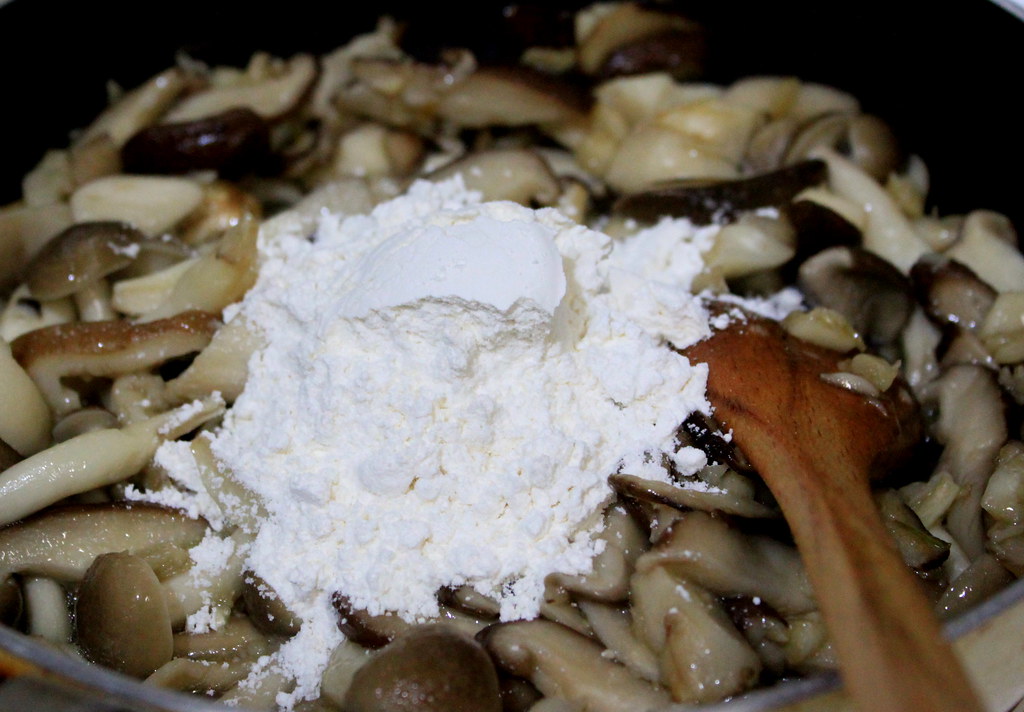
To make the white sauce, I added 2 tbs of flour to the mushrooms, but I think the sauce ended up too thick with  200 ml of milk. So I think I`ll reduce half of the flour next time I make this again.

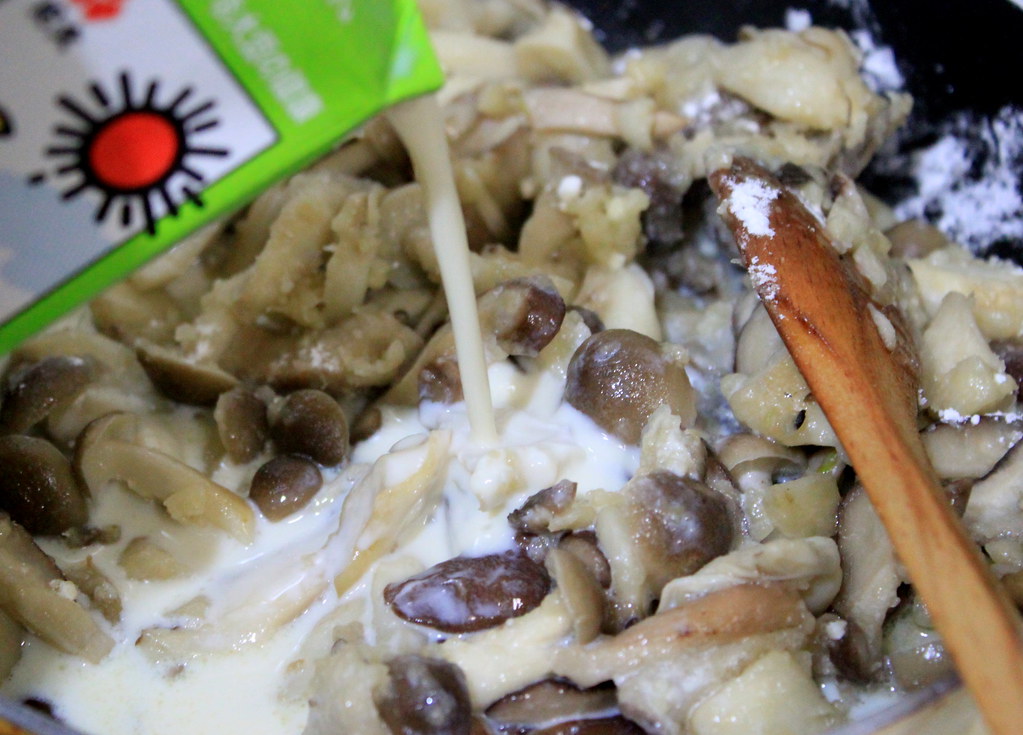
This is the 200 milk I poured into the mushrooms. And it was plain soy milk. It was Plants day.
Stir until the flour is dissolved and season with salt, pepper, and nutmeg.

And I added 1 tbs (or maybe more) of aonori (seaweed flakes).
Okay, I have a confession to make. I remembered having like 1 tbs Parmesan cheese left in the fridge, so I used it up for this filling. Not a Plants day anymore.


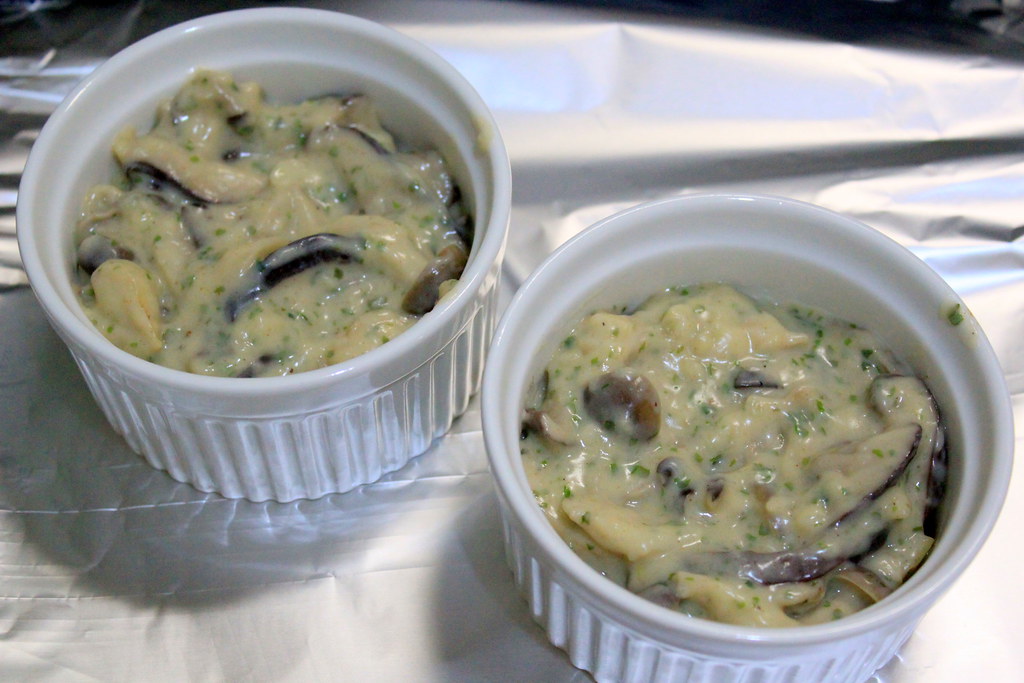
Place the filling in individual ramekins, or whatever baking dish you use.


I`m not proud of this, but I was really excited using this pie sheet since it`s my first time making pie.  You make your own pie sheet? Then I salute you, my friend.
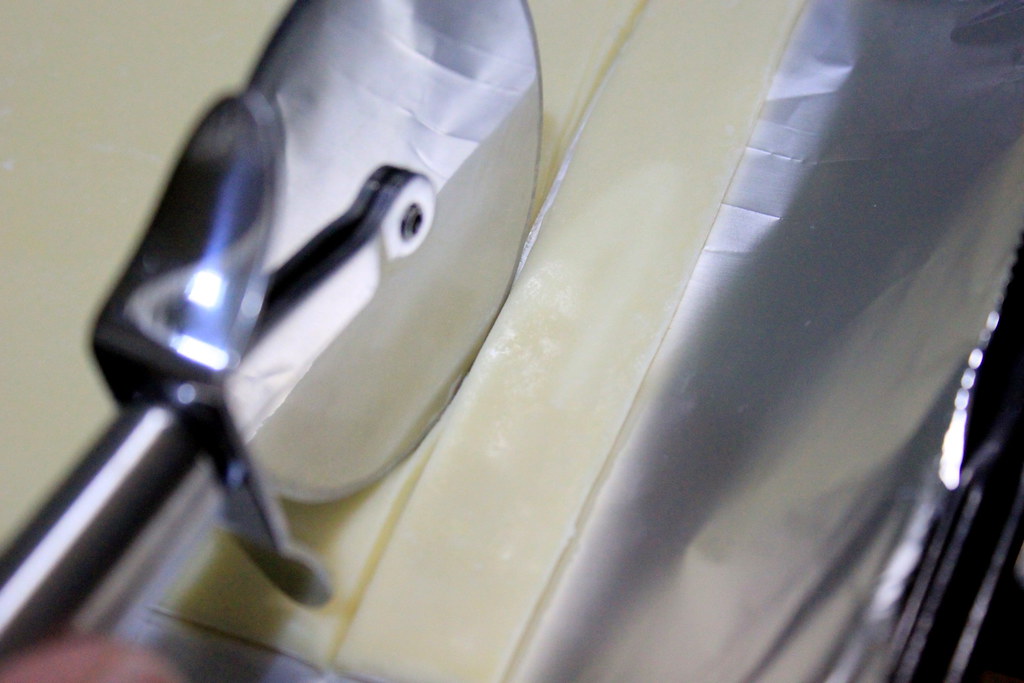
Cut the sheet into size that is enough to cover the top of your ramekins or dish and use the leftover for the rim.

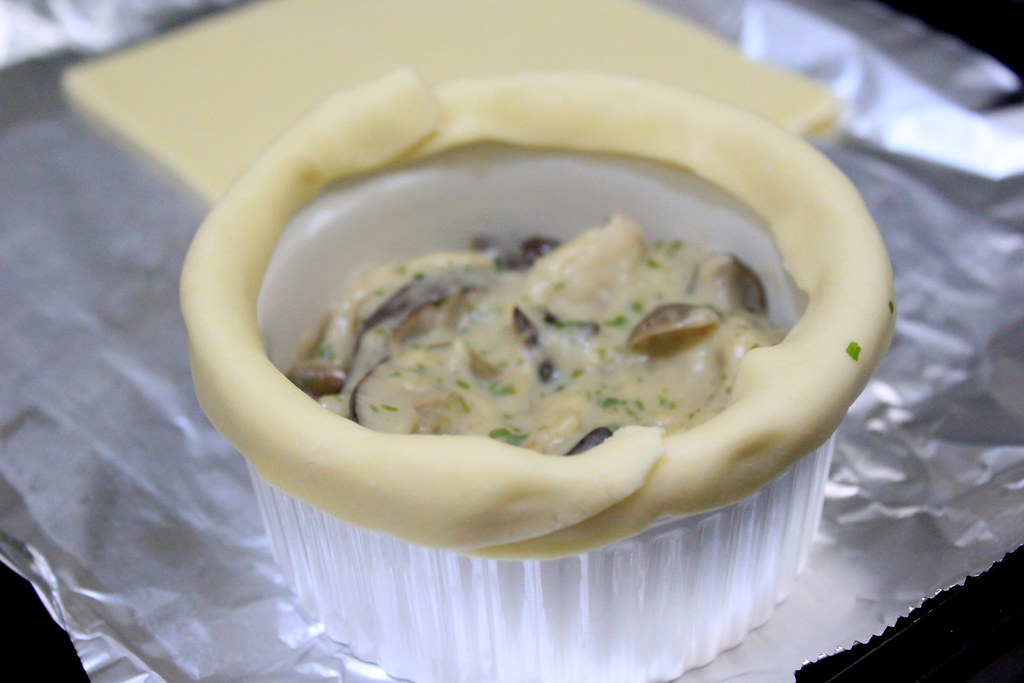
Now this is my verdict about this step. Nigella wet the rim of the ramekin with water and lined it with the sheet. So that`s what I did. I suppose this would help the pie sheet covering the top stick to the ramekin and also give a nice thick puffy pie on the rim. But in my case, when the baking is done, the pie sheet on the rim was slightly undercooked. So, although I don`t know for sure, I think skipping the rim part of the pie wouldn`t hurt.

And by skipping the rim, you can go placing the sheet to cover the ramekin while giving the sheet a gentle push so it sticks to the dish.

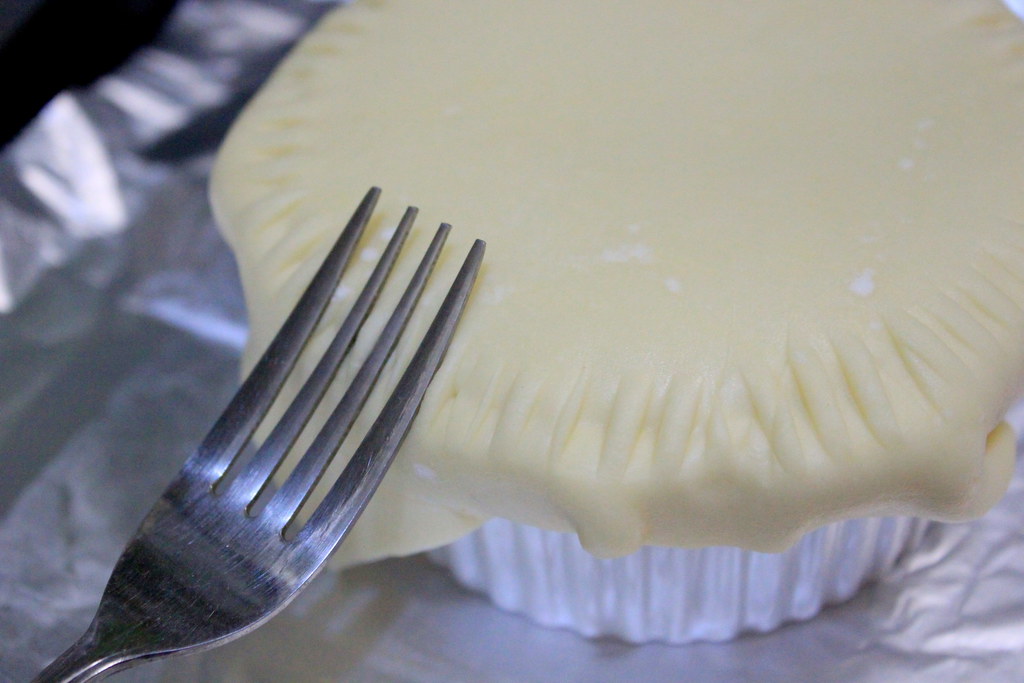
Now this is a decorative step that you can just follow or simply skip. I probably didn`t push it enough to make the lines visible in the final result.
Finished the preparation? Bake the pie in preheated oven at 200 C for 20 mins. Or just follow the instruction on the pie sheet`s package.

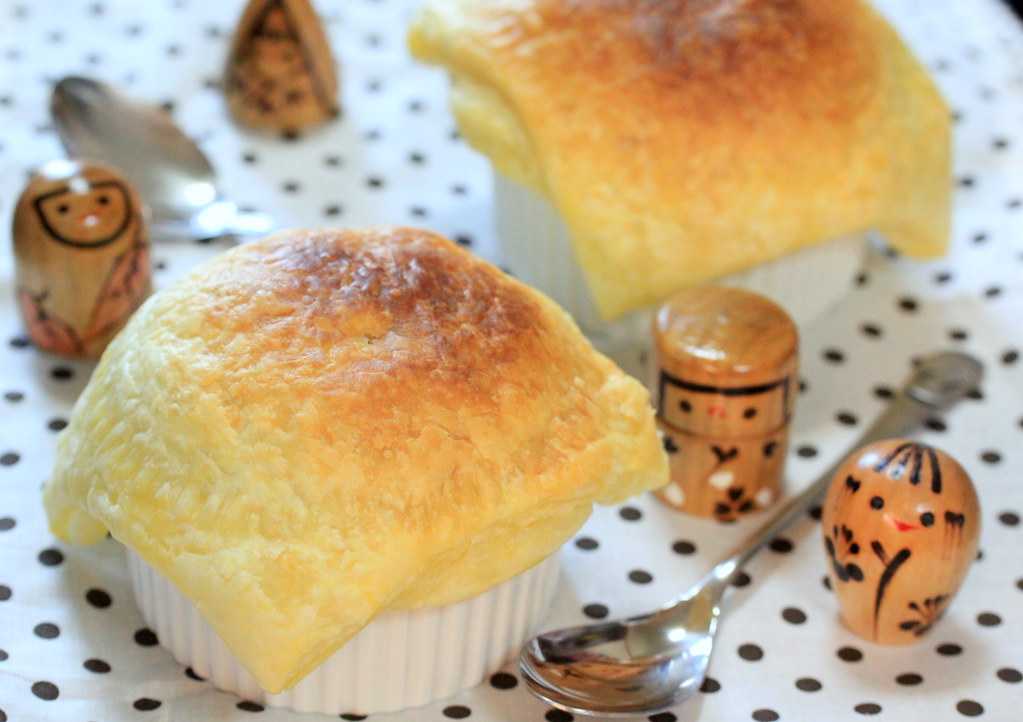
Woohooohoooo....look at these chubby pies! They beautifully puffed up and the smell was really, really good!

Even my spoon smiled a lot. Well, I smiled a lot.

Oh, look inside, and go dig in! Every spoonful of this pie and the filling will totally bring the oomphs out of you.

MUSHROOM POT PIE
Makes 2-3 individual pot pies

Ingredients:
3 cloves garlic
100 g shiitake mushroom
100 g eringi mushroom
100 g shimeji mushroom
1 Tbs flour
200 ml plain soy milk
1 Tbs aonori (seaweed flakes)
1 Tbs parmesan cheese
Salt
Pepper
Nutmeg
2 sheets of 10x10-cm pre-made puff pastry or according to the ramekin`s size
Strips of pre-made puff pastry to line the ramekin`s rim (optional)

Method:
1. Slice or chop up mushrooms, separate each mushroom type, and set aside.
2.  Heat oil on a pan and saute chopped/minced garlic.
3. Saute mushrooms one type at a time. Start with shiitake, eringi, and end with shimeji. Saute the mushrooms until browned and wilted.
4. After all mushrooms are browned and wilted, put them back together in the pan. 
5. Stir in 2 Tbs of flour and cook for 3 mins.
6. Pour in 200 ml soy milk and add 1 Tbs aonori and 1 Tbs parmesan cheese. 
7. Stir to combine and adjust the seasoning with salt, pepper, and nutmeg.
8. Place the filling in individual ramekins.
9. Wet the ramekin`s rim with water.
10. Optional: Line the rim with the reserved puff pastry strips.
11. Cover the ramekin with the puff pastry sheet and press the edge to make sure that it properly sticks.
12. Pierce the middle of the puff pastry for air vent during baking.
13. Optional: Press the surface of a fork on the ramekin edge to give a decorative grids.
14. Bake in a preheated oven at 200 C for 20 mins or according to the puff pastry`s package.

Sunday, September 25, 2011

Stir-fried shrimps with vegetables

Stir-frying is probably the most frequent cooking method I use at home. I mean, why not? With stir-frying, we can whip up descent, if not fabulous, meals in a matter of minutes from almost any kind of food, be it vegetables or meat, whole food or processed ones. But there are times when my stir-frying rituals run a little slower than usual, especially when the ingredients need some extra time for the preparation.  Like for today`s dinner where I used fried eggplants as one of the ingredients. Plus, I used shrimps, which also means extra work for me to devein them. But even so, I usually end up forgetting all the fussy preparation when I start the cooking.

So, shall we cook now?
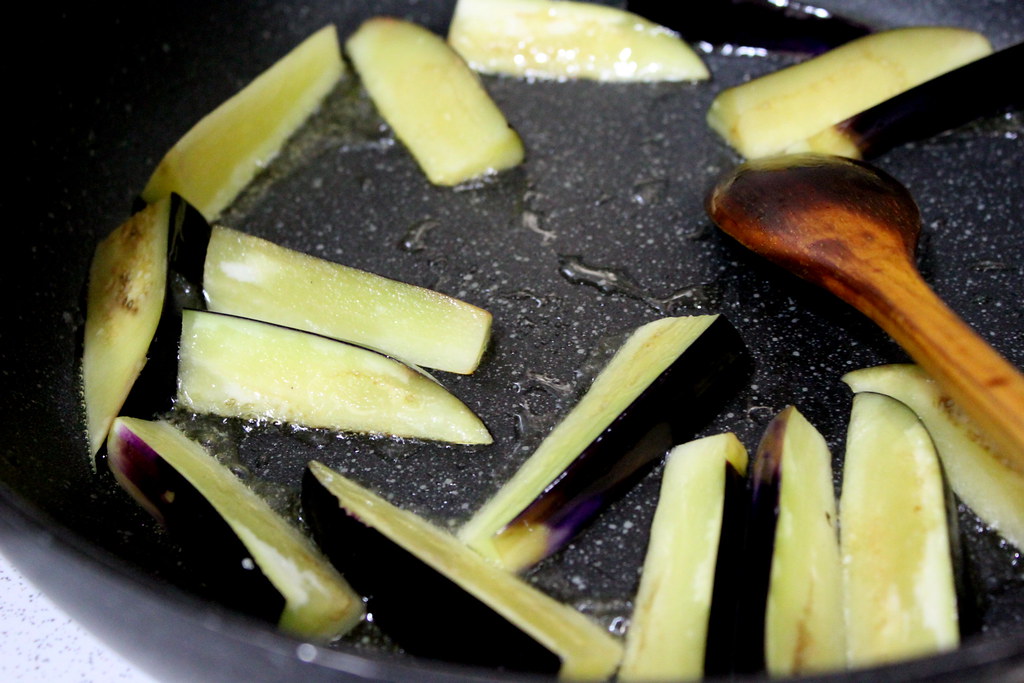
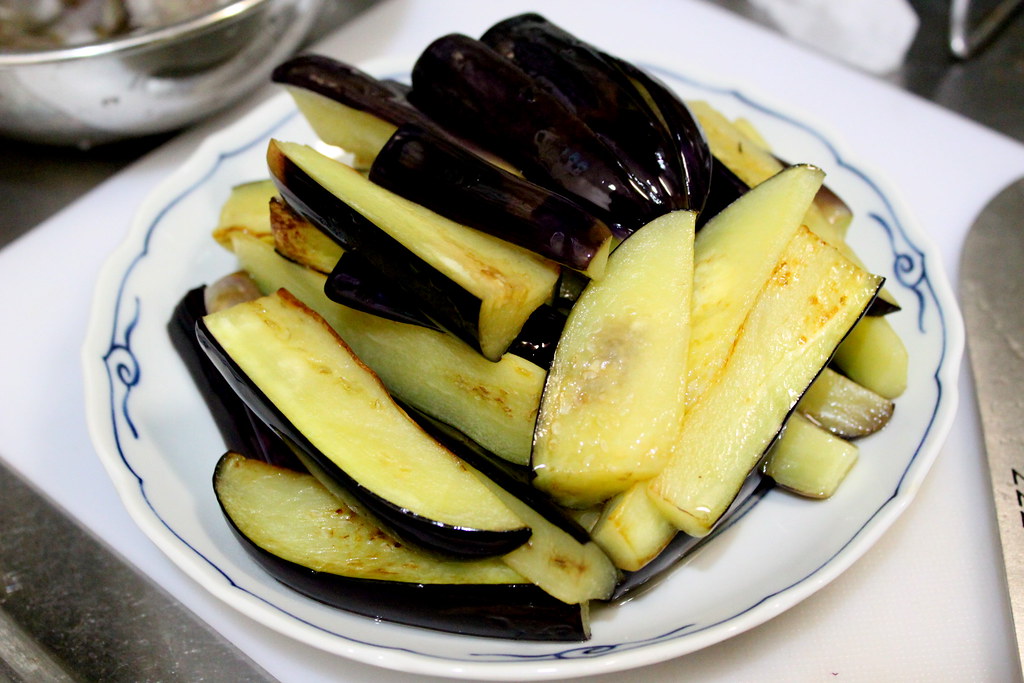
Wash eggplants and cut them into your desired shapes. For me, I quartered them lengthwise and then halved them crosswise. Usually people deep-fry the eggplants to make the "fried eggplants", but I always shallow-fry them because I`m too stubborn. If you too want to shallow-fry them, heat oil enough to coat the eggplants on a pan and do the frying in batches. Just make sure you don`t put too many pieces at once because the frying is supposed to give the caramelized bits, not to steam them. Another thing is, the eggplants will absorb the oil very quickly that you might need to add more oil every time you fry the fresh batch.


Set aside the fried eggplants. Honestly, I can just gobble these guys up only with a drizzle of soy sauce.


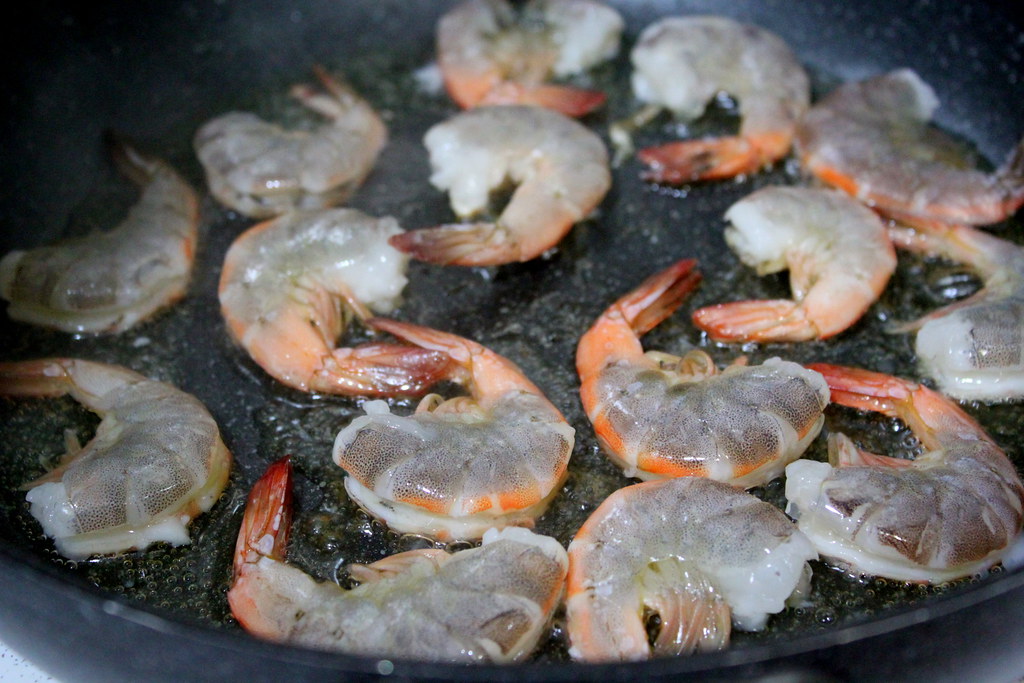
Next ingredient: shrimps.  I didn`t remove the shells as I wanted to get more flavor and to prevent them from curling in too much, but I cut open their backs and discarded the veins. And washed them, of course.
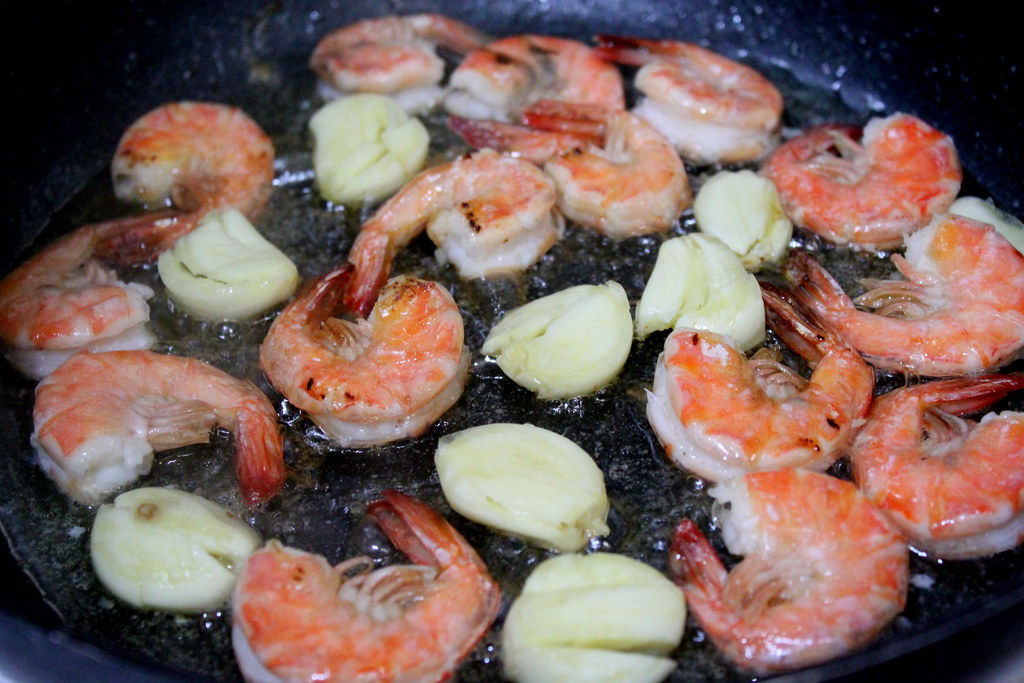
On the same pan used for fyring eggplants, heat oil and fry the shrimps. I think the smell and the changing color are what I love the most from frying shrimps.


Flip over the shrimps and throw in garlic. I usually mince the garlic, but this time I just bashed the cloves and used them right away. Oh, this smells even better!


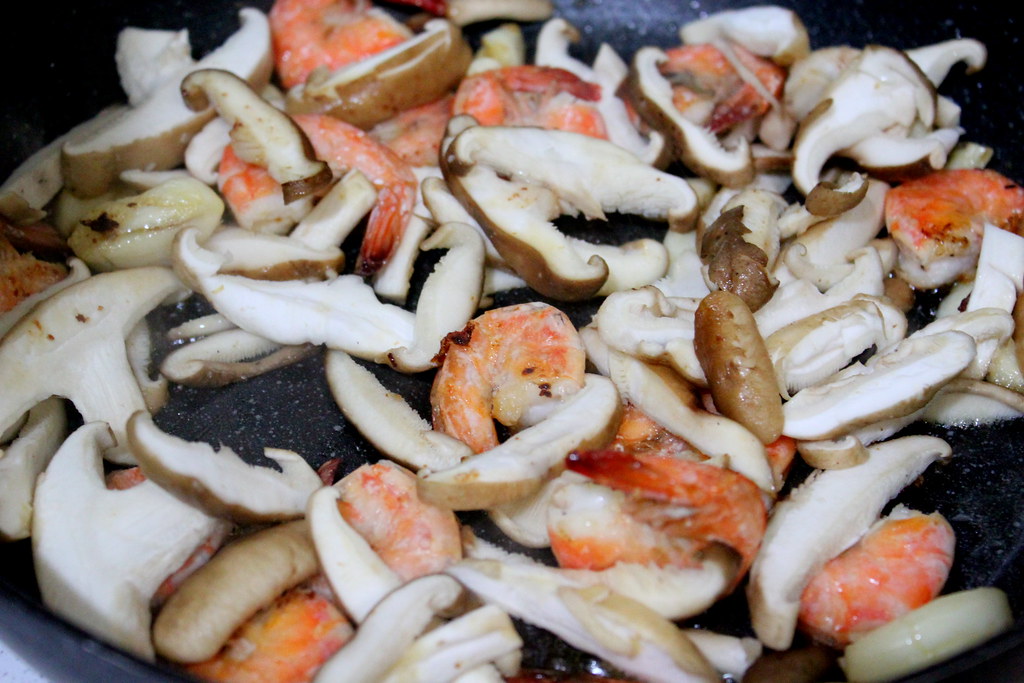
Then, throw in shiitake mushroom slices and keep stirring until the mushrooms shrank and wilted. Now the smell is getting double-better!


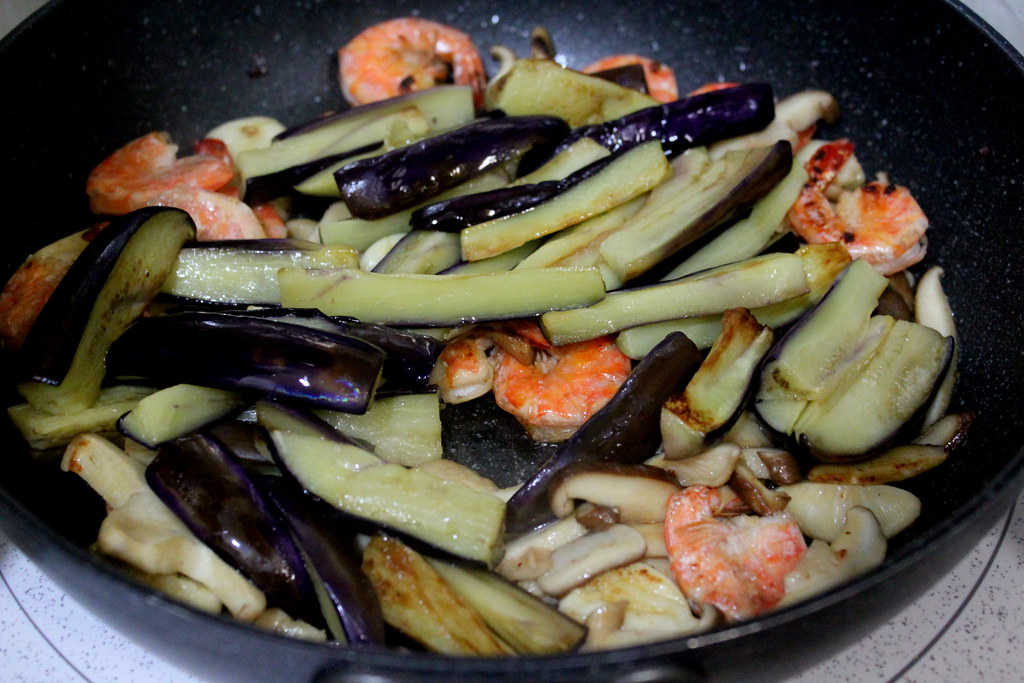
Slowly stir in the fried eggplants and season it with soy sauce, salt, and pepper. The fried eggplants are very soft, so be careful not to break them apart during stirring.


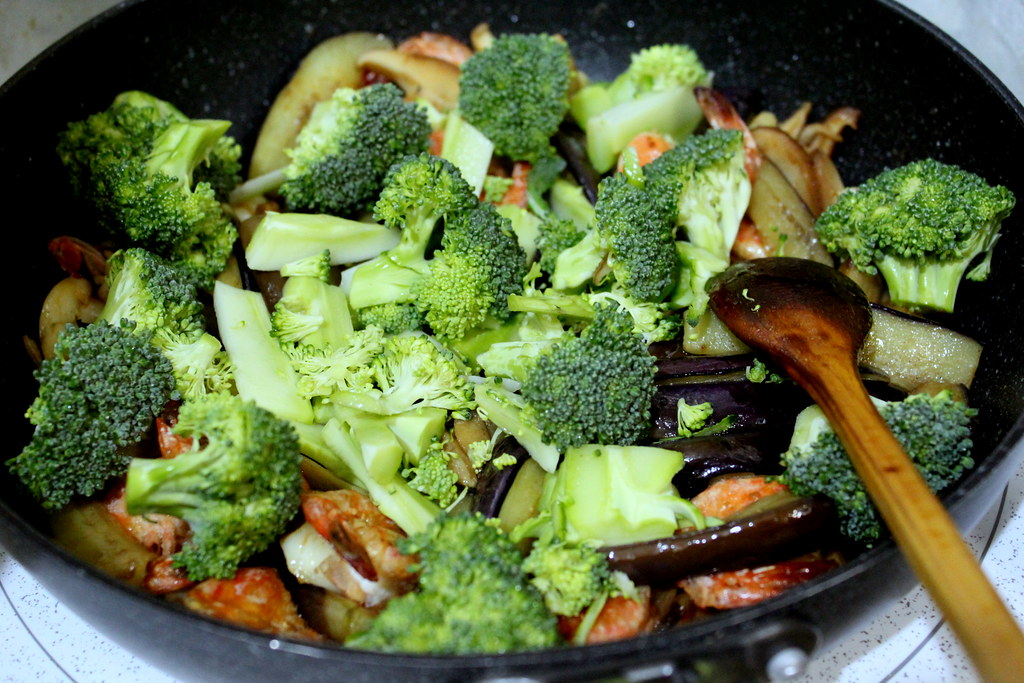
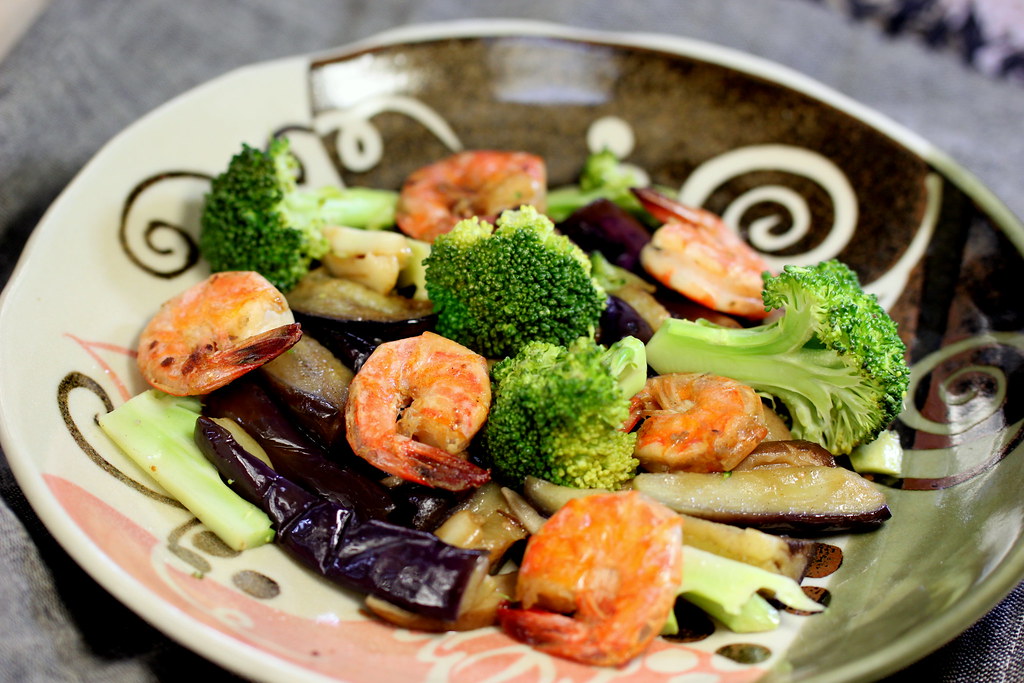
Final touch to add the greeny look: broccoli. The stems and florets. Please use them all. Now, since I love the broccoli to stay crunchy, I usually just throw them in the pan, cook for like 30 secs, turn off the heat, and put a lid on the pan to trap the heat inside and thus steaming them  for a few minutes.


This looks like a cooked salad, I know. But I loved every bit of it that I finished this whole plate without even remembered that I didn`t eat rice with it. Juiciness, crunchiness, and bursts of flavors blended beautifully in this dish. The fussy work on cleaning the shrimps was definitely gone far from my mind when I devoured everything on this plate. What fussy work?


Happy Saturday and enjoy your weekend feasts!

Ingredients:
Shrimp, washed and deveined
Garlic
Eggplants
Shiitake mushrooms
Broccoli
Soy sauce
Salt
Pepper