First time I had mini pretzels, I knew that I had to do some makeover with them, only I was completely clueless about what I could do. To me it`s a little too dry and the taste was too plain, although fairly speaking, the only pretzels I`ve ever had were from the store packed in a bag like potato chips and they were sprinkled with salt.
But that was a story from the past, because pretzel never looks the same to me anymore. It was last month when I stumbled upon an awesome post at
Live Love Pasta showing how to make chocolate bark using pretzel and that post really got me excited to start my pretzel project. Next thing I knew, I had my chocolate-drizzled pretzels, which I named Pretzella for their pretty princessy looks, lining up on my kitchen counter.
Last December, I made
chocolate bark with assorted nuts and it was undoubtedly good not to mention how extremely easy to make it. But this time, I wanted to bring the chocolate-pretzel goodie to my lab as Christmas gifts, so I thought it was better to prepare it in individual portions. With the bark, however, I imagined it would be difficult to divide it into equal portions without the risk of cracking it (in a bad way). I`m just too clumsy to handle it.
Anyway, I finally came up with the Pretzella, certainly with simple method, and here`s what I used:
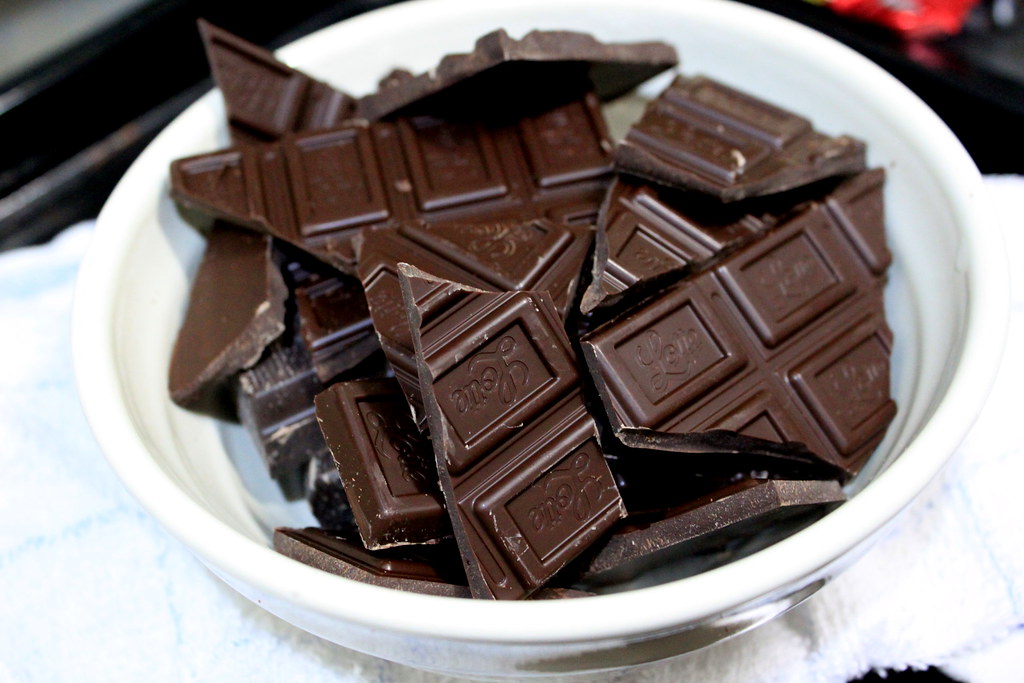
Dark chocolate...
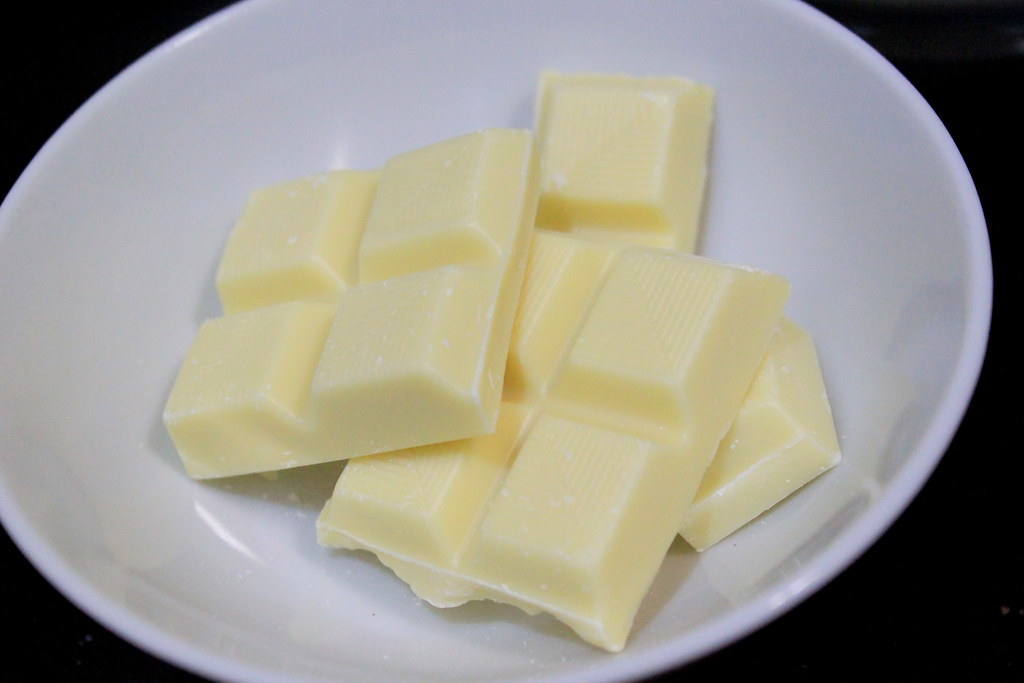
...white chocolate..and milk chocolate (no picture here).
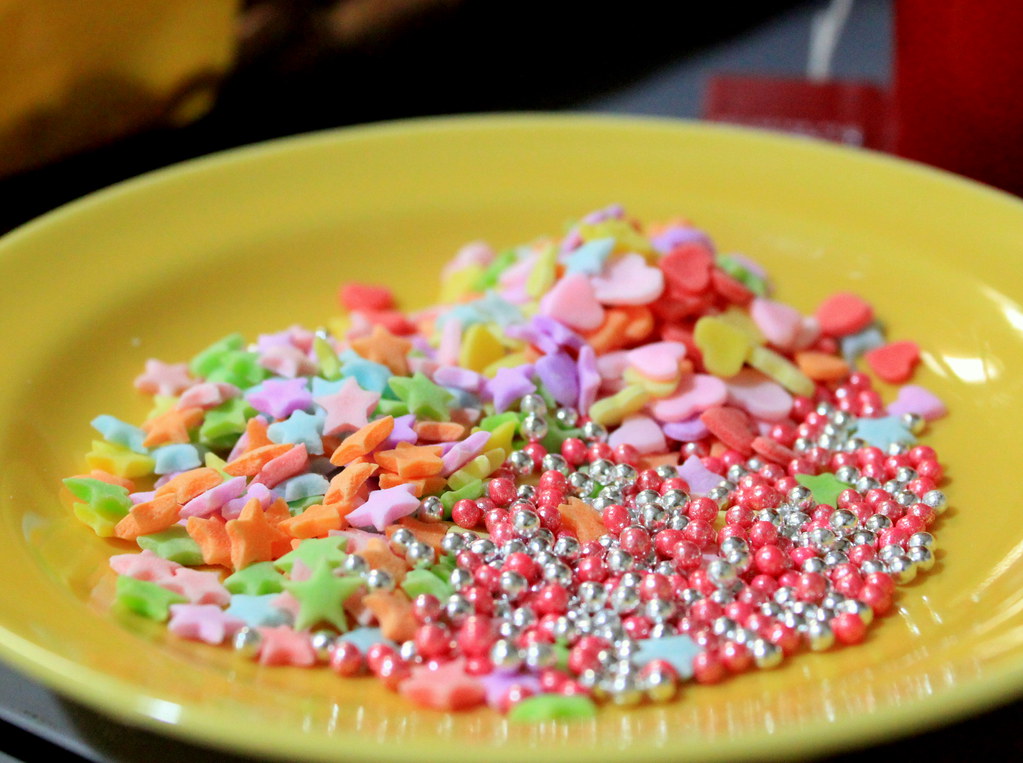
And the last ingredient but with huge impact is....
...this joyous full-of-color decorative sprinkles. I don`t usually use artificial coloring in my cooking, but this time I made an exception. This time, I was much much much happier with it.
Let`s assemble now.
Arrange the mini pretzels on a parchment paper or aluminium foil.
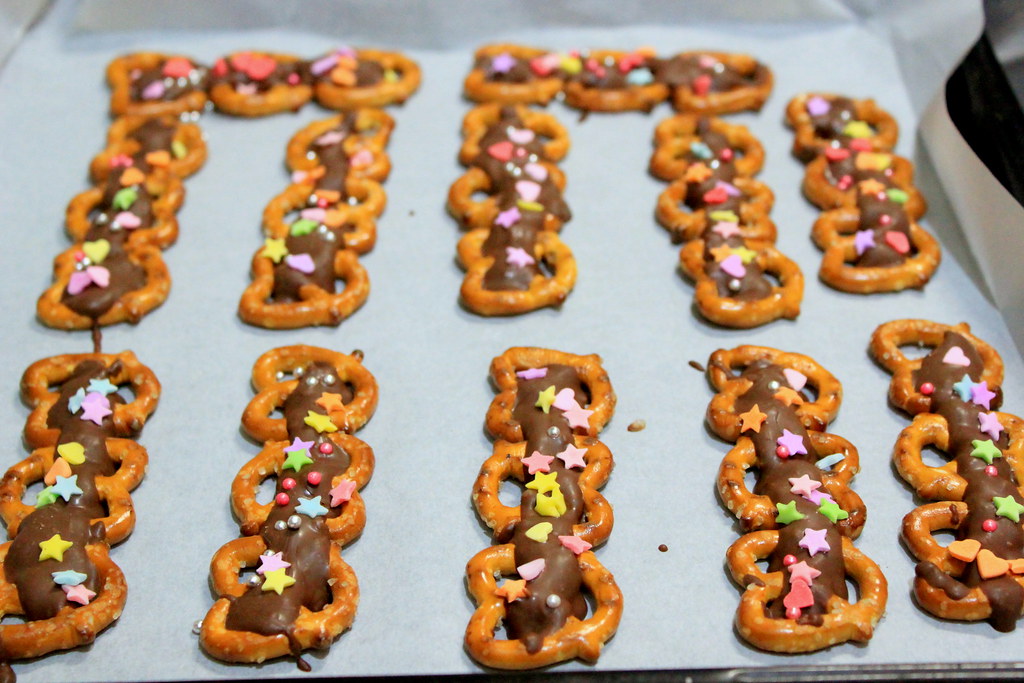
Let your wildest and craziest imagination guide you designing your pretzella. For me, this was what I could think of so far and I`d love to see your version!
After arranging the pretzels, prepare the chocolate. Or, do it reversely, especially if the chocolate is quick to set.
Break the chocolate bars into pieces, place them in separate bowls, and
melt them in microwave or double boiler. If you use microwave like I do,
heat it for 1 min, check if it melts, and reheat if necessary. If you
use double boiler, make sure you keep the simmering water even after the
chocolate has melted because you may need to reheat the chocolate
later.
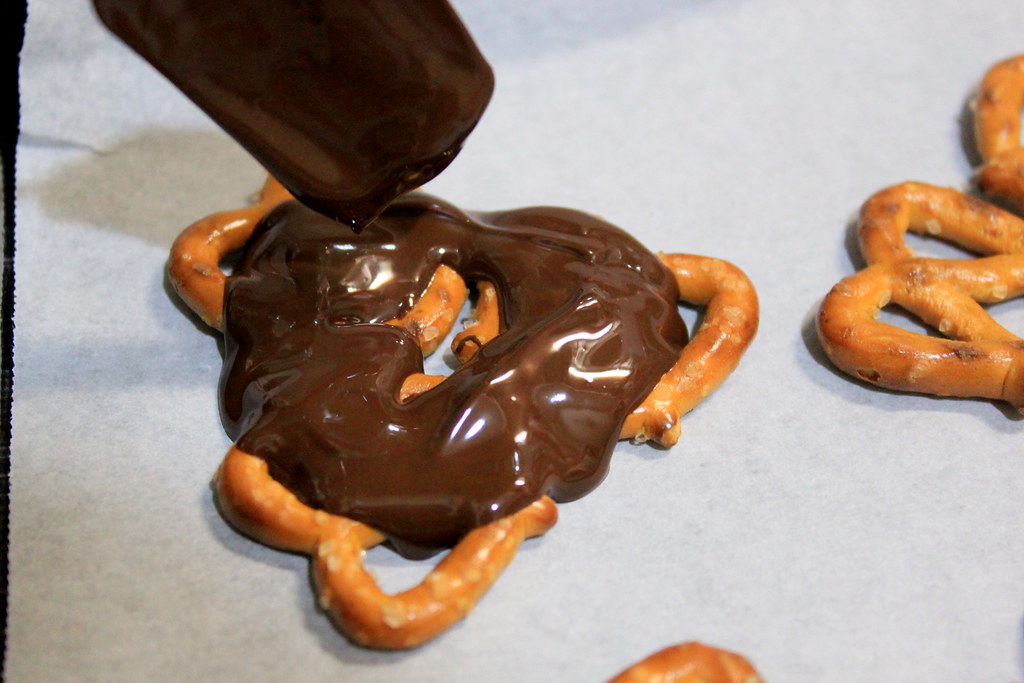
With a spoon (or whatever suits you), drizzle the melted dark chocolate over the pretzels leaving the center unfilled. The basic idea is using the chocolate to glue the pretzels together into whatever shapes you make.
Now carefully fill the center with the melted white chocolate. I flattened the "peak" of the white chocolate by gently brushing it down with the tip of a fork.
I know, it looks as if a toddler made them. In fact, if only I had kids, I would tell people it was them who did the work.
For the last touch, dress them up with the sprinkles. Make sure that you add the sprinkles quick enough before the chocolate starts to set. The sprinkles will easily come off, or won`t stick at all, if you add them after the chocolate has set.
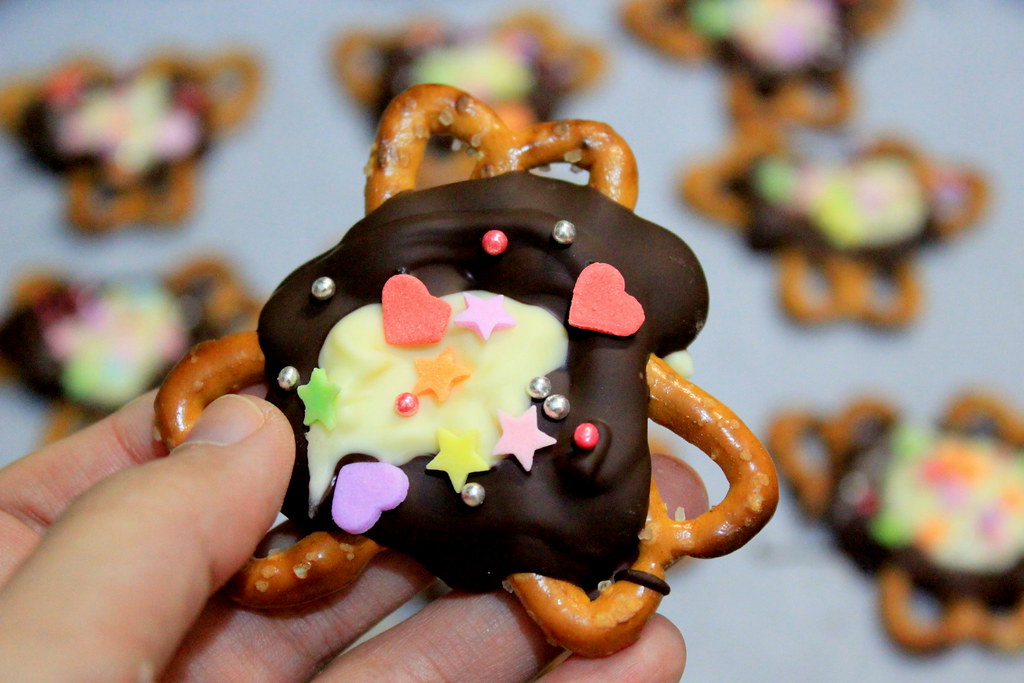
Bibidi-bobidi-boo! The mini pretzels has turned into pretty pretzella!
This is after I let the pretzella sit at room temperature for 15 mins or probably less. In winter, our room is usually cold because we don`t turn on the heater unless the chill is unbearable. You can keep it in fridge if you want.
And this is the back view. The chocolate enters the holes and spreads a little bit making it stick properly to the pretzel.
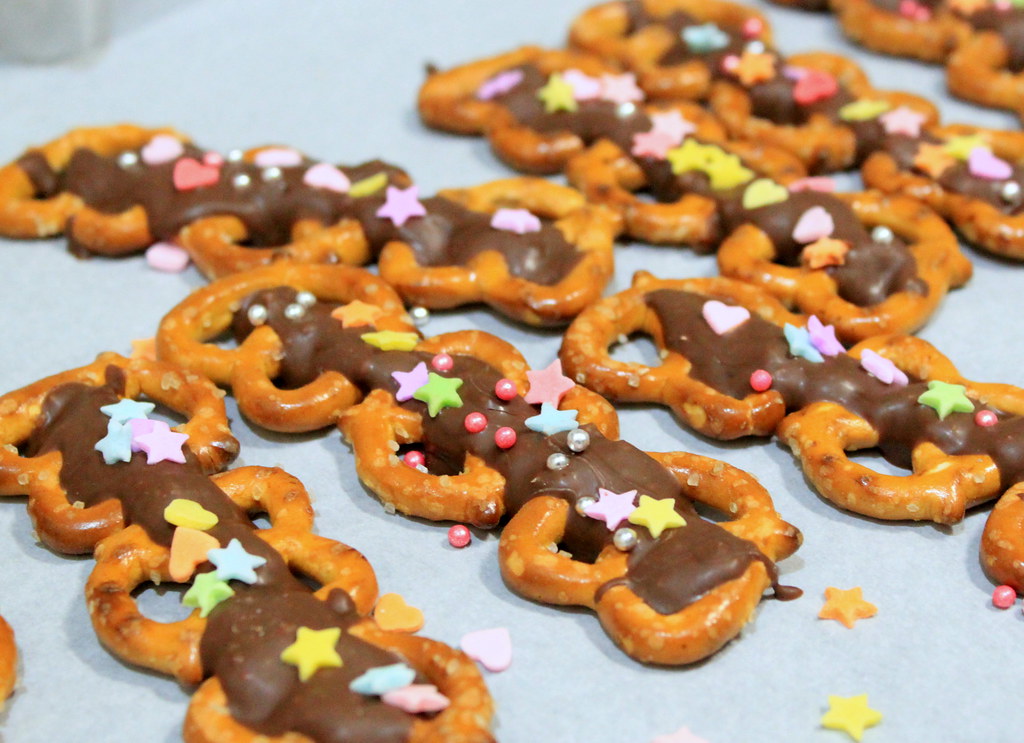
And these are pretzella with milk chocolate in another design. Hair barrette, anyone?
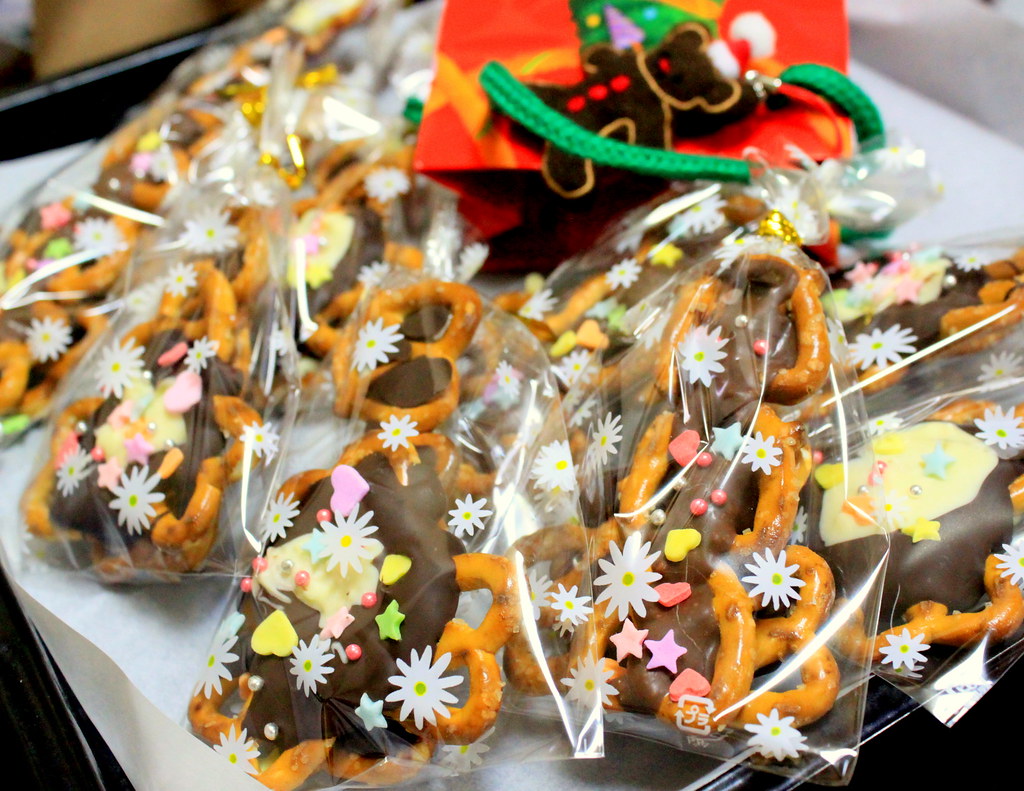
Eye candy, yes. My husband`s face lit up the second he saw them. Crowd pleaser, of course.
After all, you can`t possibly go wrong with pretzel and chocolate, can you?
PRETZELLA
Ingredients:
Dark chocolate
White chocolate
Milk chocolate
Mini pretzels
Decorative sprinkles
Method:
1. Break all chocolate into pieces, place in separate bowls, and melt them in microwave or double boiler.
2. Arrange mini pretzels on parchment paper or aluminium foil.
3. Drizzle the melted chocolate over the pretzels to glue them together.
4. Before the chocolate sets, quickly sprinkle the decorative sprinkles.
5. Let the chocolate set in refrigerator or at room temperature if it is cold enough outside.